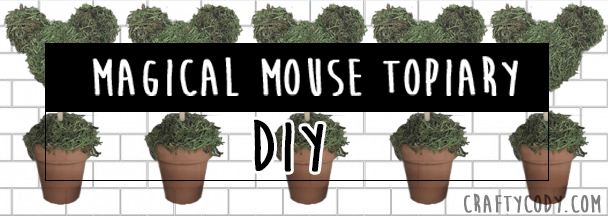
I love Dollar Tree and I love getting craft supplies there to make super cheap, super cute creations. Especially when it’s Disney related.
Today’s craft I’ve been seeing on Pinterest and Instagram, but never looked into how to make it. I saved the photos to figure out later and, well, I decided to figure it out.
Supply List
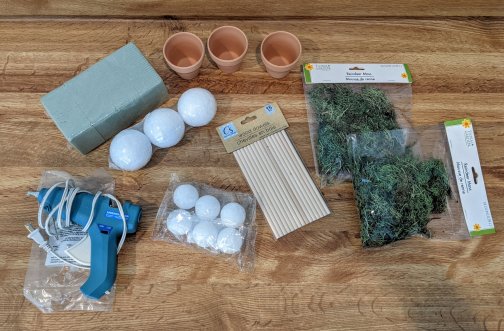
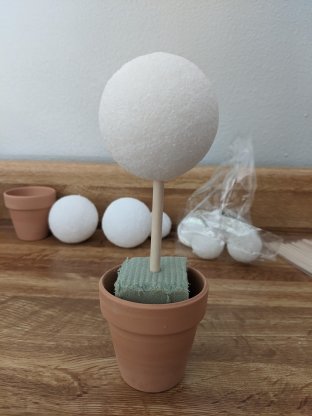
The supplies will cost you a grand total of $6 so $3/topiary. You can’t beat it. You’ll also have some extra stuff for future projects. Here’s what you’ll need:
- Terracotta pots (3 in a pack)*
- Large styrofoam balls
- Small styrofoam balls
- Wood dowels
- Floral foam (4 pack)
- Reindeer moss (1 pack makes 1 topiary so if you want to make Mickey and Minnie then get 2 packs)
- Glue gun and glue sticks
If you can’t find the pots (I think they’re more of a Spring item), the little, white buckets in the wedding party section work well too. You’ll get 2 in a pack with those, still a good deal.
Assembly
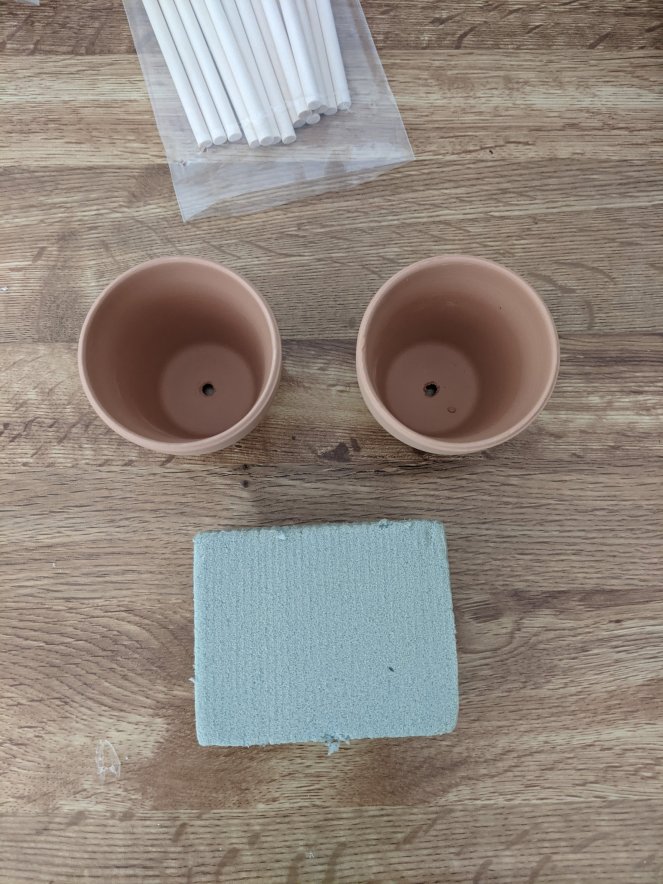
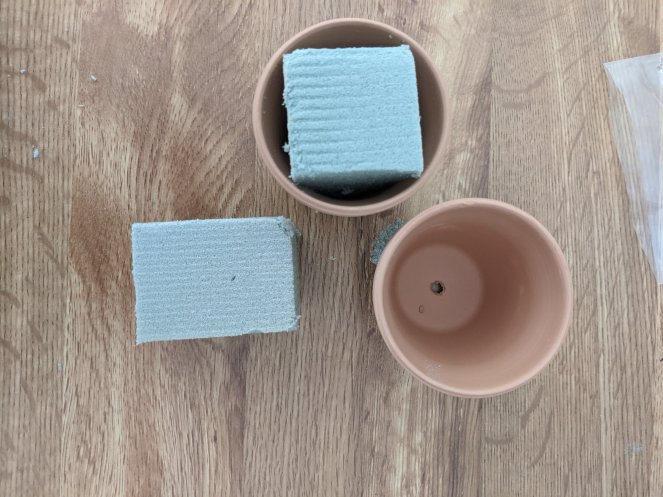
First, cut your floral foam to fit inside your pot. It doesn’t have to be perfect. I cut one block in half, shaved the bottom down a bit, then shoved it in there so it’s really snug. The other half went in the other pot of course, so you’ll still have 3 spare blocks for other projects. I got this pack because the blocks were the smallest and I didn’t want to spend a lot of time carving a block to fit.
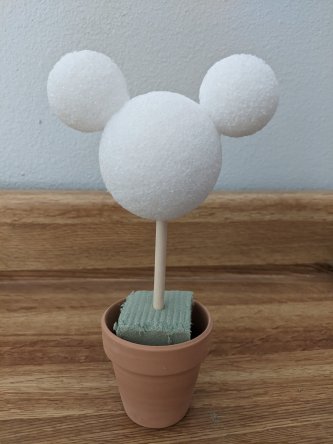
Next, I used a pair of scissors to start a hole at the bottom of one of the large styrofoam balls. Then, gently pushed a dowel rod in until it was deep enough to be stable. I took out the dowel and put some hot glue on the end of it so it would anchor inside the hole.
Next, I pushed the dowel into the floral foam and when it was deep enough, took it out and added hot glue then reinserted for stability.
Afterwards, I glued 2 smaller styrofoam balls on to create the ears.
Now it’s time for the tedious part. Adding the moss all over the head to make the topiary. Take your time and use an extra dowel to really get the moss inside crevices so you can keep the ear shape. Watch your fingers! I also tore the moss into smaller bits before gluing on.
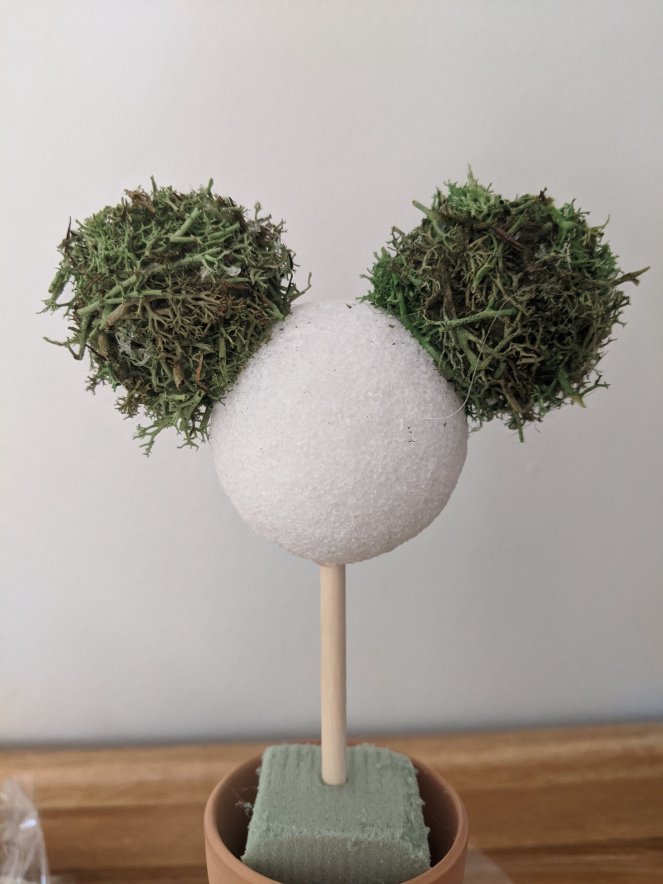
When I got the head where I wanted it, I trimmed some of the excess off to make it look more manicured as well as helping with the definition between the ears and the head.
Be sure to add moss to the bottom to hide the floral foam. Then, you’re all done!
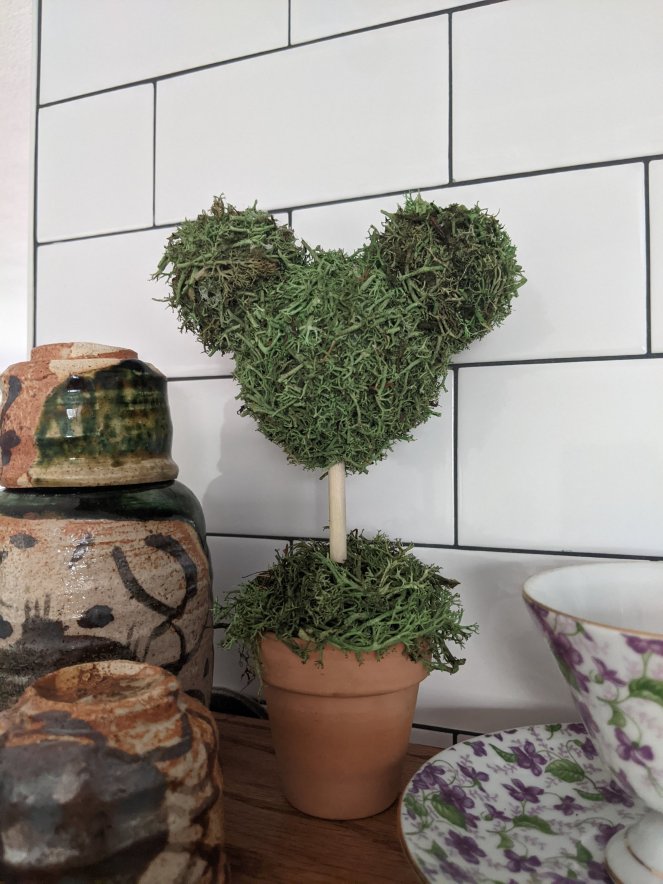
Ta-da! I only had enough glue sticks to do Mickey, but once I get more then I will add Minnie as well. For her bow, I’m planning on using some spare ribbon and gluing to the top of her head, but she will be an identical process otherwise.
Thanks for reading and hope you enjoyed!