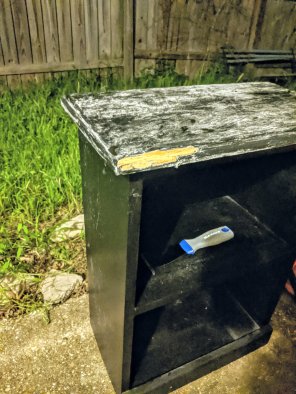
Shifting gears from Animal Crossing and shifting back to crafts for a minute. I’ve had this nightstand since I was a little kid and brought it along with me when my husband (then boyfriend) and I moved in together. It’s always faithfully stood by my bedside holding all my various knickknacks and treasures. Sidebar: I just learned “knickknack” is one word. Doesn’t that look weird? So weird.
I can kind of remember getting it with my parents. Well, I can remember what it looked like at least. It was raw wood just ripe to be decorated. And I, for some reason or other, wanted my dad to paint it black. I can’t recall if it was painted something else before that, but I’m fairly certain it went from nothing to black and that’s how it stayed for years.
Fast forward to a couple of weekends ago and Austin put out its shelter-in-place order to help combat the coronavirus spread. My work has dried up because of this and I was stuck milling about the house with not much to do. I needed a project and I had been saying for a long time how I wanted to update my little nightstand. What better time than now?
Supplies
- Citristrip paint remover gel
- Paint remover…remover
- White Paint
- Spray Polyurethane
- Stain
- Paint scraper
- Paint Brush
Let’s start!
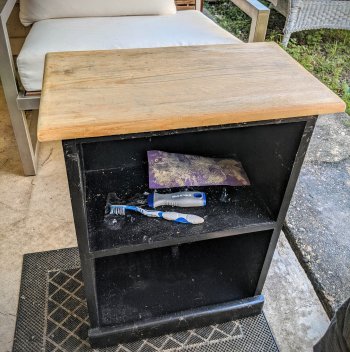
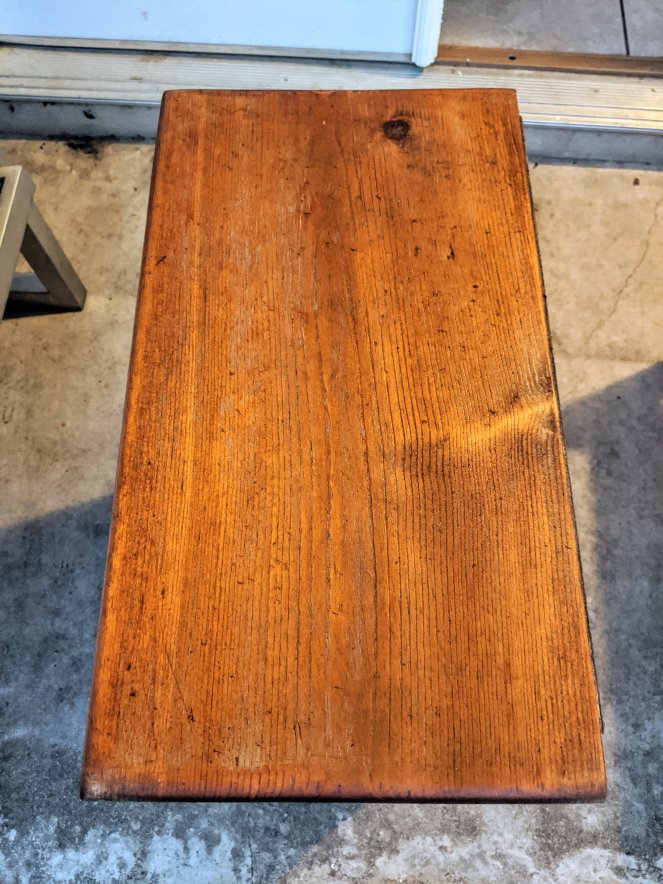
I made a quick trip to Lowe’s and got some Citristrip paint remover, some white paint, and a scraper then got to work. First off, let me say that this paint stripper is amazing. I’ve never really had to remove paint before and was worried it was going to be a really lengthy and smelly process. This stuff smells like oranges (please still use it in a well-ventilated area) and you can start scraping the paint off after only 30 minutes. So cool. I just had to do the top because I was going to stain the wood, but the bottom I would just paint over so it really saved a lot of time.
So, I won’t lie here. The white stuff on the top was from the paper towel I used to apply the paint stripper. That stuff eats through everything. If there’s a recommended method on the bottle or someone with more experience than me does it differently, then do that. You should also get a paint remover…uh, remover to get the extra bits and stripper off. I used a powerful bathroom cleaner and while that worked I wouldn’t recommend it if you’re restoring grandma’s old WWII era dresser.
After the paint was off, I sanded the hell out of the top. And I mean the hell out of it. It helped remove any extra bits of paint and the wood was kind of cheap to begin with so it got rid of any potential splinters. After that, it was time to stain, stain, stain.
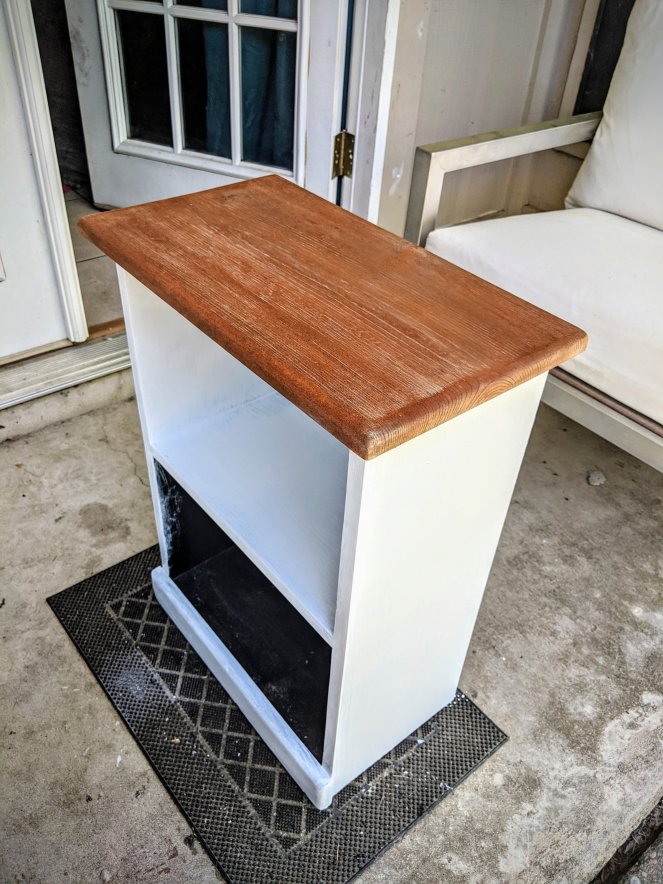
I like darker wood, so I put 3 or so coats on if I remember correctly. This is all personal preference at this point. When the last coat of stain dried, then I sprayed it with 3 coats of polyurethane (sanding the surface right before the last coat). Have to protect that wood!
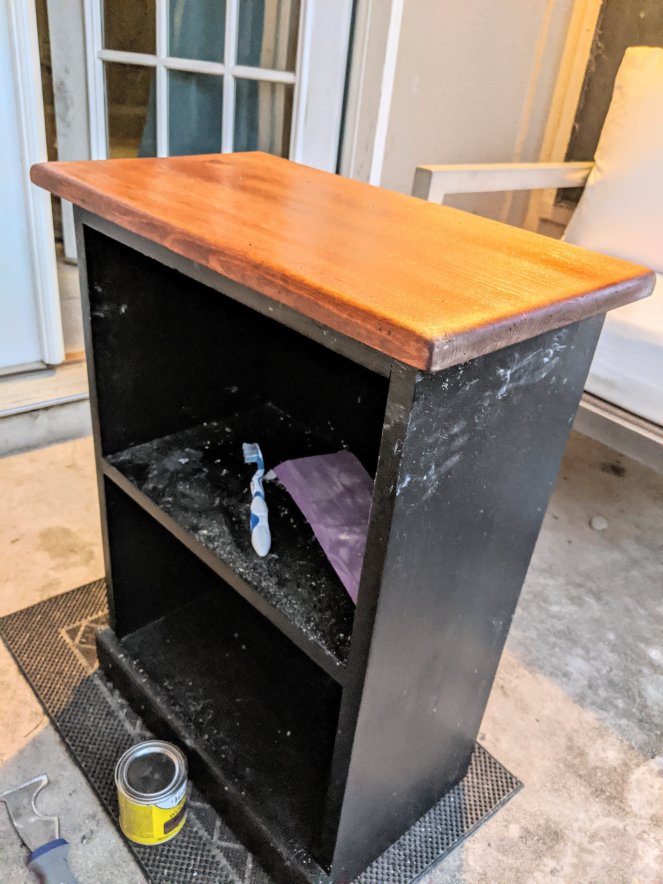
The rest is very simple- I painted it white! Yay, farmhouse chic! The paint was pretty opaque, but I still did a couple of coats to hide the black underneath. I painted the underside of the tabletop black. That was out of laziness, haha.
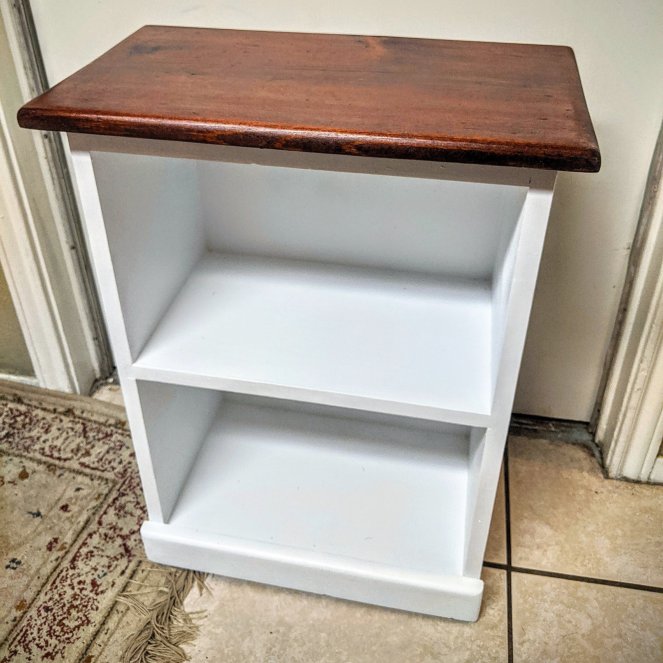
And there it is! Only took a couple of days from start to finish. I was hoping it would take longer, but when you’re in lockdown there really isn’t too much else to do. The most time-consuming part was waiting for all the coats to dry. Hope this inspired you to refinish some of your own furniture! Stay safe and stay inside!