Merry Christmas!
Edit: I just added a PDF version to my store if you’d like to donate to the yarn fund!
I have been off this whole last week and I’m off all of next week because I could not be more done or enjoying myself more than I am right now.
My Xmas break has been absolutely wonderful. I have gotten to see all of my greatest friends and spent a healthy amount of time with my family. I wish it could last forever, but I’m so thankful and full of love. I hope this holiday season has brought happiness to all of you as well.
We got back to Austin yesterday and I was bitten by the craft bug today. I shot a couple of videos that I will upload someday and I’ve crocheted a few friends. One is based on a keychain I saw while shopping this last week. I could not justify the price, but I figured I could put my skills to the test and make something similar.
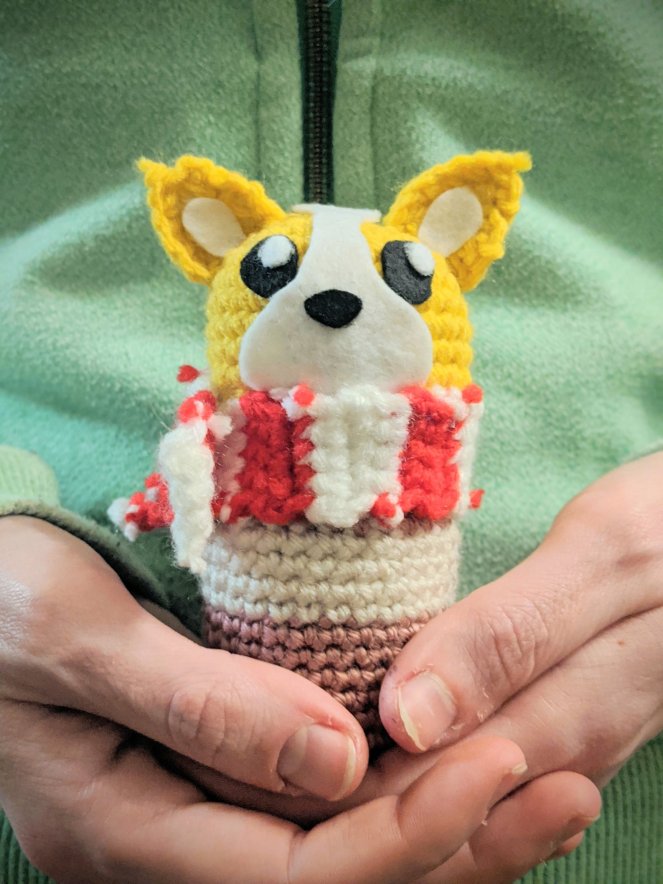
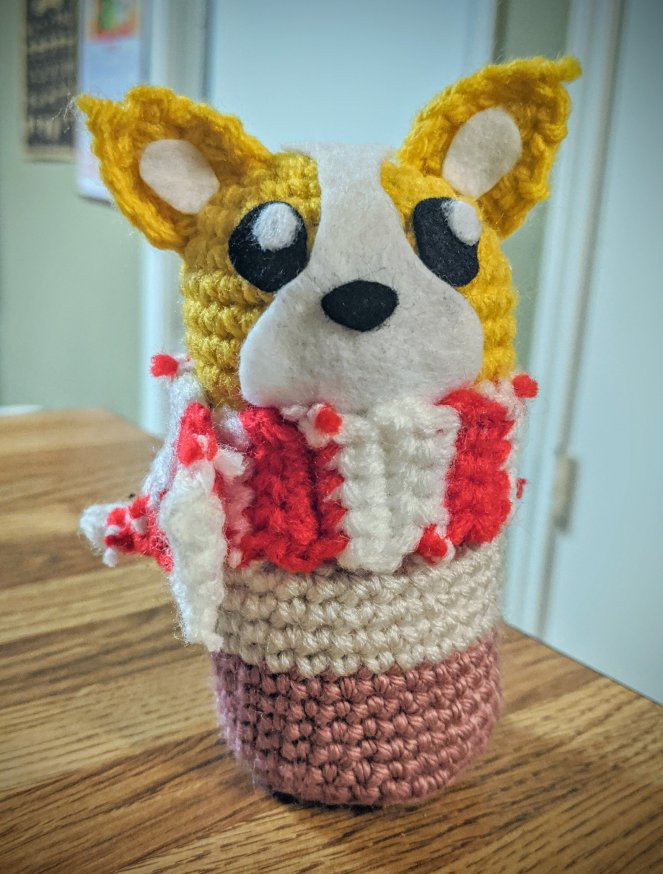
He’s a little corgi inside of a (boba) cup! Or maybe Puppuccino cup? Haha, he didn’t turn out quite like I thought in my head, buuuuut I think I got him to an acceptably cute place. Pattern below:
Supplies + Tips
Worsted Weight Yarn
E Hook
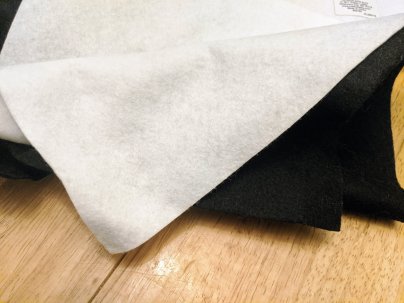
Felt (black and white)
Scissors
Yarn needle for sewing and weaving in ends
SC- Single crochet
BLO – Back loop only
Dec – single crochet decrease or single crochet 2 together
Inc – single crochet increase or 2 single crochet in one stitch
Sts – stiches
MC – Main color yarn
OC – other color yarn
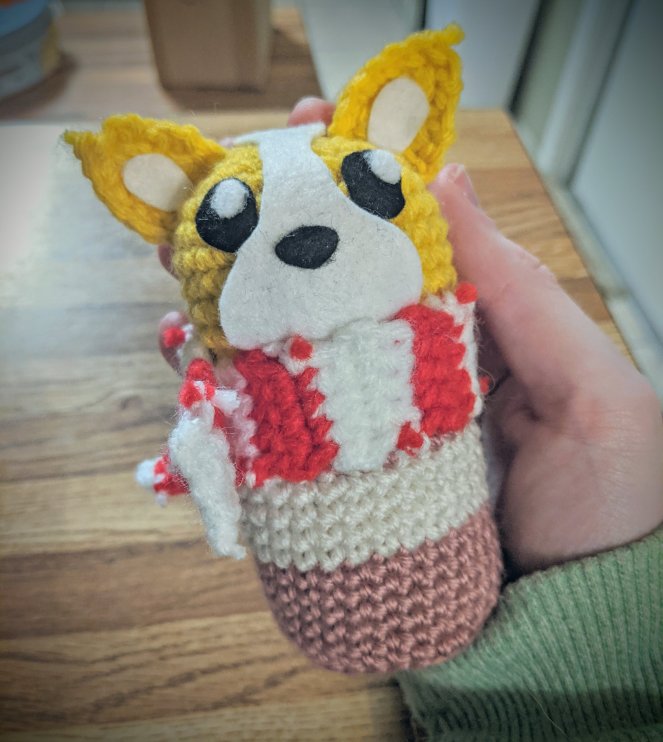
I used worsted weight yarn and an E hook because I don’t keep much lighter weight yarns around and I didn’t want this to be huge. Wanted to be able to attach a keychain and hook it onto a backpack, but didn’t want a stuffed animal hanging off of it. You can pick any colors you’d like and please experiment a little with sizing as this is not a perfect pattern.
Head
SC 6 into Magic Circle
Rnd 2: Inc around (12 sc)
Rnd 3: (Inc, sc in next st) 6 times. (18 sc)
Rnd 4: (Inc, sc in next 2 sts) 6 times. (24 sts)
Rnd 5: (Inc, sc in next 3 sts) 6 times. (30 sts)
Rnd 6-10: SC around (30 sts)
Rnd 11: (Sc in next 3 sts, Dec) 6 times (24 sts)
Rnd 12: (Sc in next 2 sts, Dec) 6 times (18 sts)
Rnd 13: (Sc in next st, Dec) 6 times (12 sts)
Stuff the head
Rnd 14: (Dec) 6 times (6 sts), sl st in first st. Fasten off.
Cup
SC 6 into Magic Circle
Rnd 2: Inc around (12 sc)
Rnd 3: (Inc, sc in next st) 6 times. (18 sc)
Rnd 4: (Inc, sc in next 2 sts) 6 times. (24 sts)
Rnd 5: (Inc, sc in next 3 sts) 6 times. (30 sts)
Rnd 6: SC BLO around
Rnd 7-11: SC around
Switch to OC
Rnd 12-15: SC around
Switch to MC
Rnd 16-19: SC around
Fasten off and stuff cup
Ears (make 2)
Chain 6
Row 1: SC in 2nd chain from hook and across (5 sts)
Row 2 : SC across (5 sts)
Row 3: SC 1, Dec 2x (3 sts)
Row 4: SC 1, Dec (2 sts)
Row 5: SC across (2 sts)
Fasten off
Scarf
Chain 5
Row 1: SC in 2nd chain from hook and across (4 sts)
Row 2: Chain 1, SC across (4 sts)
Row 3-??: Chain 1, SC across (4 sts)
After row 3, alternate colors every 3 rows (repeating row 3) and make long enough to go around neck area
Felt
White- Face, ear tufts, and shines in eyes
Black- Eyes and nose
Assembly
Attach the head to the cup
Sew ears on sides of head
Glue or sew felt pieces onto face
Attach scarf
There was definitely a lot of trial and error with this one so just have fun with it! I may refine later on, but as I said, I think I got him to a good place. It was really the last-minute addition of the scarf that did it. I was feeling pretty defeated before that!