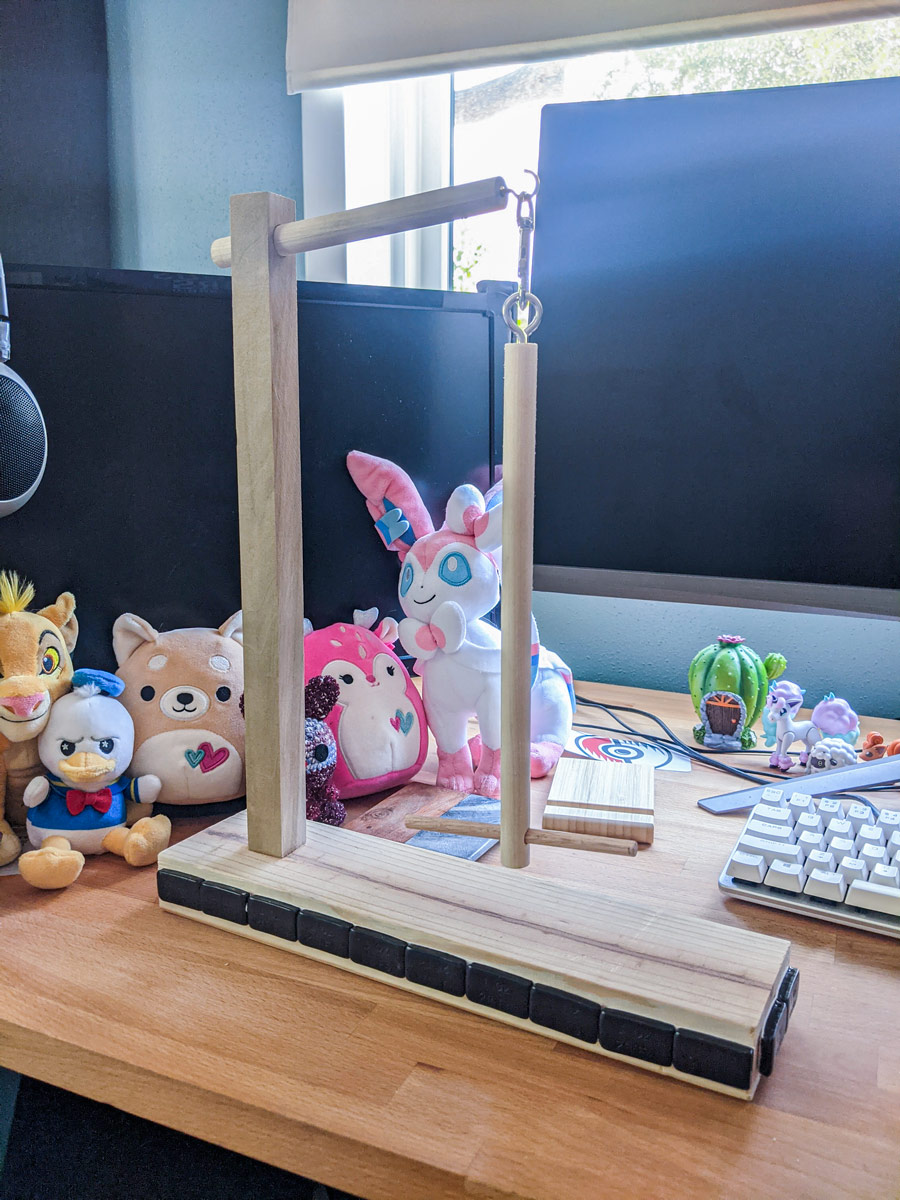
UPDATE: My pinewood derby wheel weights arrived today and I added them onto my Wool Jeanie. They stick right on and made it a little heftier. Hoping it will help with any kind of tilting I may encounter while crocheting.
The other day, someone on r/crochet posted a video of this amazing, new yarn holder. It’s called the Wool Jeanie and it’s amazing. It puts yarn bowls to shame.
However, it’s currently out of stock.
So, as always, I took out my notebook and drew out the basic design then began figuring out how I could make it myself for less. I think I came up with a pretty good idea!
The twirling motion was the toughest part. I’ve never made anything with moving parts before. I had some options between swivels and hooks and ended up going with a hook similar to what you’d find on a dog leash.
I also went back and forth about how to keep the yarn on the stick. I didn’t want to do anything too complex or too expensive so I settled on a thick dowel with a skinnier one used as a pin on the base. That will hold the bottom of the yarn. You can take out the pin and slide the yarn off without running the top hook through the skein.
All-in-all, this project cost me $16 and one trip to Lowe’s. Not too bad. Plus I didn’t have to pay for shipping.
Supplies:
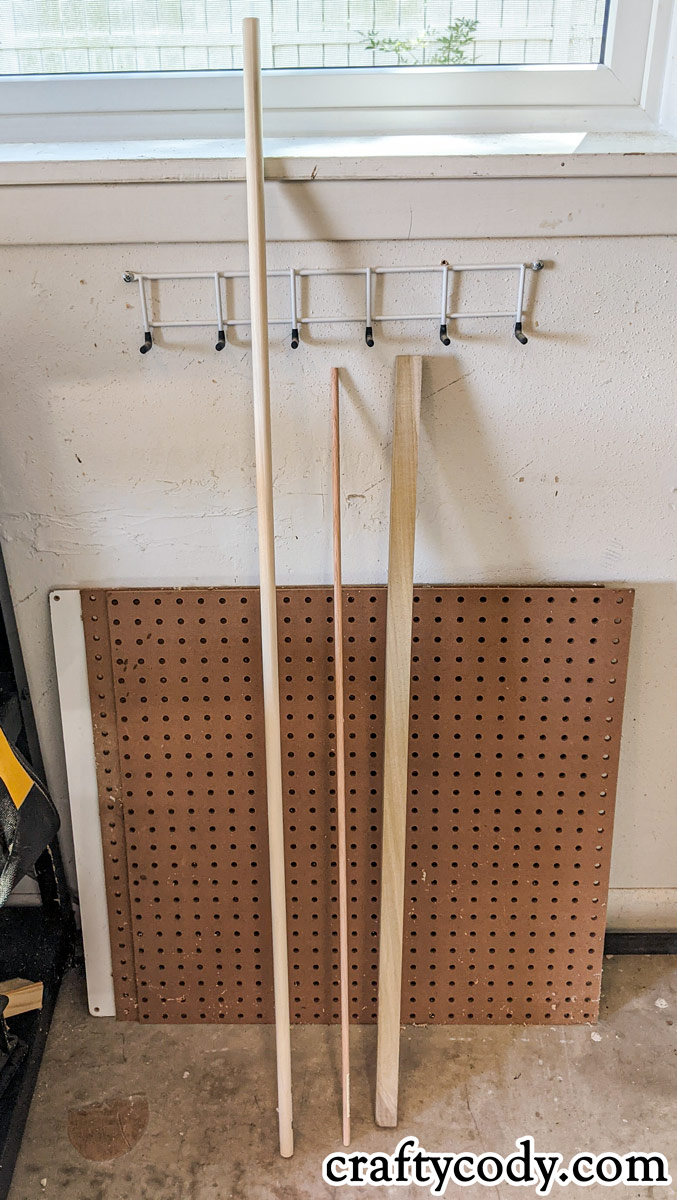
- Dowels - one each of 1-in square, 5/8-in round, and 5/16-in round
- Ruler and speed square
- Clamps
- Miter saw
- Flush cut saw
- Drill and various bits
- 5/8in spade bit
- Wood (scrap 2x4 for base)
- Wood glue
- 3-in screw (x1)
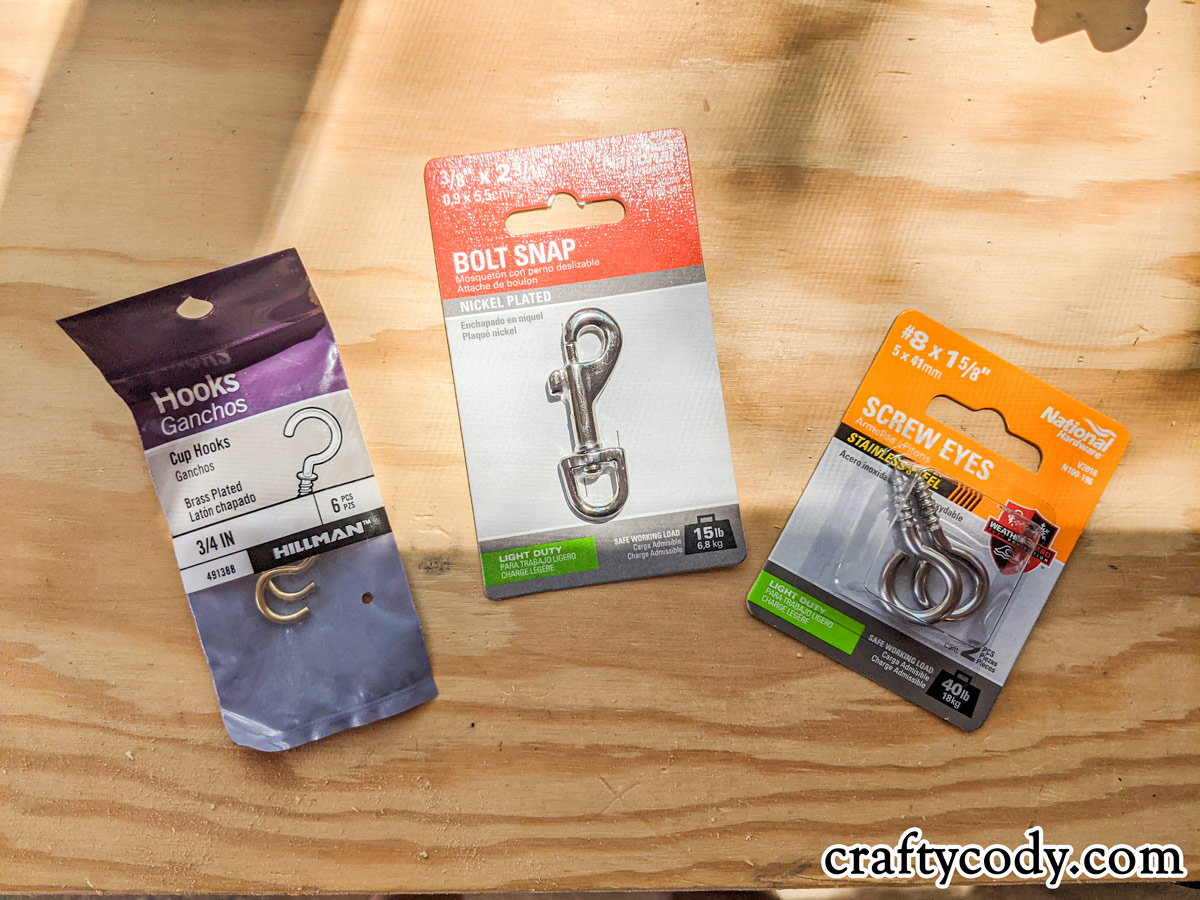
- 3/4in cup hook
- 1 5/8in screw eye (I got a pack of 2)
- 3/8 in x 2 3/16in bolt snap
- Safety gear
How-to:
This is a relatively quick project. I was finished in only a few hours. I used an oak dowel as my smallest since it will be used as a pin and consistently removed. Oak dowels should be stronger than regular poplar dowels.
I used the miter saw to cut all the wood except the 5/16-in dowel. It’s thin, so I used my flush cut saw on it.
Cut list
2x4:
14-in (x1)
This will be the base of your yarn winder. I made my base this long for stability, but feel free to choose whatever length you need. I’m also planning on finding some small weights that I can glue onto the base. Will update as soon as I do.
Square Dowel, 1in:
-15-in (x1)
This is the vertical length of the yarn winder.
Round Dowel, 5/8in:
-7 1/4-in (x1)
The horizontal arm that will attach through the top of the square dowel.
-10 5/8-in (x1)
This is the arm that the yarn will be on. I made it long so it will be suitable for different size skeins.
Round Dowel, 5/16-in:
-5-in (x1)
This is the pin that will hold the bottom of the skein and keep it from falling off while spinning.
Sanding
After making all of the cuts, be sure to give everything a good sanding since you’ll be picking this thing up and moving it around often.
Predrill
Now it’s time to both predrill a pilot hole for the singular screw we’ll be using and drilling all the holes the dowels will be fitted into.
On the square dowl, measure about 1 1/2-in down from the top and mark a point in the middle of the wood. Use the 5/8-in spade bit to bore a hole through this point. Then, take the 7 1/4-in round dowel piece and insert it through that hole. I used a rubber mallet to hammer it through the other side. You can glue it if you’d like, but it’s really in there and I’m not worried about it.
On the 10 5/8-in round dowel piece, mark a spot about 1-in from the bottom and use a 5/16-in bit to drill a hole through that point. This is where the 5/16-in dowel will be used as a pin to hold the bottom of the yarn.
Lastly, place the square dowel where you would like it to sit on the 2x4 base. Mine is a few inches from the edge to help with stability. I traced the base of the square dowel onto the 2x4, then used the speed square to mark a point in the middle. Using a 1/8-in bit, I drilled a pilot hole through the whole base at that point then drilled another pilot hole through the bottom of the square dowel. This will help guide the screw in and keep it straight as well as prevent cracks.
Screw in hooks
I screwed in all the hooks by hand and then tightened them with a pair of pliers. The cup hook goes on the end of the arm and the screw eye goes on the end of the dowel that will be holding the yarn. Be sure to put it at the opposite end from the pin hole you just made.
Glue
Put a little wood glue on the bottom of the square dowel and try to line up its and the 2x4 base’s pilot holes when you glue it down. Make sure it’s straight, then let dry for an hour.
Drilling
Once the glue is dry, flip the base over and clamp it down to your workbench. It’s time to drill in that single screw. I always use an impact driver when screwing things in because it never seems to get stuck. I also used a star head screw out of preference.
I held the square dowel and pushed it against the base as I drilled through the bottom. I also let the screw sink into the wood so my Wool Jeanie would sit flat.
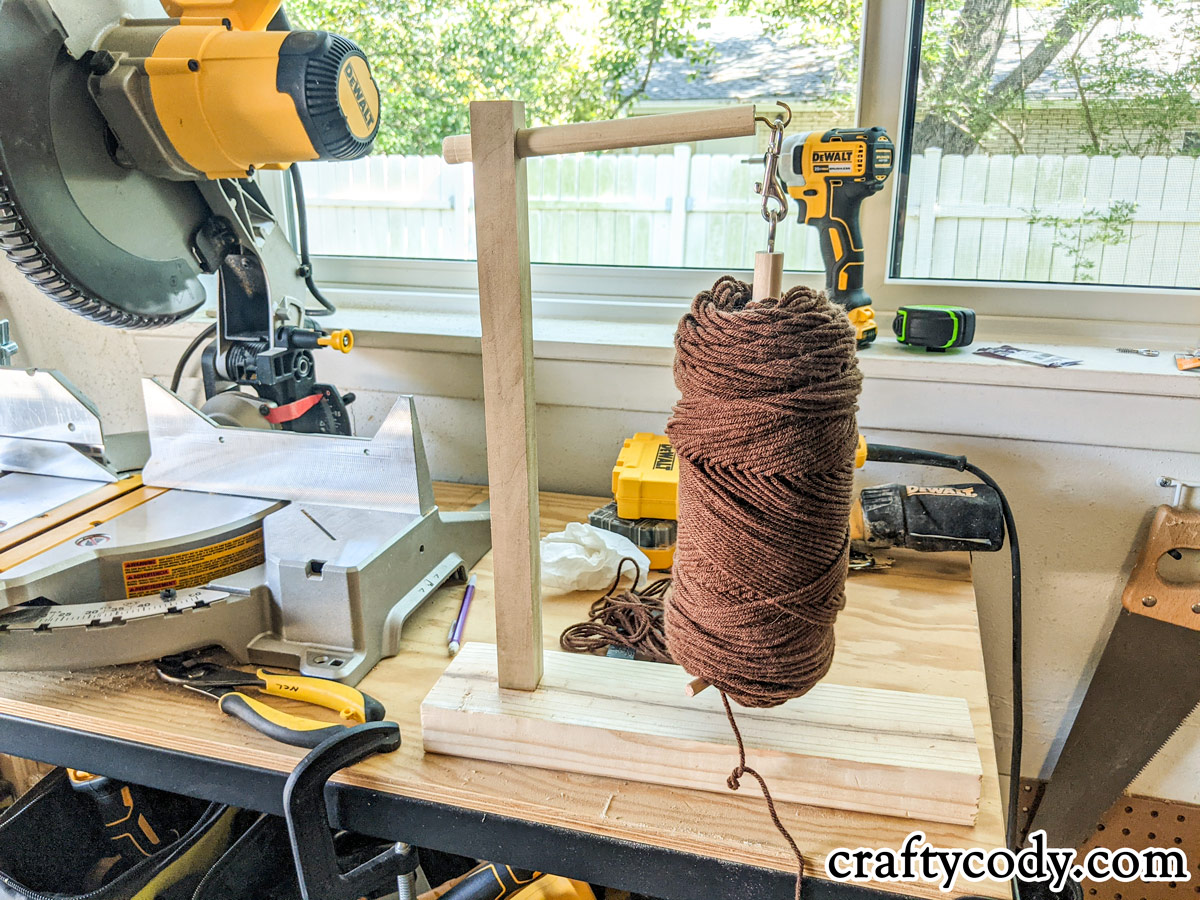
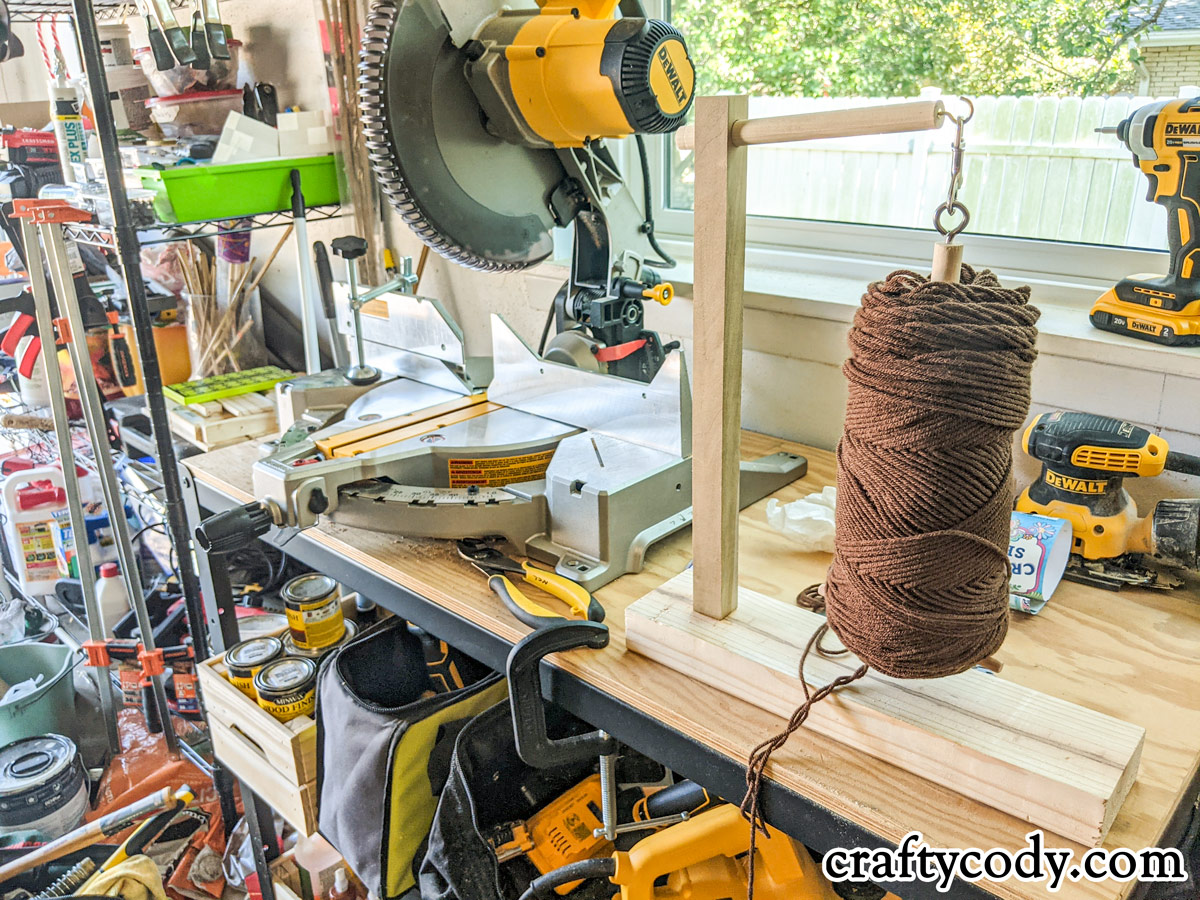
Put it together
Flip it back around and make sure there is no wobbling between the square dowel and the base. If it’s all good, then it’s time to put it together.
The pin comes out of the bottom of the arm so you can slide the dowel through a skein of yarn and then replace the pin. The bolt snap will hang off the arm that’s coming out of the square dowel. Attach the bolt snap to the yarn holder’s screw eye.
Complete!
Pull the working end of your yarn and make sure it spins smoothly. I was surprised the bolt snap spun a full 360 degrees so easily. I thought for sure I would get some resistance.
This was a really fast project to complete. I think I had about one hour of video footage before editing it. Between that and waiting for the glue to dry, this only took me a couple of hours.
Now it’s time for some crochet or knitting projects!