This post contains Amazon affiliate links to the actual products I use daily. I make a small commission with your order, but there is no cost to you.
You can find PDF plans for all of my IKEA hacks and more on my Etsy page.
Google Analytics sends me some data each month. It doesn’t go into a lot of detail, but I get to see the broad strokes of how my website is doing and I’m steadily going up in the charts. One thing I pay attention to is what people are searching for when they click on my website and it has become apparent that everyone wants more IKEA hacks. So here we go.
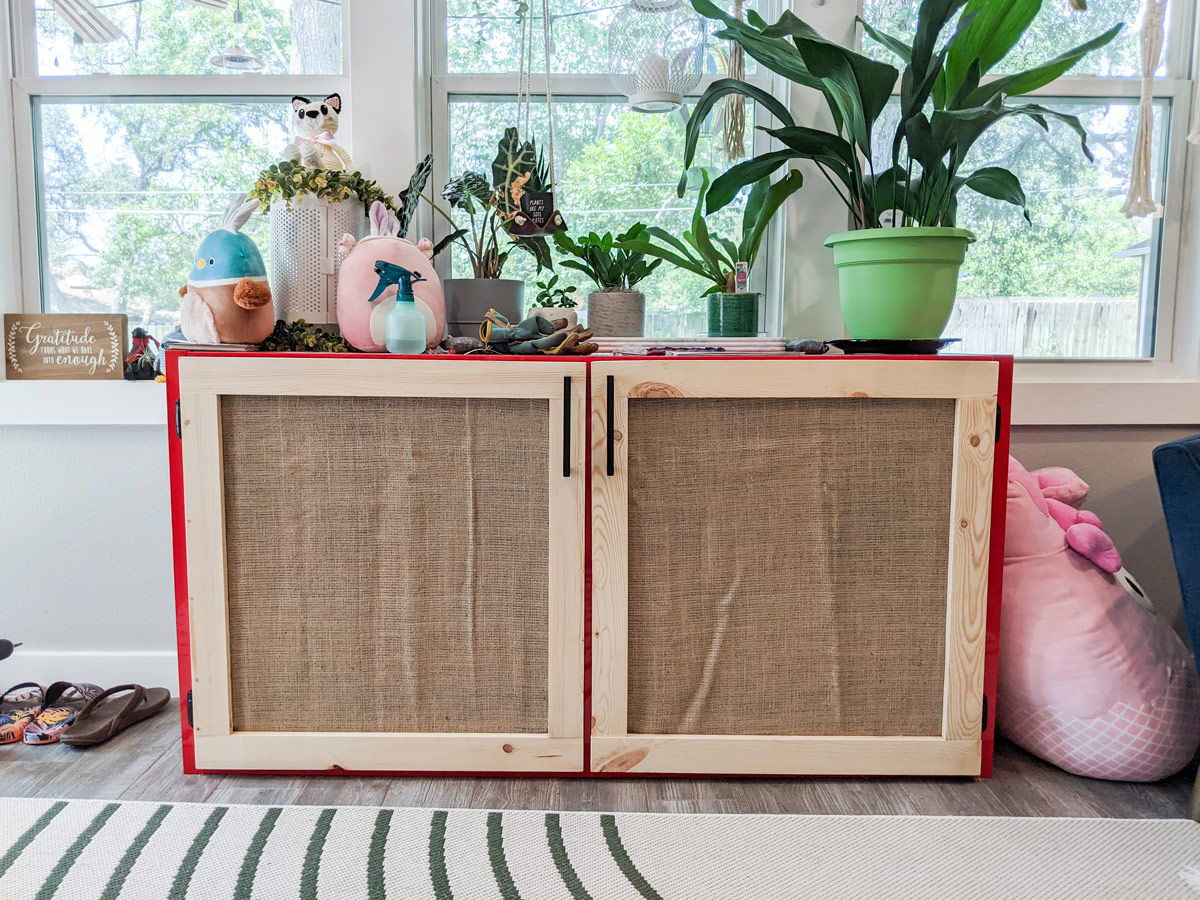
I mentioned in my last IKEA post that I have several kallax shelving units in my house and I’ve had them all for years. I hate getting rid of perfectly good furniture just to buy something new, so I started updating what I had. I’ve already put a set of doors on one kallax, so now it’s time to move on to the one in my sunroom.
These doors will be bigger than the ones I made for my tv stand. Basically, I’ll be doubling the size of each door and only adding two to the kallax instead of four. I wanted it to look slightly different than the living room one. I also won’t be staining or painting these doors, however, you easily could if you wanted.
I guess this would count as an IKEA hack. I have one more kallax after this one and will more than likely be adding doors to it as well. Maybe I can come up with something a little more special since it’s a 2x2 cubby unit.
This project should go even faster than my last one since there will be less cutting and I kind of know what I’m doing now. I think the hardest part will be finding cabinet pulls I like.
Let’s get started.
Supplies:
- Wood (1x3s)
- Miter saw
- Drill
- Sander
- Wood glue
- Clamps
- Level
- Ruler/Speed square
- Stain/Paint if needed
- Burlap/Rattan/Fabric of choice
- Stapler
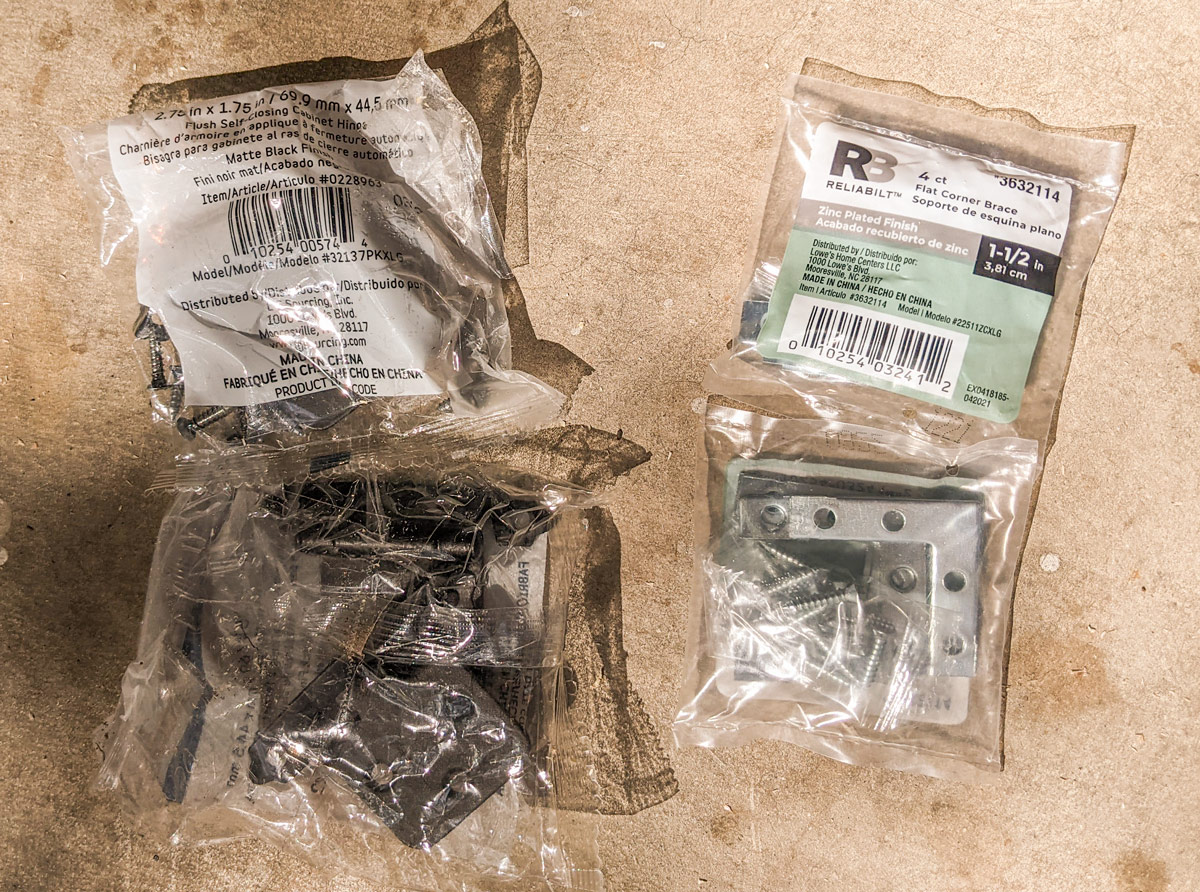
- Hinges (x4)
- Cabinet pulls/knobs (x2)
- Flat L-brackets (x8)
- Safety gear
How-to:
Cut list
We’re going to be using a little less wood here than in my last IKEA project. The vertical pieces will be 24-inches like before, but the horizontal pieces will be 27.5-inches. I bought three 6-foot pieces of lumber and one 4-foot piece to accommodate all of the cuts.
1x3s:
24-in (x4)
27.5-in (x4)

Sanding
Give each piece a good sanding to smooth over and eliminate any splinters. Sanding also gets rid of any pencil marks made while measuring out pieces.
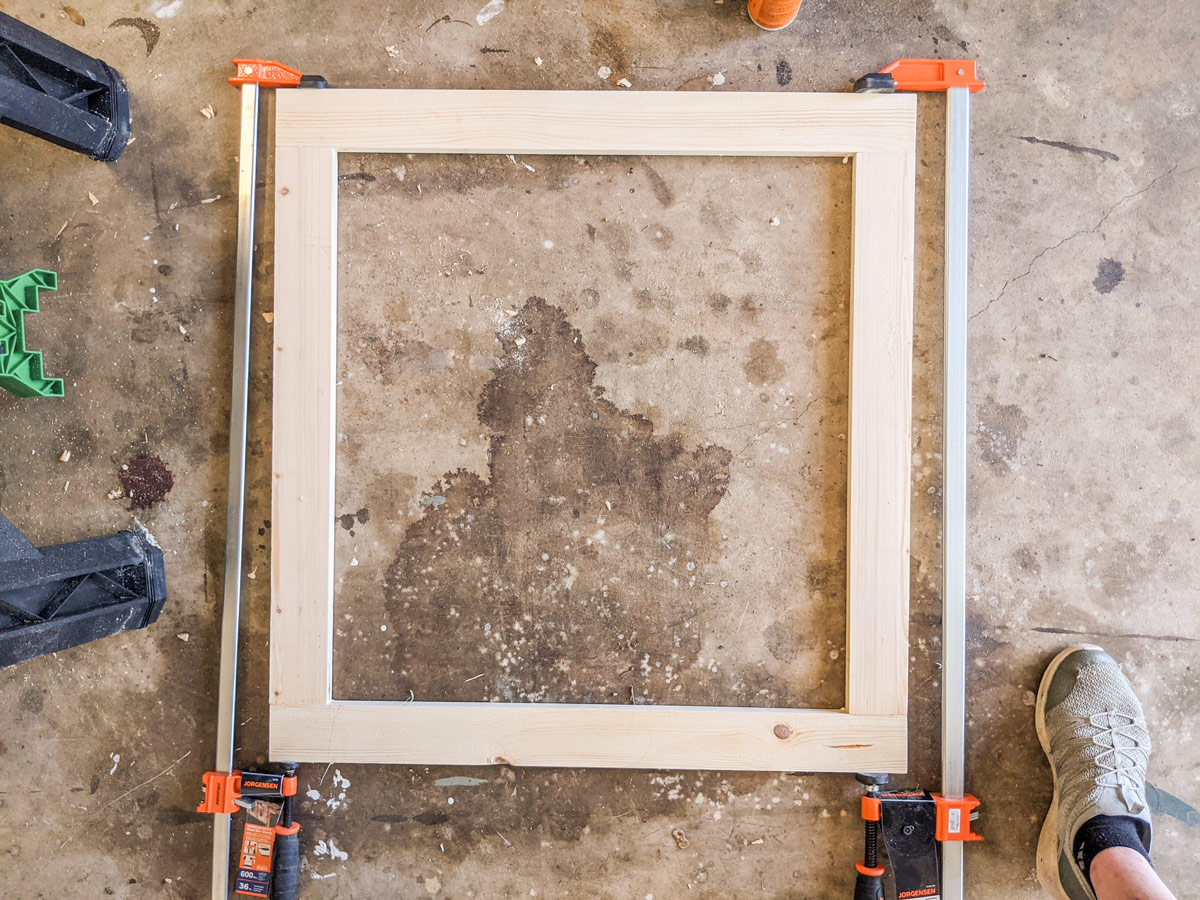
Gluing
Glue and clamp your doors together. I always keep them clamped for a few hours then let the glue dry overnight.
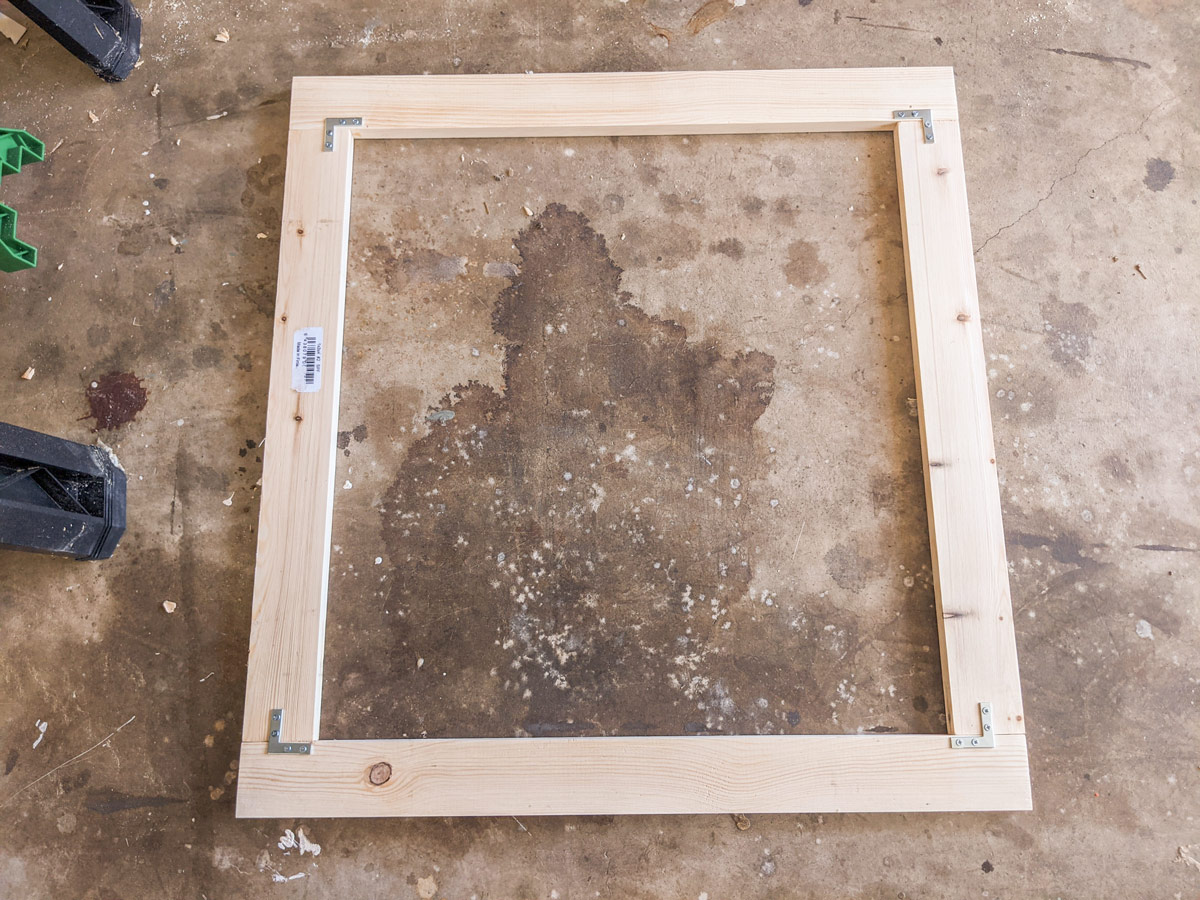
Each door frame consists of two 24-inch pieces and two 27.5-inch pieces. The 27.5-inch pieces will be the tops and bottoms while the 24-inch pieces will be the sides and are placed in-between the larger pieces.
When the glue is dry, give the doors another light sanding to get rid of any glue that may have squished out. Excess glue will make stain look weird if you don’t get rid of it.
Drilling
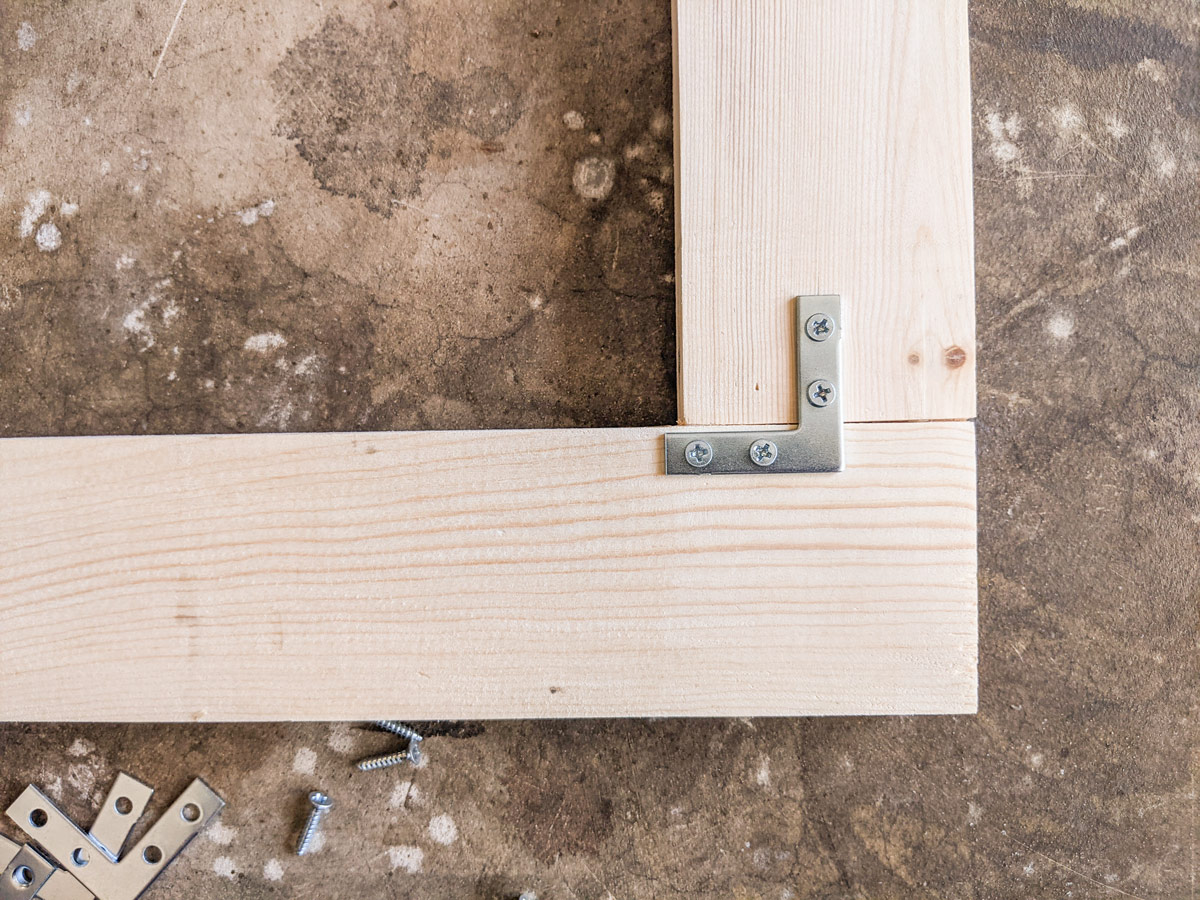
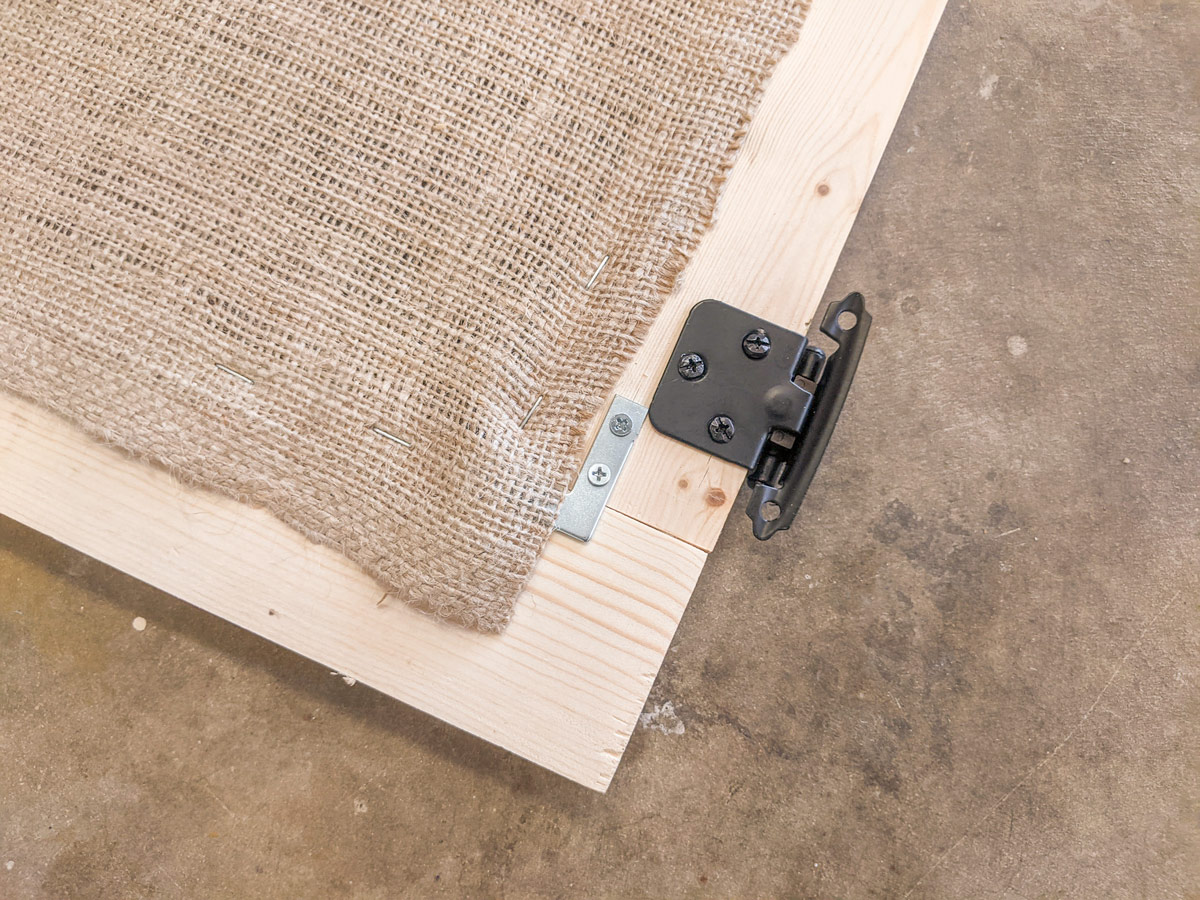
Decide which side of the door you want to be the front and flip it over. We’re going to add the flat L-brackets to the back of the doors. I placed each of mine in the center of each join. This allowed space for the staples I’d use to secure the fabric later.
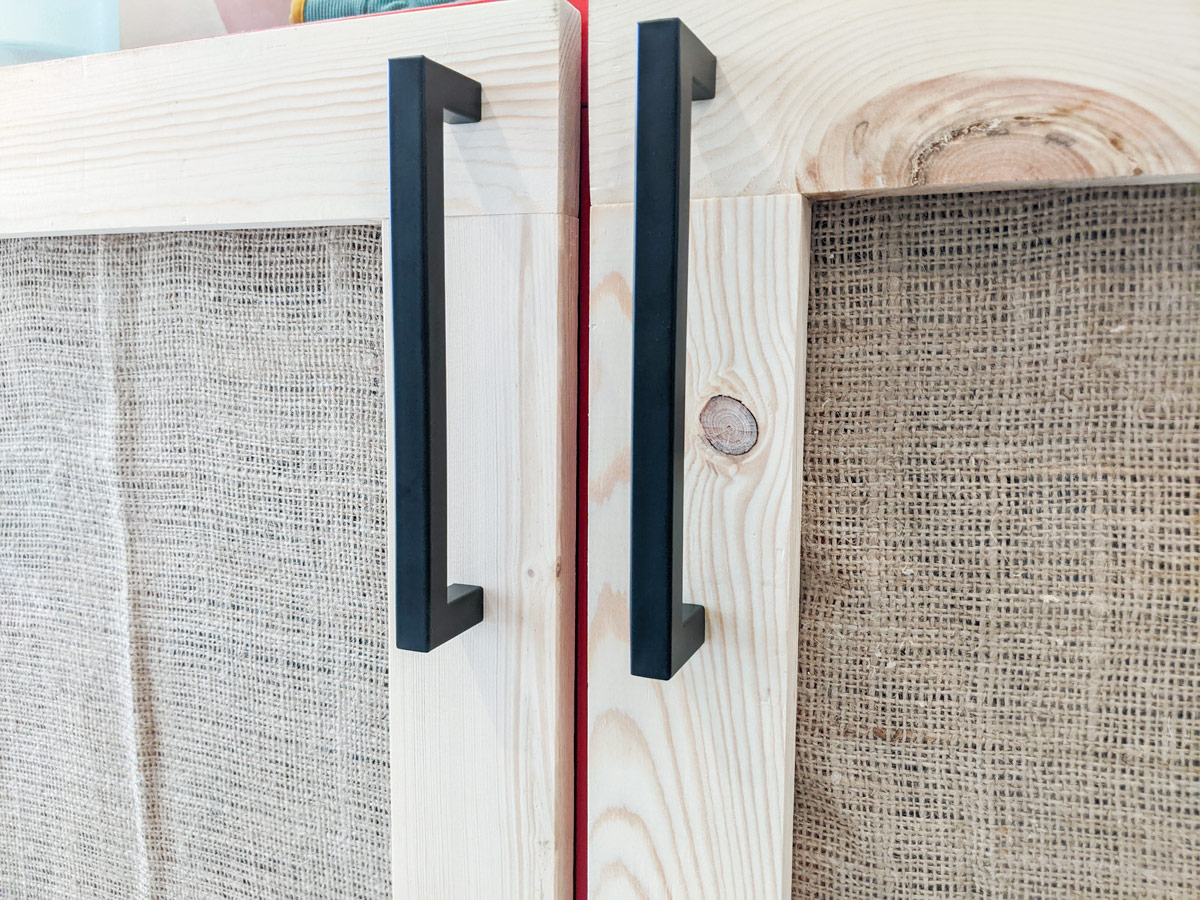
When the L-brackets are all attached, flip the doors back over and decide where you want your handles/pulls/knobs to be. Mine are fairly long so I put them near the tops of the doors. Mark where you need to drill the holes then use the finished door as a template for the other door so the handles will be aligned and you don’t have to remeasure. Simply lay the finished door on top of the second door and use a pencil to mark the holes. Sand off any splinters that may come from drilling. We’ll formally attach the knobs later, for now, we’re only drilling the holes.
This is a good time to stain or paint the doors if you want. I’m going to leave mine natural.
Adding fabric
Adding the fabric can be a little tricky and time-consuming. Make sure the back of the doors are facing up before you get started.
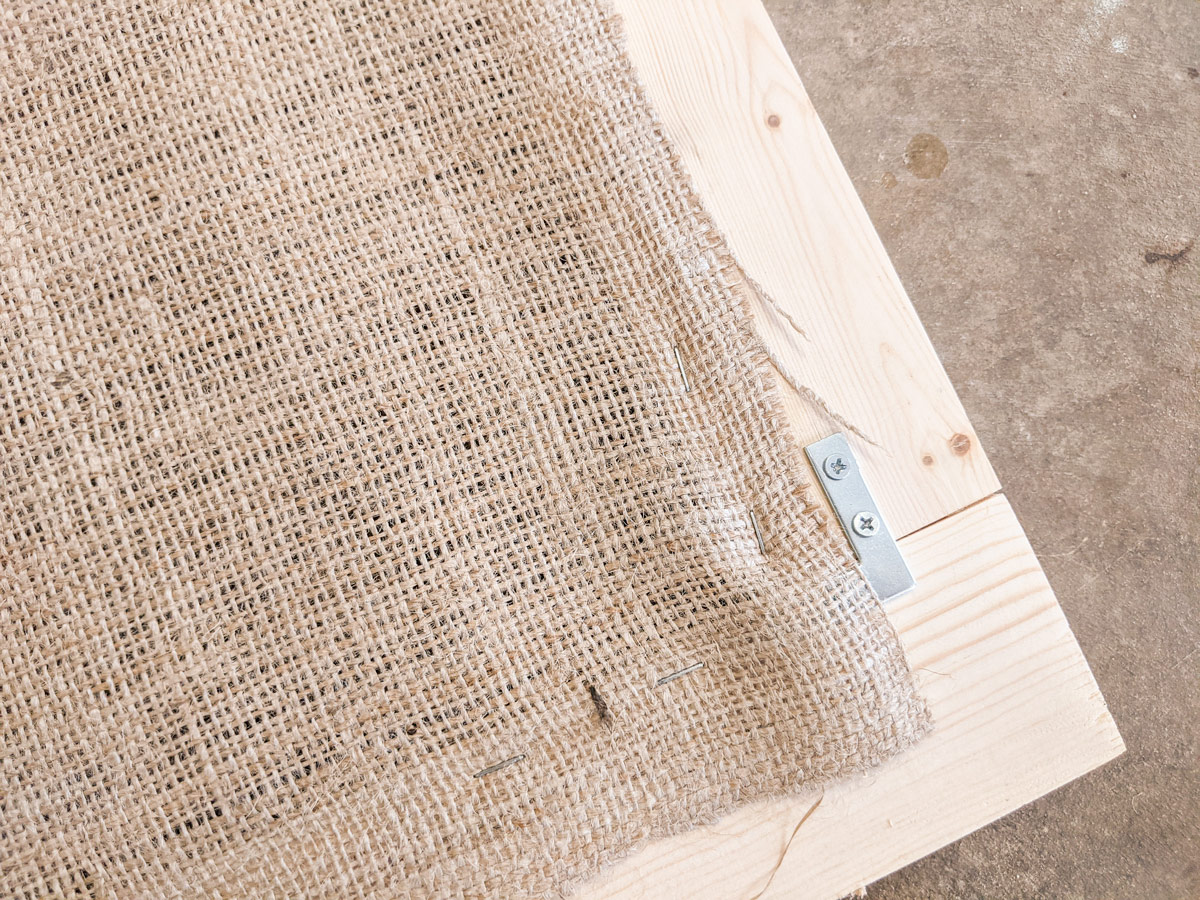
I laid the burlap over the back of one of my frames and started stapling from one corner to another. Be sure to pull your fabric tight as you go. I went slowly to make sure the fabric was coming out even.
Hardware
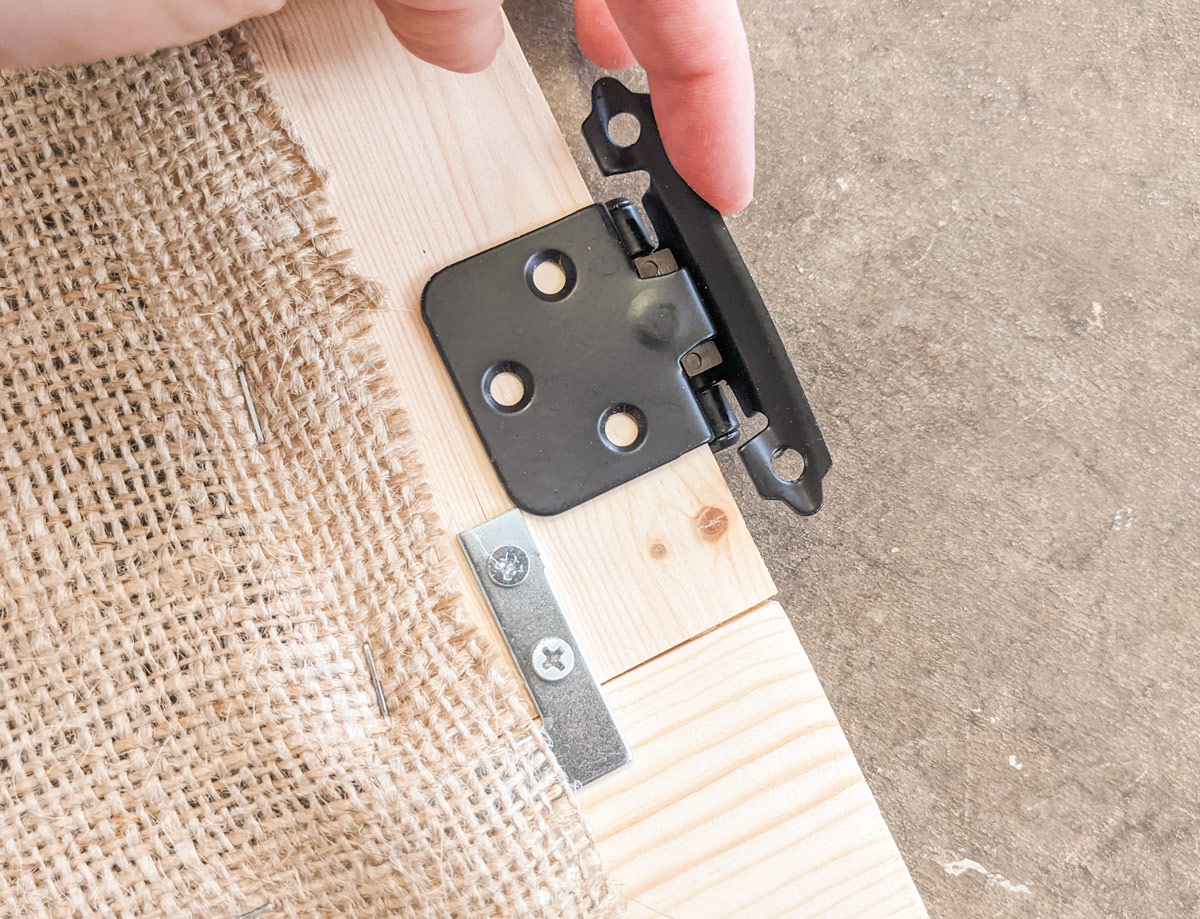
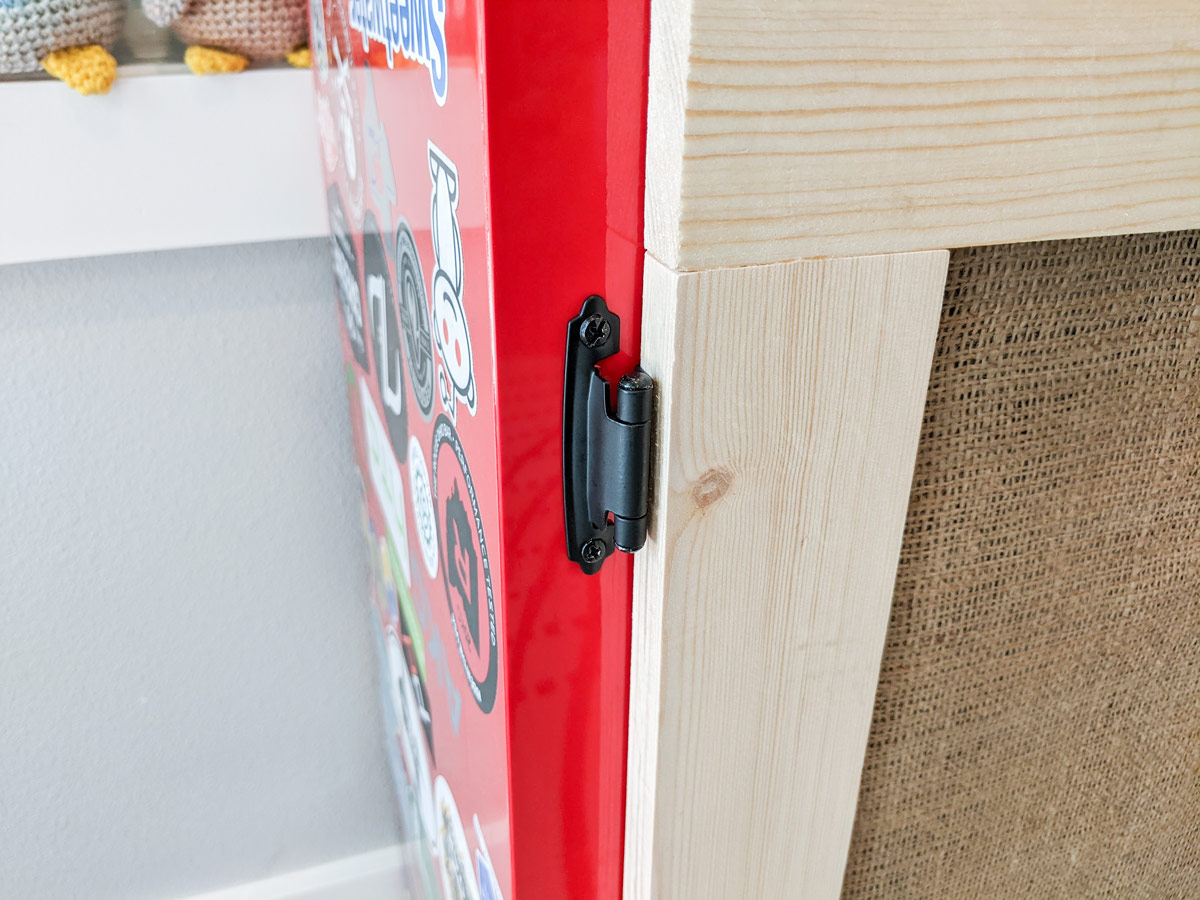
Once the fabric is on, it’s time to add the hinges. I lined mine up with the bottoms of the L-brackets since they’re all in about the same place.
Mounting
An extra set of hands really helps when it’s time to hang the doors.
I have my husband hold the door up and we position it where we’d like it to sit then use a level on top of the door to make sure it’s straight. When it’s in the right place, I use a marker to mark where the hinge screws need to go. My doors sit about a half inch from the top of the kallax so that I have plenty of clearance at the bottom for rugs.
Then, we can set the door down and predrill pilot holes for those screws. Once drilled, hold the door back up and use the hinge’s included screws to attach to the kallax.
The second door is easier because you can use the level across the first door to make sure this one is perfect. Mark the holes the same as before, predrill pilot holes, and attach.
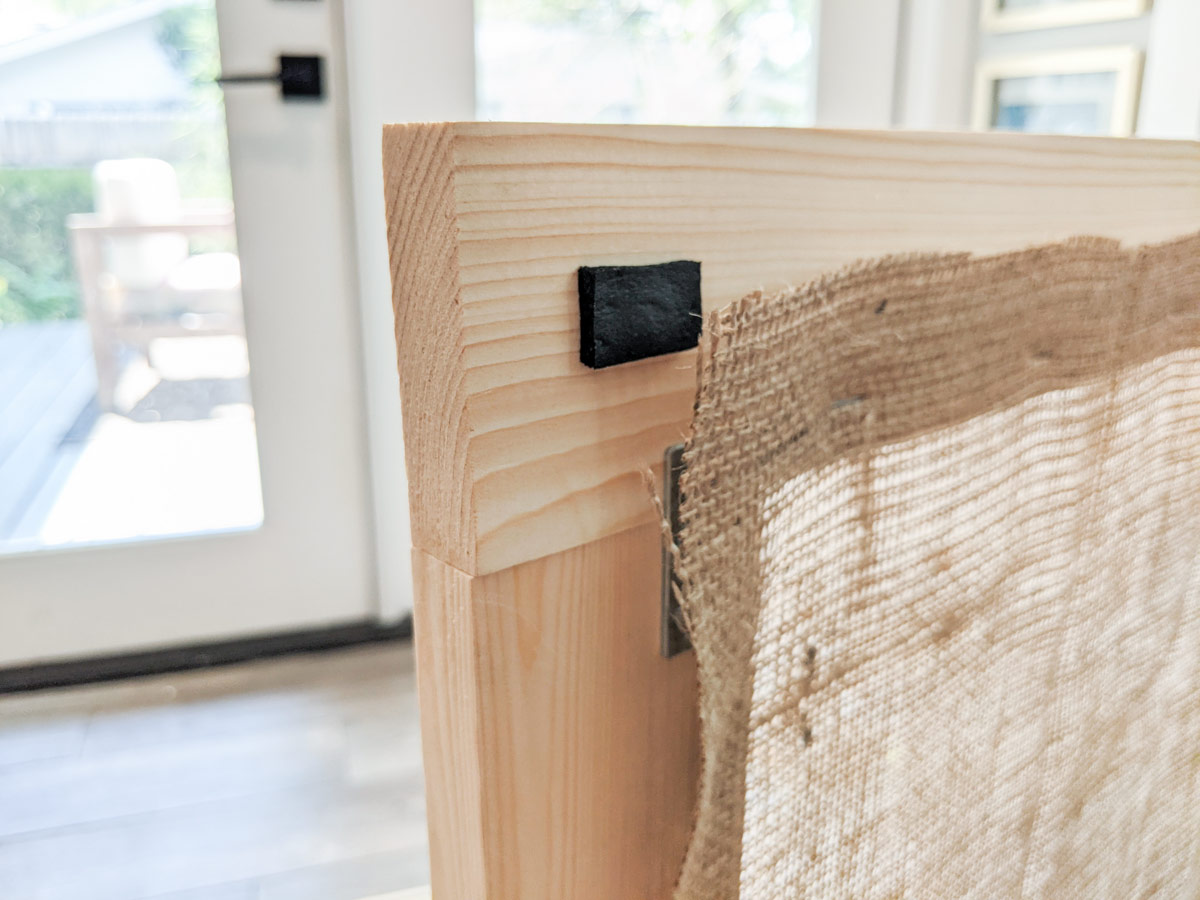
I put my cabinet pulls on here at the end. I also added a bit of rubber insulation tape on top of the screws. They can scratch the kallax if left unchecked.
Complete!
These are simple doors that up the kallax’s game in a big way. You can customize them to your heart’s content with different fabrics, paint, and cabinet pulls.