There are few things that refresh a space quicker than paint.
Need a new mood in your bedroom? Paint.
That old piece of furniture not in style anymore? Paint.
Someone decided that an entire bathroom would look good in the same shade of taupe? PAINT.
And there’s where I was at. We remodeled our home before moving in but didn’t touch the guest bath as it had gotten a face-lift in the last, let’s say, 15 years. We decided that we would do it later when inspiration struck.
Well, I can’t speak for inspiration, but I was getting sick of the color. I don’t really like browns (except wood of course) and that whole bathroom is brown. Walls, ceiling, cabinets, countertop, tile, toilet, everything. I hate it.
So, I’ve started changing it little by little and what I can do is paint just about every surface to get it closer to something I like. I decided to start with the cabinets.
I’ve seen tons of people online struggle with the best way to paint cabinets. I came across a video a while ago that illustrated a top tip for painting them- foam rollers.
Let me tell you, they work wonders. I’ve also started using them whenever I paint furniture. The paint goes on so evenly and there are no brush strokes. They also make a satisfying sticky sound as you paint.
Alright, let’s see how these cabinets turned out.
Supplies:
- Paint. I went with white as it’s easy to paint back over and will match whatever I do to the walls.
- Foam rollers
- Handles- if you want to change yours out. I got mine on Amazon.
- Drill
- Sandpaper or sander
- Caulk
- Putty knife
- Ruler or measuring tape
Process:
There really isn’t much to the process, but I’ll try to remember any tips that made it go faster.
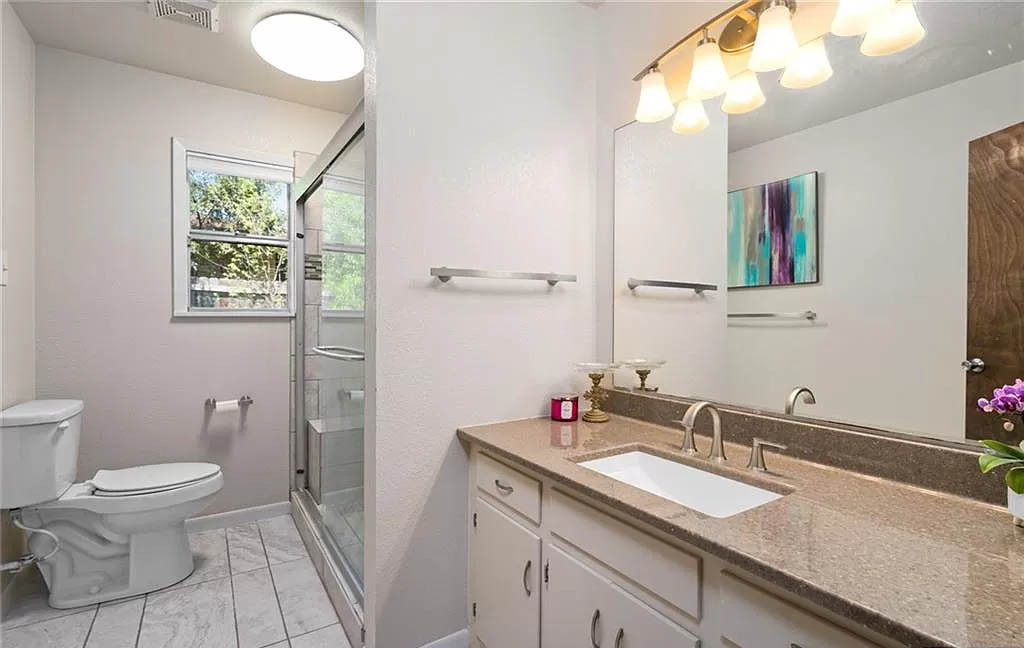
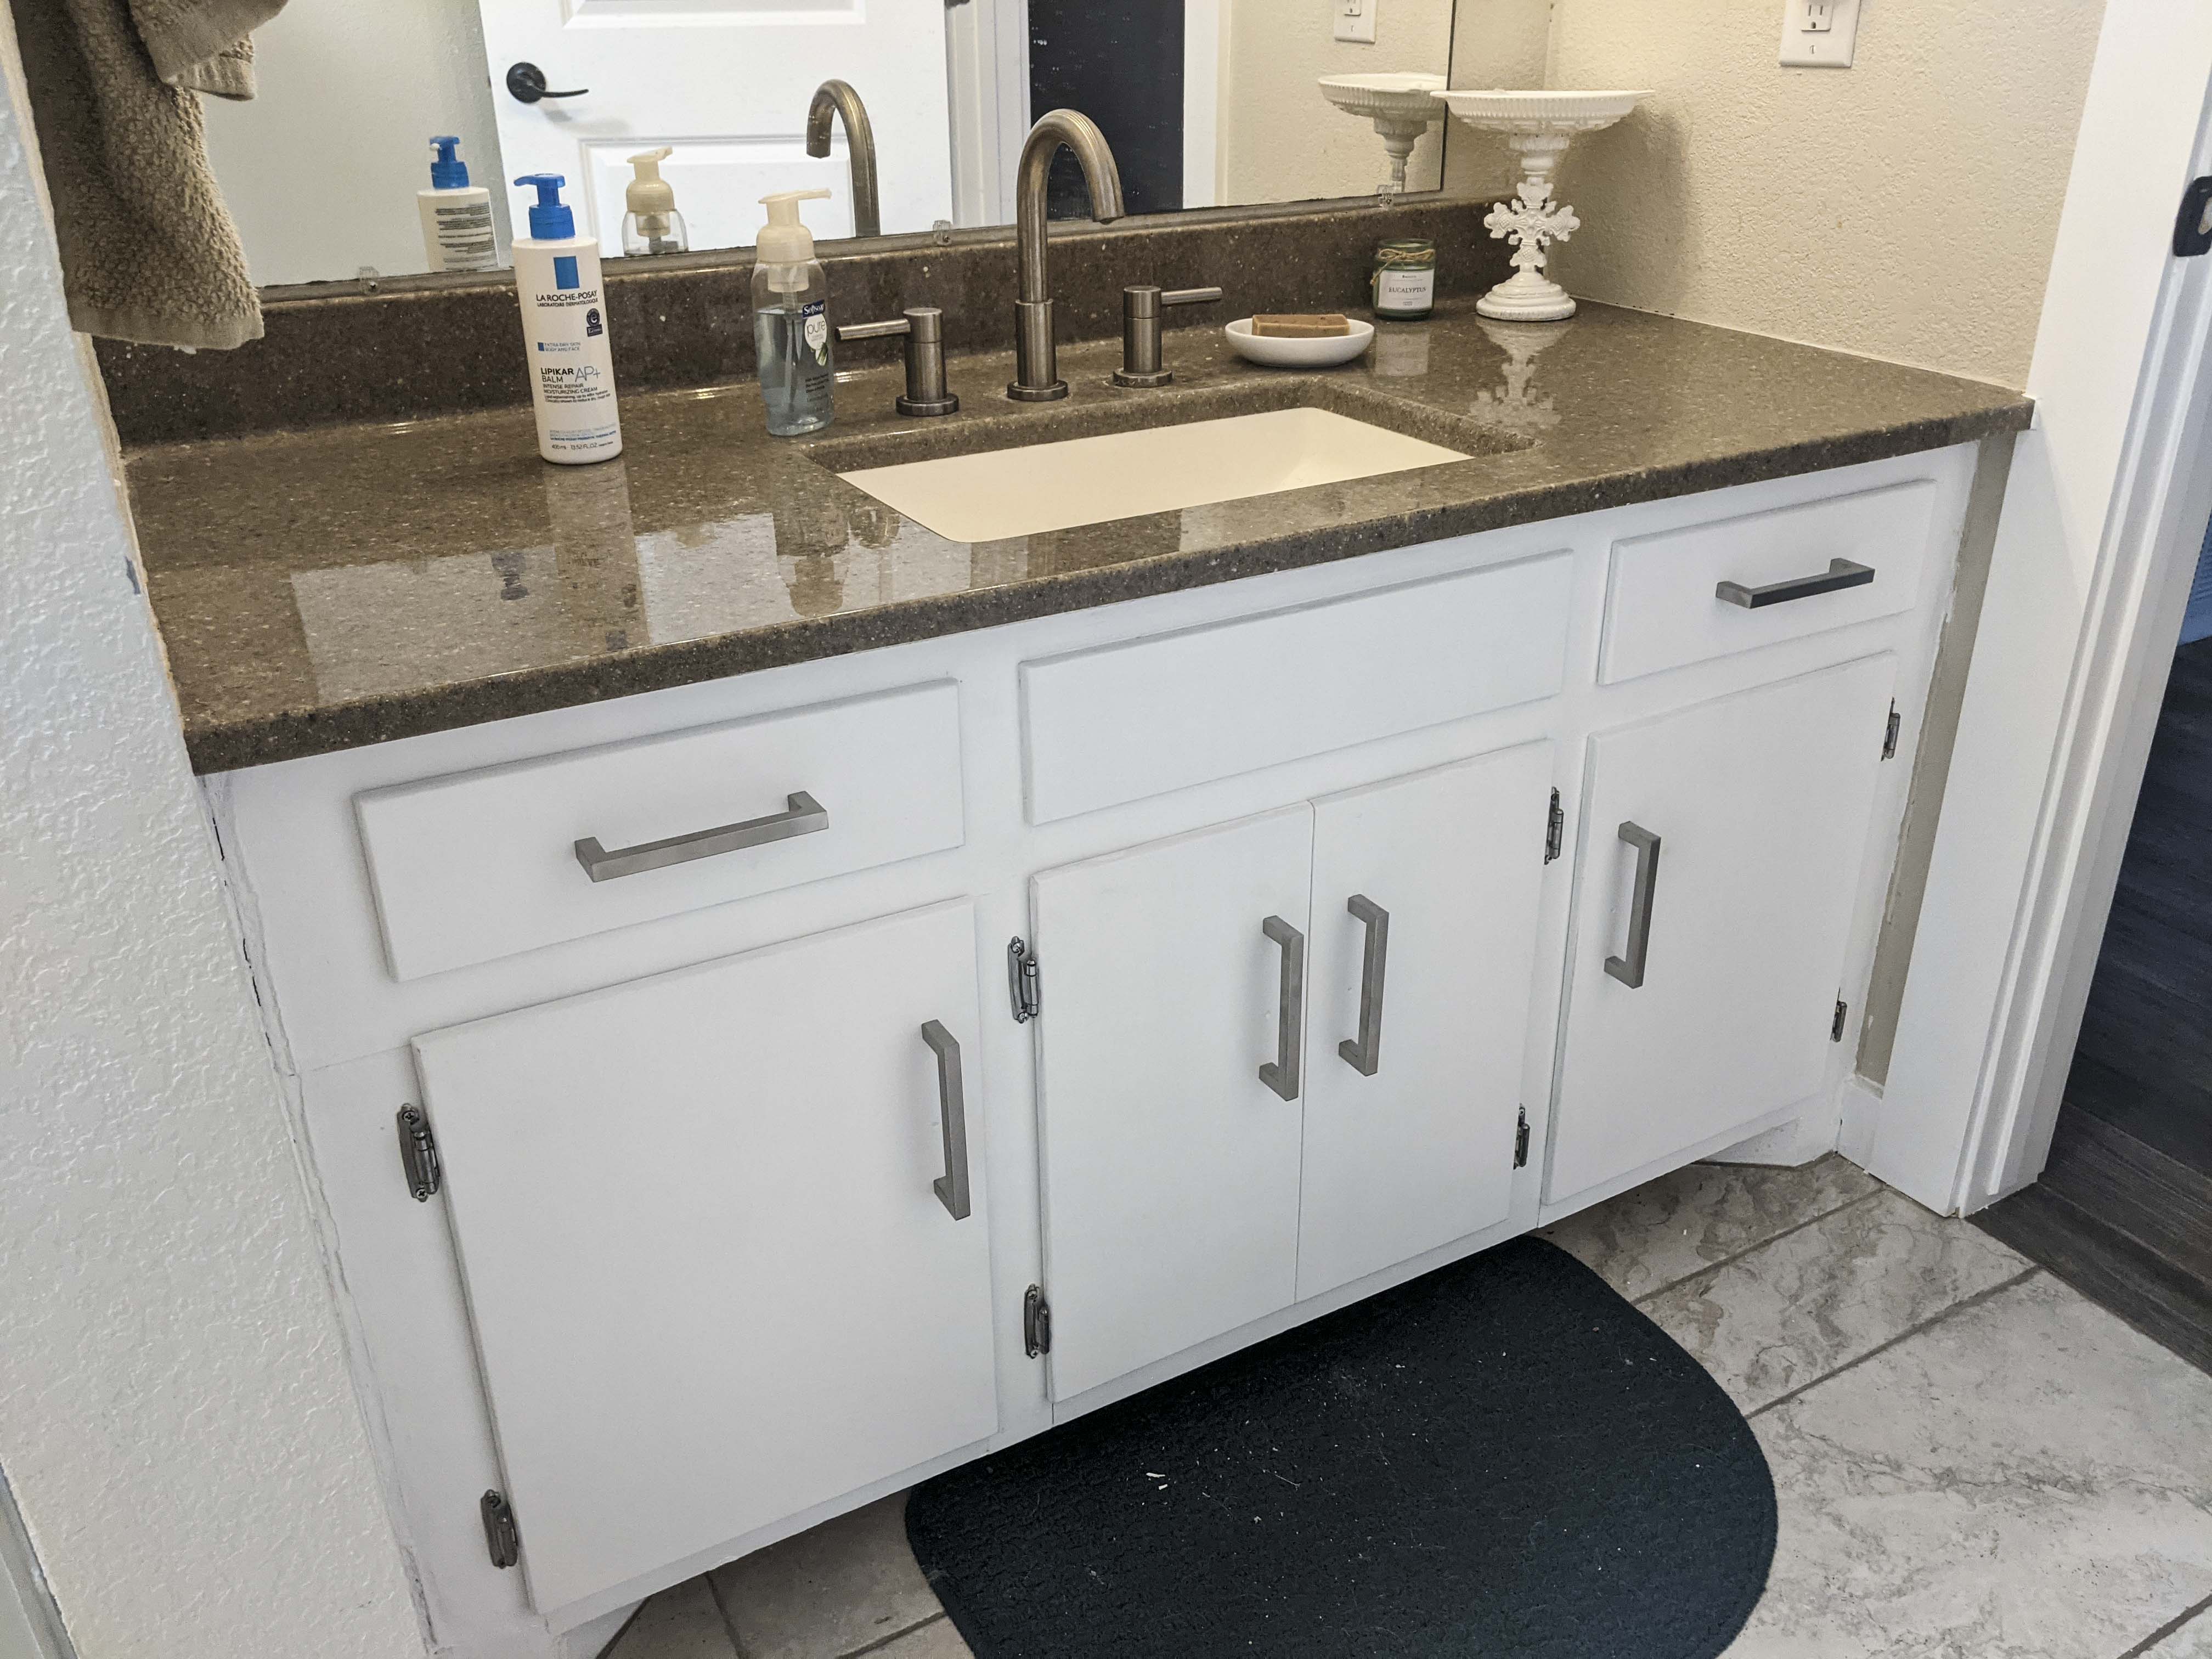
Here’s a before image of the bathroom. This is the photo used in the listing and has been heavily edited. The whole room is yellow/beige/brown and is not this desaturated. There is no grey or white anywhere- only browns. You can kind of see where they missed desaturating under the vanity light- that’s closer to the color of the room.
I took off all the doors and drawers then removed their old handles. I put a piece of tape labeled A, B, C, and D on the back of each door with the corresponding letter on the cabinets themselves. Our doors seem a little handmade and wonky, so I needed to be sure to get them in the right spots to fit. All the hinges and screws I kept in a little bowl for later. You could always spray paint handles and hinges for a new look instead of purchasing new ones.
I brought everything out into the garage to paint. For the doors, I needed to drill new holes because the new handles were longer than the old ones. I kept the top hole so the spacing would be the same on all four doors and I didn’t have to measure. The bottom holes I filled with caulk and used a putty knife to scrape off any excess so it would be flat. Let that dry, then place your new handle over the existing hole and mark where you need a new bottom one. Use your drill with a bit that’s about the same size as the handle’s screw and drill a new bottom hole.

The drawers were a little trickier since I needed to redrill both holes. I filled in the old and marked the new spots where the handle laid in the middle of the drawer. I measured where those were and did the same markings on the second drawer then drilled.
Now that the holes are there we can sand everything so the paint has something to stick to. It doesn’t require much effort, just get all your surfaces a little rough. Clean everything up before painting.
My foam roller came with a little tray to pour paint into so that’s what I used throughout this process. Now, just get to painting! I put about 2-3 coats over each piece to make sure the brown was gone. The foam applies paint thinly so that’s another reason for additional coats.
Don’t forget to paint the vanity itself! I painted the outside and the interior. I used a brush for the inside versus the roller so I could get a thick coat and only do it once. No one is going to see anyway.
Once everything is dry, you can put your handles back on. Paint and new hardware can change a look instantly.
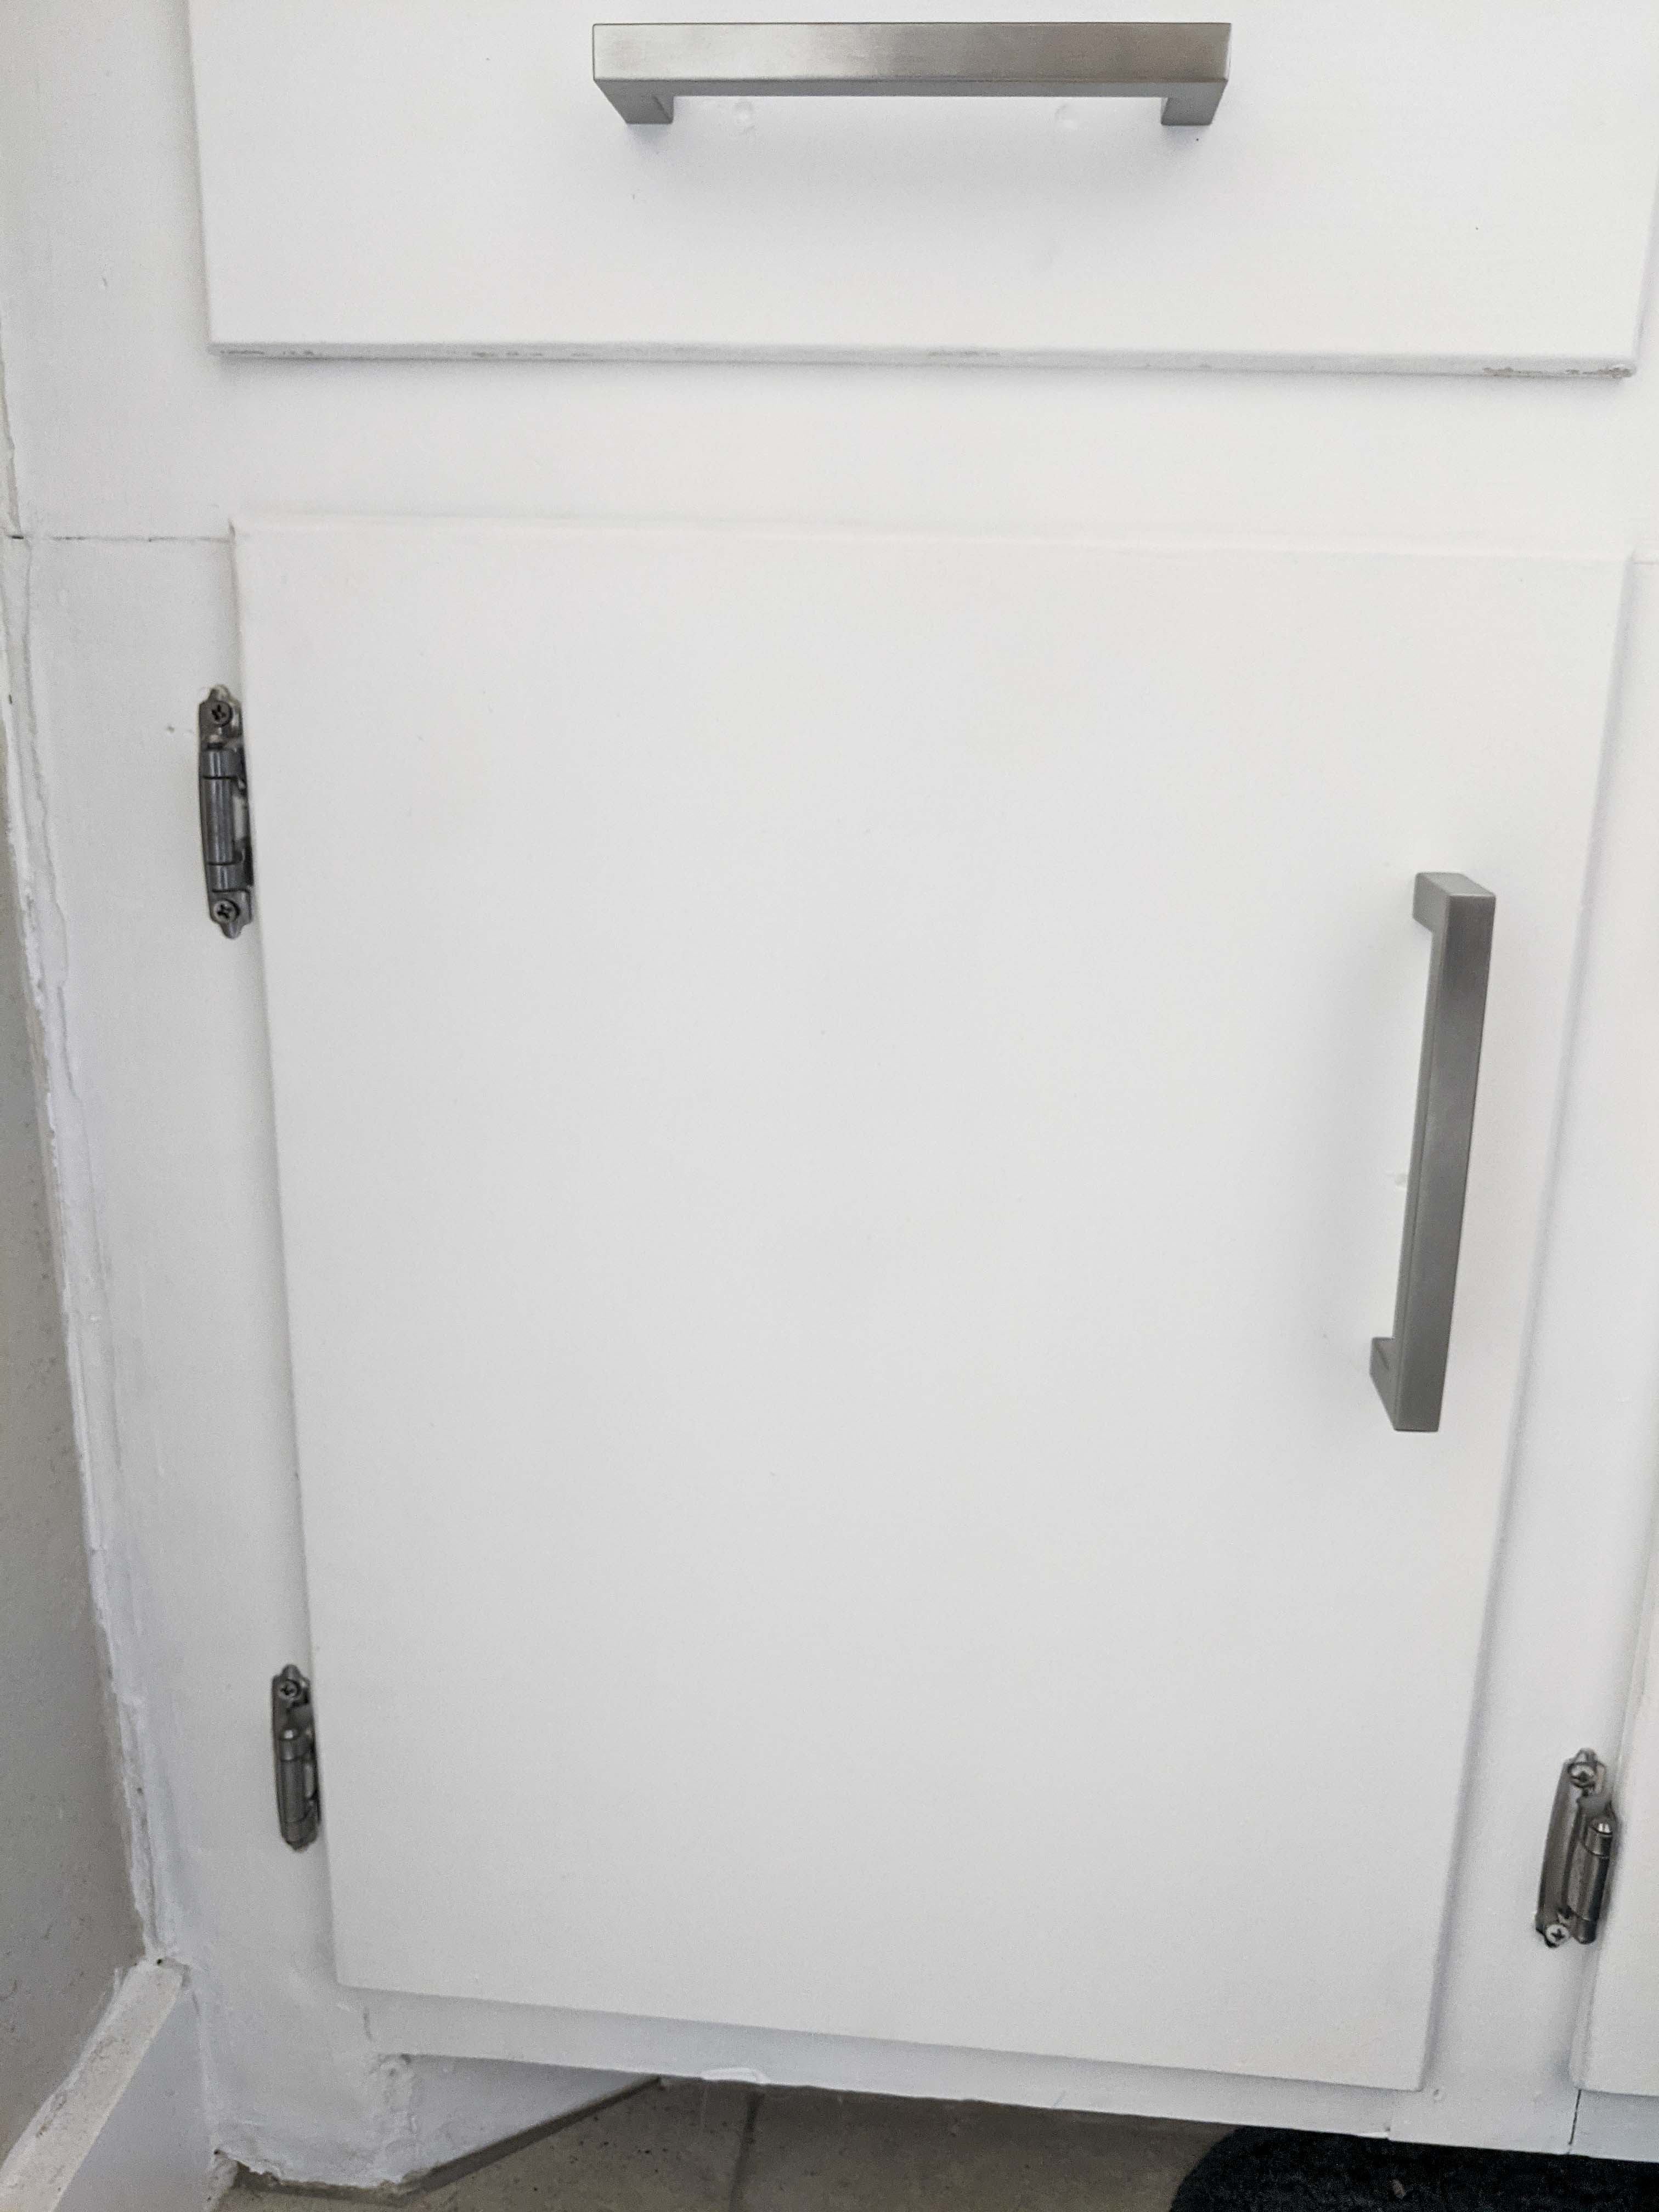
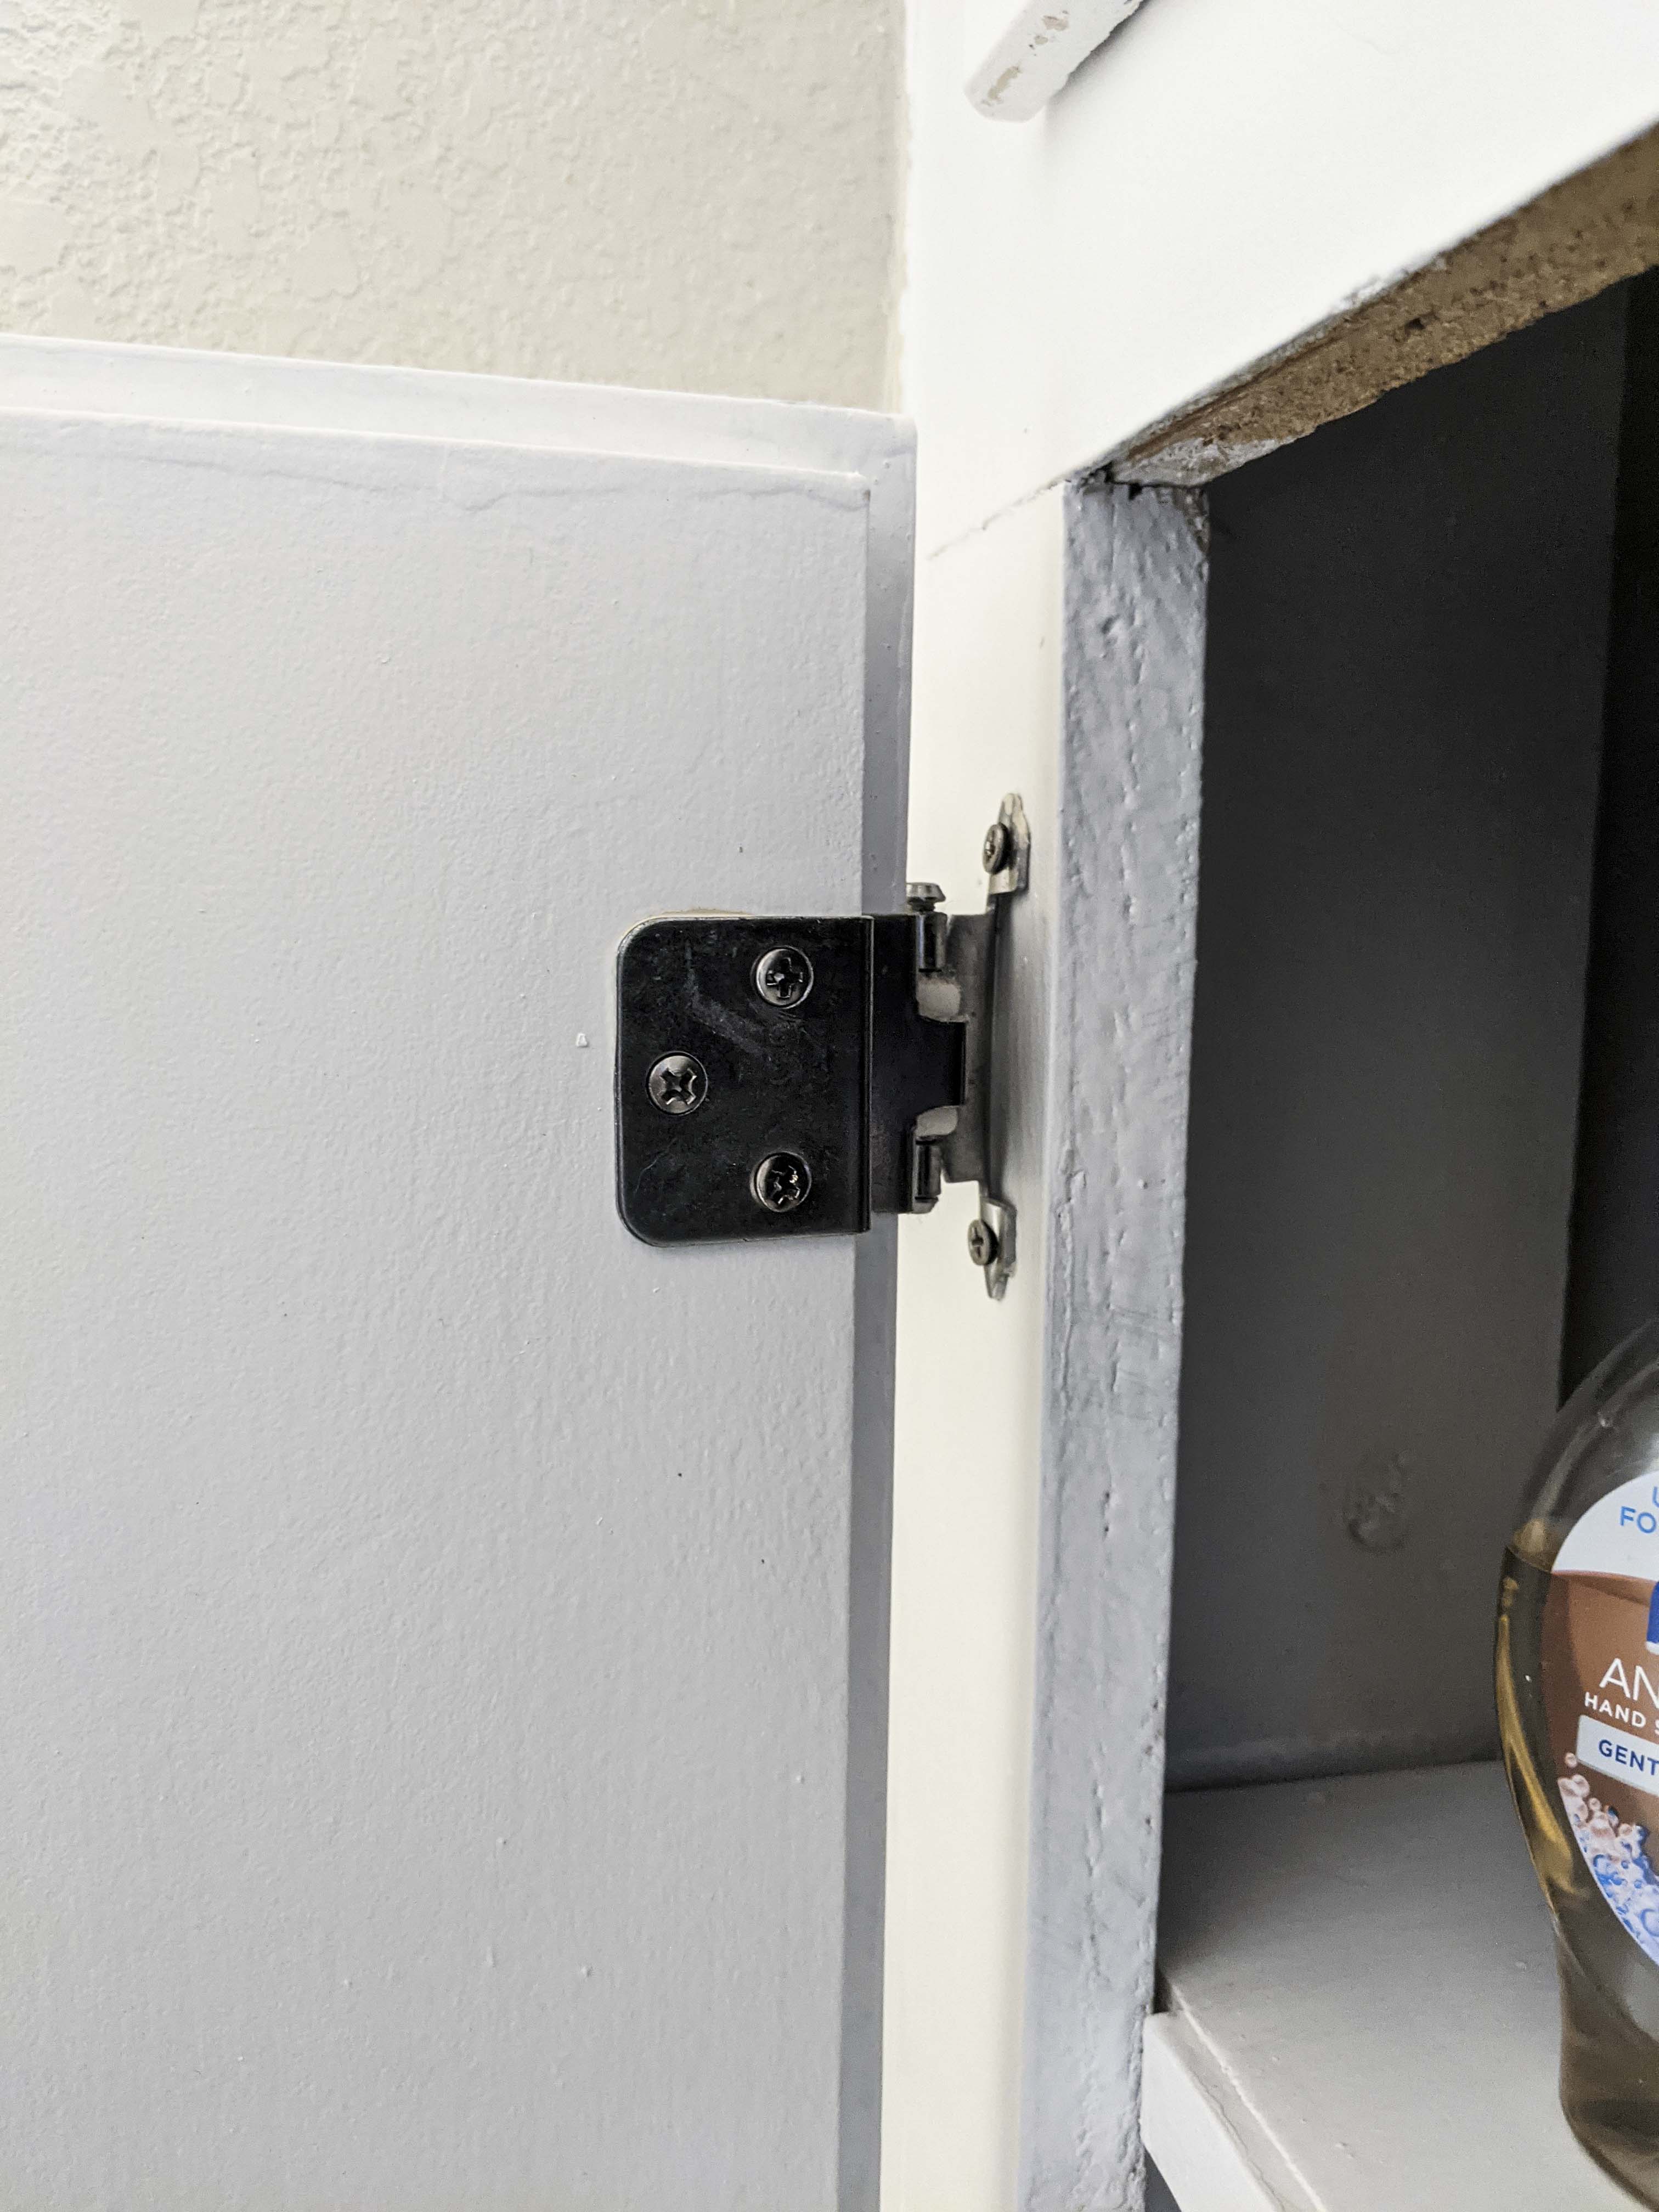
Time to put everything back together. I found it easier to put the hinges on the doors first, then attach them back to the vanity. Either way, it can be a pill and I’ve always hated hanging doors of any size.
Without that much work, you’ve got new bathroom cabinets! This is also incredibly budget-friendly. Next, I’m going to be tackling the countertop.
PS: See how much more yellow/brown that wall is than the listing photo? That’s the whole room. I color corrected this image and it desaturated the tile as well, but when I say everything is brown/tan, I mean it.