This is truly a straightforward DIY that you can do in an afternoon. The most time-consuming part is waiting for the stain to dry- as is the case with most of my tutorials. It’s a great way to get rid of spare supplies and you might have everything you need already making it a relatively cheap project.
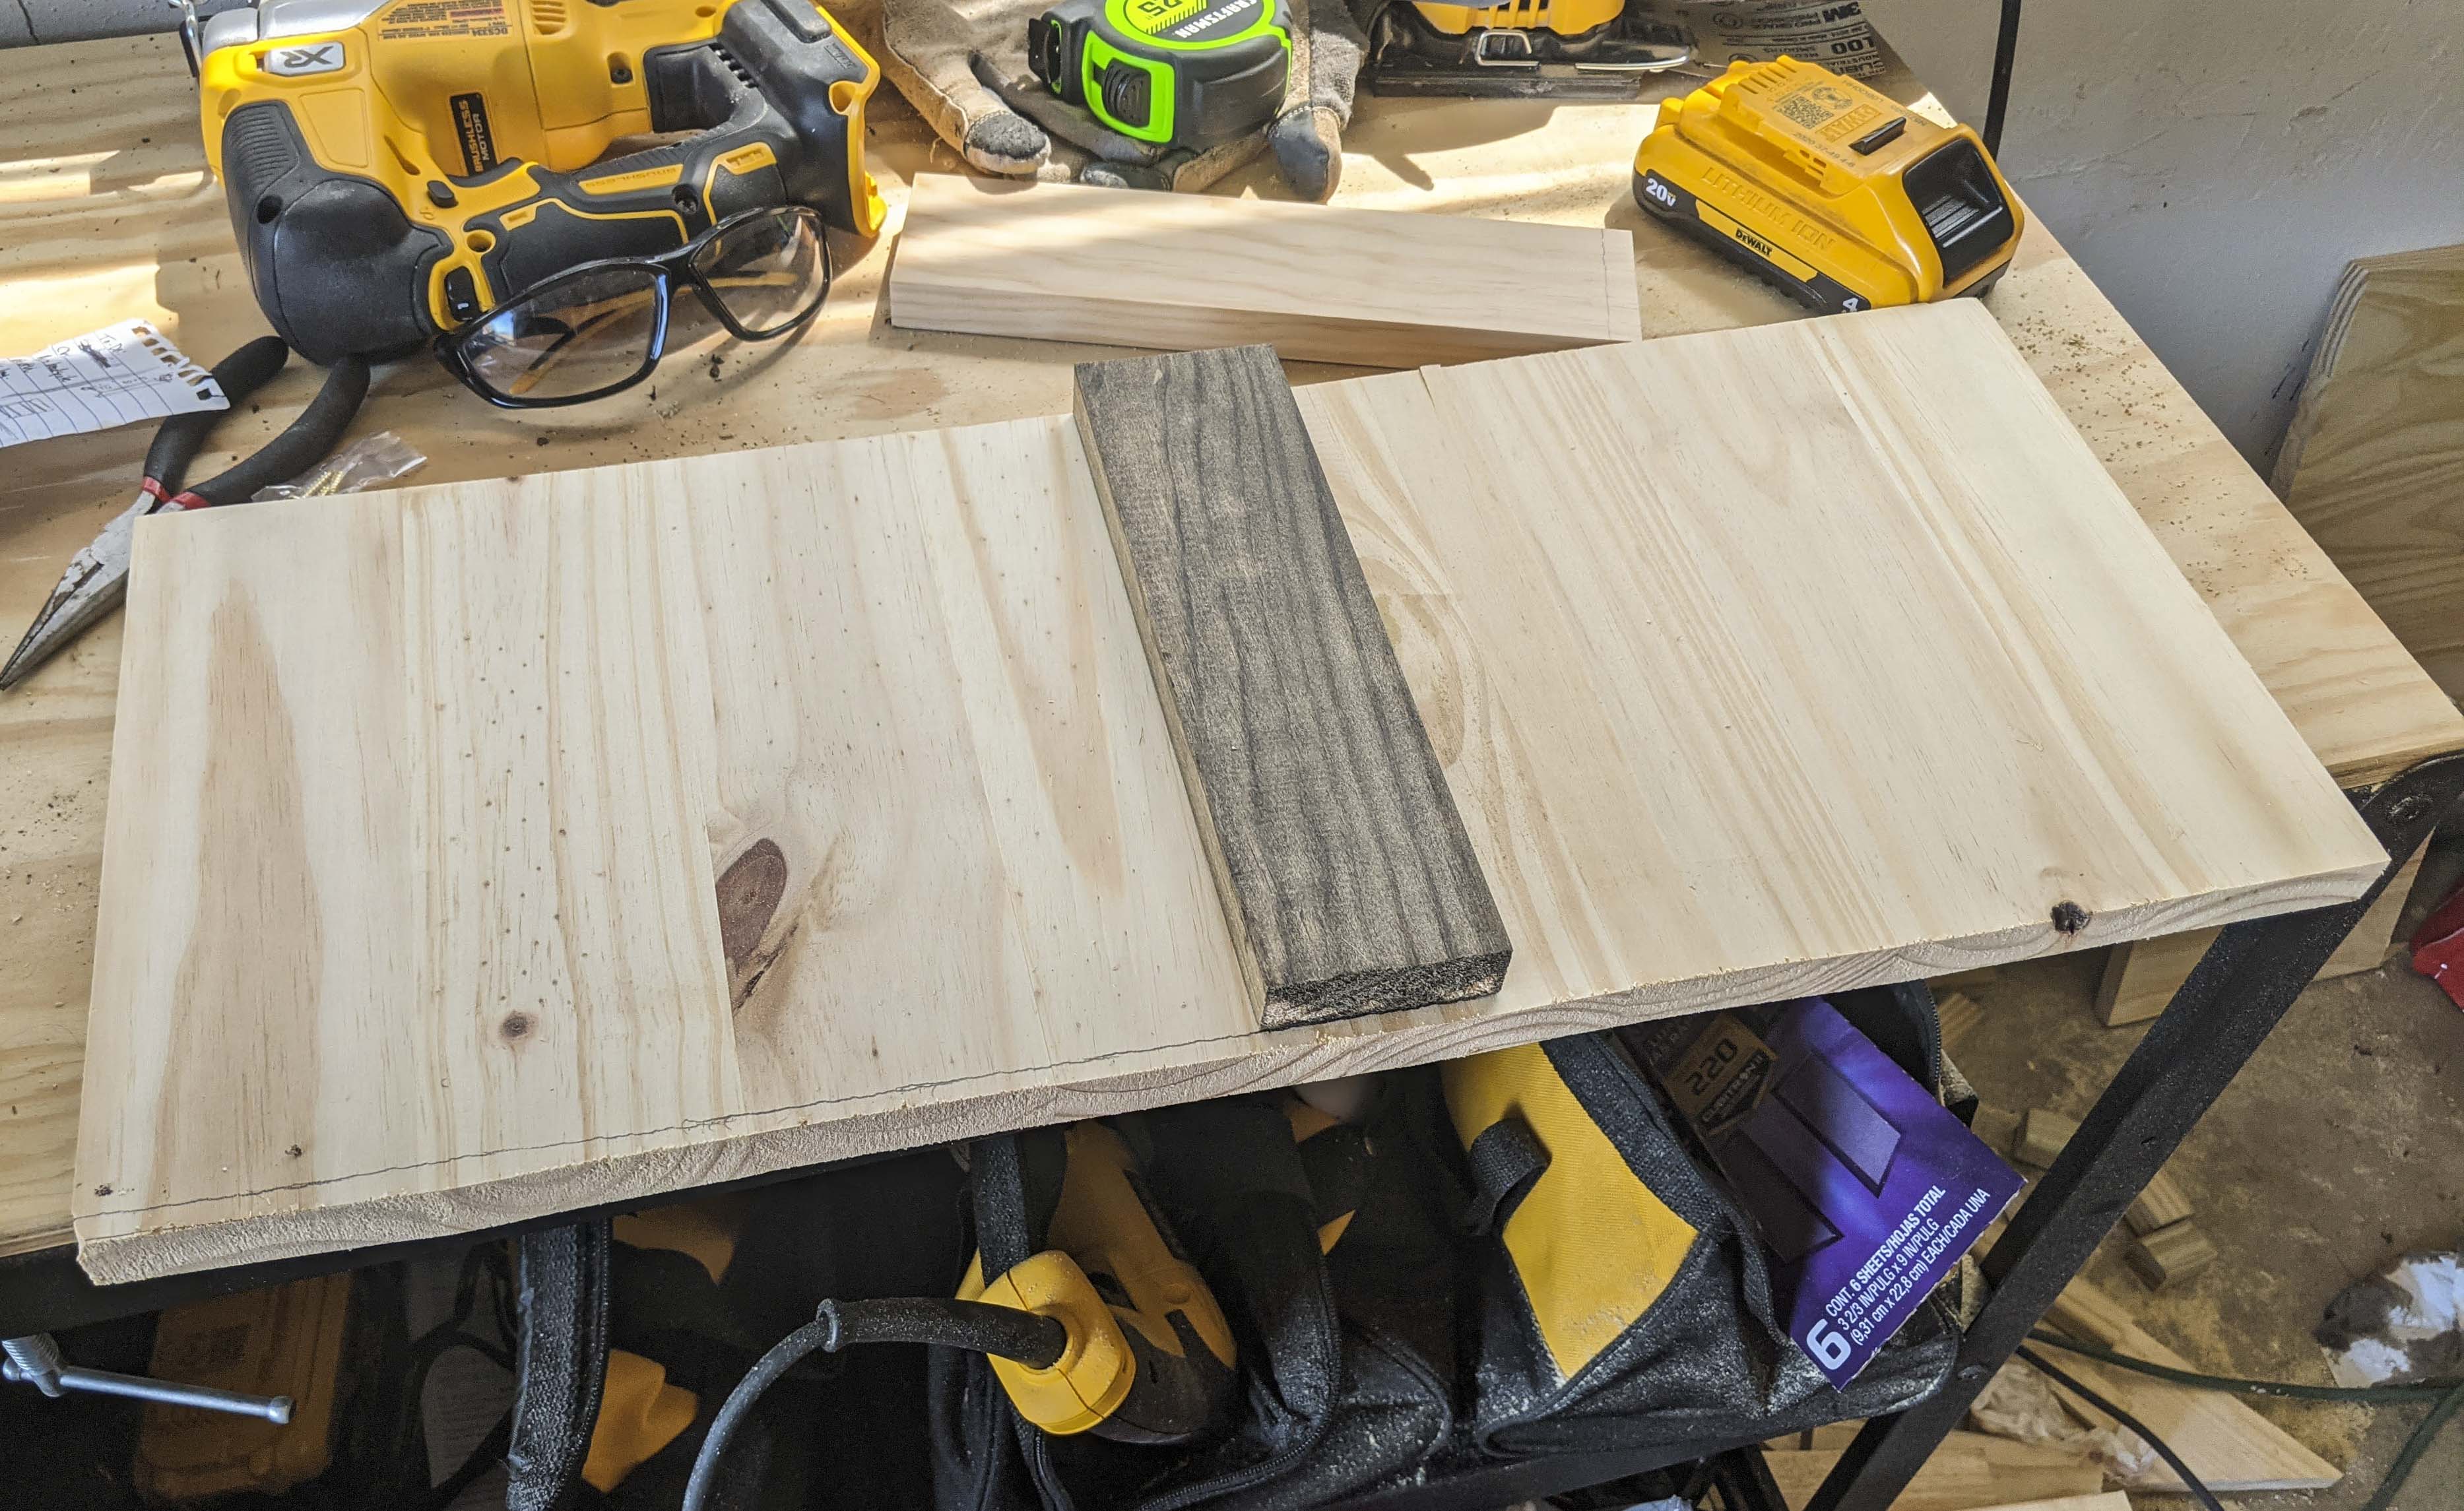
If you’re like me, then you have a ton of scrap wood laying around in your workspace (i.e. my garage). It’s a great resource for small projects, but how do you decide what to make with them? You search Pinterest until you find inspiration, that’s how.
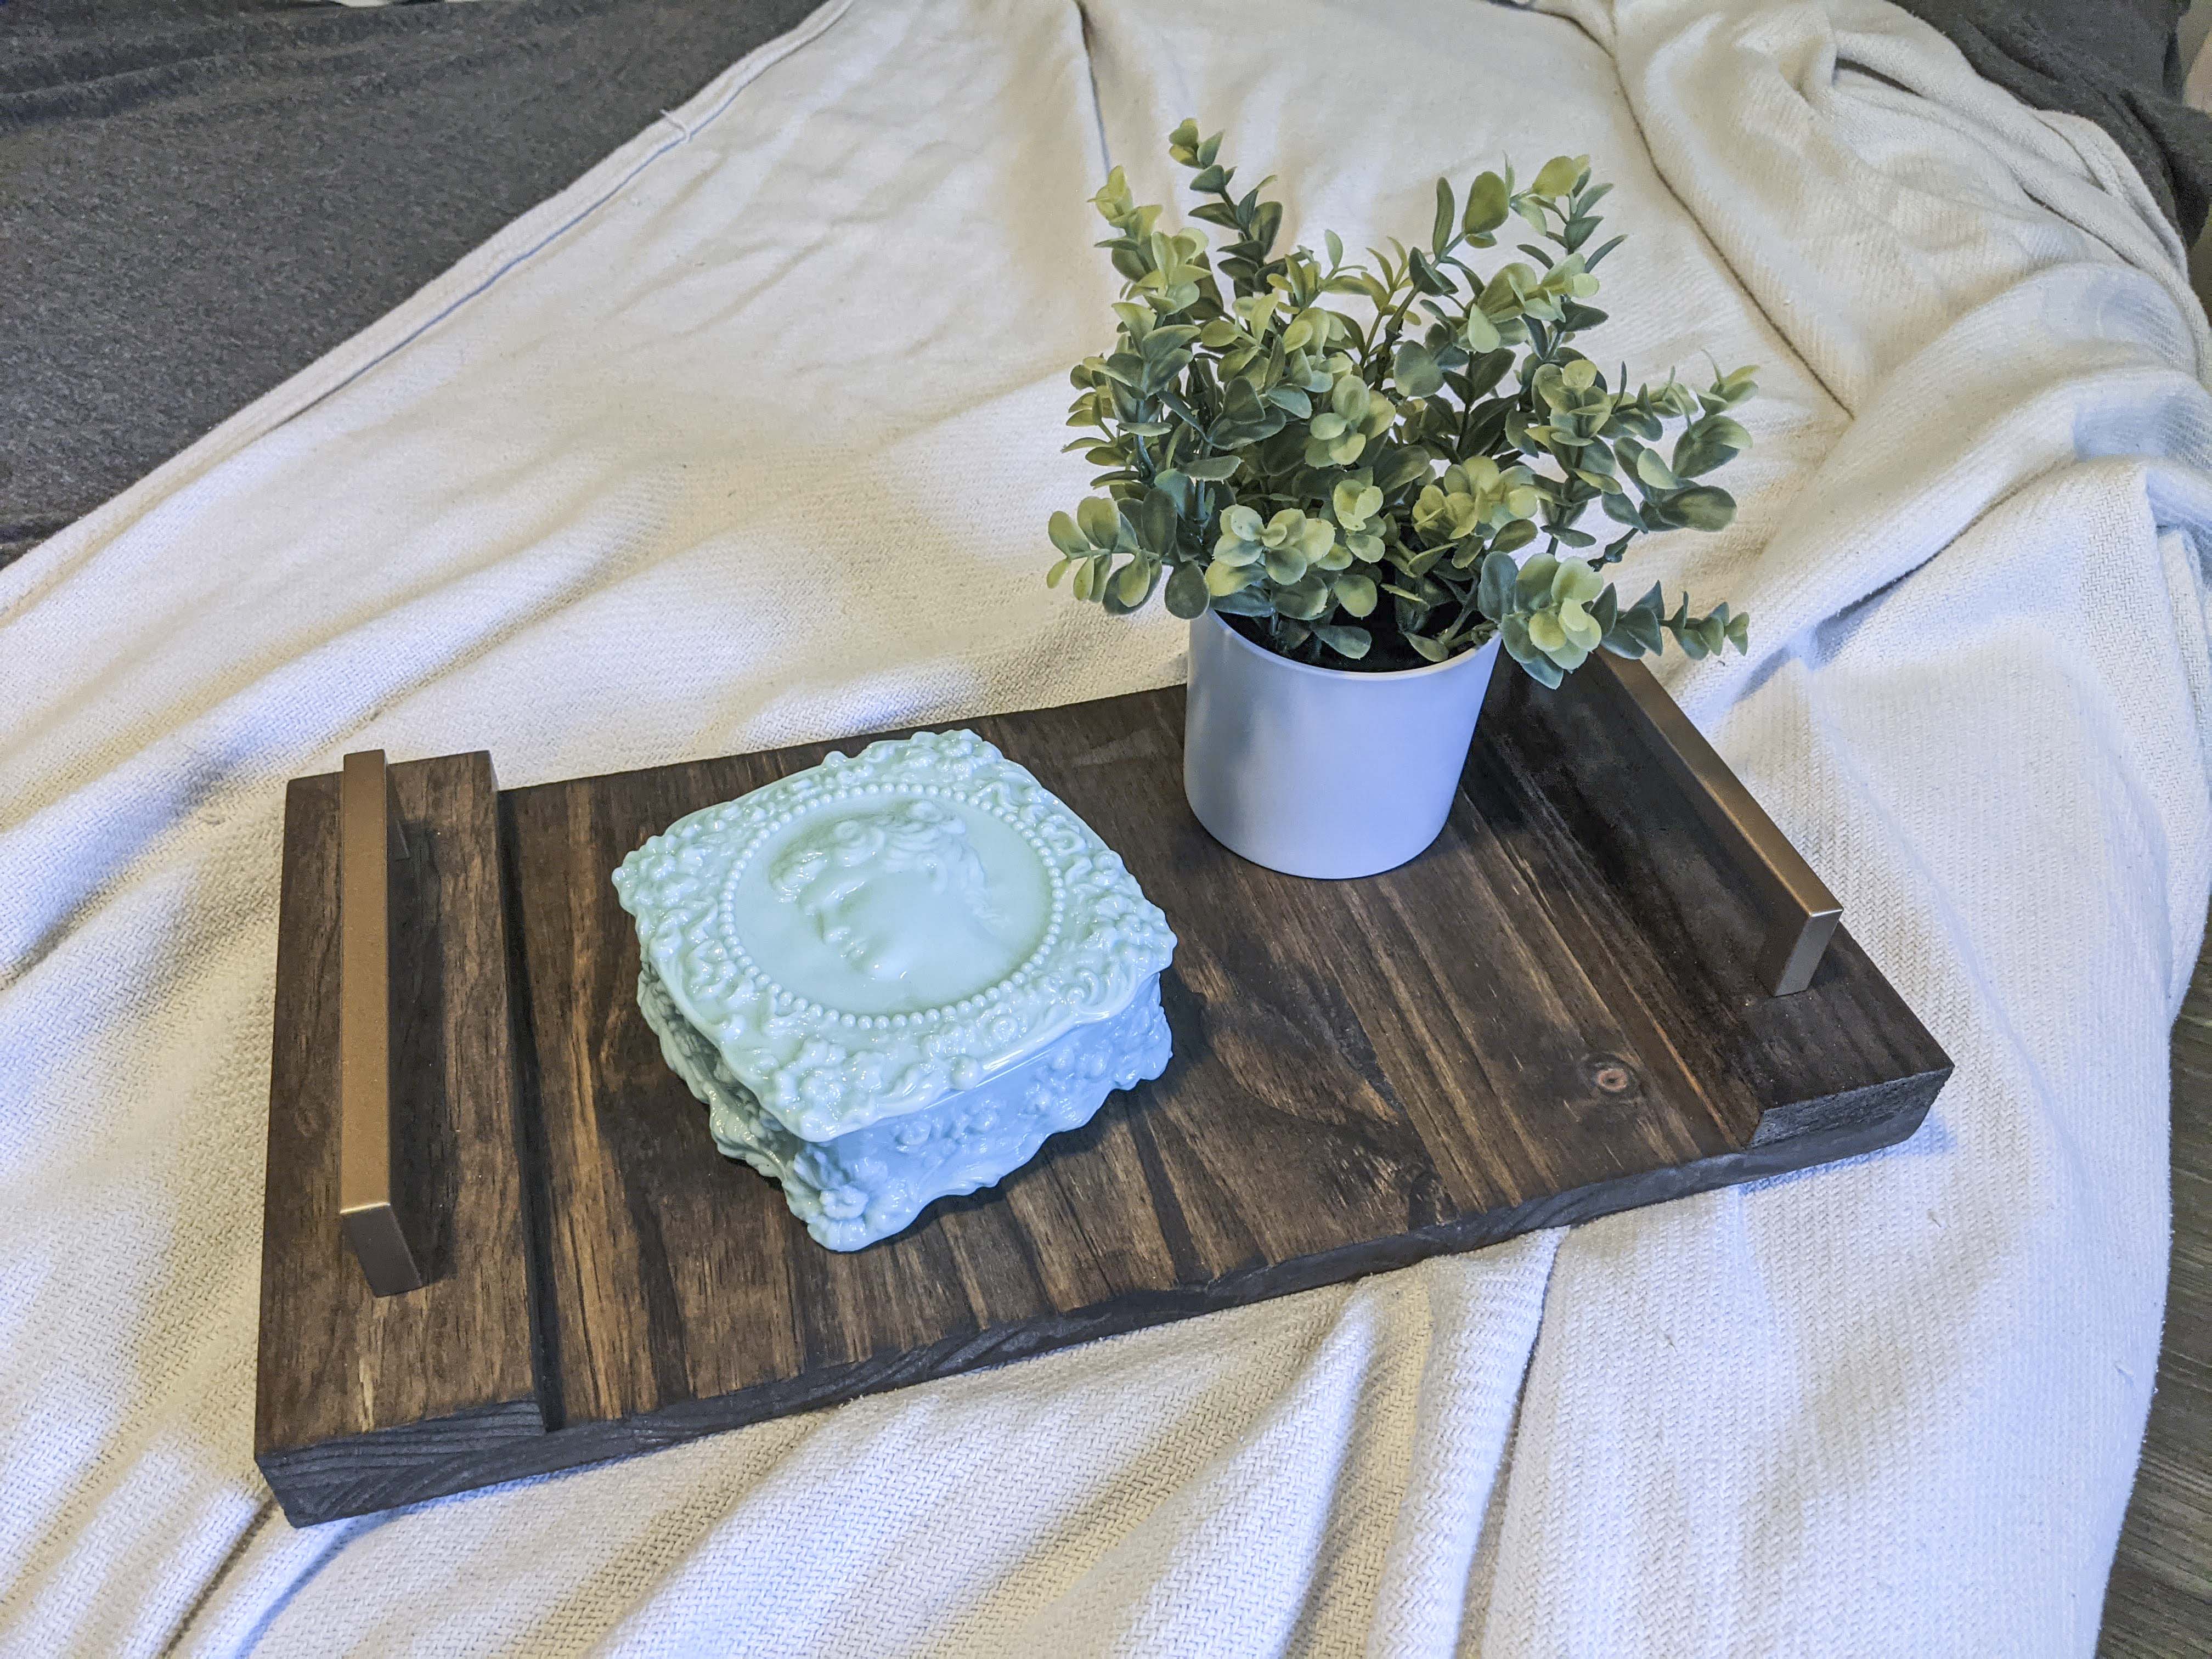
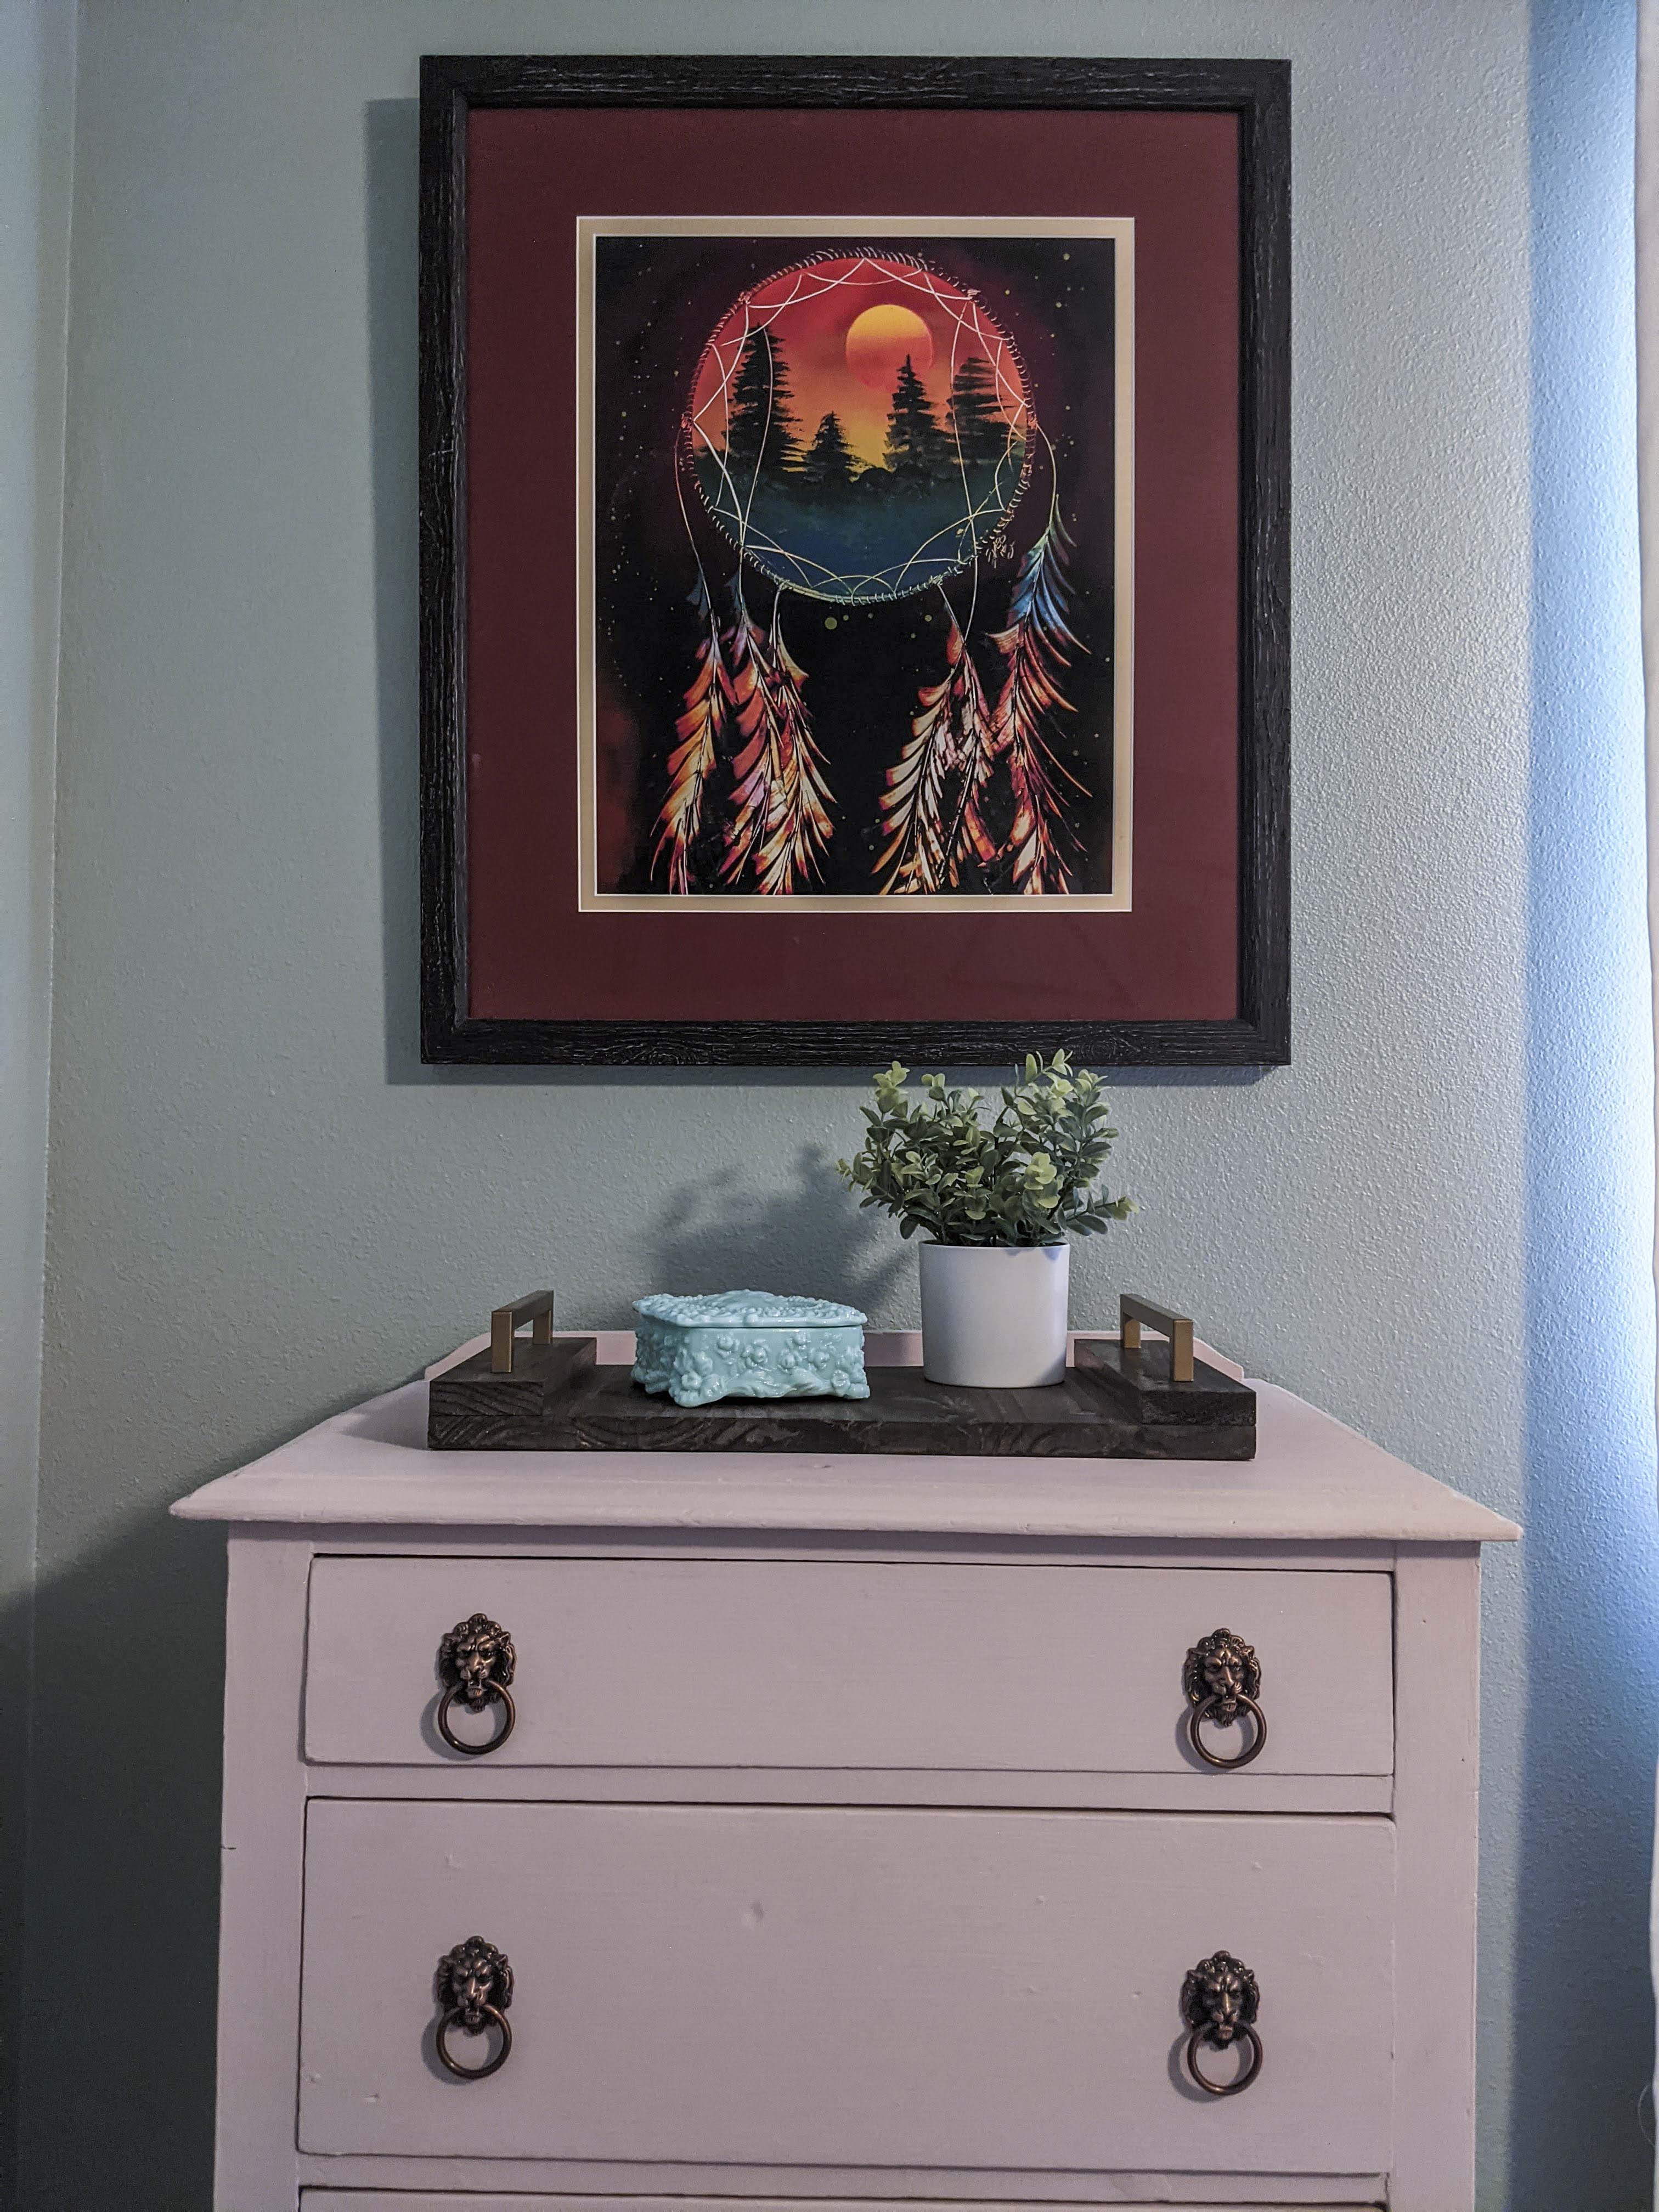
I happened to be looking at bedroom decor ideas and spotted a super cute, wooden tray sitting on a bed. Instantly I thought: “I could make that.” So I did and here’s how.
Supplies:
- Scrap wood. You’ll need a long piece for the tray and two smaller ones for the edges
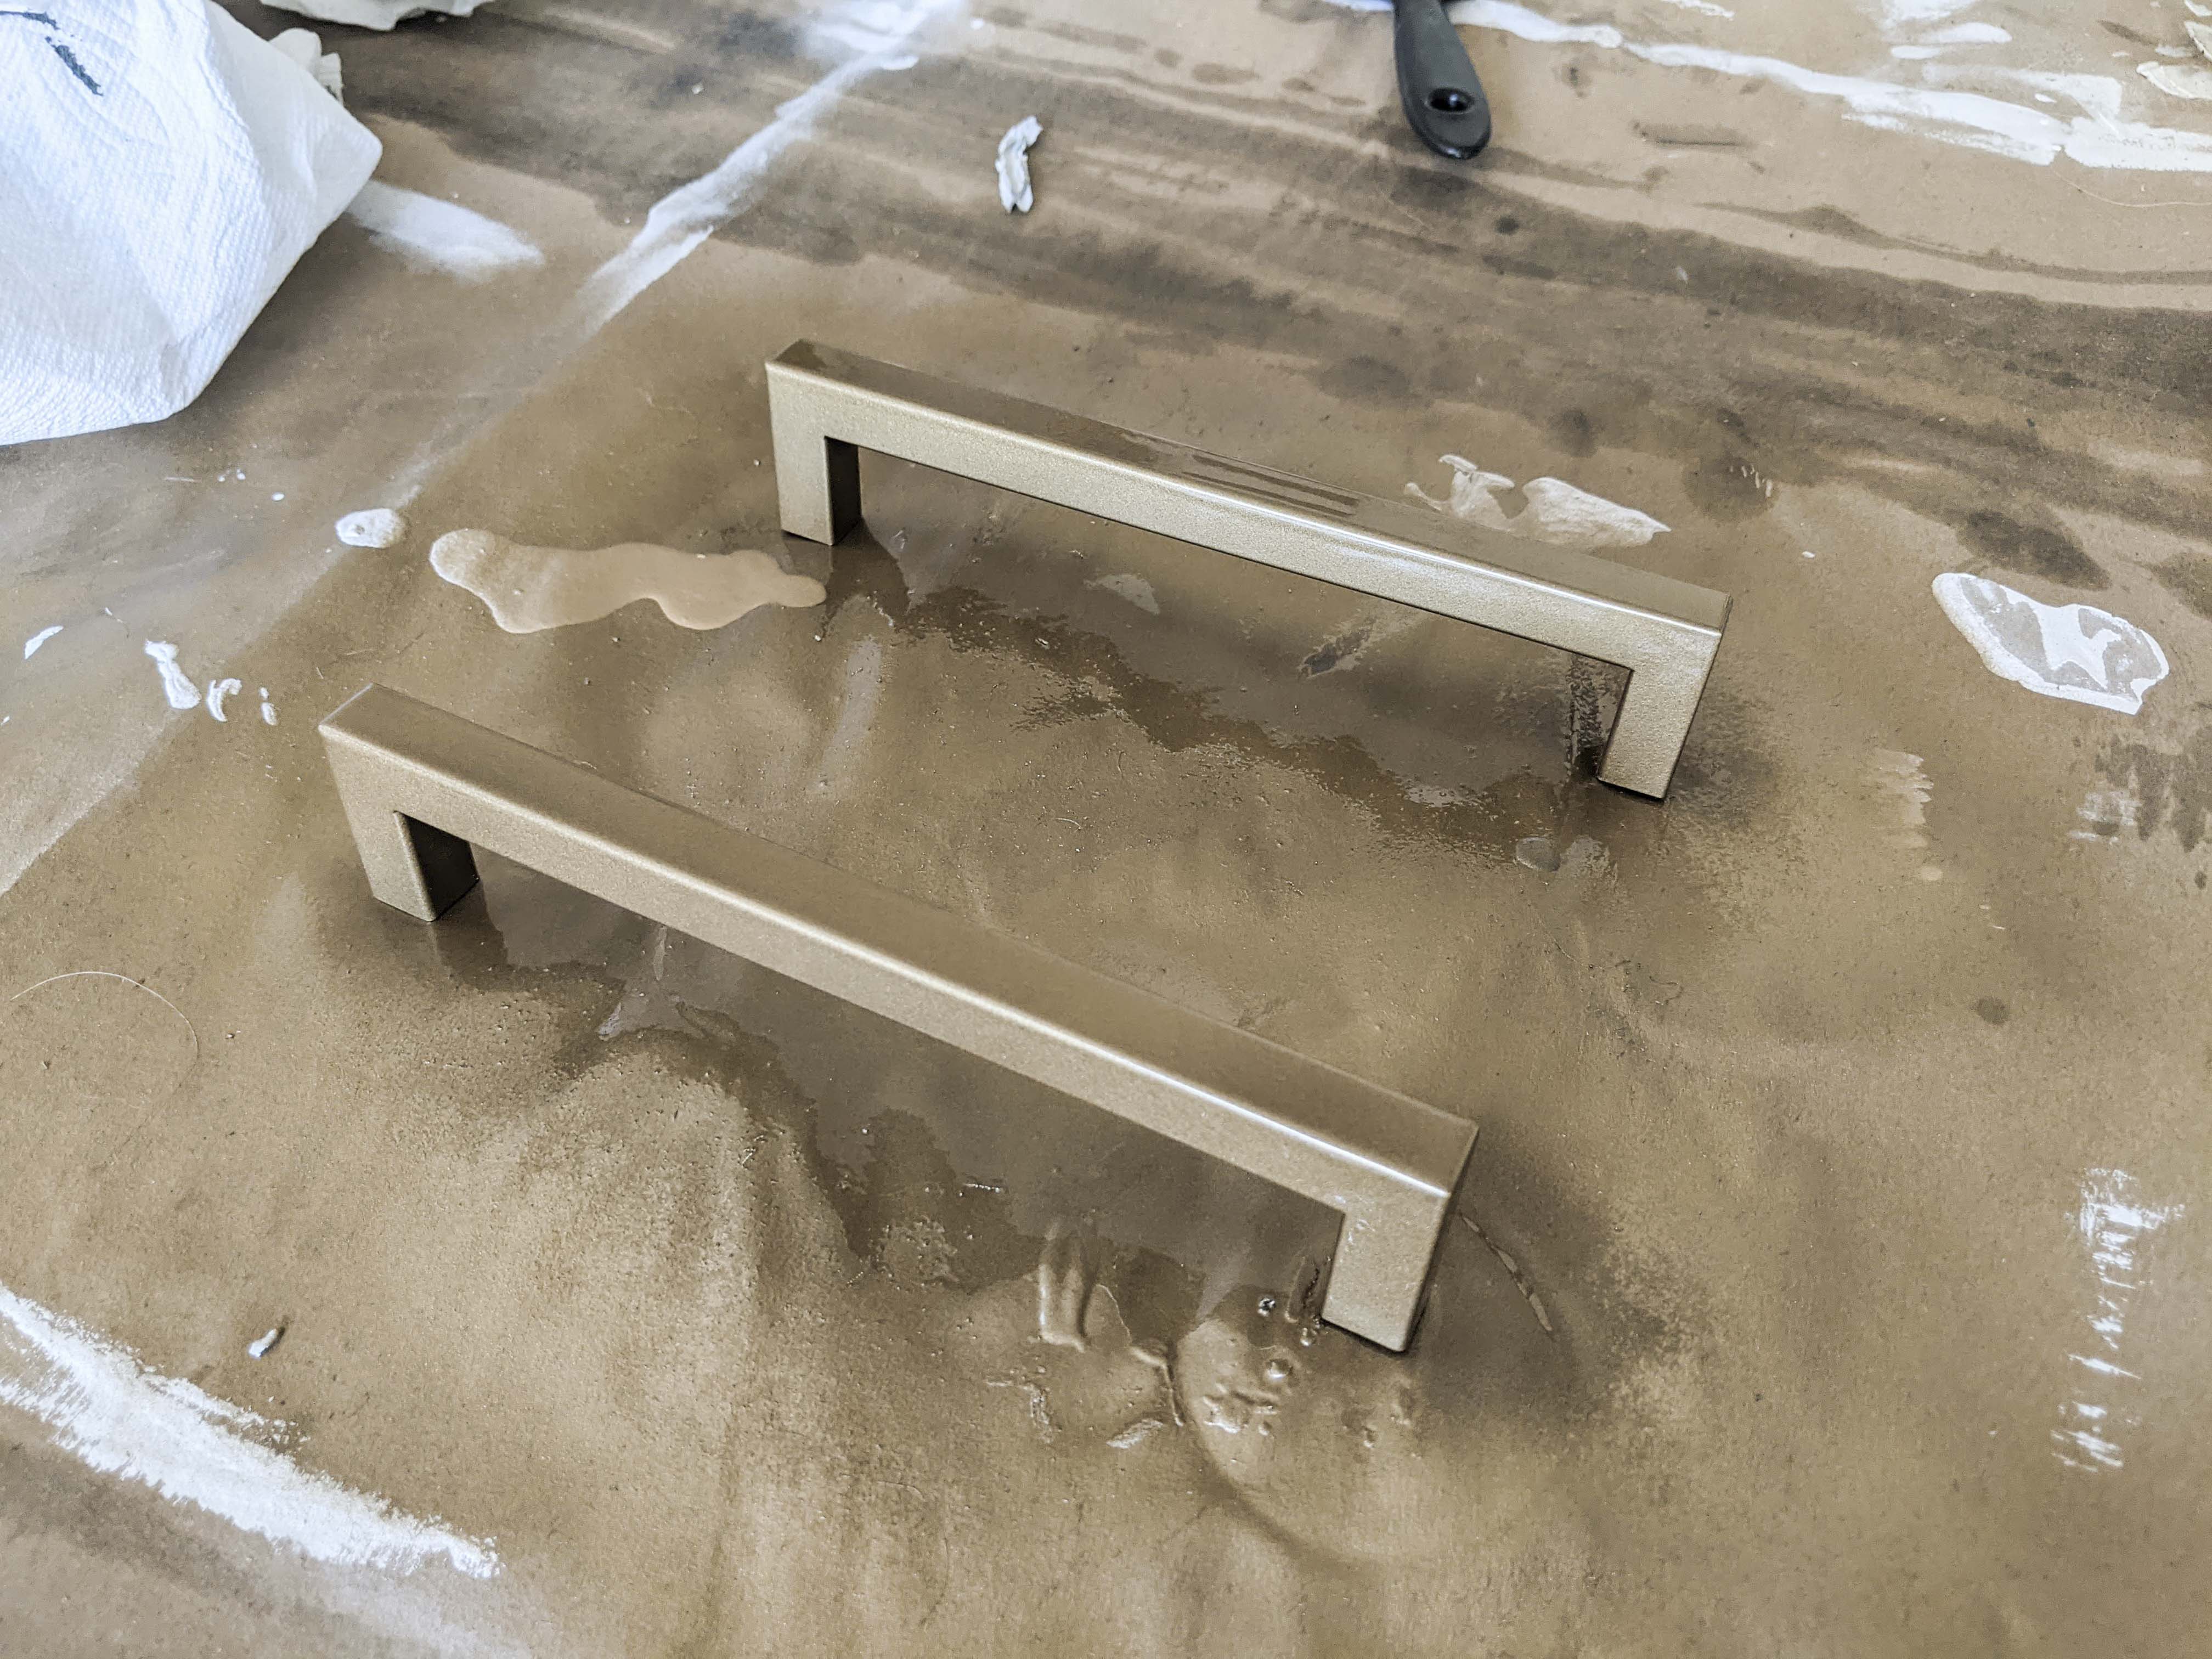
- Handles. I used spare ones we had from our kitchen remodel.
- Stain
- Wood Glue
- Jigsaw
- Sander
- Drill
Process:
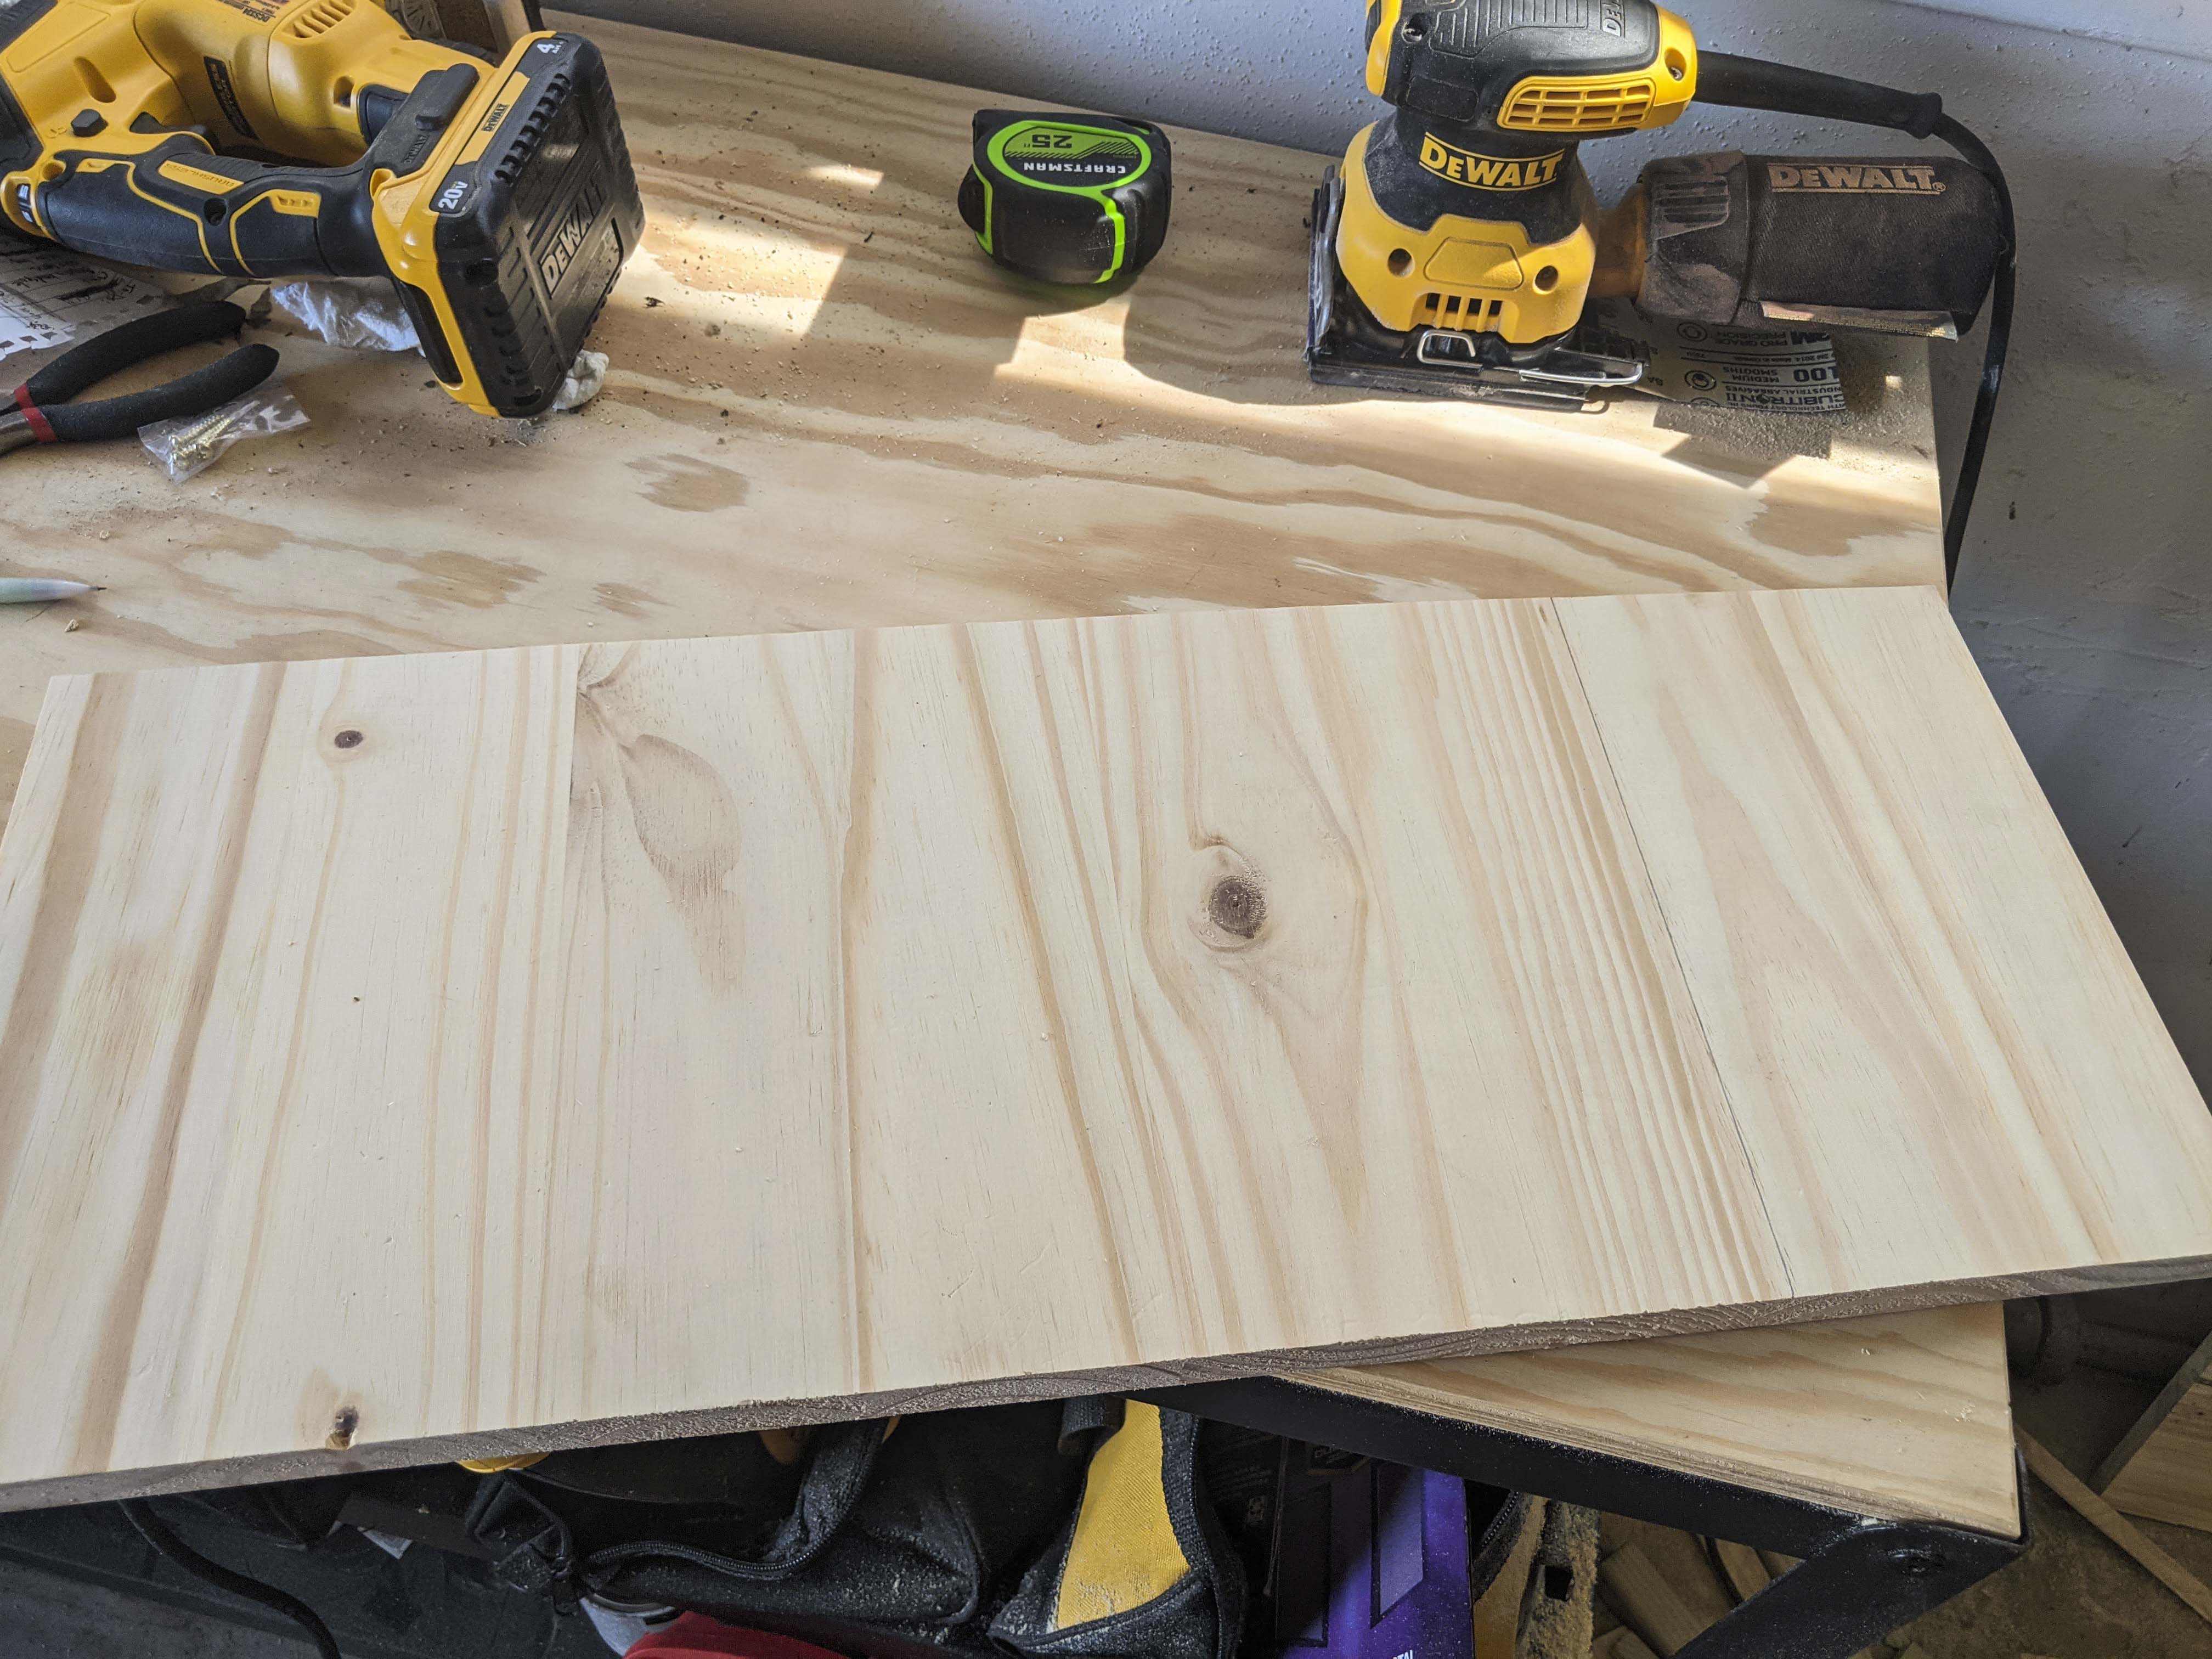
My scrap wood came from the built-in desk I just installed in our guest room. Sizes are all relative to how much wood you have and how big of a tray you want. Remember that the handles will eat up some space, so lay it all out before you cut and glue.
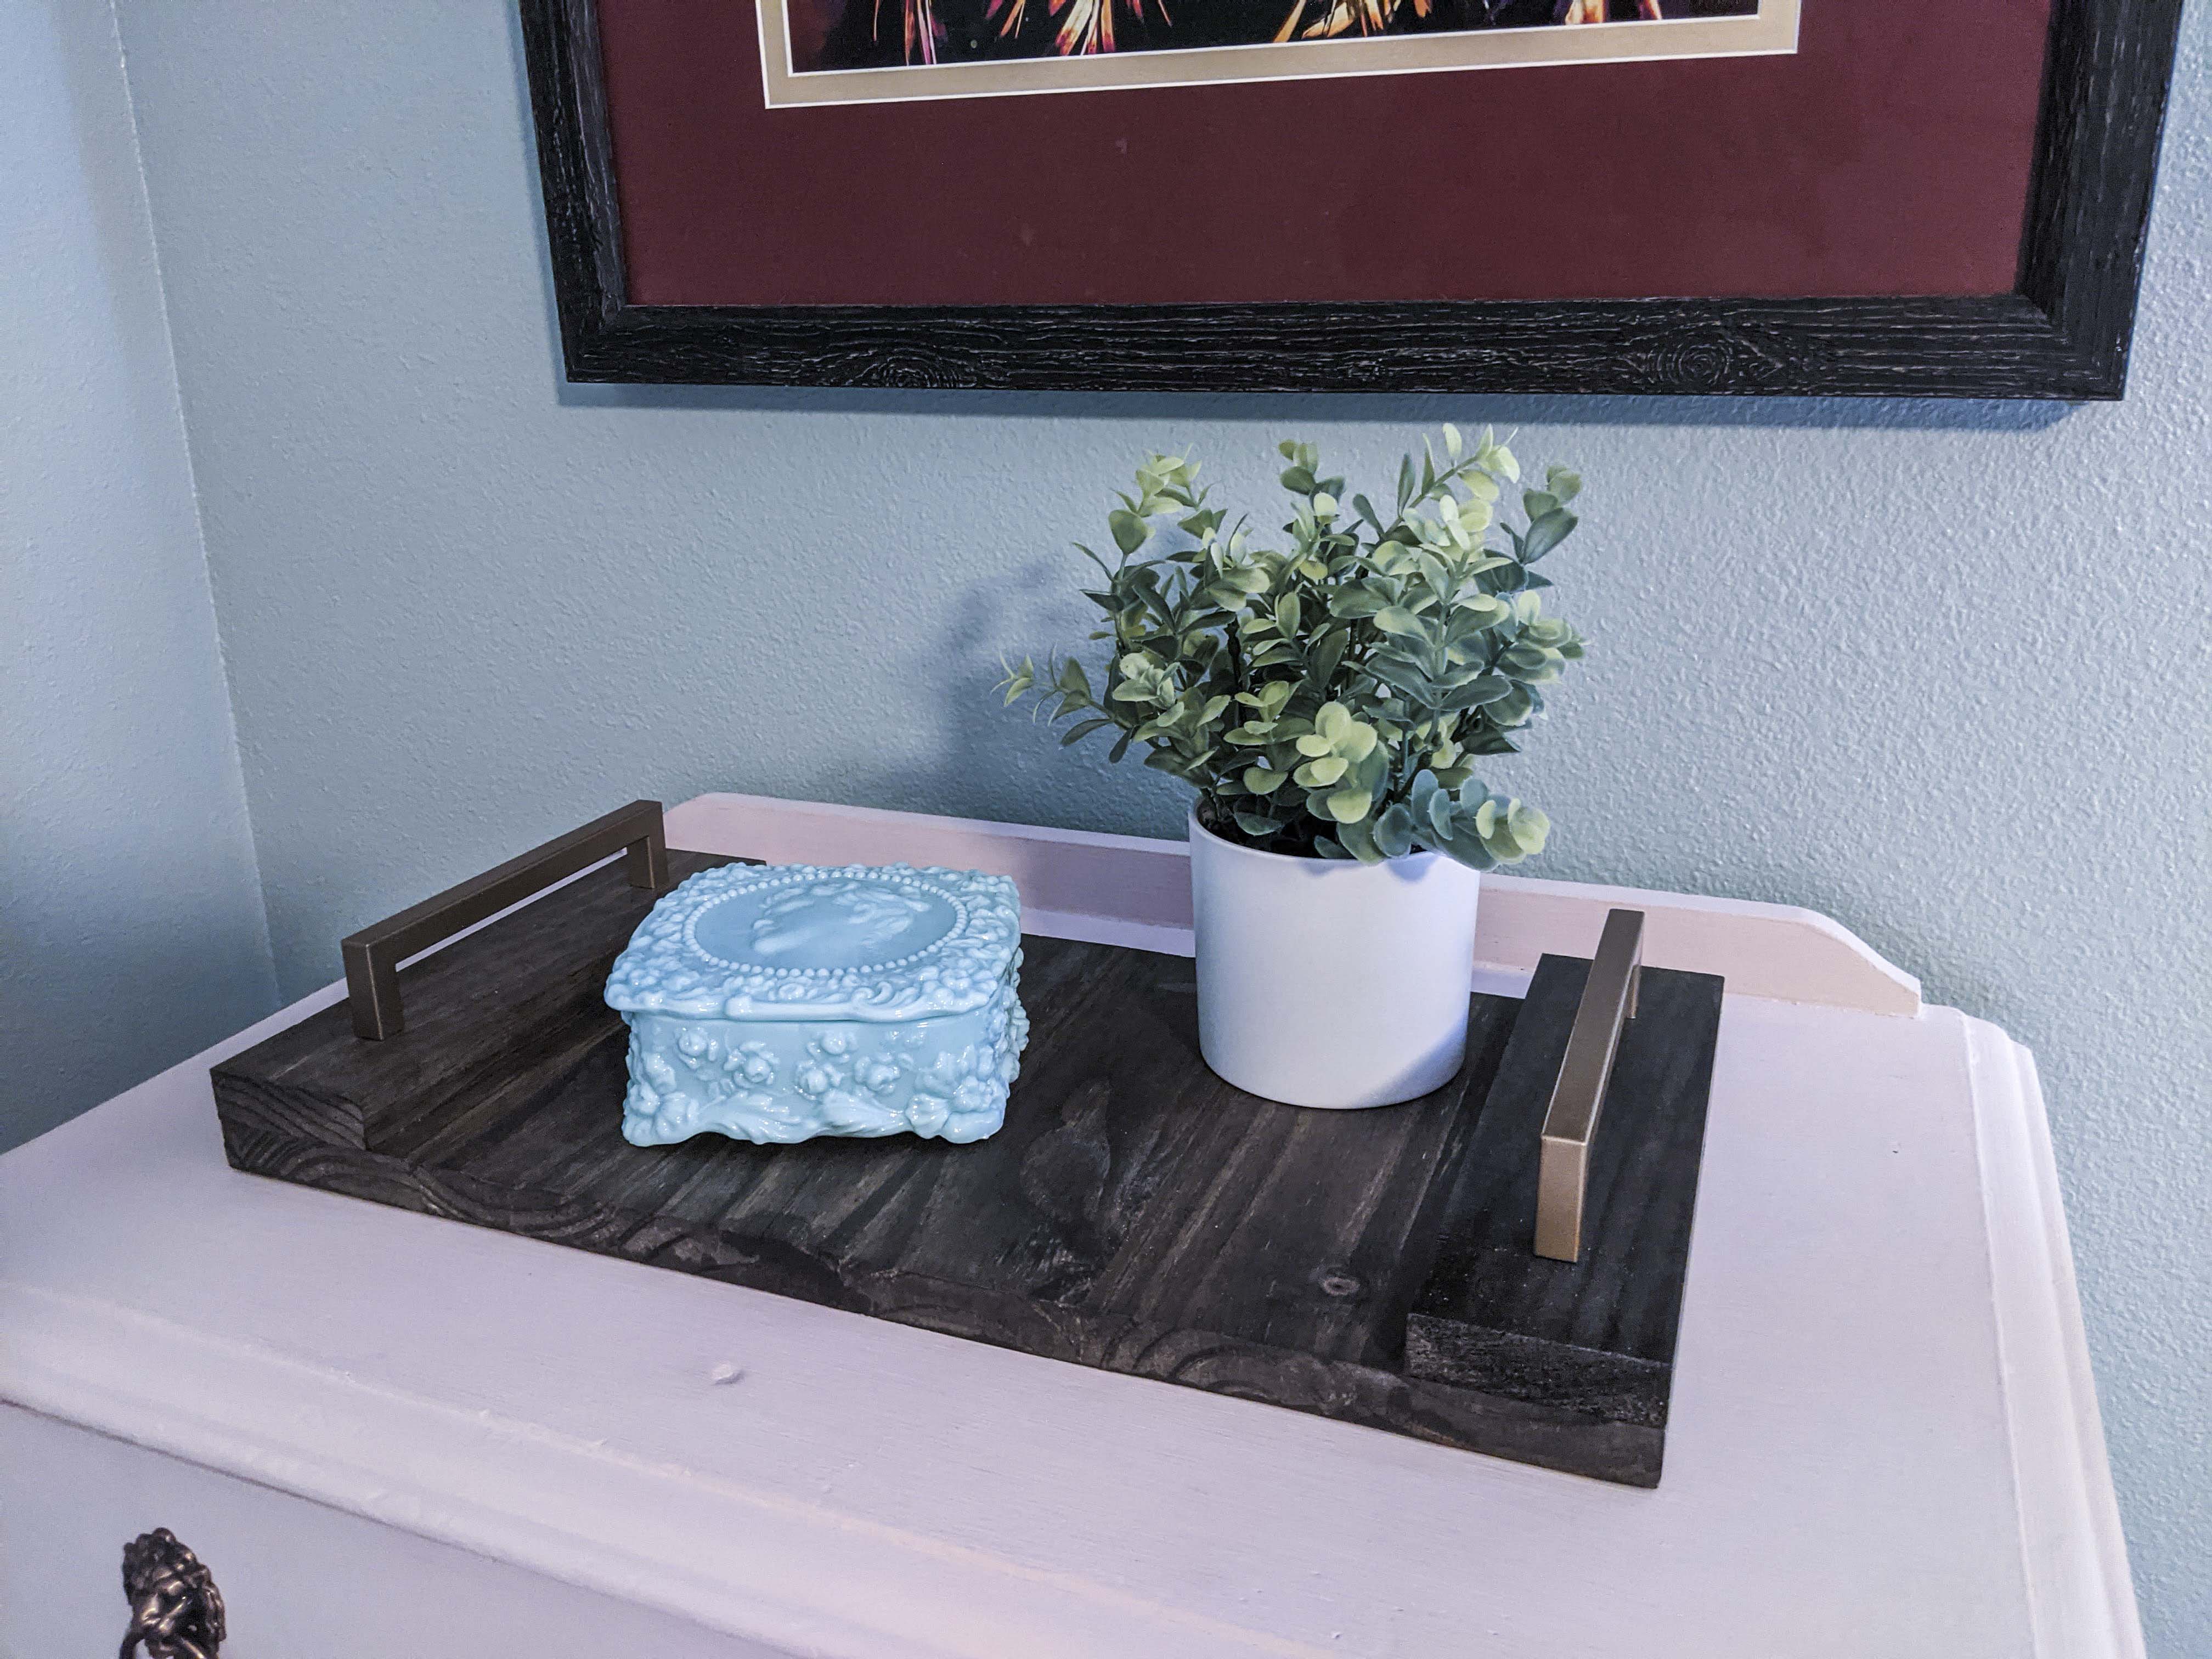
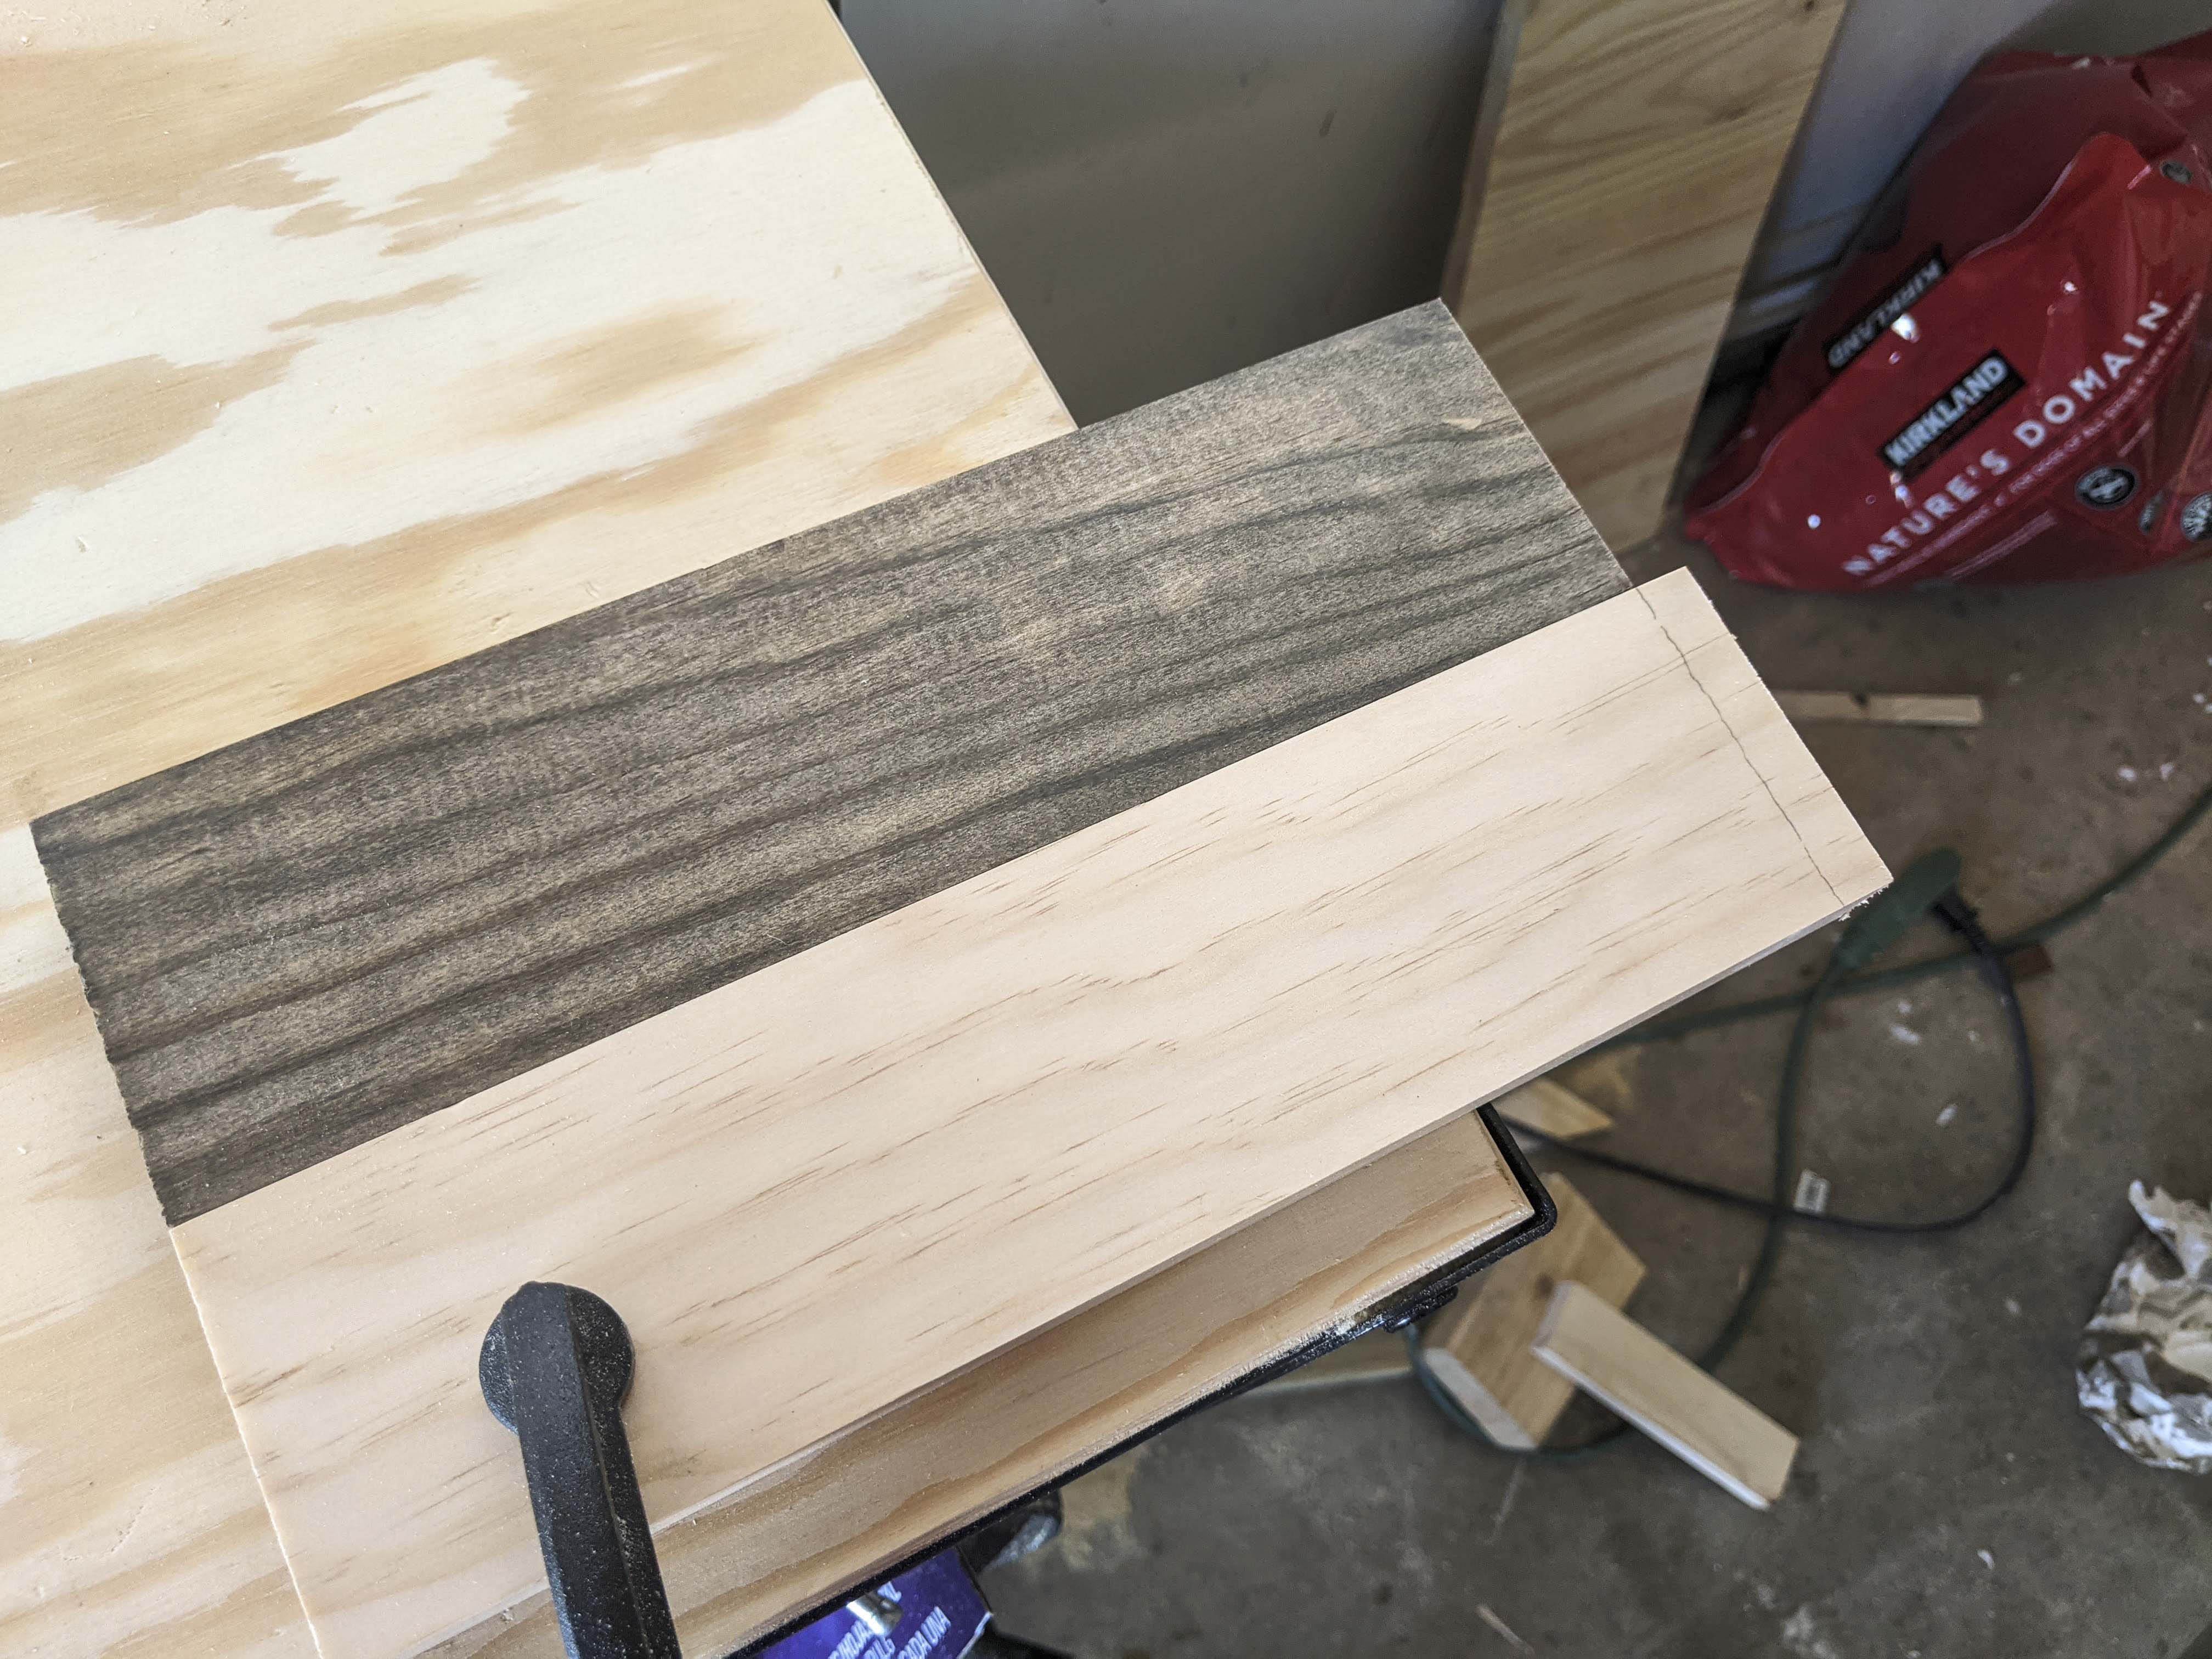
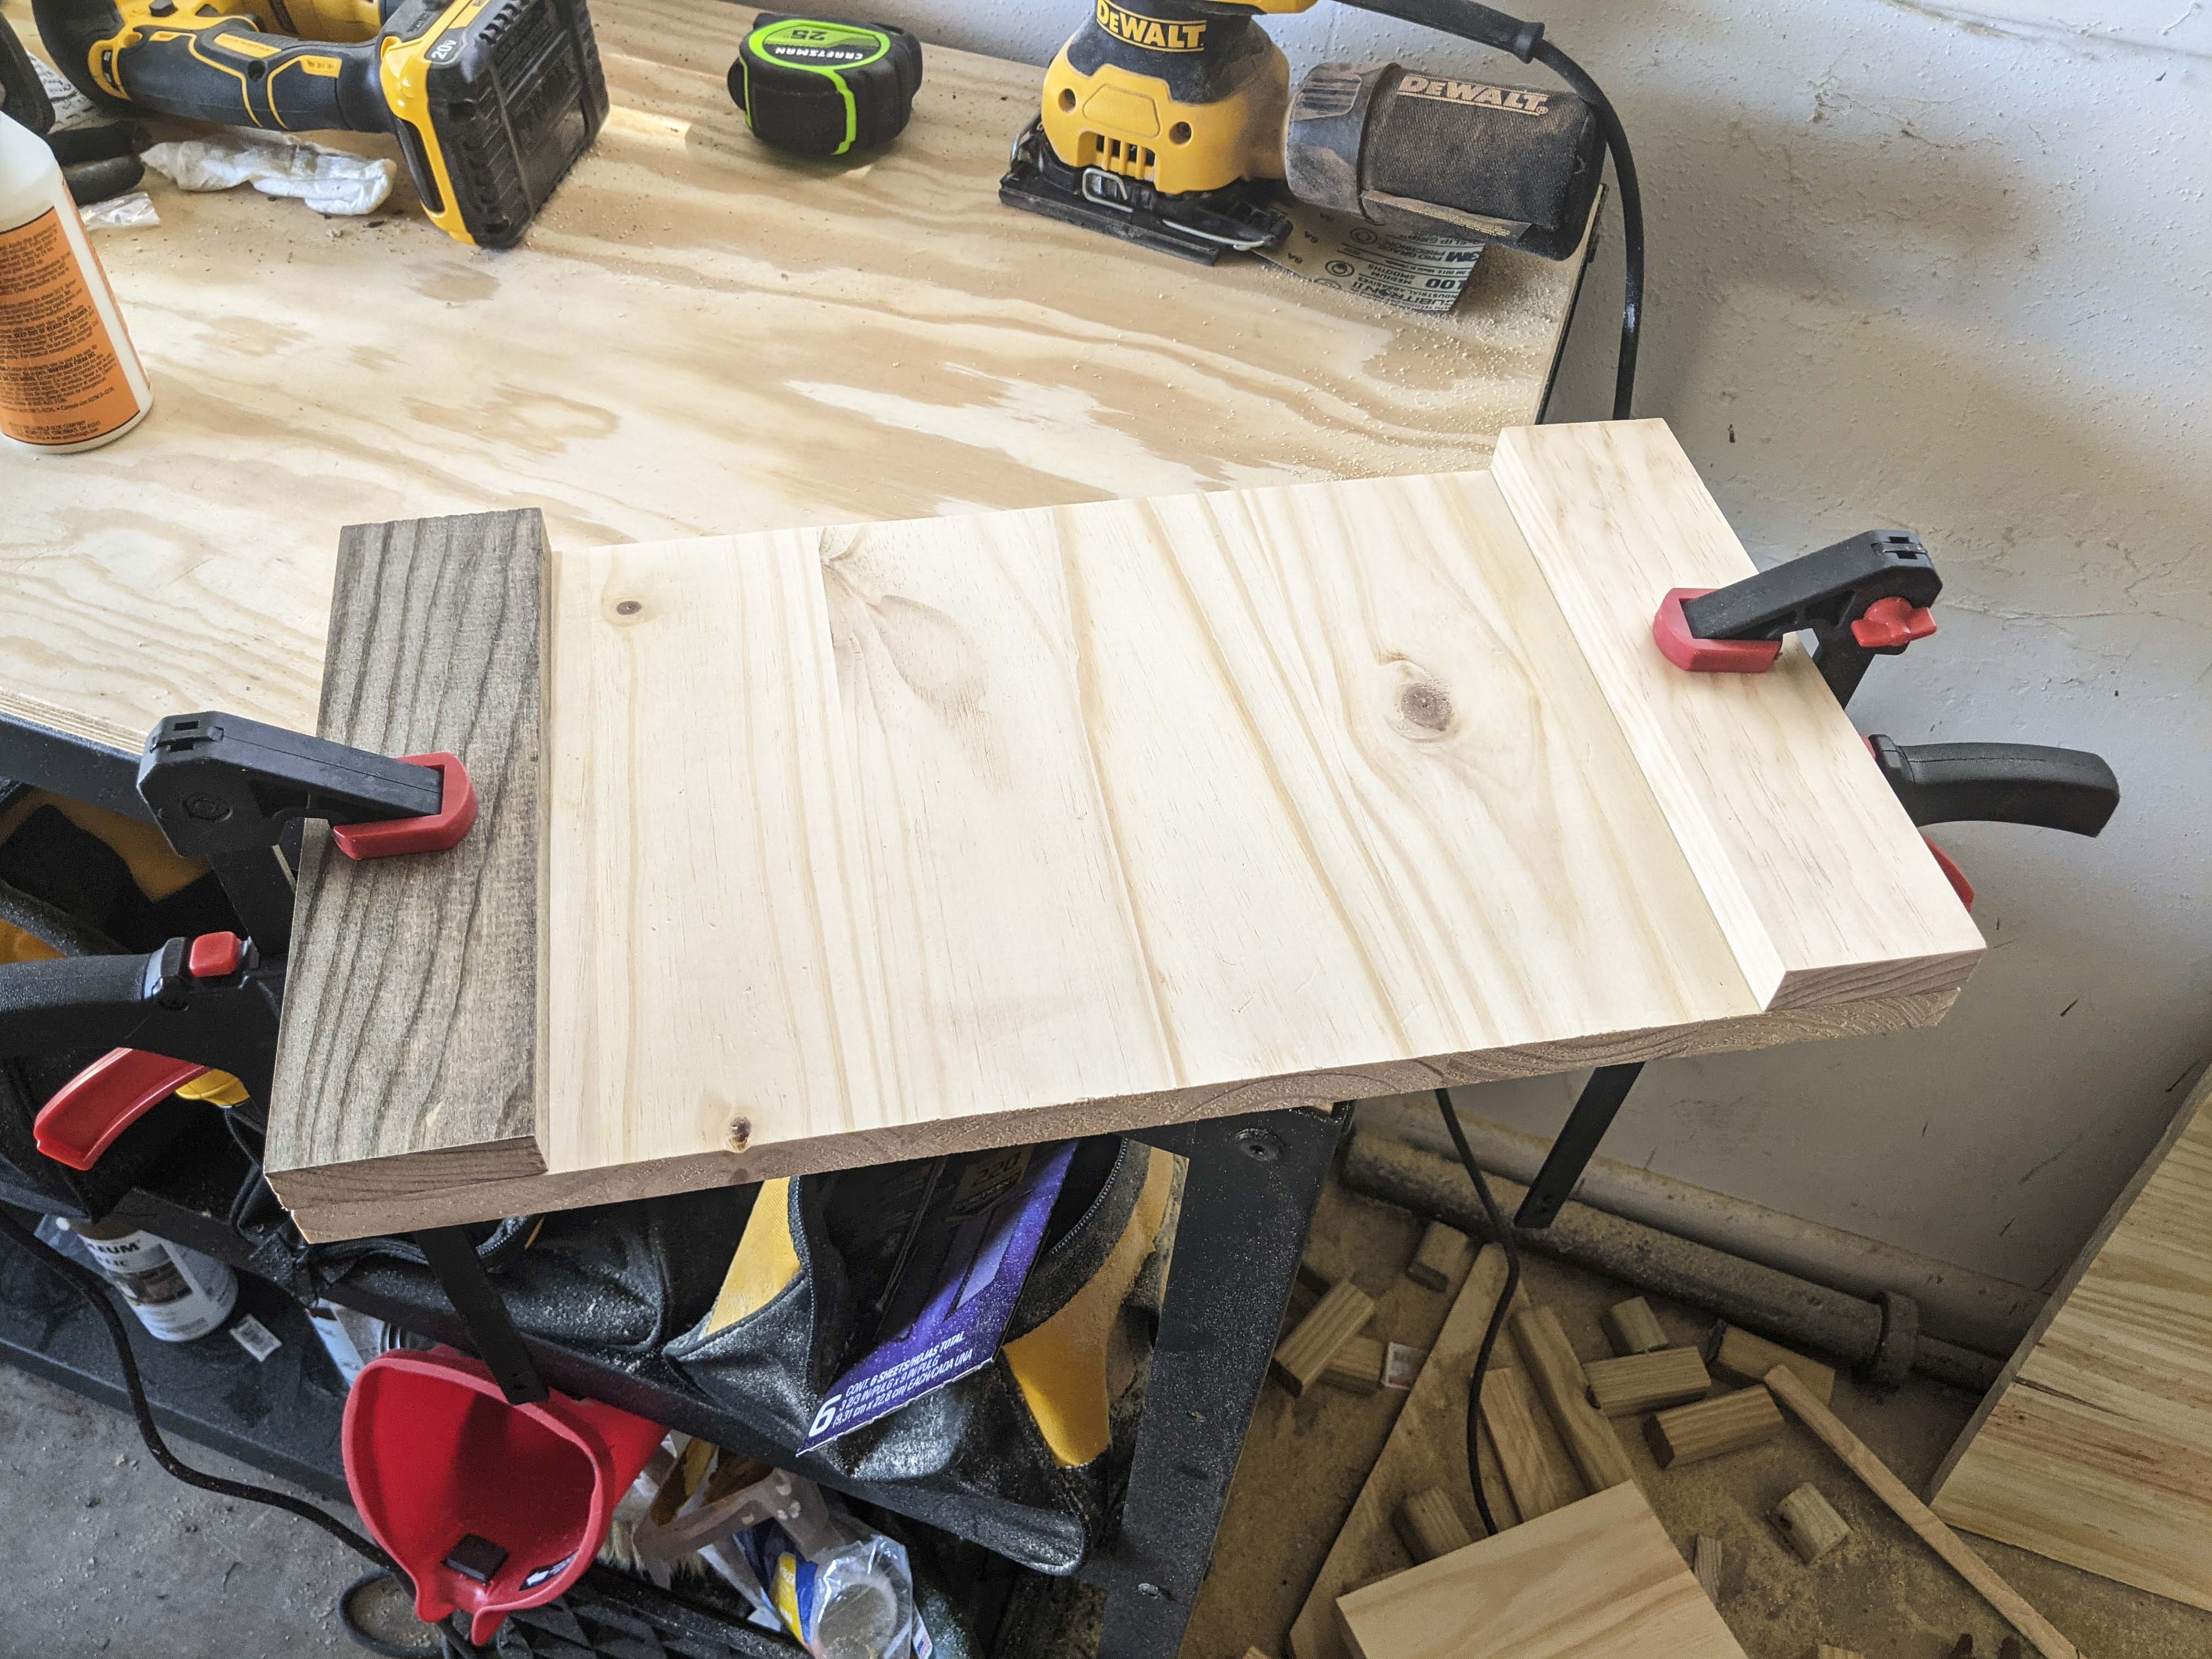
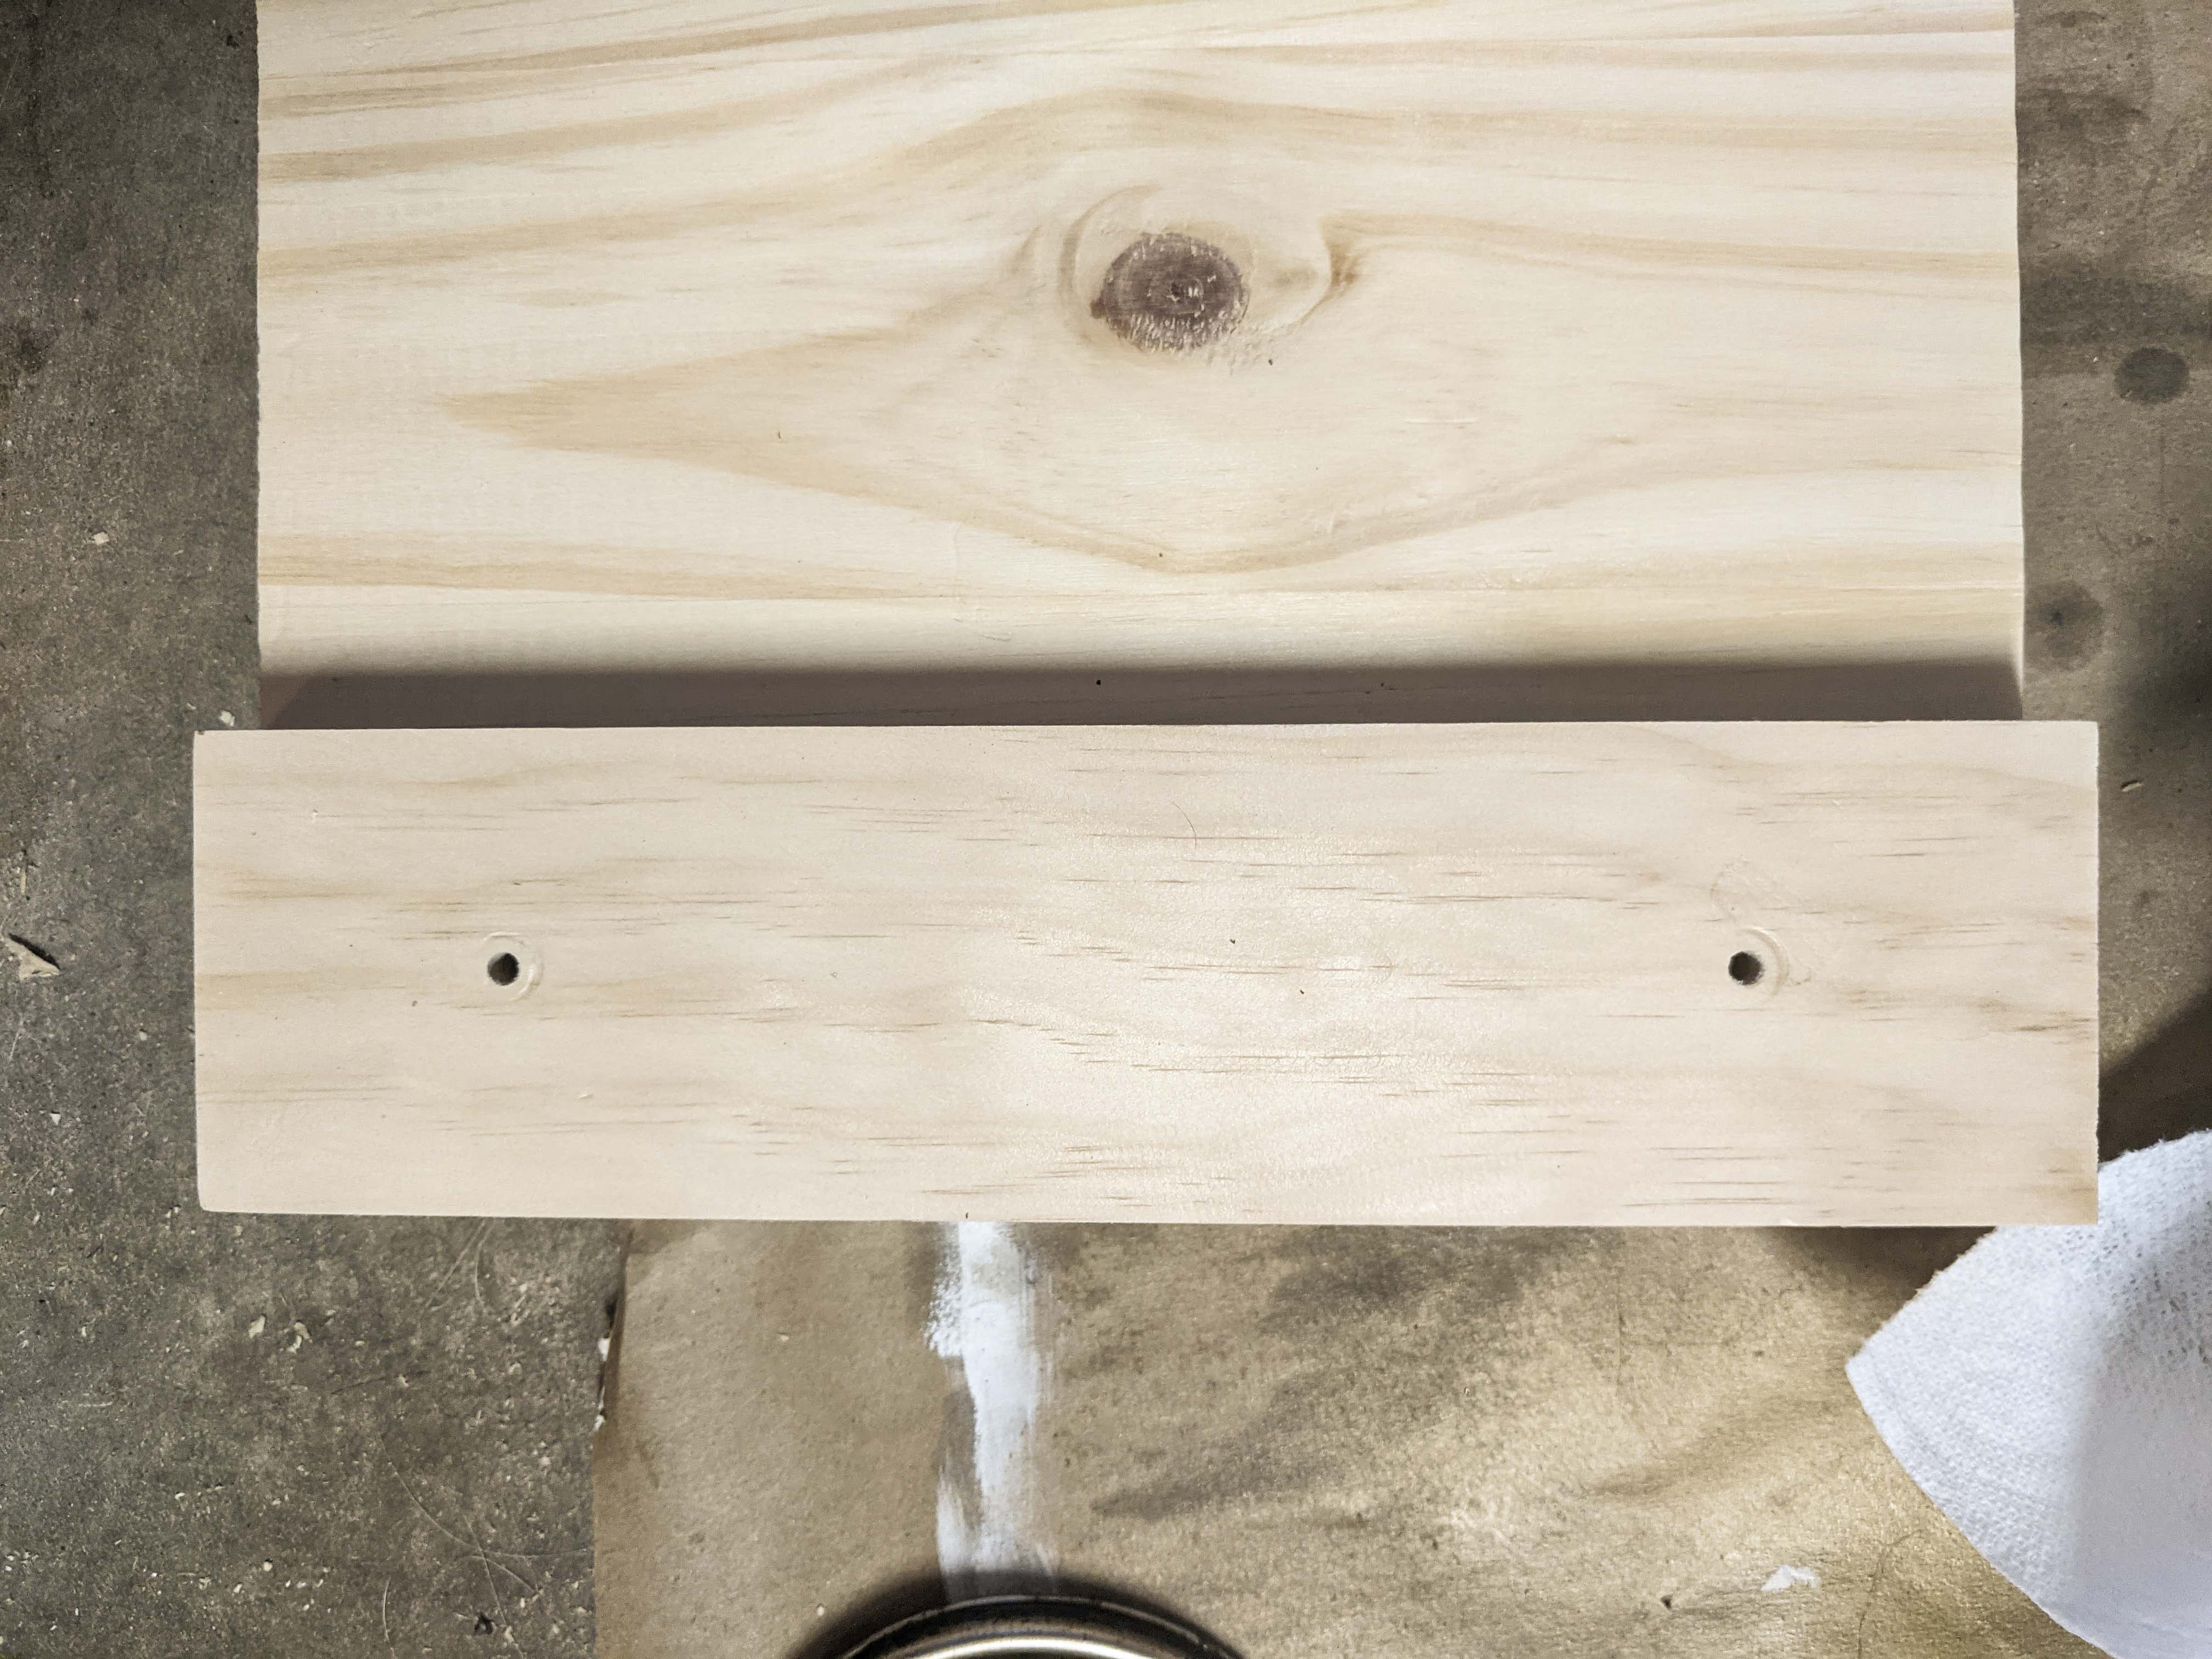
I trimmed the longer piece so that the small, edge pieces would fit flush around the sides, then glued and clamped them down.
Next, I placed where I wanted my handles to go and marked them with a pencil. I used a drill bit that was the same size as their screws to drill through the wood. Then, I used a larger bit and drilled through the bottom just a bit so that the screw would be inside the wood. This helps the tray lay flat as the screws have rounded heads.
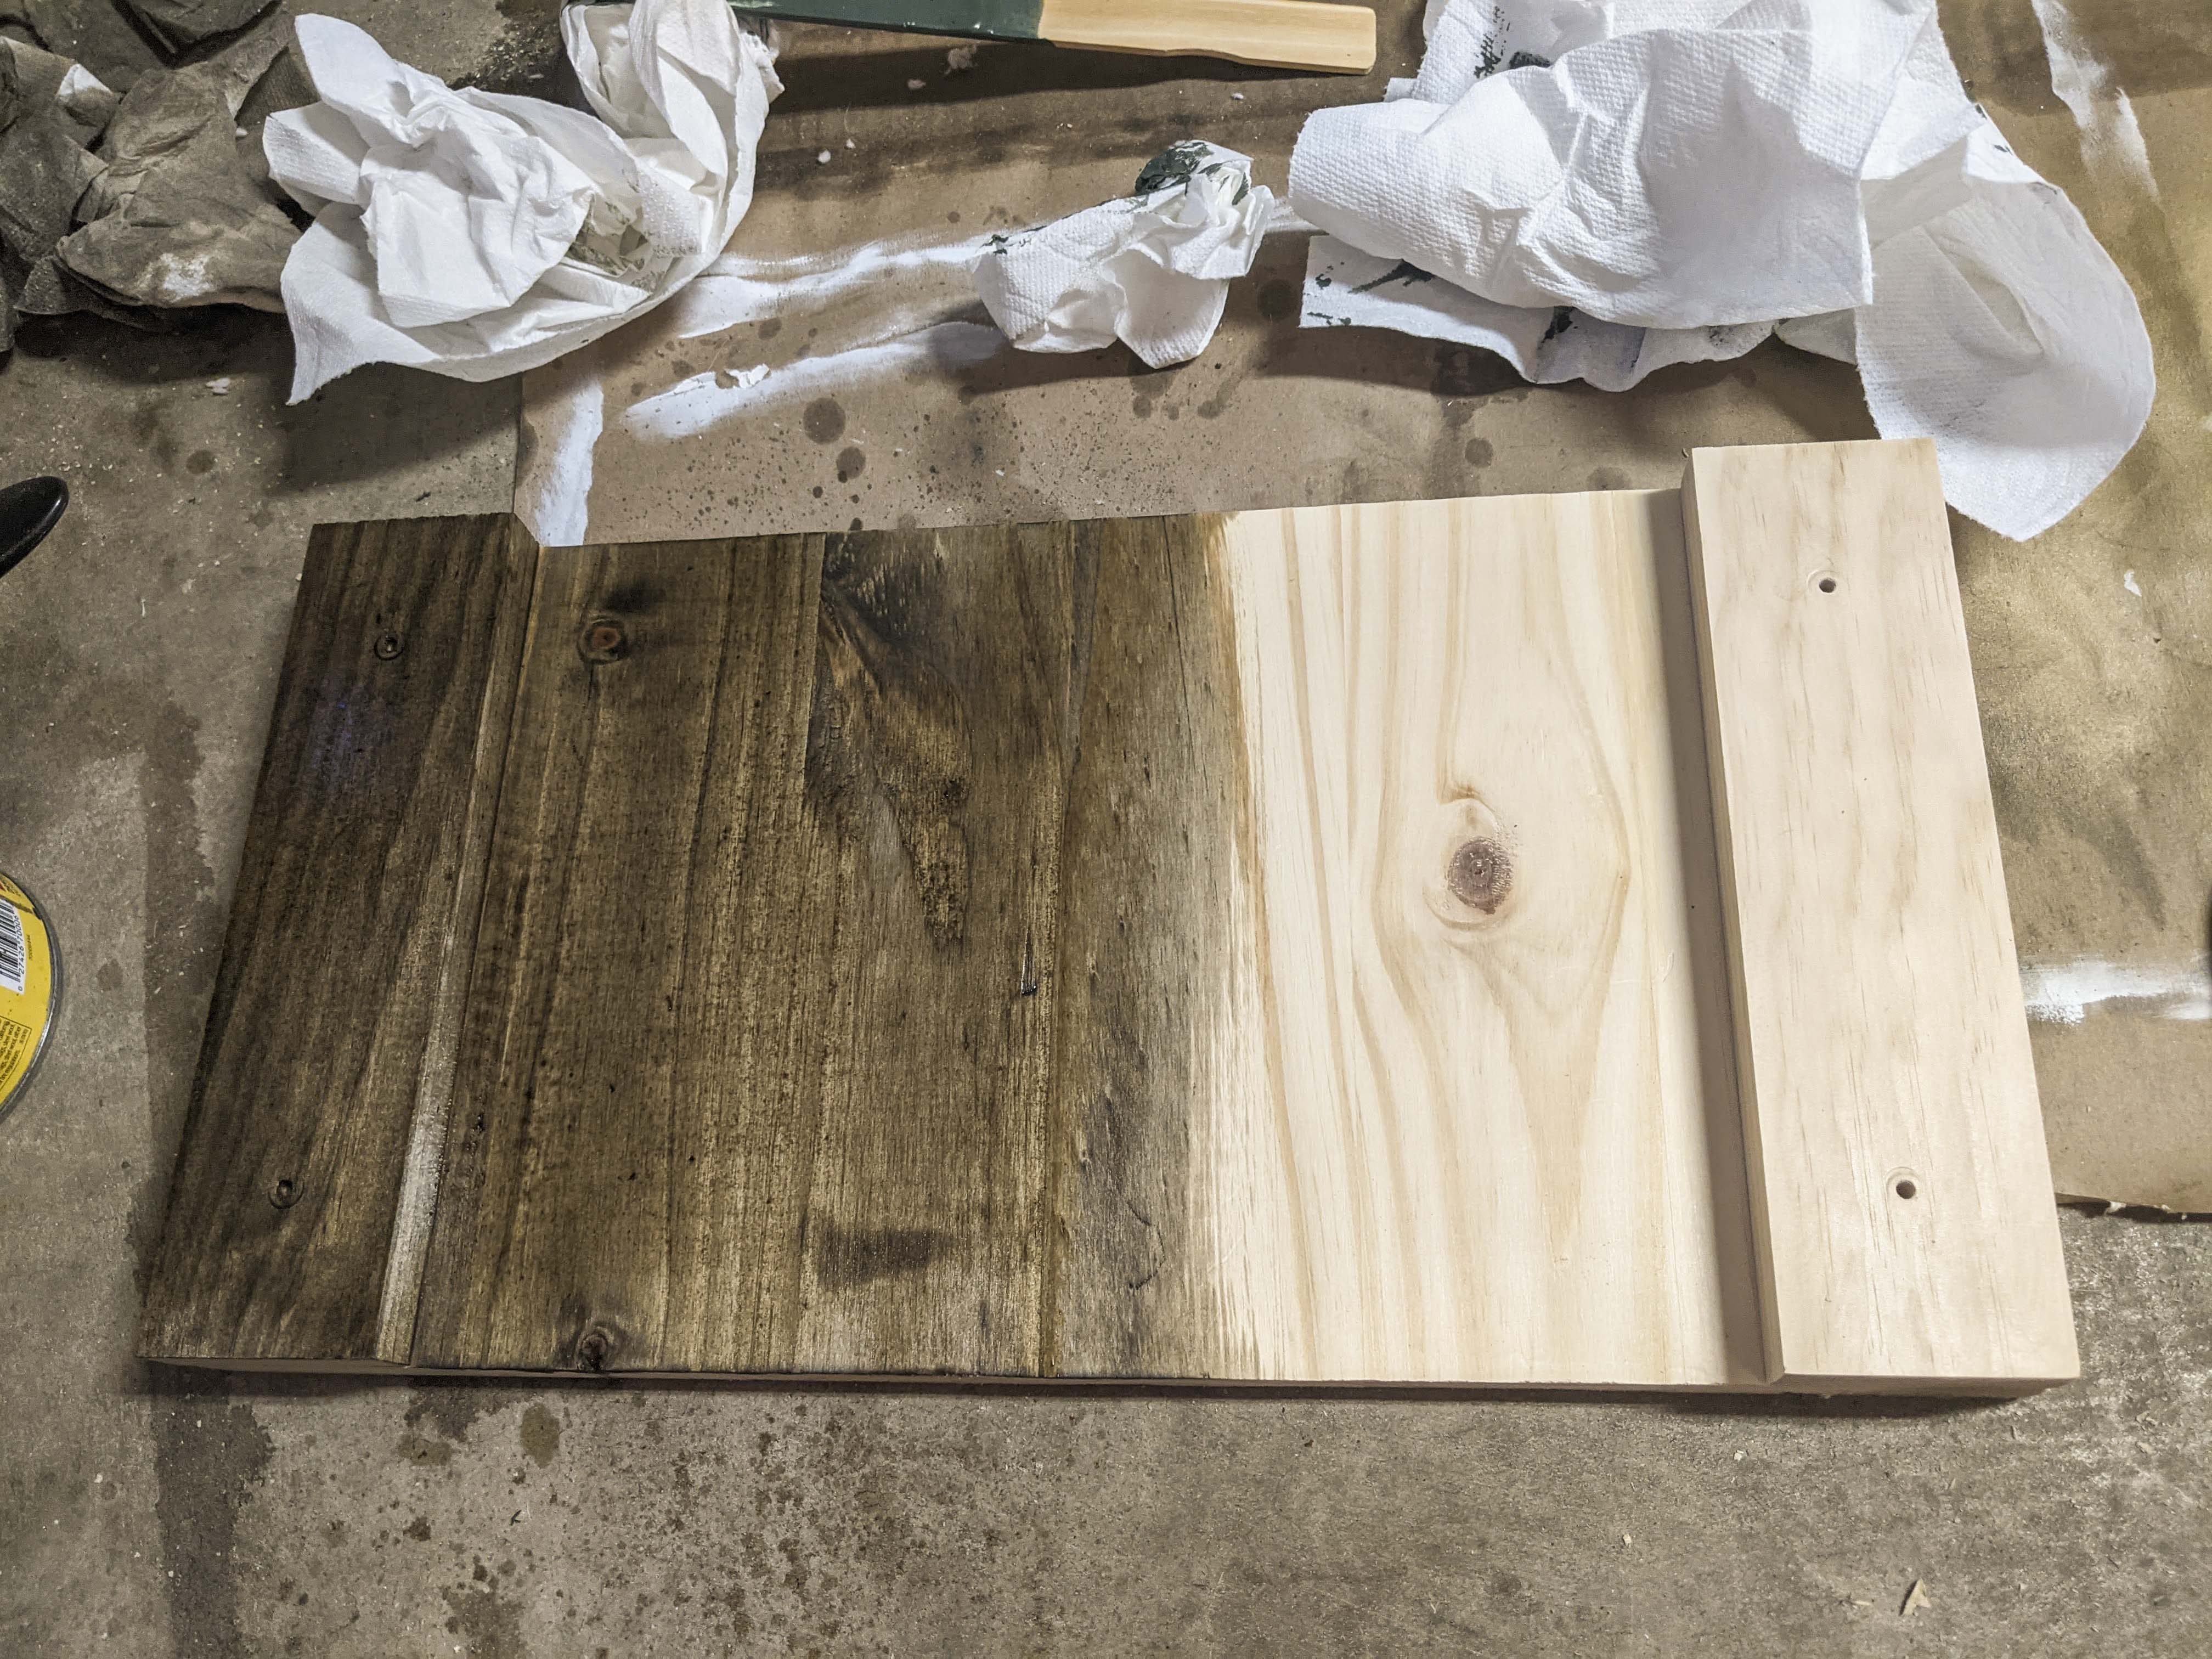
Once the holes were made, I sanded the whole thing and cleaned up the dust. Then, I put my stain on. I wanted my handles to be a little extra, so I spray-painted them gold- this is a completely optional step. In hindsight, I might have left them black so they would pop more, but I like how it turned out anyway.
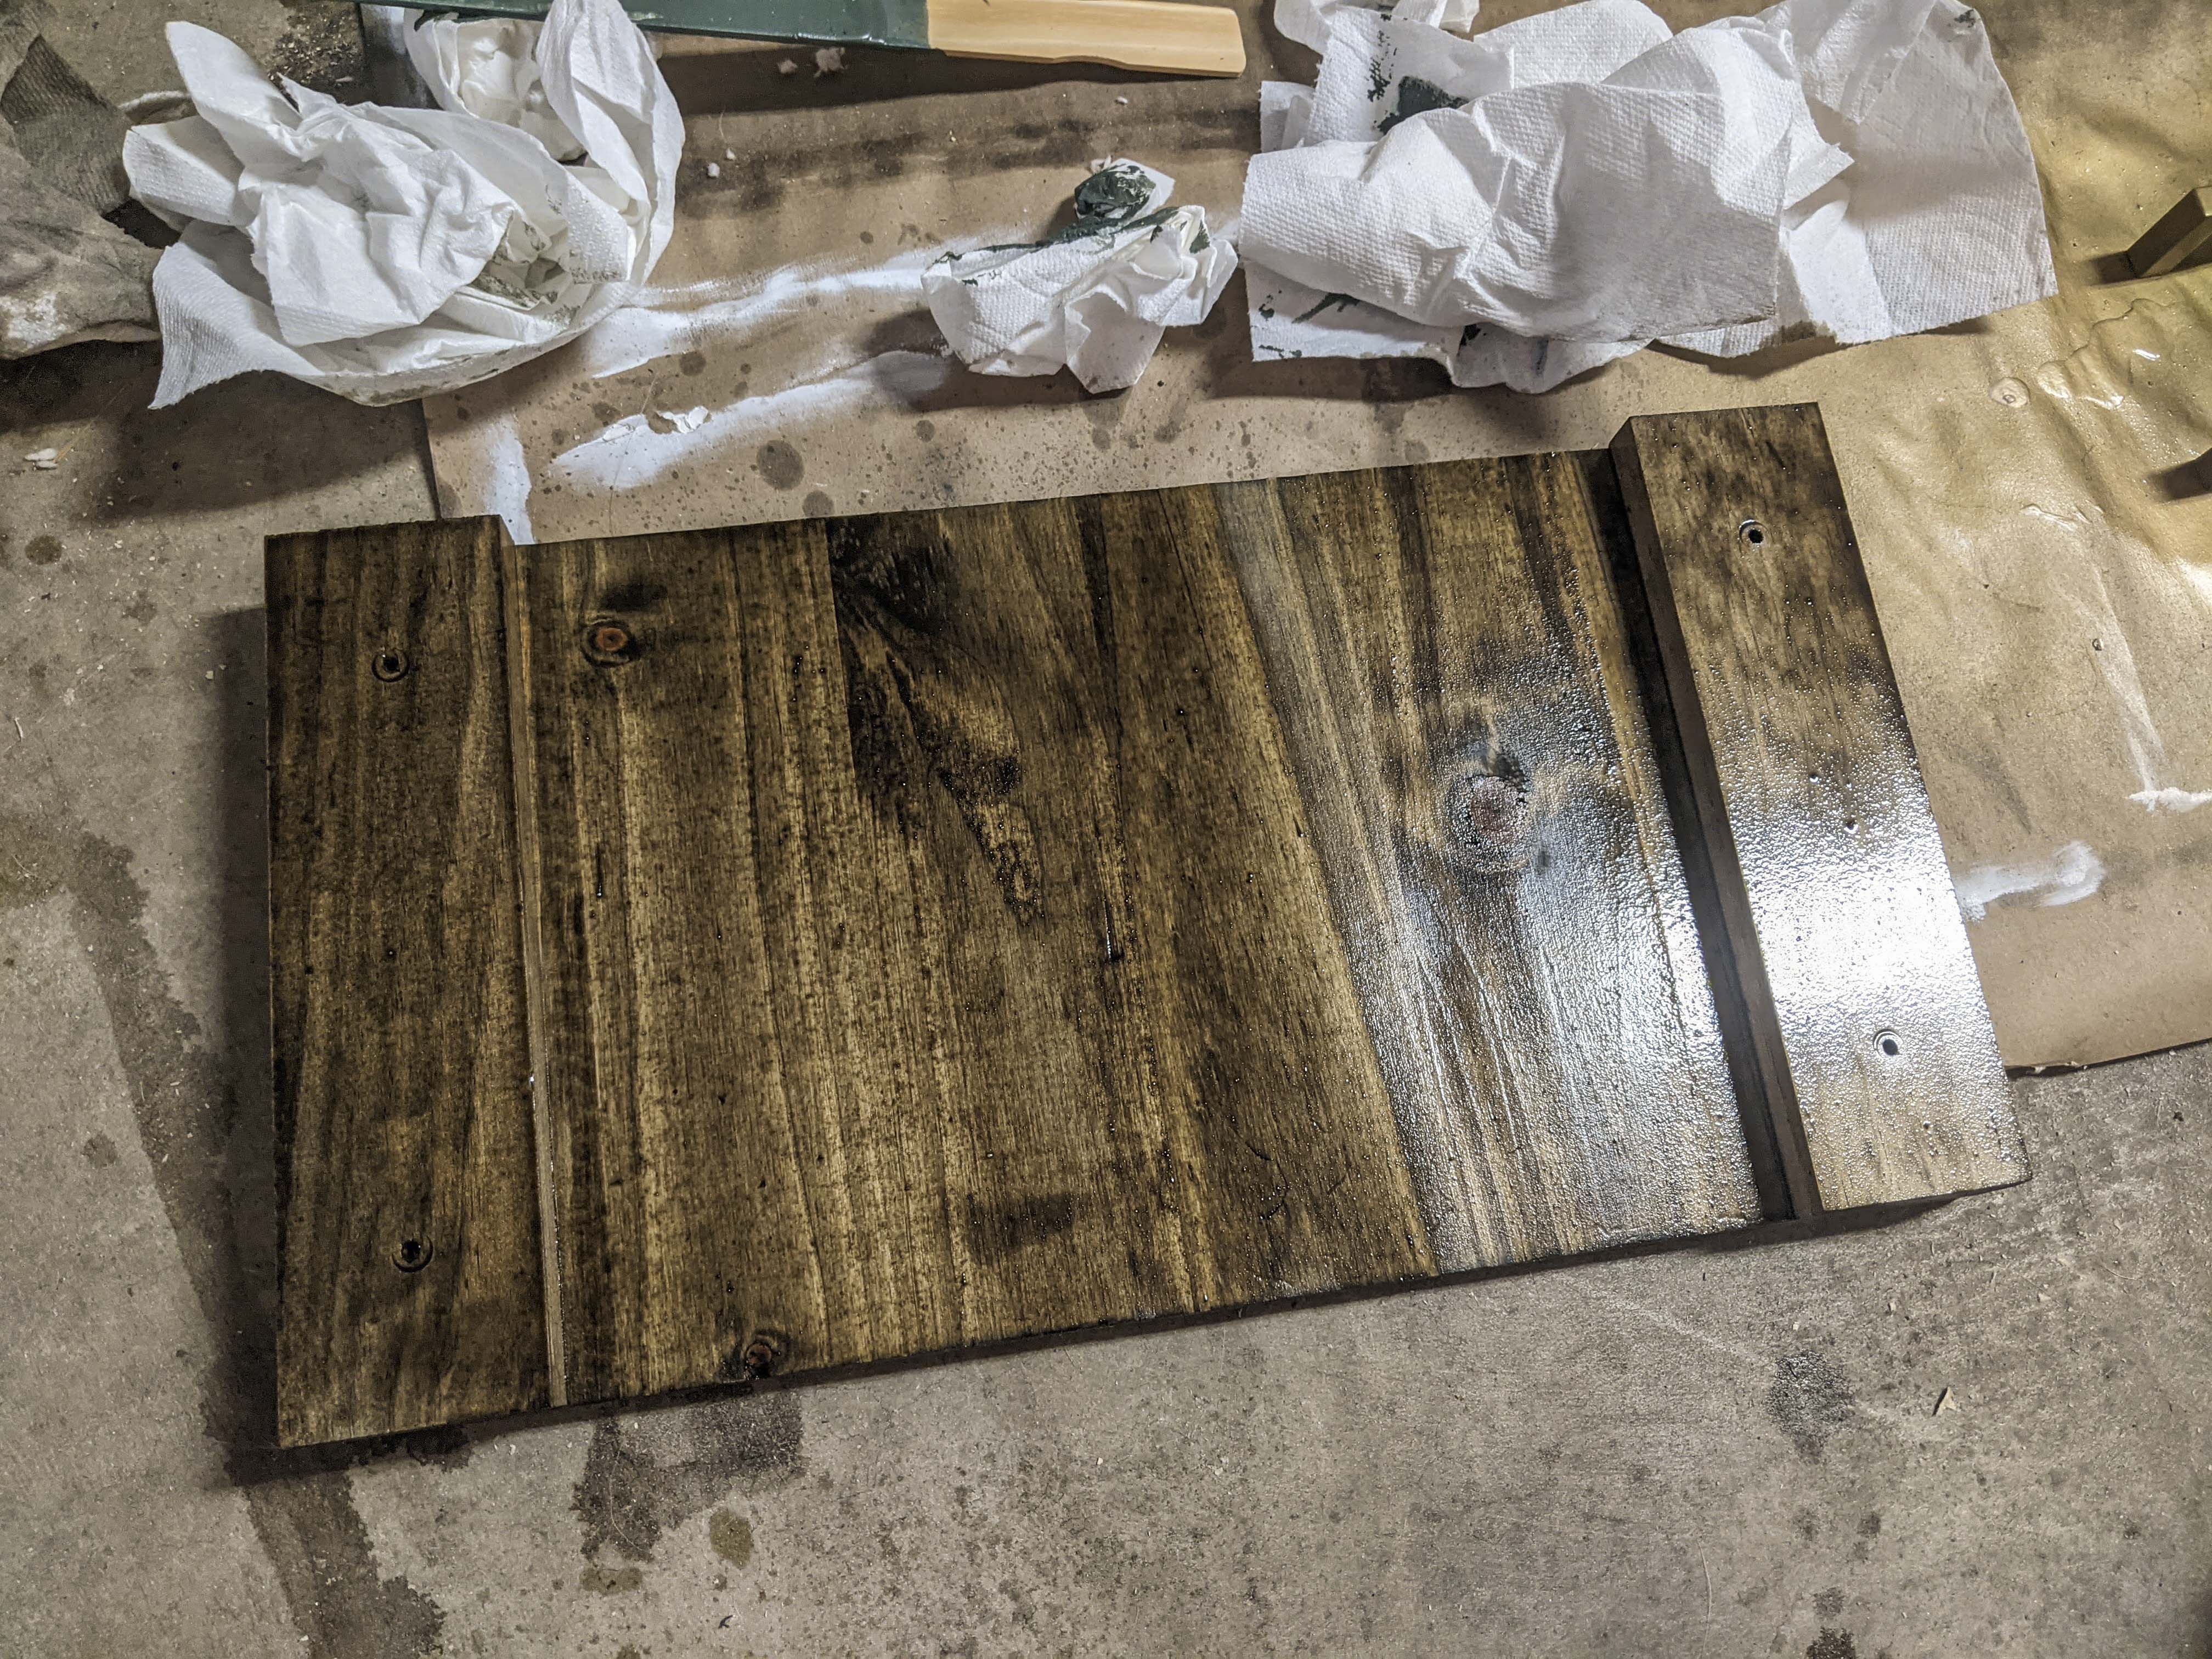
Once everything was dry, I screwed the handles on and it was done! I always leave stained wood outside for about a day so it can air out. Just make sure there’s no rain in the forecast!