This will be a short post as there isn’t much to this DIY.
It’s hardly a true DIY, but I figured I’d post about it anyway in case it helps someone out.
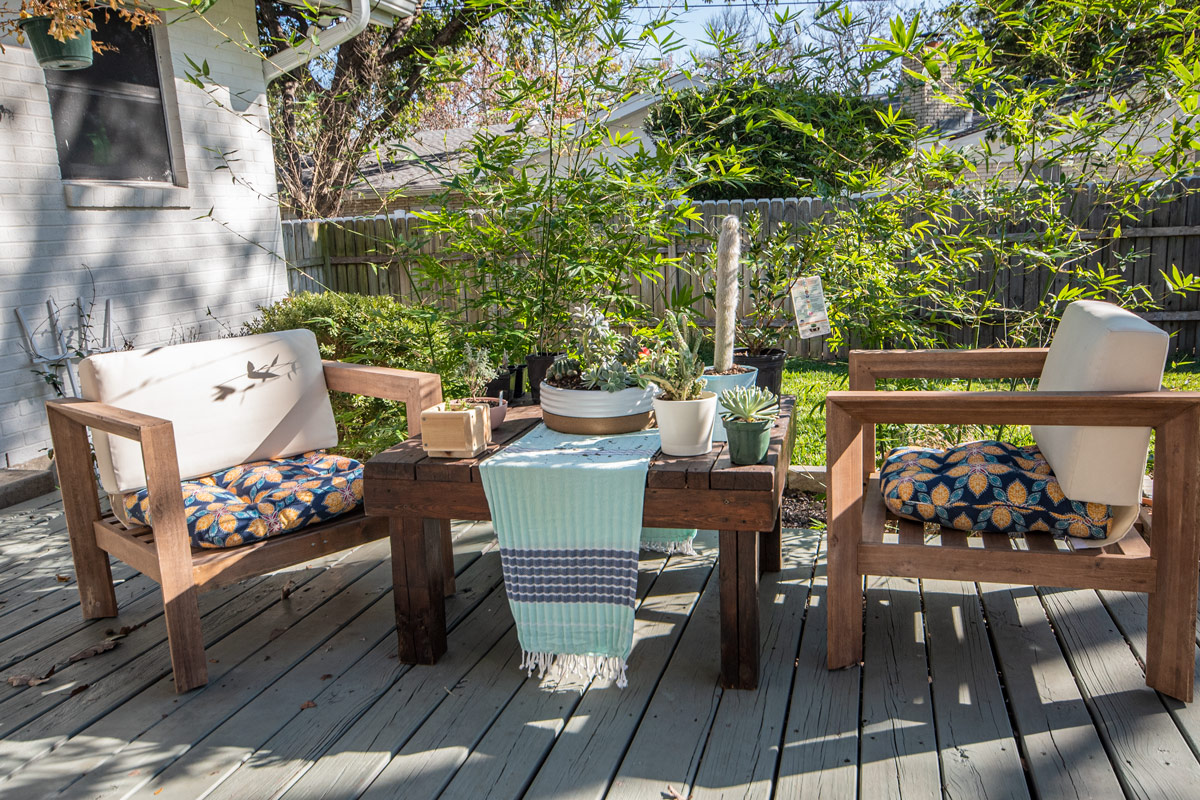
I recently acquired some outdoor chairs that were missing a few parts. I still need to write a blog about them, but I found out that they did NOT come with seating cushions.
Let me be clear here.
They came with the back cushions. In fact, these two chairs came with four back cushions, but zero seat cushions much to my dismay. The chairs were simple enough to fix up, but it’s the cushions I needed since outdoor ones are so expensive for whatever reason.
However.
I remembered I had an old bench-seat cushion hanging out in my shed. I know not everyone has one of these lying around and I was lucky that I did. The bench has long since been tossed, but the cushion escaped all of my husband’s spring cleaning efforts (not to mention moving houses thrown in there).
Since it’s been hanging out for the better part of a year, I thought I could cut it in half then stitch it closed and use the two halves as my new seats for my chairs.
So that’s what I did.
I cut around the center as cutting through the stuffing was difficult and then got to sewing. I had to hand stitch the whole thing since I don’t have a sewing machine. I don’t actually really care for sewing, but here we are. As I went, I made sure to smash the stuffing back in and pinched the two pieces of fabric together so it would hold.
I used whatever the thickest needle was in a variety pack I had and sewing thread I got from Hobby Lobby.
It took me about an hour to finish both cushions which I was surprised about. I assumed it would take me all day. I cannot stress enough how much I don’t like to sew.
And that’s really it. They fit well on the chairs, maybe a little small, but they were free!