Update: I have PDF woodworking plans for this project available in my Etsy shop!
Pets are the new kids and plants are the new pets.
I live and die by these words.
And our little plant friends deserve cute, little houses that also go well with our boho or farmhouse decor, right? So right.
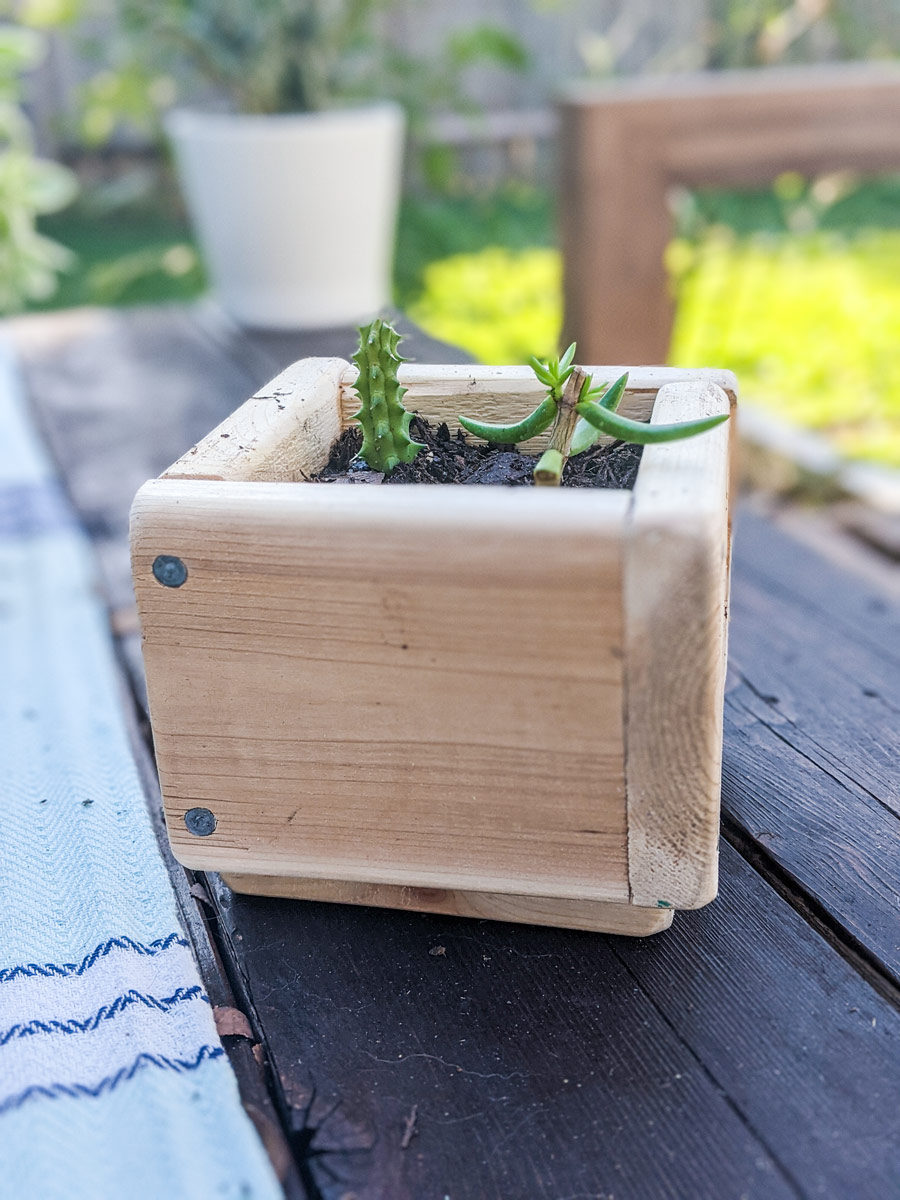
Today I made a charming planter box from scrap wood. All you need is a piece of scrap and a few common tools.
Supplies:
- Scrap wood (I used a ~25in 1x4)
- Jigsaw (you could hand saw if needed)
- Ruler and speed square
- Sander (you can sand by hand)
- Wood glue
- Clamps
- Nails (1.5" construction nails- these are all I have)
- Hammer
- Drill (for drainage hole)
- Pencil
- Sealer
- Stain (optional)
Process:
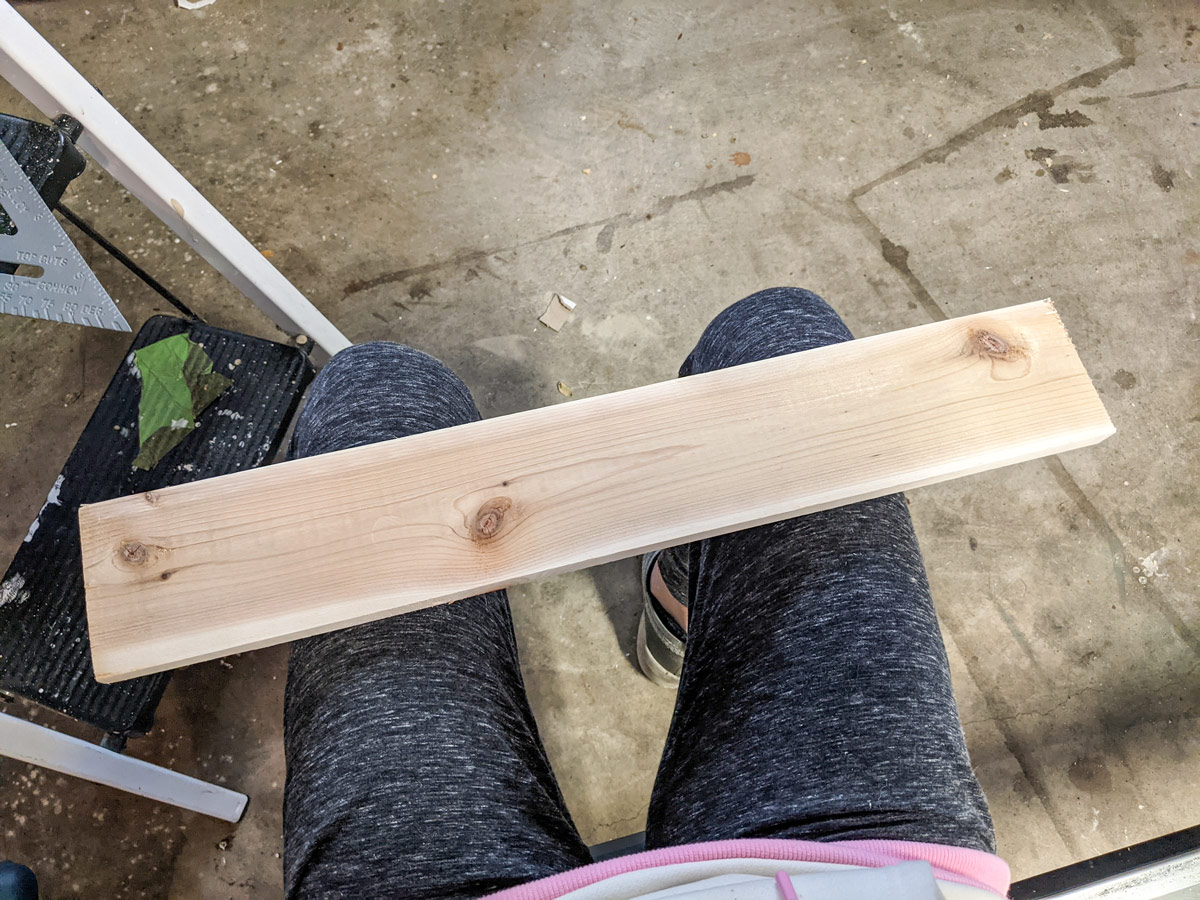
I dug around in my wood box for a small, but not too small, piece of wood and landed on an old 1x4 from a finished project. It was about 25 inches long, but not quite.
Measure out your piece and divide by 5 (4 sides and the bottom). The fractions I was dealing with were nuts, so I cut 4 pieces at 4 1/8" and my last piece was 5 inches long and had to be trimmed down so it wouldn’t extend past the planter. You’re probably going to want that bottom piece to be a touch longer than the other 4 just to make sure it will span the width of the planter.
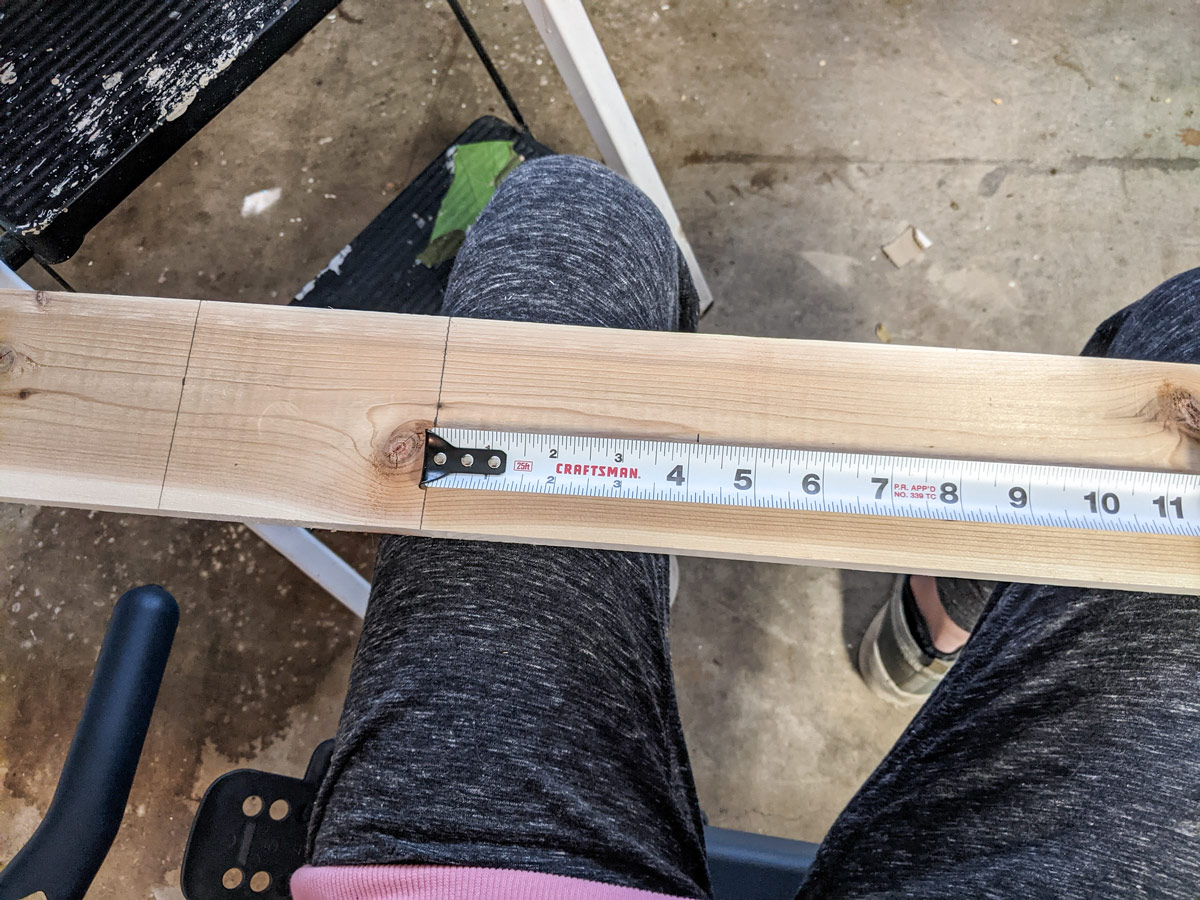
I measured with a tape measure then drew my cut lines on with a speed square so that they would be straight. Then, I got to cutting which is the fastest part.
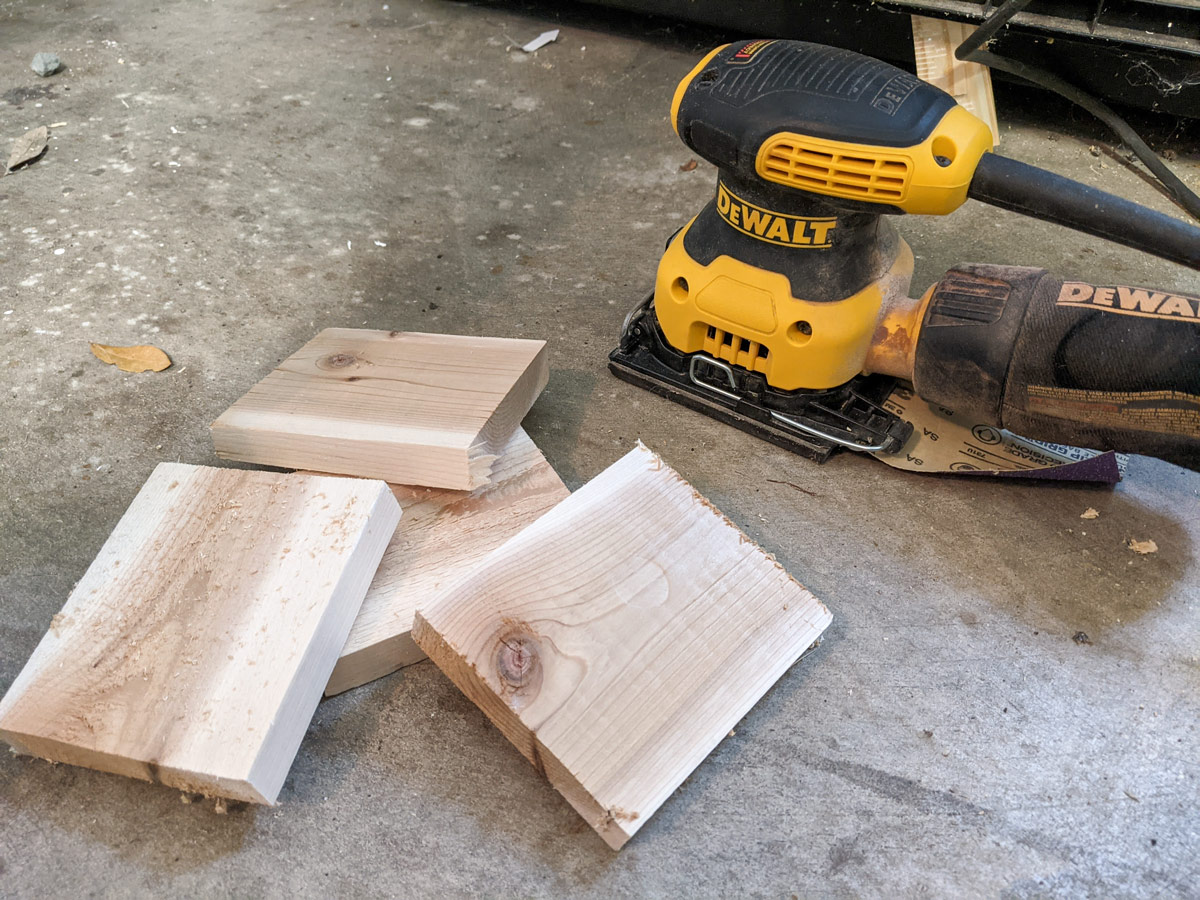
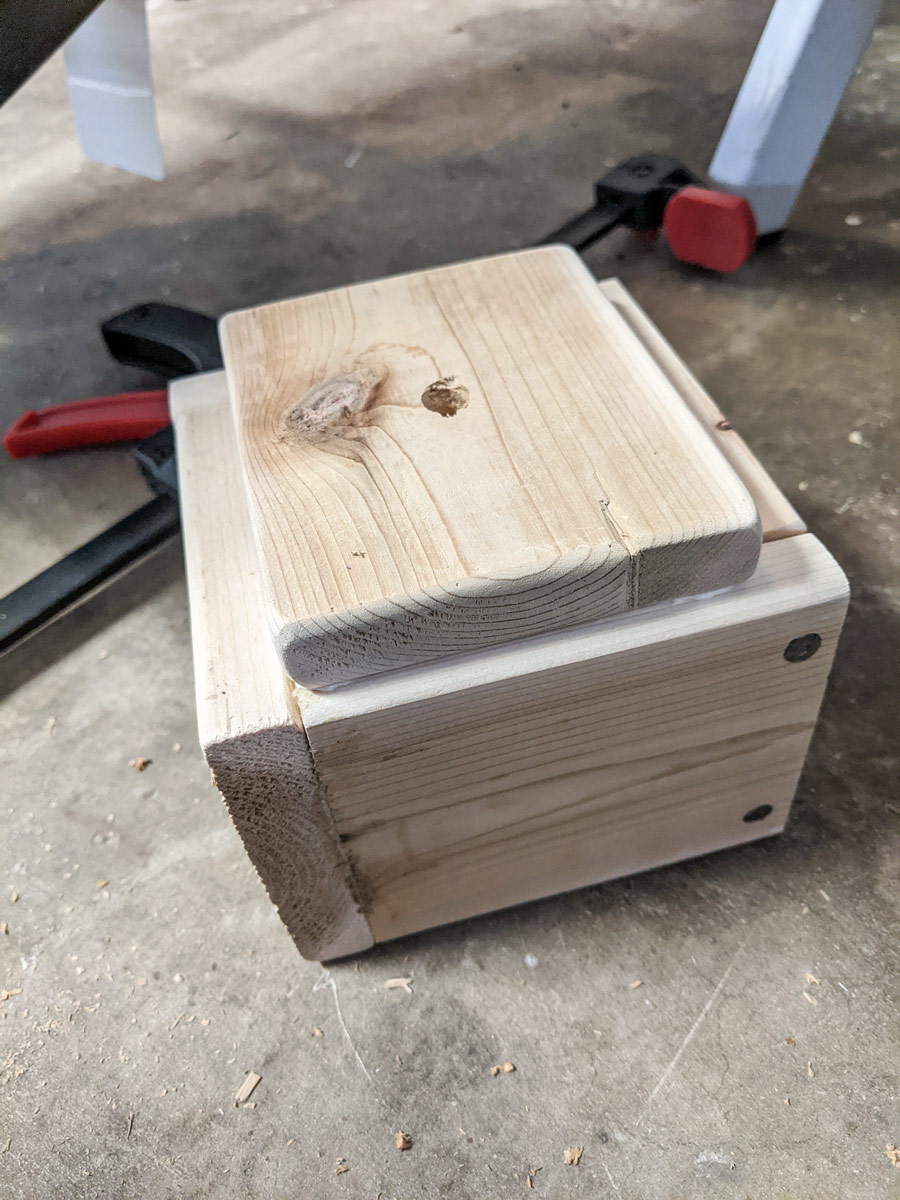
With my 5 pieces cut, I got to sanding. Got rid of all the splintery bits and rounded off the edges that would be the top and bottom. It gives it a cute look but is purely aesthetic.
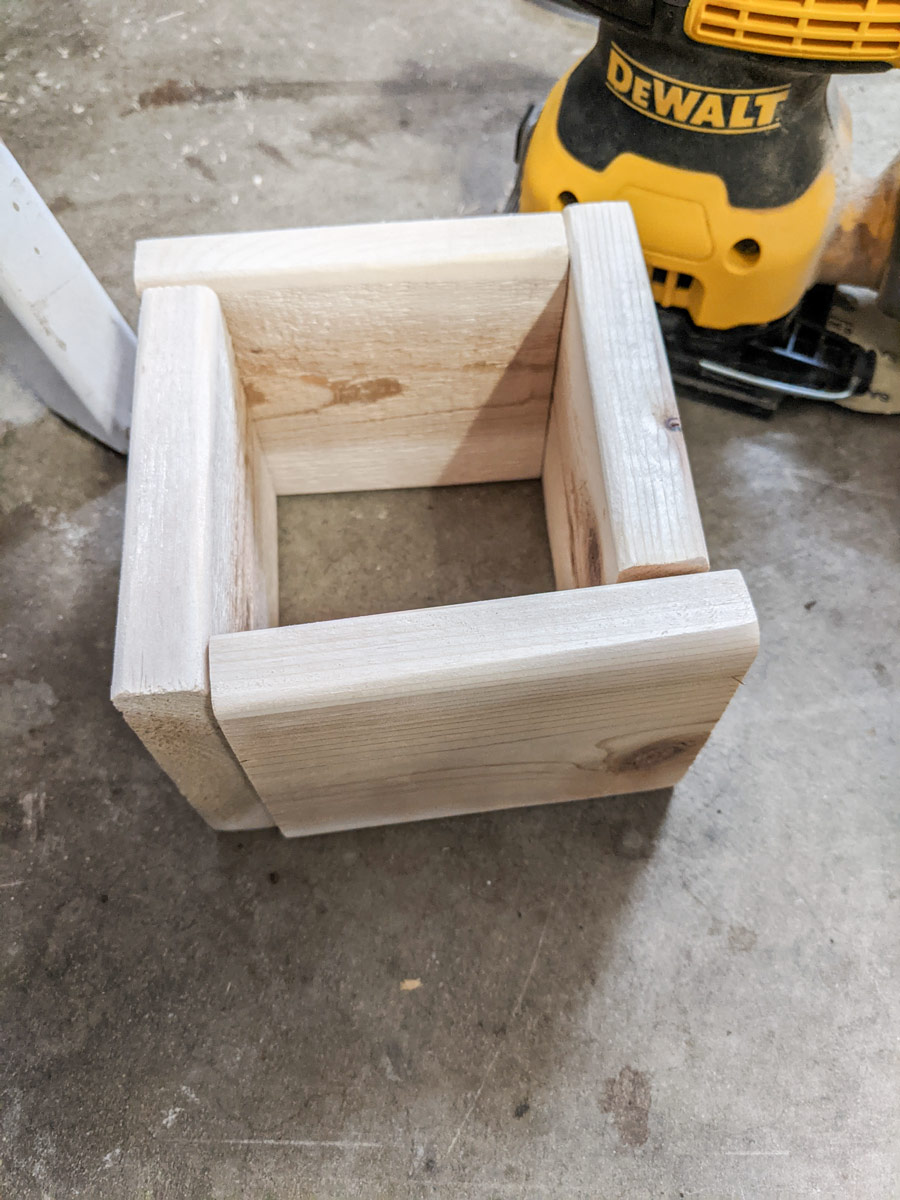
I glued and clamped the edges together and let them dry for 30 minutes. Waiting for the glue to set was the longest process as I had to do this 2 more times.
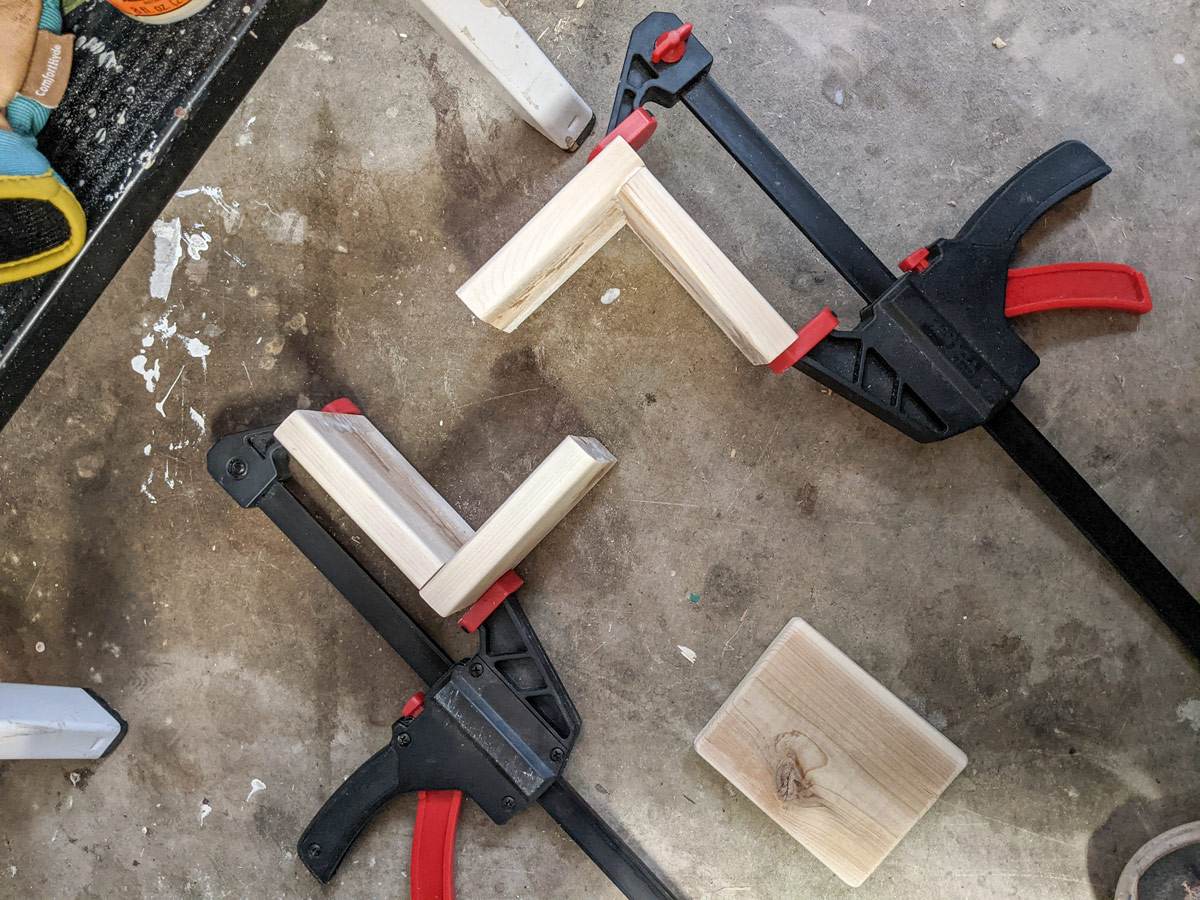
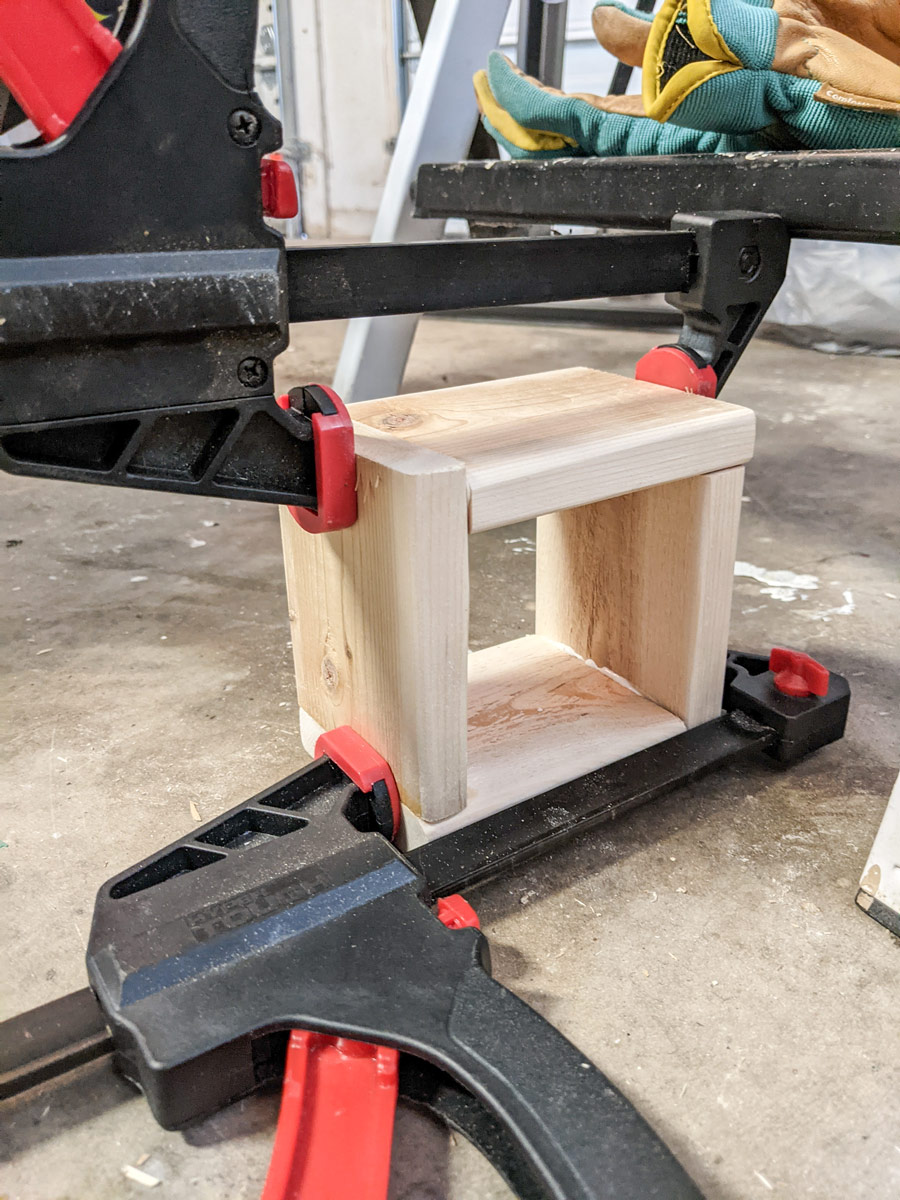
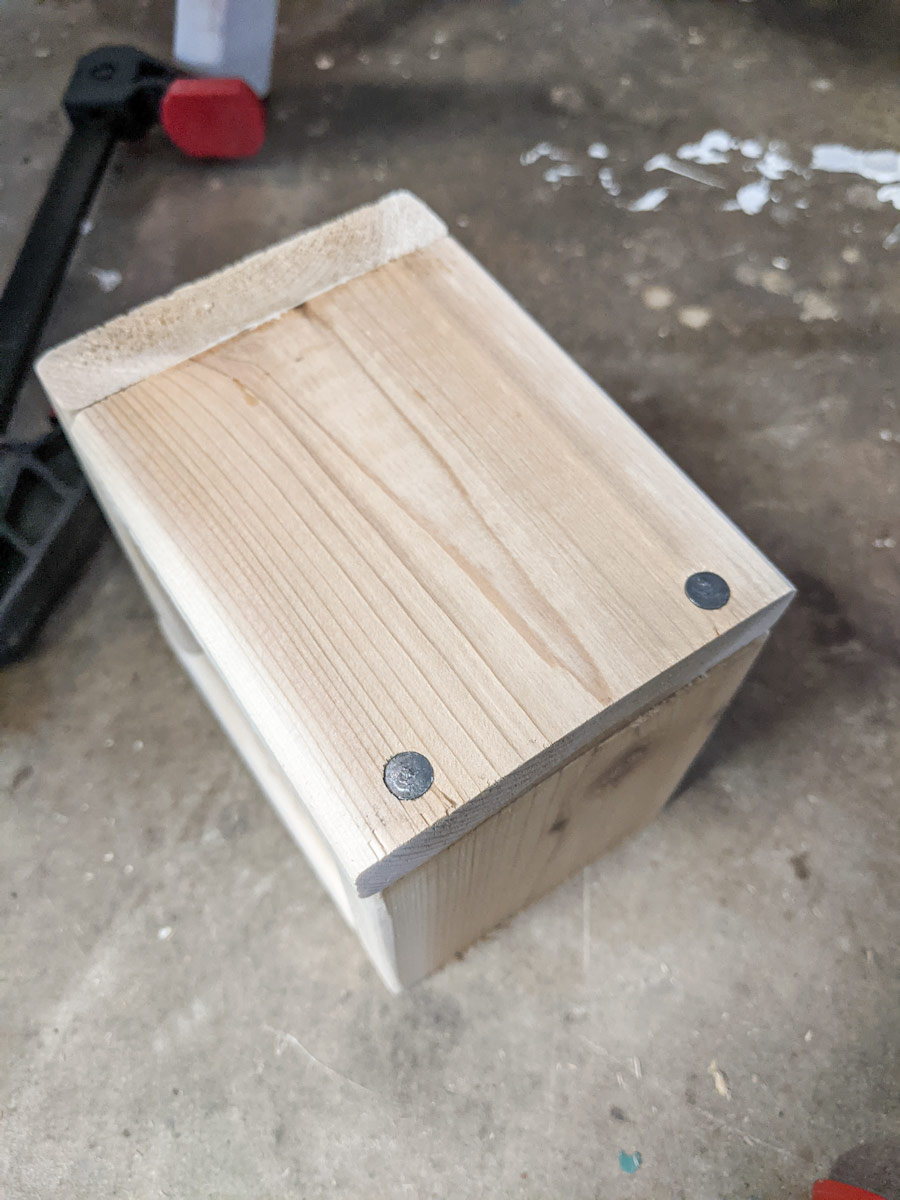
When the sides were dry, I hammered in 2 nails per corner. I like the look, but feel free to skip this step if you feel the glue is enough. I figure it makes it more secure and the nails look good in the wood. Also, I did not wait the 24 hour cure time for the glue before I put the nails in and I didn’t have any issues with the box coming apart.
Next, I drilled a hole through the bottom and glued it in place.
Do any extra sanding to make it ACAP (as cute as possible) then stain or paint if you’d like. I like the natural color of this wood so I left it.
The last step is to seal with a water sealer because this thing is about to constantly be wet. You could also use it as a decorative pot that a planter goes into if you don’t want to drill a hole through the bottom.
No matter what route you chose, once everything is dry it’s time for the best step- adding a plant! You can make this planter whatever size and shape you would like, just be sure to measure!