Our kitchen is white and grey- basically a blank canvas. I was hesitant to go with white cabinets because I really like color, however, my husband is the opposite which I understand. A lot of people really love neutral pallets…or are scared of color. However, I get the appeal of going with white cabinets in your kitchen. You can pull color in with decor or accents. I realize now that I might get sick of whatever color we painted the cabinets and want to redo them.
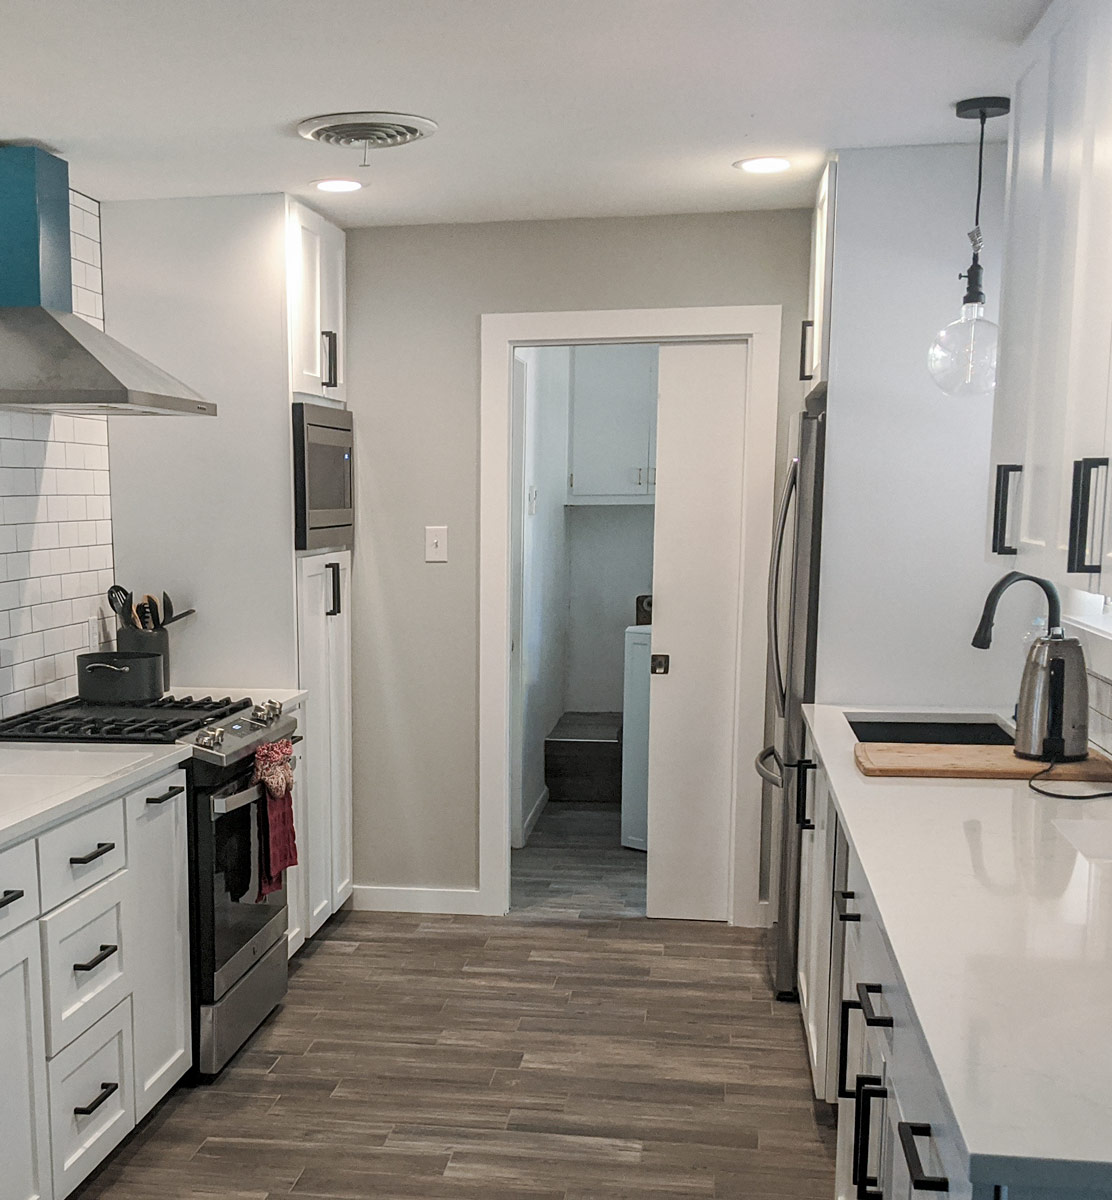
We have a pocket door that leads into the laundry room from the kitchen and, guess what, it’s also white. Since moving in, my husband has gotten more used to the idea that not everything needs to be some shade of grey. So when he suggested we paint the pocket door a fun color, I jumped at the opportunity.
Then he also threw out that we should put a design on it too. I was over the moon, to say the least.
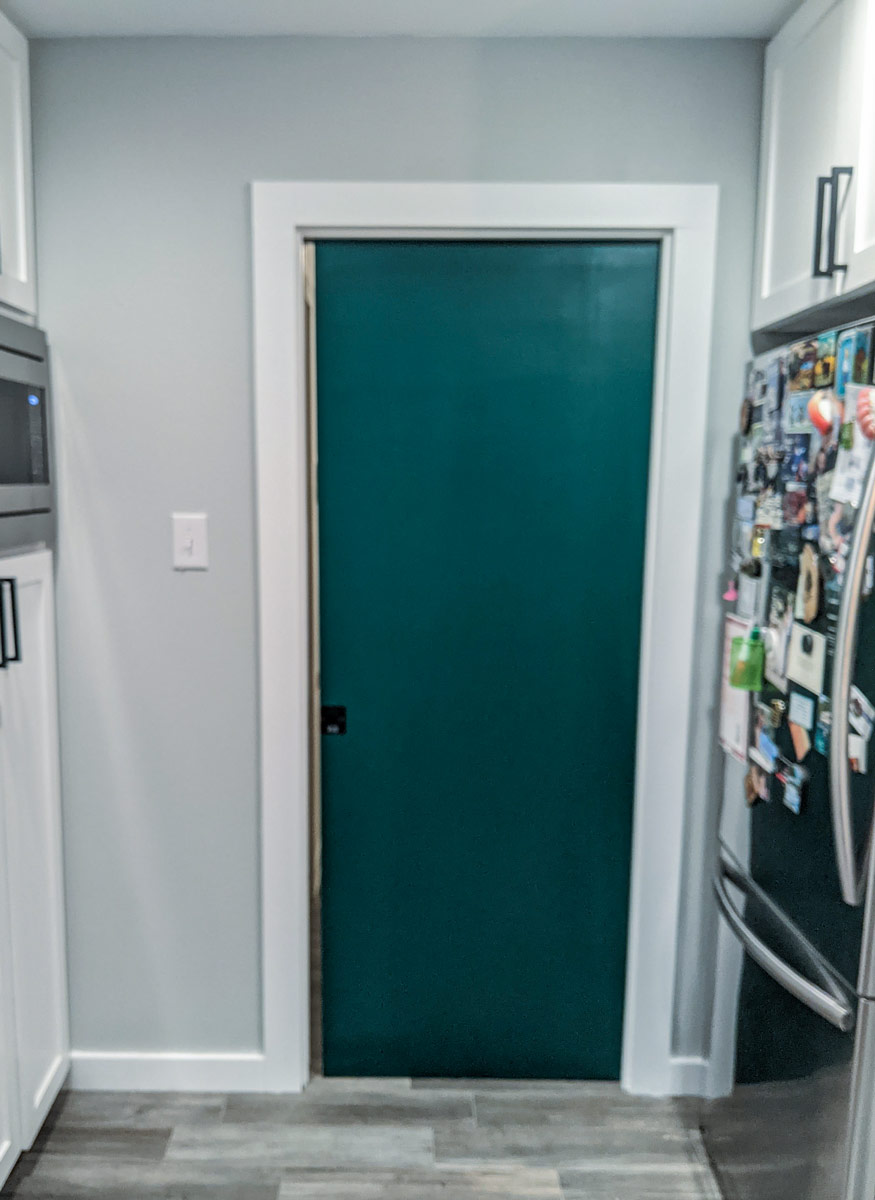
I would paint everything some shade of green if I could and this door was no exception. I bought a lovely shade of emerald green from home depot.
The hard part was finding a design we wanted to paint over it. I’m pretty crafty, but I’m not a great painter. I didn’t feel like I could freehand some beautiful mural and didn’t want it to be too busy either. This led us to start looking into stencils. They’re really popular right now and I’ve seen people use them to refresh all kinds of spaces. One of my favorites is using them on tile versus ripping it all up and laying new stuff.
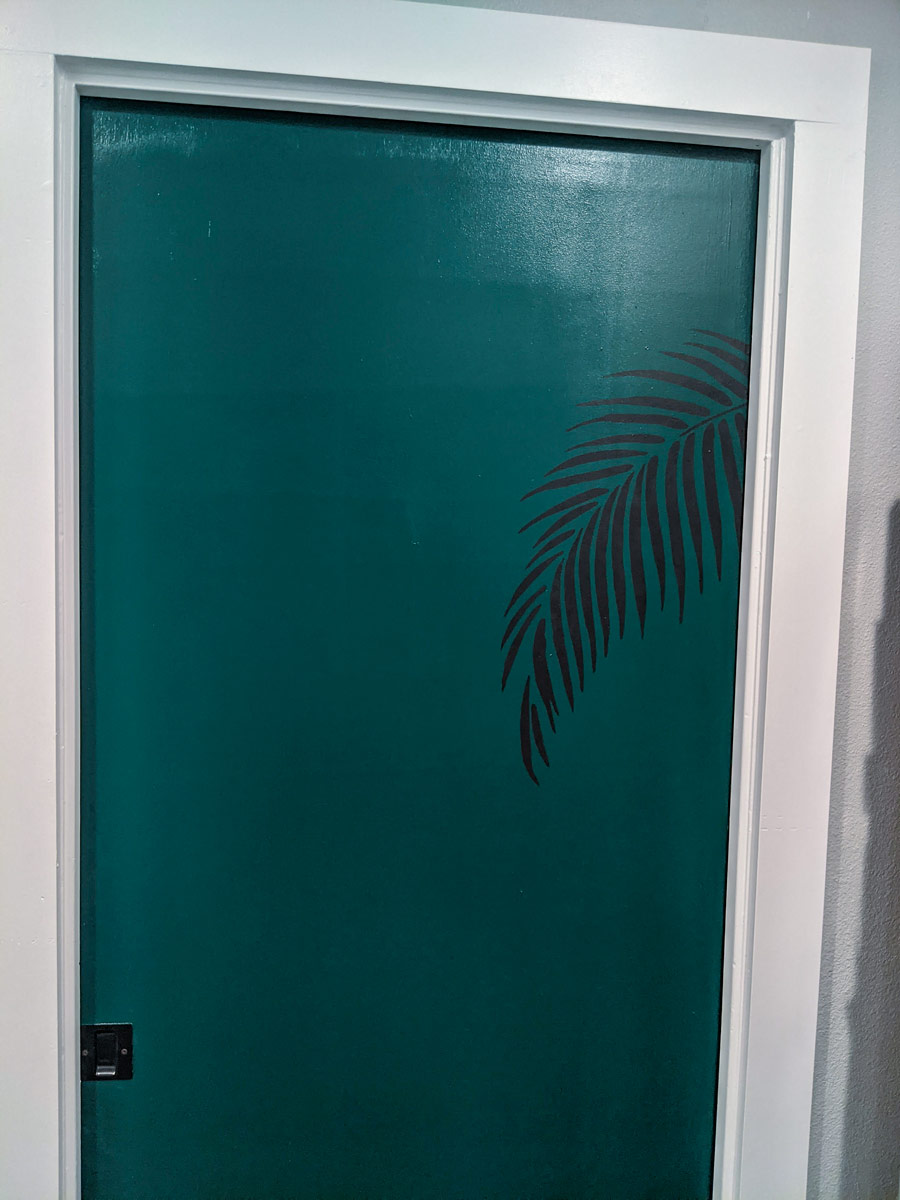
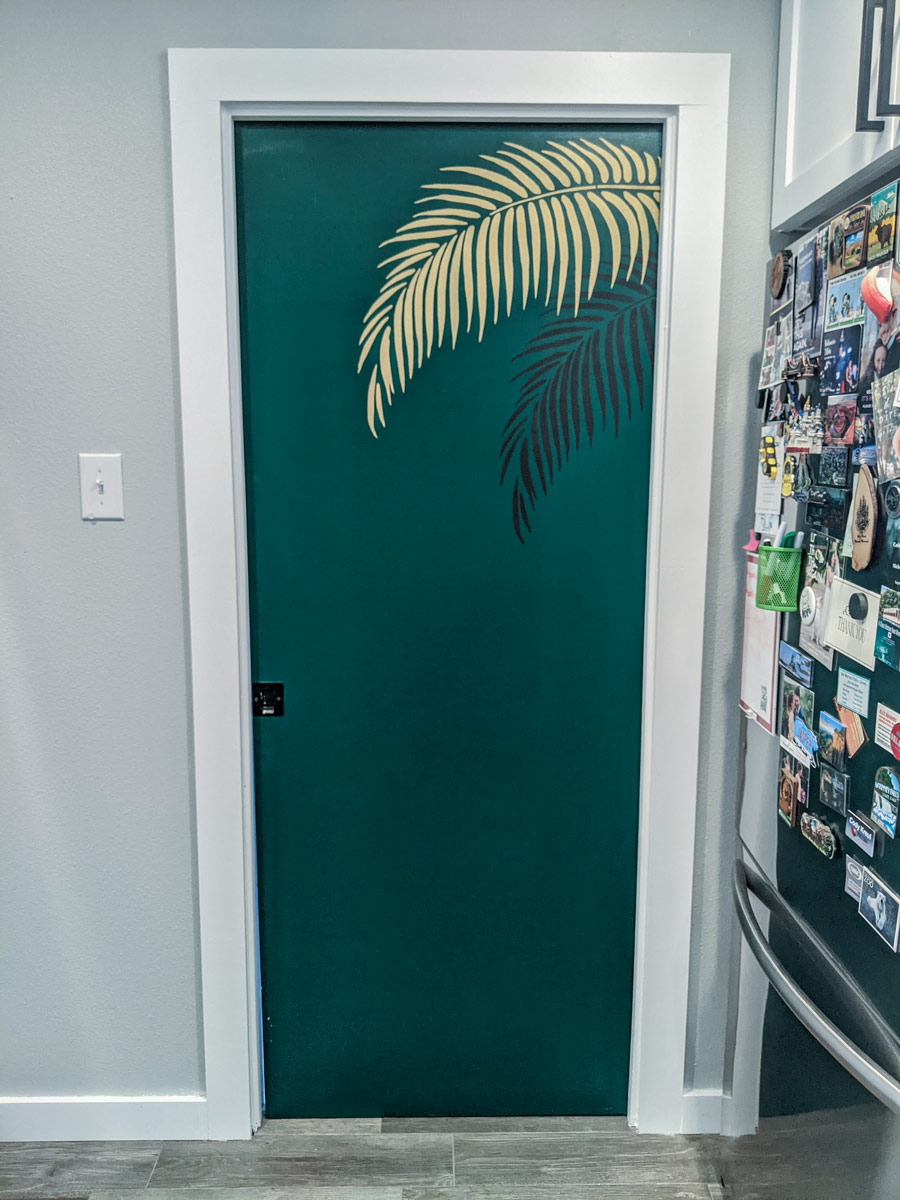
Anyway, we knew we wanted a simple design and scoured through countless sites trying to find the right one. We finally settled on this palm frond from Cutting Edge Stencils. We liked the example picture so much that we decided to do something similar on our door.
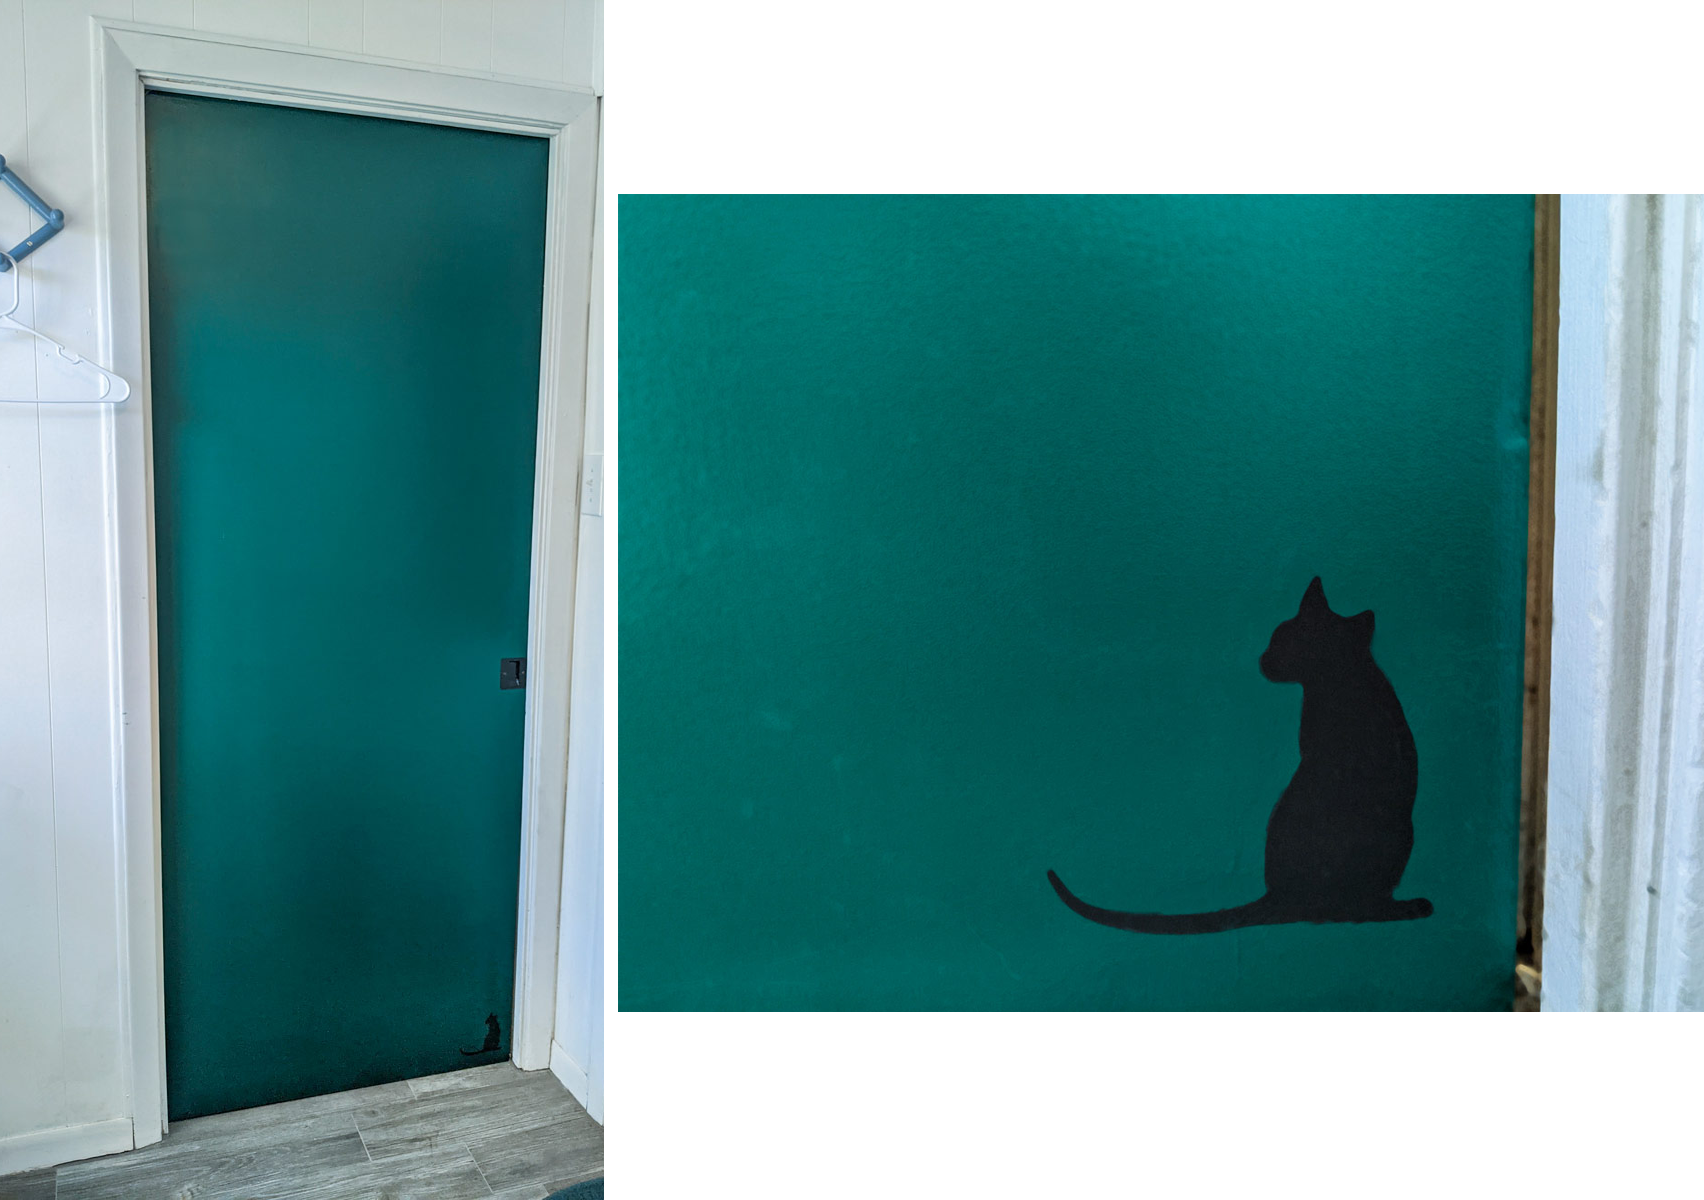
When the stencil came in, it also came with a few bonus stencils. There was a border one, a rhino, and a cat. We lost our cat to cancer about a year prior so I thought it would be cute to put the cat stencil on the other side as a little nod to her.
As I’ve said, I bought a brilliant shade of emerald for the door, but also got a dark green for one of the fronds as well as gold for the other.
Painting the door was simple enough. I taped around the trim and took off the little latch that all pocket doors have. I spray-painted that black and left it to dry outside. If I remember correctly, the door took about two coats to be covered completely.
I had never worked with stencils before and I was slightly intimidated about the size of this one. I started with the dark green leaf by sliding the stencil into the door gap and taping with painter’s tape. I used a foam brush I had laying around to apply. Once you start, the paint itself also helps hold the stencil in place. I’ve also heard spray adhesive helps, but I was hesitant since the door paint hadn’t had time to fully cure (which can take a month or more). The dark green went on easily and I had no trouble peeling the stencil off when I was done.
Then came the gold frond. I do want to make a note that this gold paint is a nightmare. It sounds dramatic, but it’s true. It’s incredibly thick, like pancake batter, and it was difficult to peel the stencil off without peeling all the paint off with it. It didn’t behave like normal paint so I had to be careful. I also had to do two coats because it went on fairly see-through.
The real trouble with this stuff came when I was painting in the cat stencil on the back. When I went to peel off the stencil, this gold paint had spot-welded itself to the stencil and everything underneath it so I had this huge chunk of paint just peel right off. I had to redo the emerald and then decided to use dark green for the cat instead. This went much better!
When everything was dry, I reattached the latch and it was done! It was a little difficult to get the edges of the door because of the trim, but I covered as much as I could and definitely everything I could see.
I just order another stencil today so get ready to see that DIY soon!