Update: How to install the new Google Nest Video Doorbell (wired)
I literally just finished packing up my tools from this project and wanted to write a quick tutorial of how I installed our new Google Nest floodlight.
My husband has been eyeing this thing for what seemed like months and it was finally released the other day. We ran to Best Buy to pick one up and to Lowe’s for a junction box then I got started the next morning on the install.
Spoiler alert: there was one more Lowe’s run in my future.
I’ll go over the issues I ran into, the exact supplies I bought, and do my best to explain how I installed our floodlight into a brick wall.
Supplies:
- Google Nest Cam with floodlight
- Hammer Drill (you have to have this when drilling into brick)
- Impact Driver
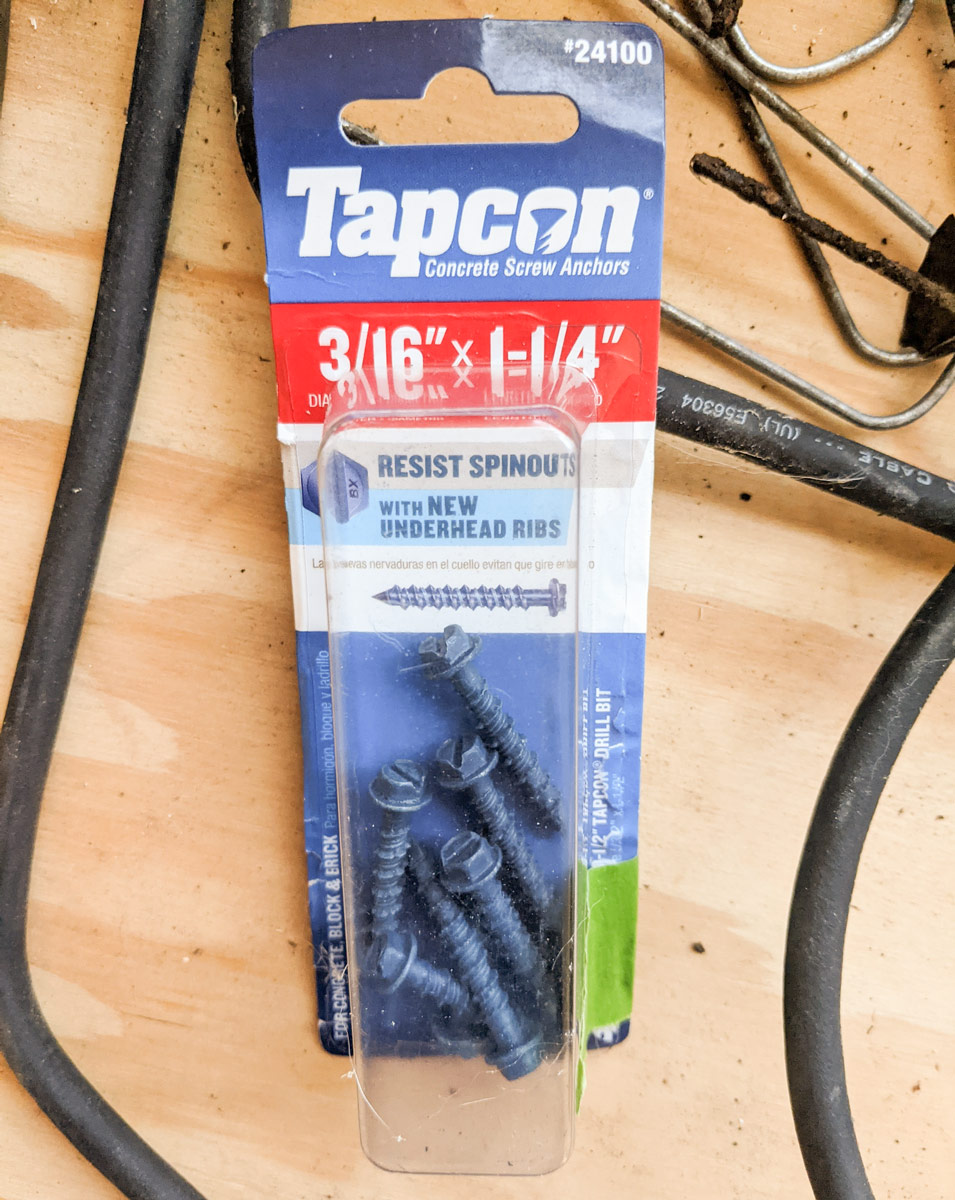
- Concrete Screws (3/16"; 1 1/4" length)
- Drill bit (5/32")
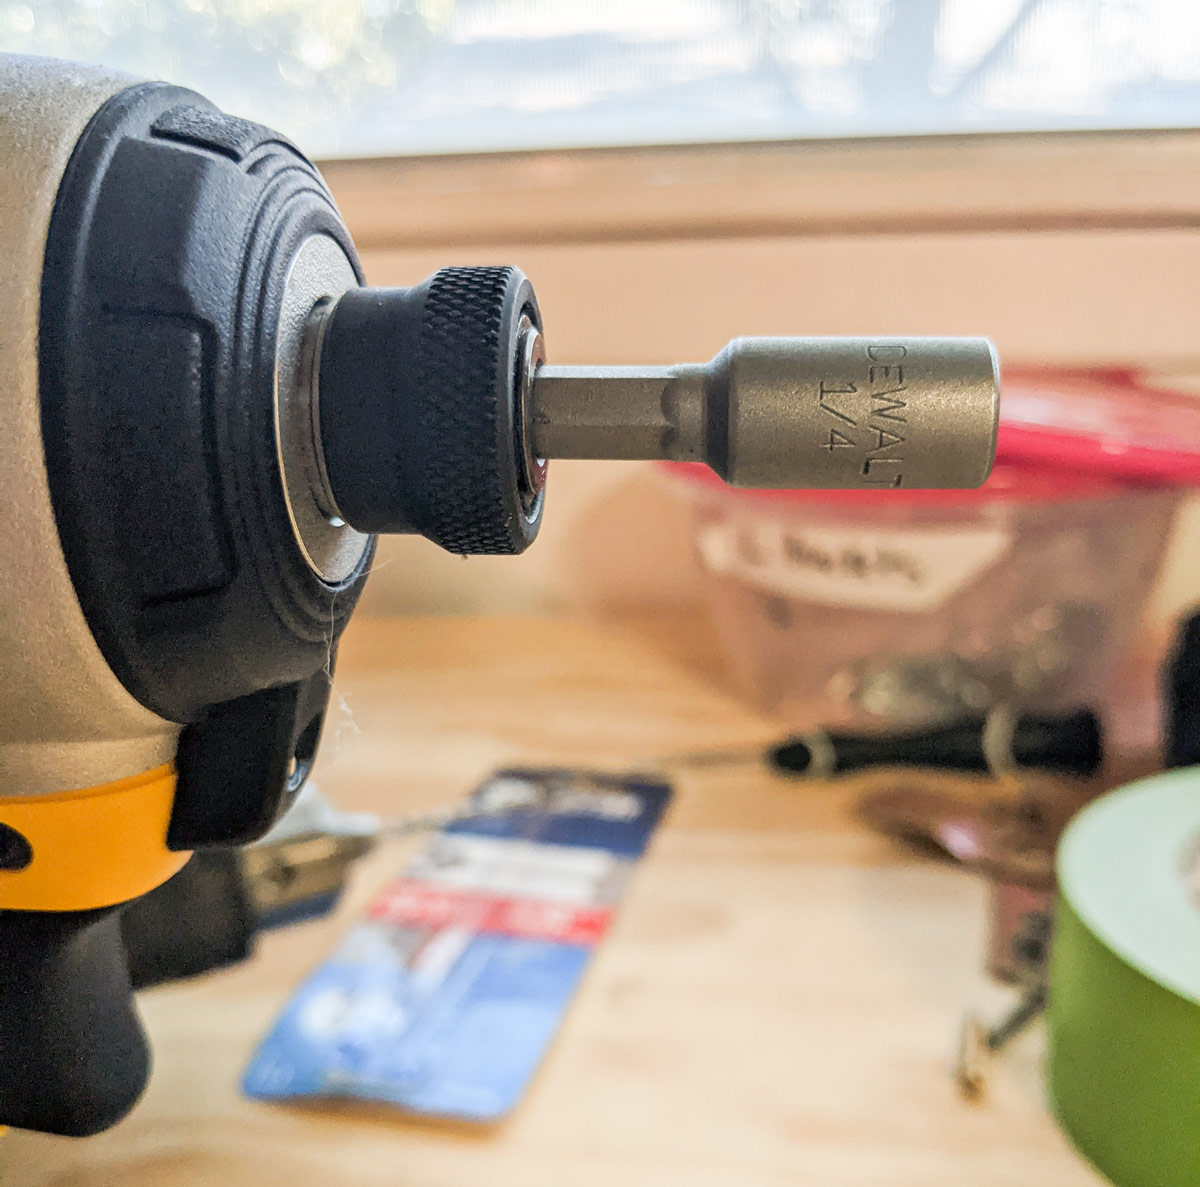
- Nut driver with hex bit (1/4")
- Compressed air for cleaning dust
- Junction box
- Outdoor caulk for waterproofing
- Safety glasses
- Ear protection
How-to:
Those links are to the exact products I used in this project.
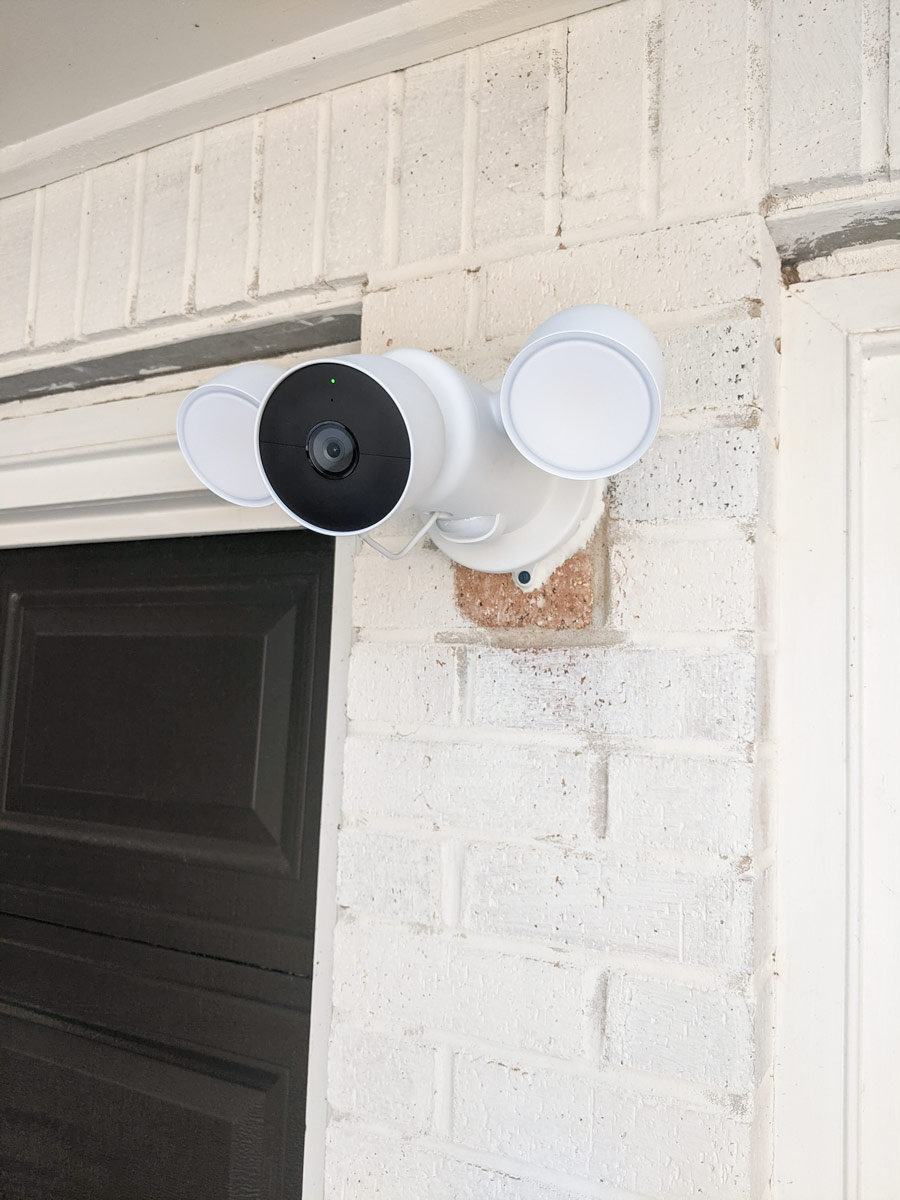
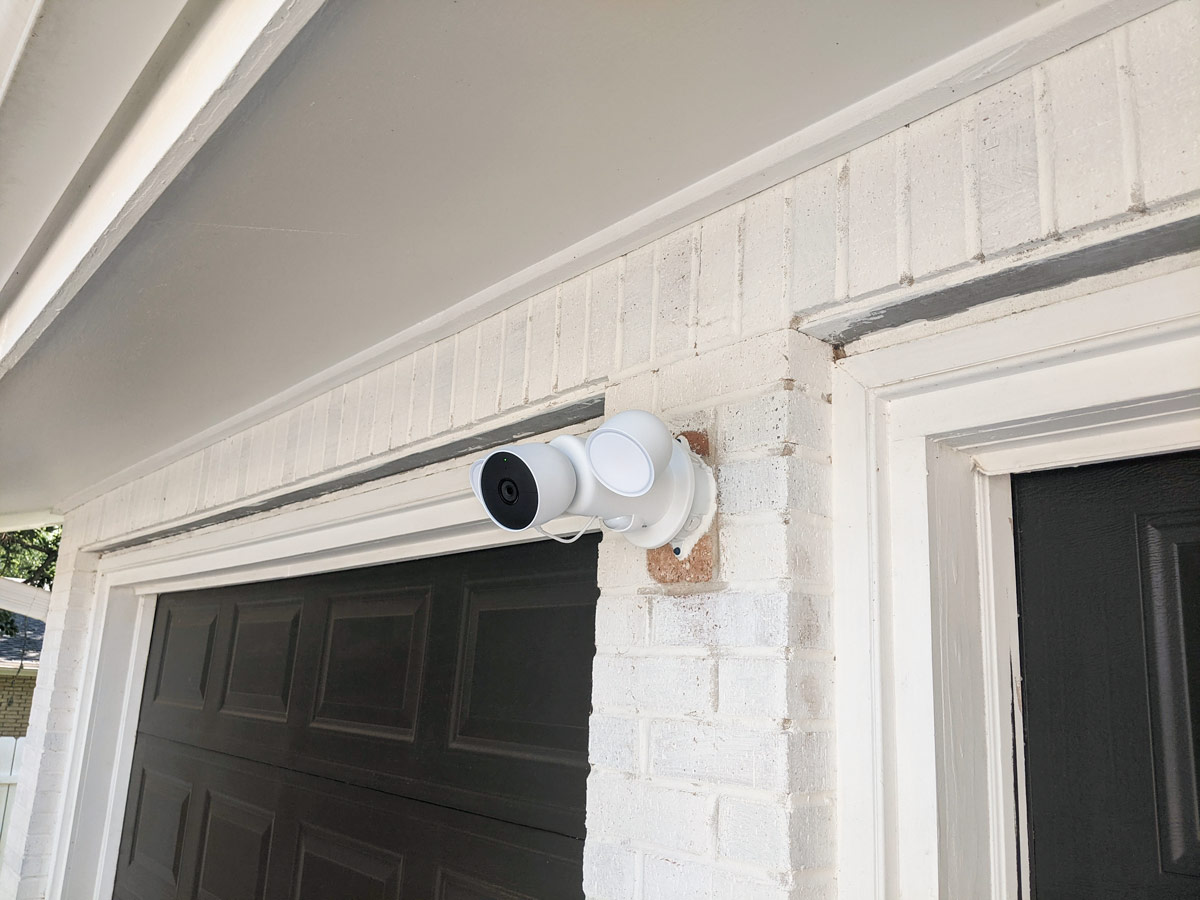
When decided we wanted a camera for the front of our house and chose a spot where an old, worn-out lamp was installed. The wiring would already be there, so it should be fairly straightforward. And, it was thankfully. I did have to run to Lowe’s a second time after buying the junction box to get all the masonry screws because I was hoping to be able to install the camera using what was already there, but it wouldn’t have fit.
The first step is to turn the power off to the light at the breaker- MAKE SURE YOU DO THIS. Once the power is 100% off, I started to dismantle the old light. Simple enough- take off mounting screw covers (unscrewed by hand), take off light, clip connected wires (leave plenty of slack to attach to your camera), throw light away, and then take off the old mounting hardware. There was a surprise junction box already inside of the brick, but it had no way to connect all the new stuff, so I’m glad we went ahead a got a new box.
Once all the old light stuff was off, I was left with a hole, a black wire, a white wire, and a loose ground wire because it was secured to one of the little brackets holding up the old lamp. This ended up being fine, so don’t worry if yours doesn’t come out of the wall either. I set mine aside for later.
Next, I put my new junction box against the brick and used a sharpie to mark where the two mounting holes landed. Be sure to drill into the brick itself and NOT the mortar.
Using that 5/32" drill bit in my hammer drill, I drilled into those marked spots and through the brick. You need to pre-drill otherwise you risk cracking the brick- the same as pre-drilling through wood. Also, be sure to drill the hole longer than the length of your screws. Clean out the holes with compressed air or a vacuum. You want it clean so the screws can really dig into the brick itself and not the dust. Also, be sure to wear ear protection. Hammer drills are very loud.
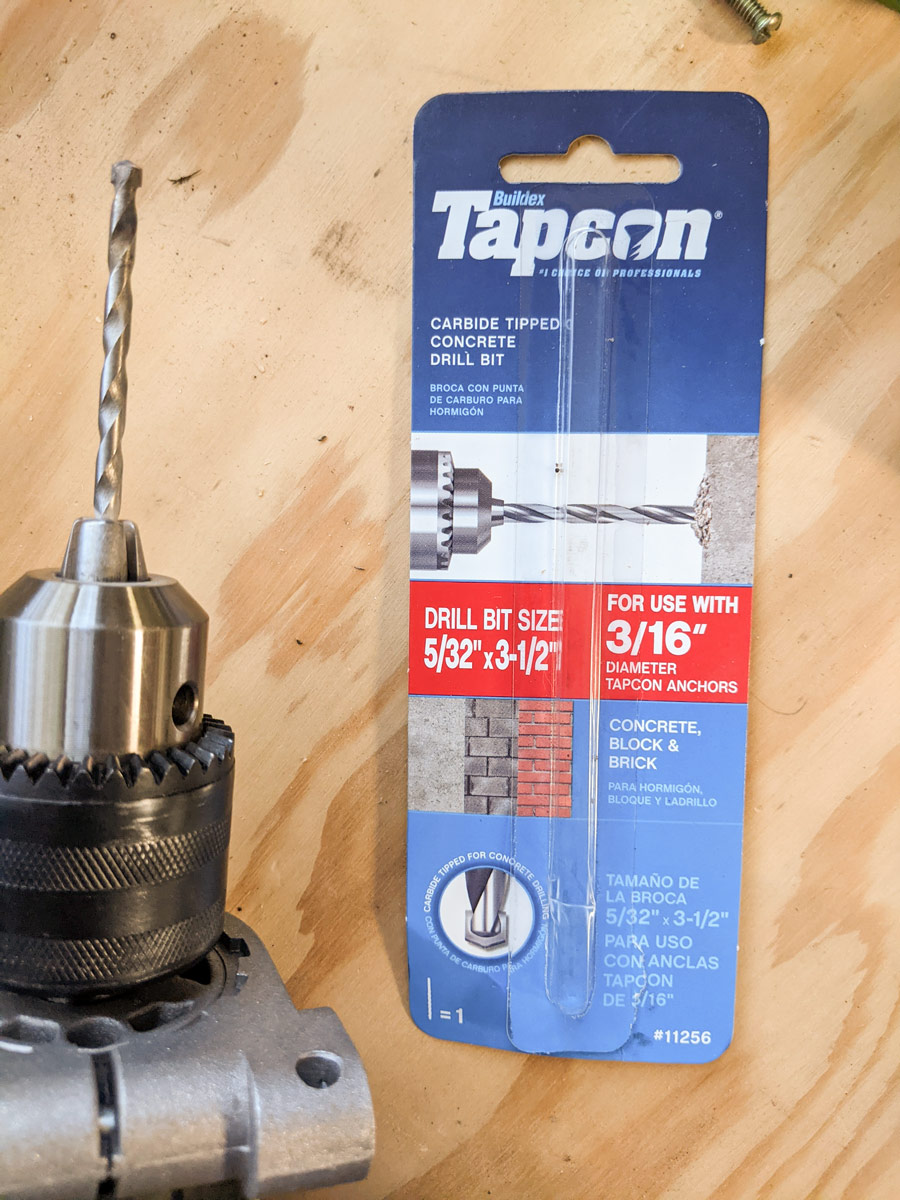
What was nice about the concrete screws were the instructions on the back. They said the exact size drill bit you would need to predrill as well as the size of the nut driver to drill in the screws themselves. Another bonus is that all of these products are pretty inexpensive so I ran around the store grabbing everything I needed.
Time to mount the junction box. I positioned mine up and down so the screws would land in the middle of those bricks versus being a little too close to the mortar. I attached my new nut driver to my impact driver (you can use a hammer drill for this, but make sure the hammer function is off) and screwed in the top and bottom screws until secure. Don’t overtighten, otherwise, you will crack the brick.
I attached the ground wire onto the ground screw of the junction box and made sure to run the black and white wires through.
Now it was time to attach the mounting plate to the junction box. When you’re positioning it, test the fit with the mounting plate cover to make sure it’s upright. The arrow and “G” on the cover need to be upright and level. Be sure to connect the other end of your ground wire to the mounting plate because that side goes inside the junction box.
Here is my first gripe with the Nest Cam. When I went to screw the mounting plate to the junction box, the included junction box screws with the Nest Cam DID NOT FIT. They were too skinny for the holes in the junction box. Thankfully, it came with its own screws that I used to attach the plate to the box.
Make sure the plate is level then screw in and tighten your mounting screws. I placed one at the top and bottom. Feed the white and black wires through.
The mounting plate cover goes on next. Remember to make sure the arrow and “G” are upright and snap it onto the mounting plate (it will make a click sound). There are 4 screws included that secure the cover to the plate. Feed the black and white wires through (last time).
Now, grab the floodlight and that ‘S’ hook that’s also included in the box. There’s a little hole on the bottom of the floodlight where you can hook that ‘S’ onto, then hook the other end onto the plate cover you just installed. You’re now hands-free and can hook up the electrical. This is the greatest invention ever, in my opinion.
With the included caps, connect the black wire from the wall and black wire from the floodlight and twist on one of the caps over the wire ends. Then do the same for the white wires. Now, shove those bad boys back through the hold and into the junction box to get them out of the way. You can be a little rough, those caps are super secure.
Line up the holes on the mounting plate with the brackets on the floodlight and twist the floodlight into place.
The camera has a powerful magnet in it and pops onto the front of the floodlight. The little wire connector on the floodlight plugs into the bottom of the camera.
Second gripe. It was time to put in the anti-theft screws, but the included Allen wrench was too small for the screw that goes on the bottom of the floodlight. I have a set of Allen wrenches and none of them worked. I got it in there as best I could, but whatever. There is also an anti-theft screw on the bottom of the camera (it’s the larger of those screws) and that one when in just fine.
All you have to do now is turn the power back on and make sure it works. It’ll light up and do that Google chime thing. If it does, you can connect it to your app. If it doesn’t, then…I don’t know. Good luck, I guess.
AND THAT’S IT.