Update: I have PDF woodworking plans available in my Etsy shop!
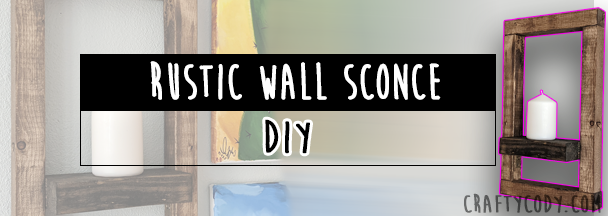
I was perusing Pinterest a while ago (as one does) and came across a wooden sconce that I really liked. I can’t remember the price, but I remember thinking that I could easily recreate it for less. So I did.
I found some similar ones on Lowe’s and Wayfair for around $50-$100, which is an exorbitant amount of money for such a small thing. You know my mantra is making the things I see for cheap. Let me show you how I did it.
Supplies
- 2x2x8
- 2x4x2 (they have the precut ones at Lowe’s)
- Miter saw
- Drill
- Drill bits
- Torx screws (x4: 4-in)
- Sander
- Clamps
- Wood glue
- L-brackets (x2)
- Polyurathane
- Stain (I used 2 colors)
- Hangers (the toothy kind)
- Ruler
- Speed square
- Gloves
- Eyewear
- Earmuffs
- Pencil
Process
Let me start off by saying I had this grand idea to use dowel pins instead of screws for this project. I quickly found out it’s quite difficult to drill perfectly straight down without a drill press. After I had put the whole thing together, I realized it wasn’t going to work and rolled with my plan B: wood screws. I was upset because I was excited to do something different, but alas it’s all a learning experiment. Using screws did shorten my blog and video though, so that’s good for you guys!
An important note to keep in mind is the actual dimensions of lumber. Carpentry is all math and those real numbers can really bite you in the bum. My 2x2 was actually about 1.5x1.5 so I did my measurement accordingly.
I decided I wanted my sconce’s frame to be 10x14 which meant the opening would be 7x14 since I would be putting the two smaller pieces on top and not losing any of the length. This means I needed to cut a 7-inch piece off of the 2x4 to fit in the middle of the sconce. With these measurements, you can get two sconces out of an 8ft board.
I measured out two 10" pieces and two 14" pieces and used a speed square to make sure the cut lines were straight. Then I clamped the whole board down to my miter saw and made my cuts. I did the same for the 2x4.
After all the pieces were cut, I gave them a good sanding. I’d also recommend staining your pieces now especially if you’re doing different colors.
Decide where you’d like your shelf to be and glue then clamp all the pieces together. If you’re using L-brackets, wait to attach the bottom 10-inch piece until you’ve put those on. It will be a tight fit for the drill if that’s in your way. Believe me.
When the glue has set (about 30 minutes), predrill two holes into the top and bottom where the 2x2’s meet. You’ll want to use a bit that’s smaller than your screws, but it’s important to not skip this step otherwise you risk cracking the wood. If you do crack the wood and it’s not too far gone, you can make a simple wood filler with glue and sawdust. I made a YouTube short demonstrating how.
Now you can drill your screws in. I also decided to go with the L-brackets because I didn’t want two screws to be obvious on the sides of the sconce.
Spray a few coats of poly to protect the wood.
The last step is to add the hangers. Those tooth hangers have the TINIEST nails to attach them. Use a pair of needlenose pliers to hold the nail in lieu of your fingers and they’ll go in much faster.
Now go hang it up and put a plant on it!
