I, like many people, have too many plants and not enough window sills to put them on. We also have a pretty dark house so I feel compelled to put most of my plants in our large, picture window at the front of our house. However, the window sill is only about 5-inches deep and, even though it’s long, it filled up quickly. Since I ran out of horizontal space, it was time to get some ideas which lead to spending hours on Pinterest.
And it paid off!
I found some great ideas on how to utilize the vertical space of my windows without drilling or any complex construction. It’s always a fun challenge to try and recreate something I see online and to see how cost-effective I can do it.
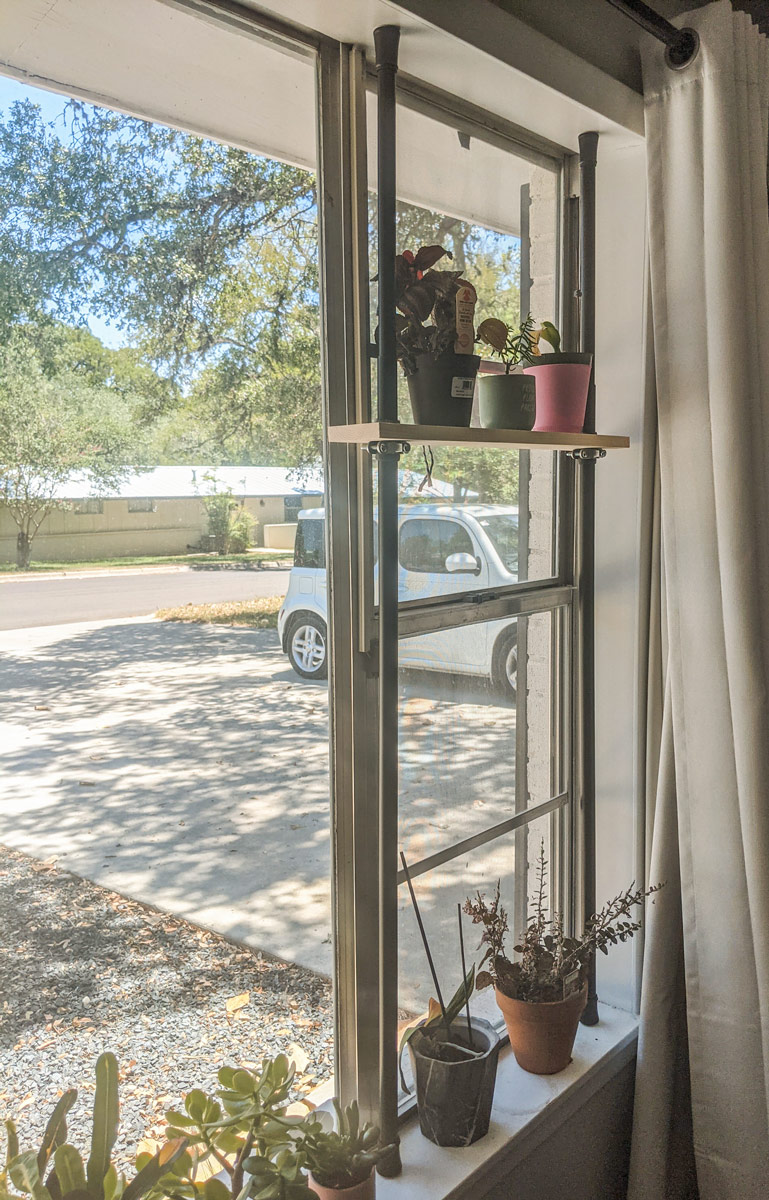
Basically, they’re floating shelves that use curtain tension rods and some clamps to “float”. I’m going to be putting two shelves on mine, but you can add as many as you need so long as it’s within the weight requirements for the rods. You don’t want this thing crashing down in the middle of the night.
This is a quick and relatively inexpensive project. If I remember correctly, the whole thing cost about $40.
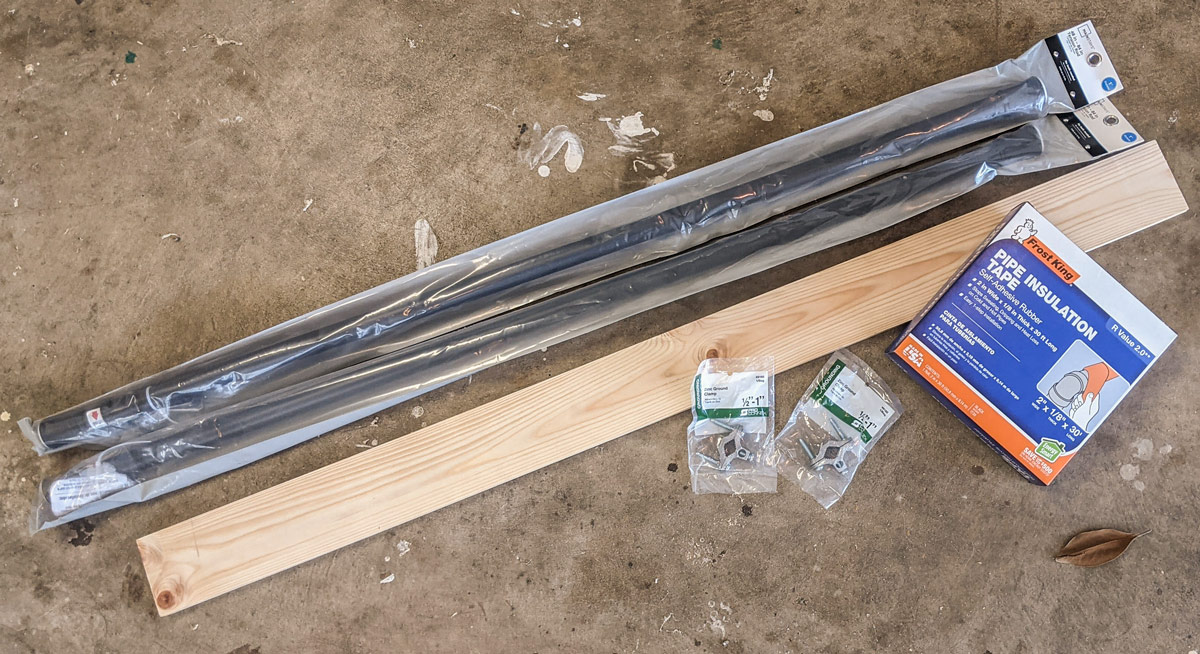
Supples:
- 1x4x4 piece of wood cut in half
- Drill
- 1 1/4" spade bit
- Sander
- Miter saw
- Tension curtain rods (x2)
- Clamps (x2 per shelf)
- Rubber insulation tape
- Safety gear (earmuffs, glasses, mask)
How-to:
Setting up:
Decide how long you want your shelves to be. I went with 2ft each so I bought a 4ft long board and cut it in half. I also went with a 1x4 because the depth of my window is 5-inches so a 1x6 would be too wide and the curtains would close awkwardly.
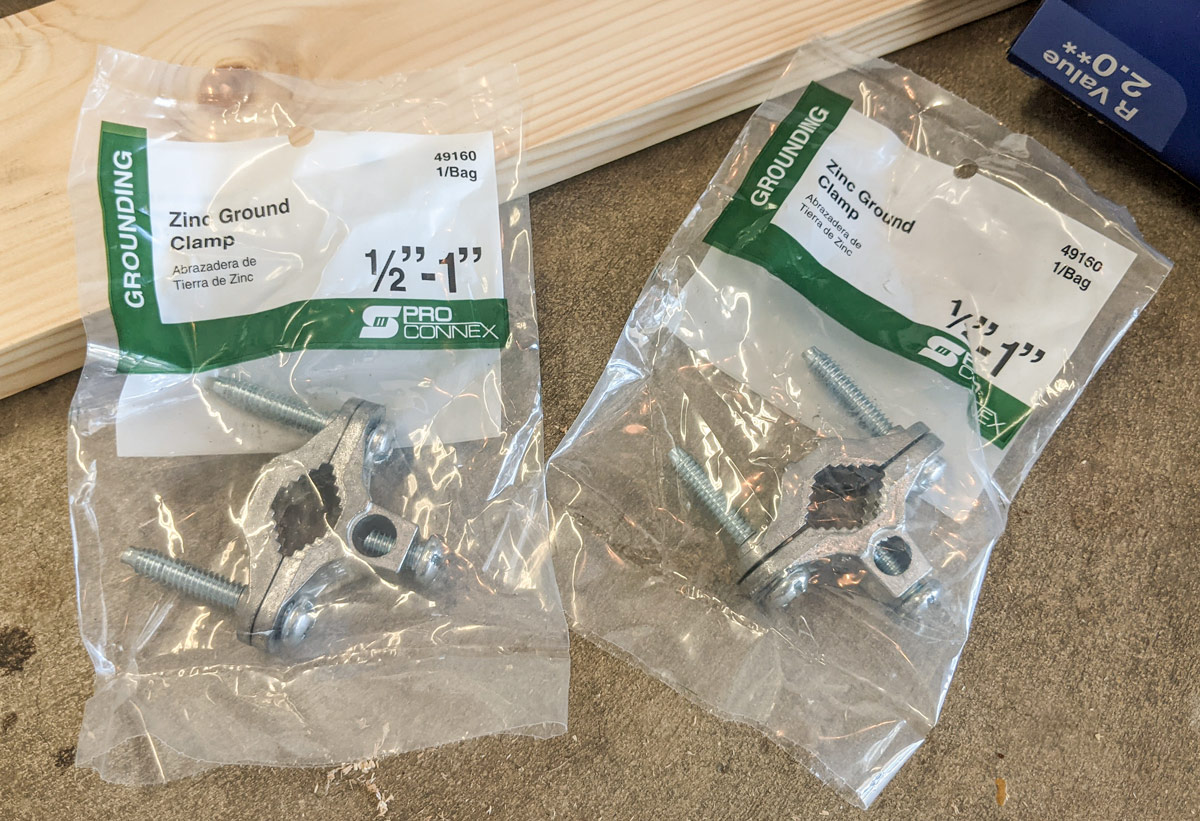
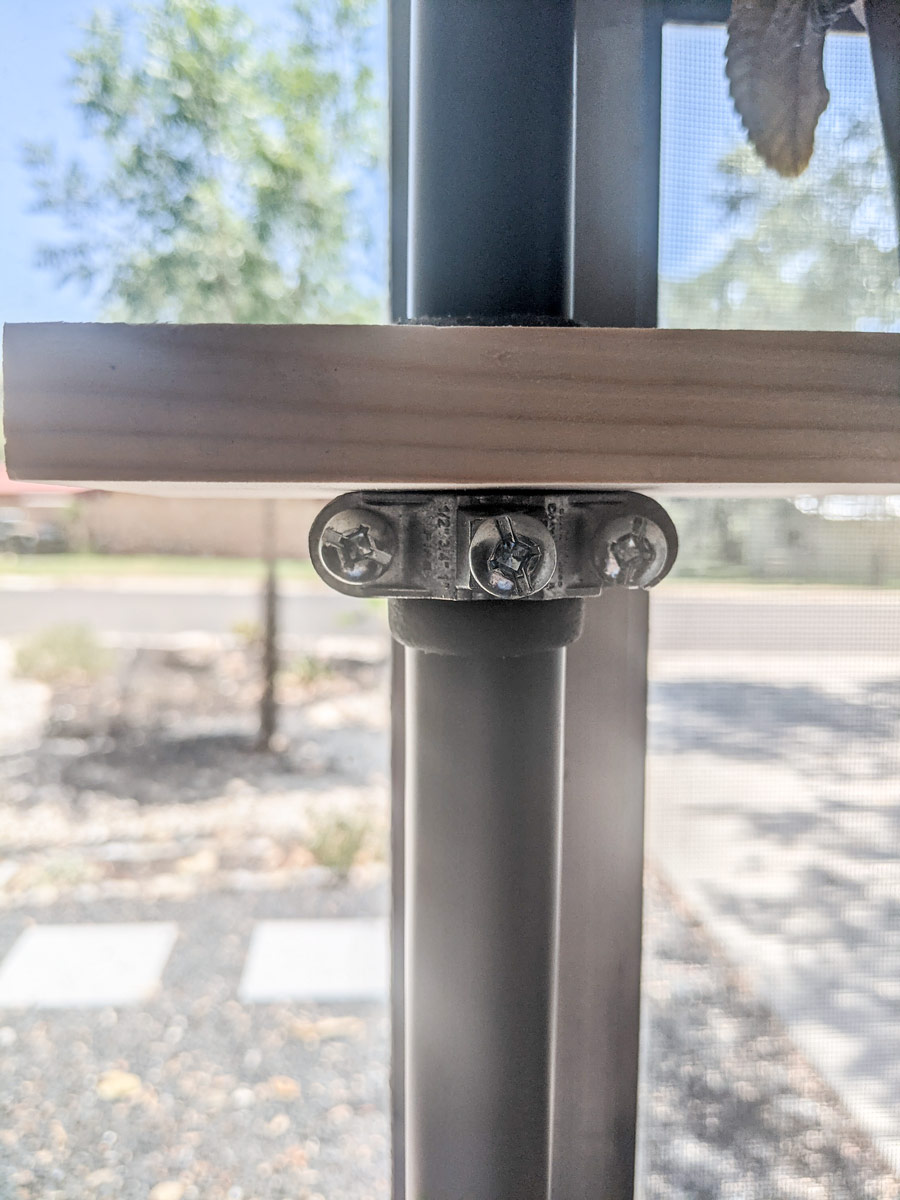
The other thing you have to decide on is the clamps that will be holding the shelves up. I tried to find ones I saw in pictures, but Lowe’s was out of stock (of course) so I had to improvise a little. I went with these zinc ground clamps. They’re metal, only a little more expensive than what I was going to buy, and they come with the bolts to tighten them. They also add an industrial look to the shelves which matches how we’ve decorated the rest of the space.
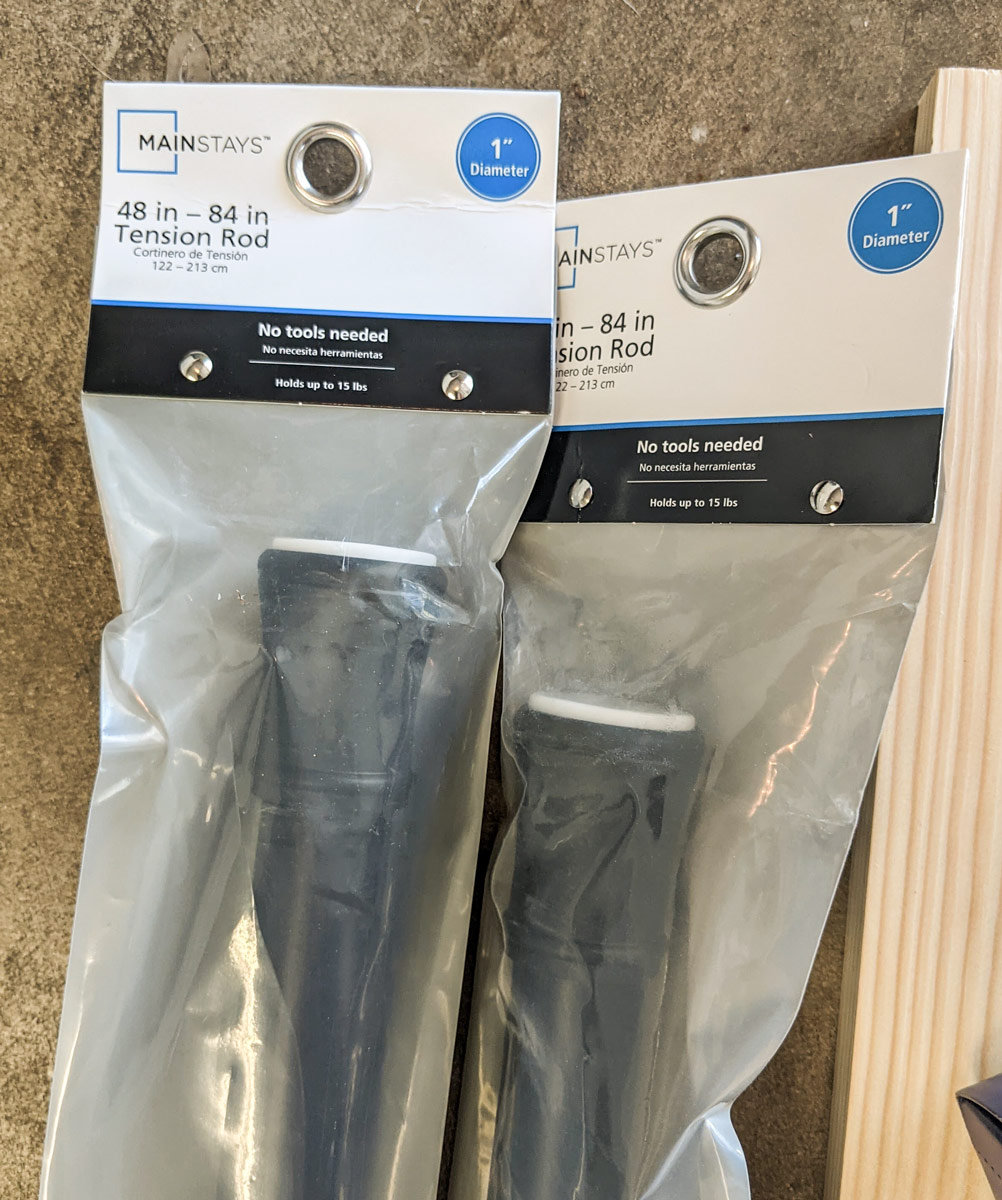
Measure your window’s height and get the tension rod that will fit. I bought Walmart’s brand in black. They’re 1-inch wide which is why I went with a 1 1/4-inch spade bit for the shelves. If your rods are smaller or larger then change the spade bit accordingly.
Cutting and Drilling:
I cut my piece of wood in half and ended up with two 2ft pieces. This is a great project because this is the only cut I had to make.
To make sure the holes would be even, I measured 2 1/2 inches into the wood and 1 3/4 inches down. I marked where those two lines intersected and that’s where I drill my holes. The holes need to be placed far enough from the edge so you don’t split the wood. Also, we’re measuring 1 3/4 inches down because a 1x4 is actually 0.5x3.5 and half of 3.5 is 1.75 or 1 3/4.
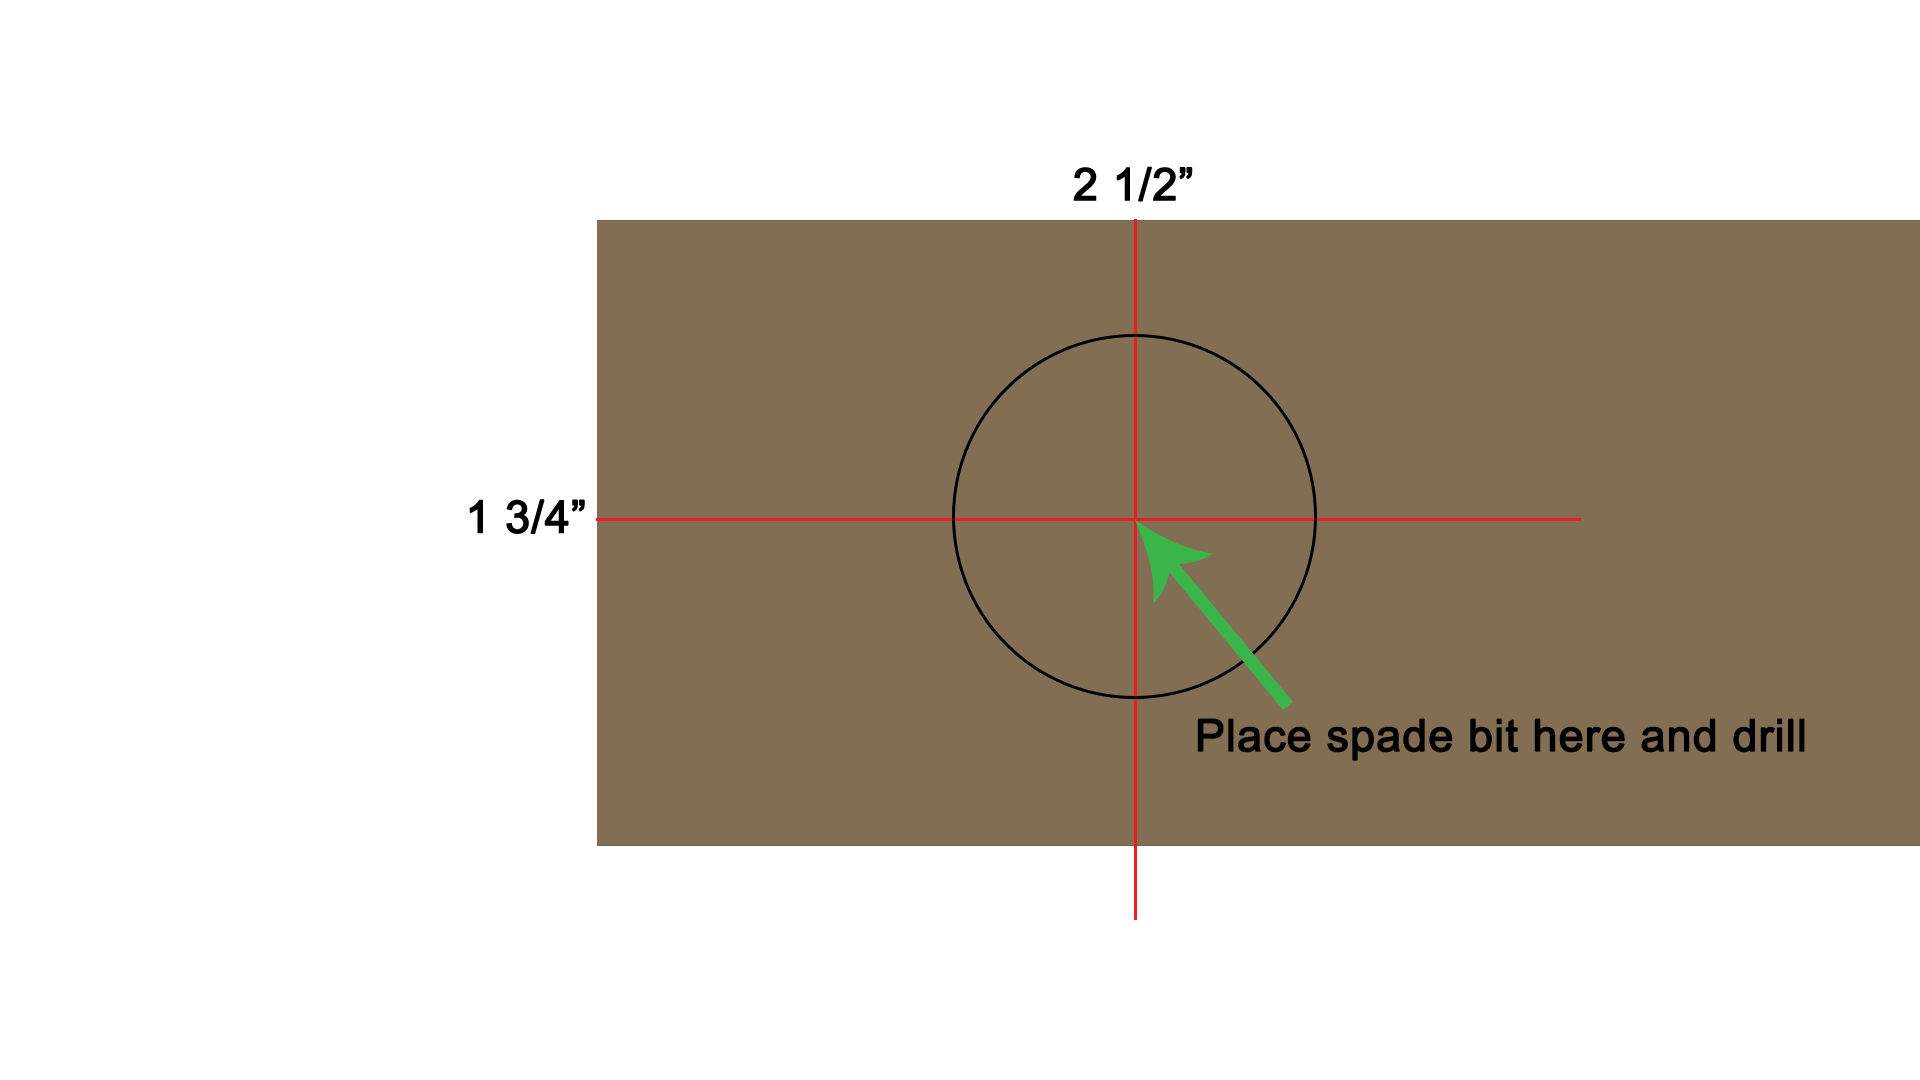
Clamp down the wood to the edge of a workbench and drill the holes. When you’re done, give the wood a light sanding to take care of any splinters.
Feel free to stain or paint your shelves any color. I liked how the natural color of the wood looked against the black tension rods so I left mine plain.
Installing into the window:
Slide the shelves onto the tension rods before securing them into the window. We’ll decide the final place for the shelves once the whole unit is tight in the window frame. Keep the part of the rod you tighten at the top and don’t put shelves on it.
Once the rods are secure, decide where you want your shelves to sit. I placed mine higher up since I have taller plants that will live below on the window sill itself.
Cut two pieces of rubber insulation tape so they will wrap around the rods once. Put a piece on either rod and slide the shelf over them.

Now, attach one of your clamps under the shelf and over the insulation tape. Screw it on tight, but not too tight to crack the rods- they are plastic after all. Make sure the shelf is level before securing the second clamp.
Give the shelf a little push down to verify everything is on there securely.
Decorate!
All that’s left is to add your plants! I placed my lightest plants on the shelves. These tension rods can hold about 15 pounds, but there’s no need to push that limit otherwise disaster will strike.
You can add all kinds of decor to these shelves as well. Maybe a lightweight stained glass or fairy lights!