Update: I now have plans as a downloadable PDF available for purchase on Etsy!
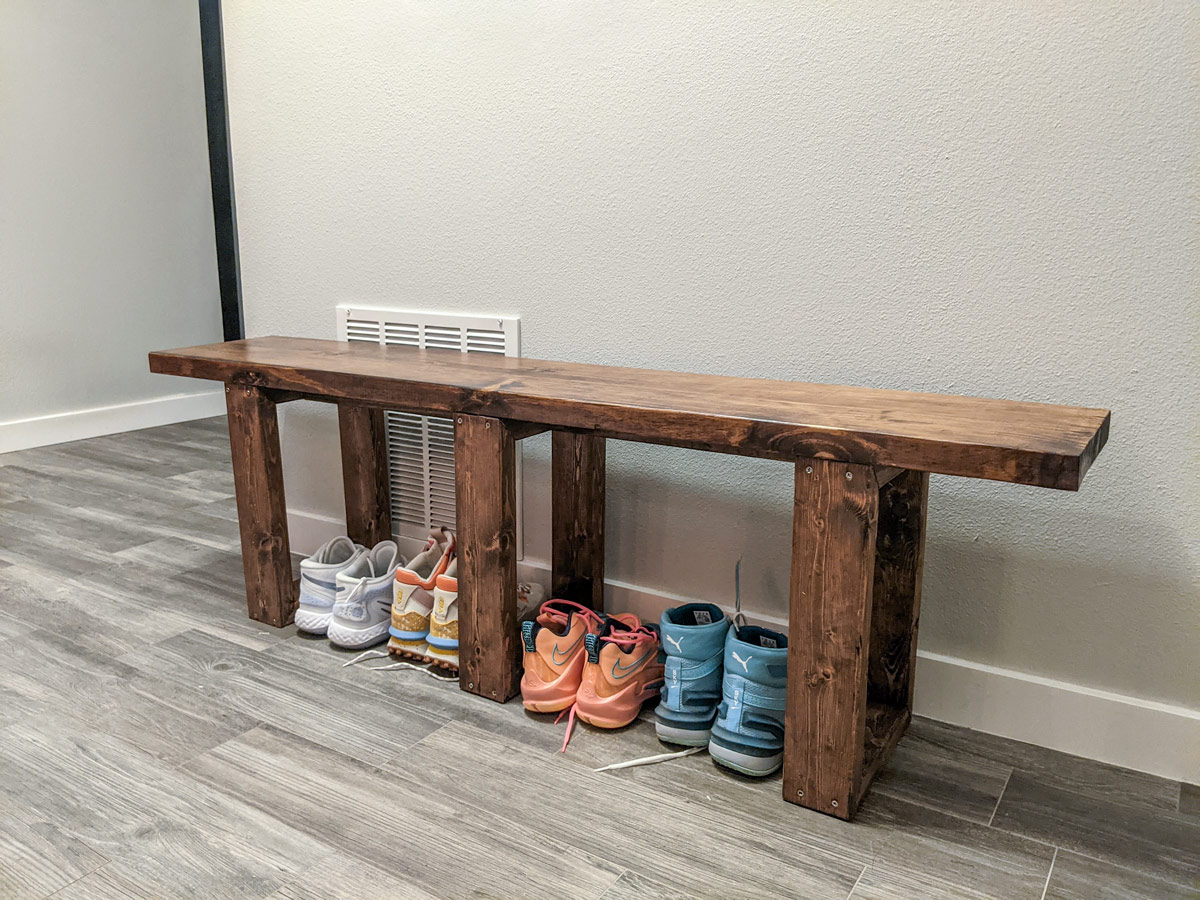
I like how benches look when paired with chairs at a dining room table. I also like not having to buy eight chairs at $150 a pop. Six chairs are fine, thank you. Plus, this bench comes in at under $70.
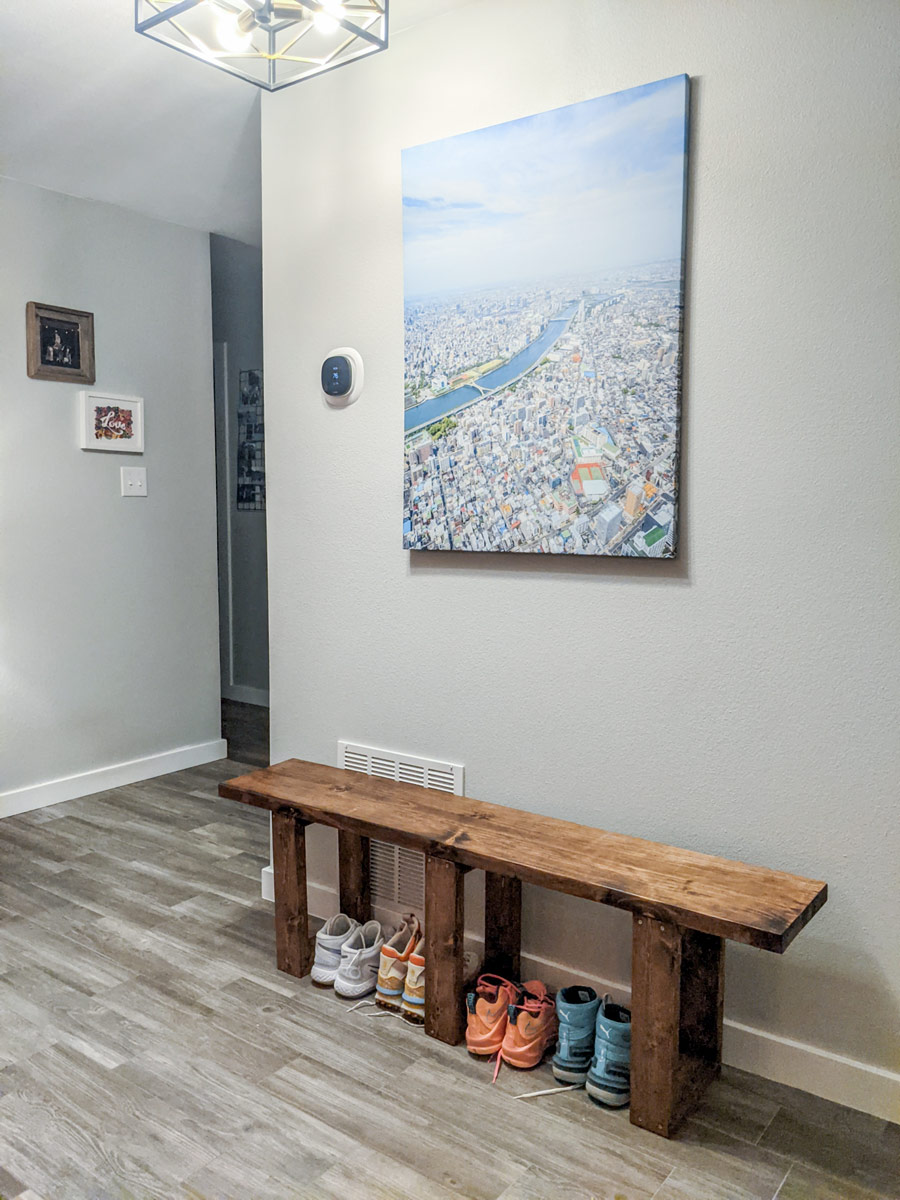
Benches are also handy for storing and putting on shoes. I plan to put ours by our coat closest when not in use, then pull it up to the table when we have several guests over which will be exactly once a year at Christmas.
While this wood bench is totally customizable, I am making it to match the dining table I built a couple of weeks ago. It’ll have the same vibe and will be a simple build. No weird cuts on the miter saw this time! However, keep this in mind when it comes to the measurements. If you’re making this for a table you already have, be sure to adjust the length and height as necessary to fit.
You could also make it out of treated wood and/or seal it with a water sealer to make a great outdoor wooden bench.
Supplies:
- 2x12x8 (x1) (bench)
- 2x4x8 (x2) (legs)
- 2x4x4 (x1) (spine connecting legs)
- Miter saw
- Drill
- Wood screws (1.25in and 4in)
- Pocket screws (2.5in)
- Ruler and speed square
- Sander
- Planer (if needed)
- Pocket hole jig
- Clamps
- Wood glue
- Wood filler (if needed)
- Stain
- Polyurethane
- Brush/rags
- Safety glasses and earmuffs
How-to:
I started off by having the employees at Lowe’s cut a 5-ft section off of my 2x12. The shortest board they had was 12-ft and I a.) couldn’t fit that into my car and b.) it would be difficult to cut at home. This 5-ft piece will serve as the bench’s seat.

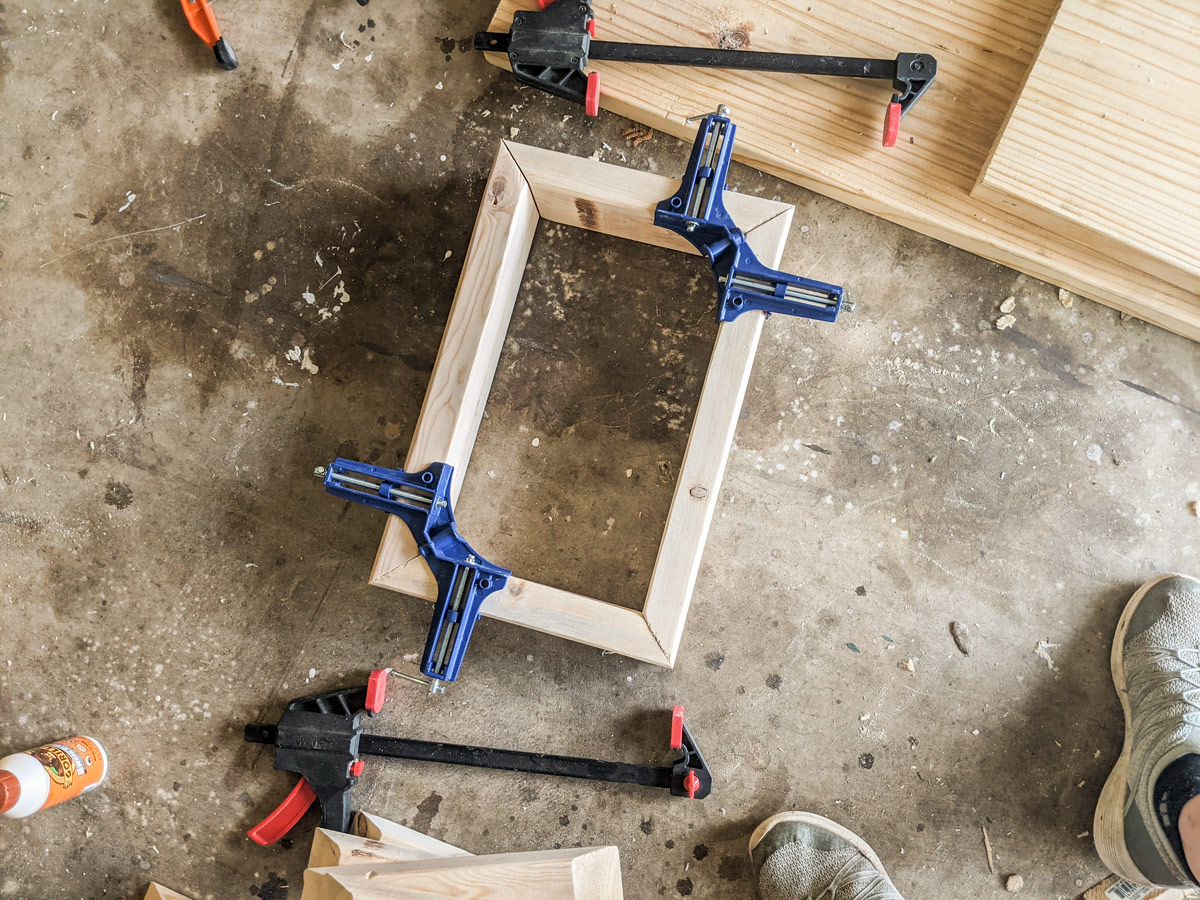
The legs are the same basic frame as the table: four 2x4 pieces cut at 45-degrees and screwed together. We’re making three legs in total. Cut six pieces at 17.25-in and six pieces at 11.25-in. The shorter is the top and bottom and the longer creates the sides of the legs. The width is important here because it will make the legs flush with the seat since the actual measurements of a 2x12 are 1.5x11.25.
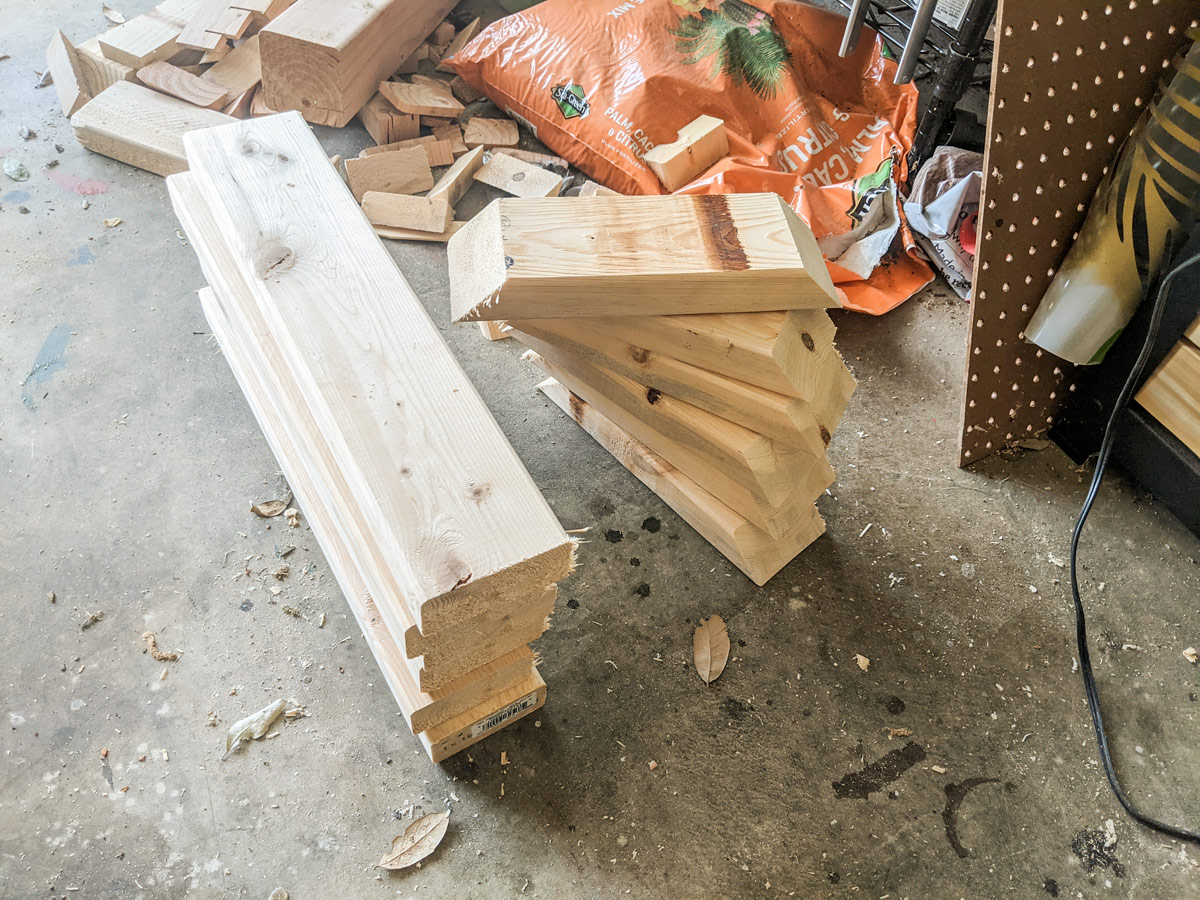
Glue and clamp the corners of the legs together then predrill some holes and screw them together. I did three screws per corner. Two 1.25-in screws into one side and a 4-in screw going in perpendicular to those.
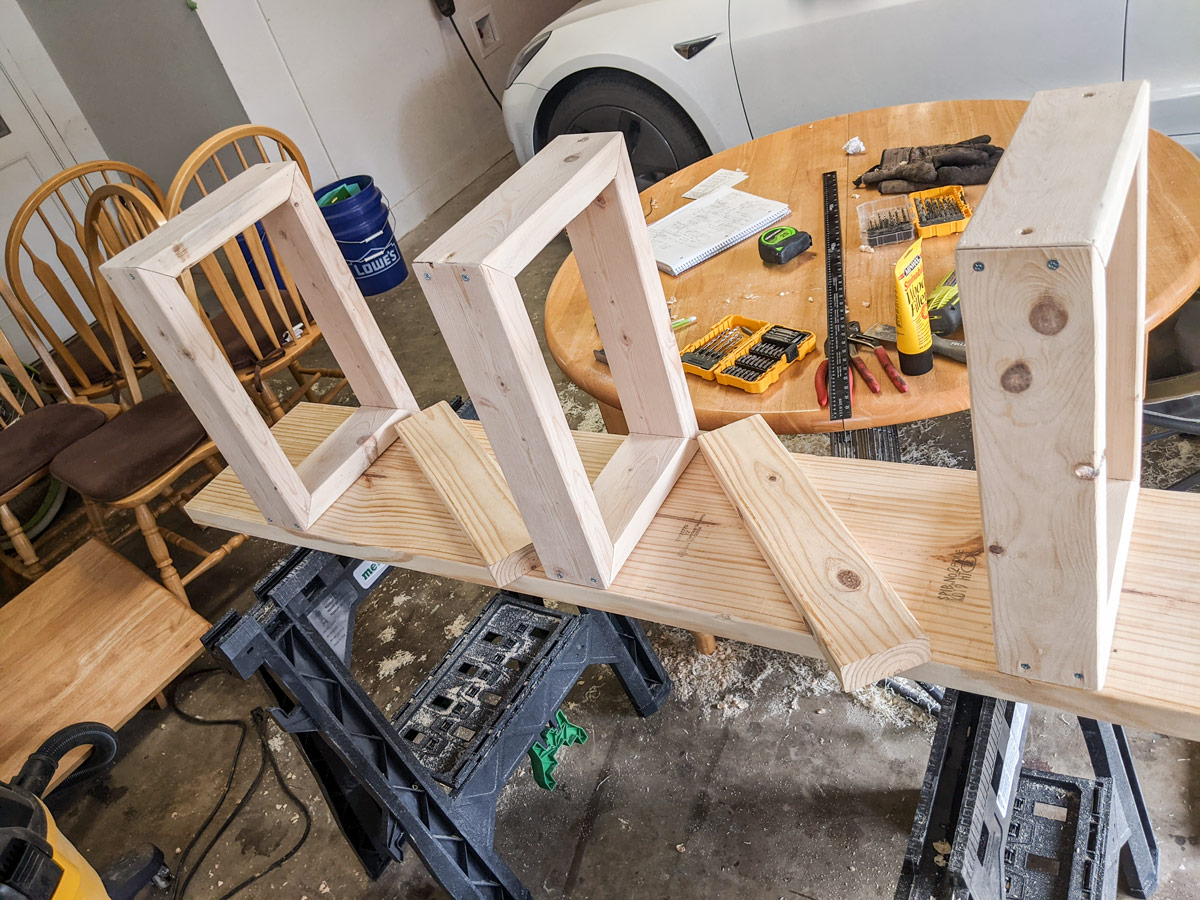
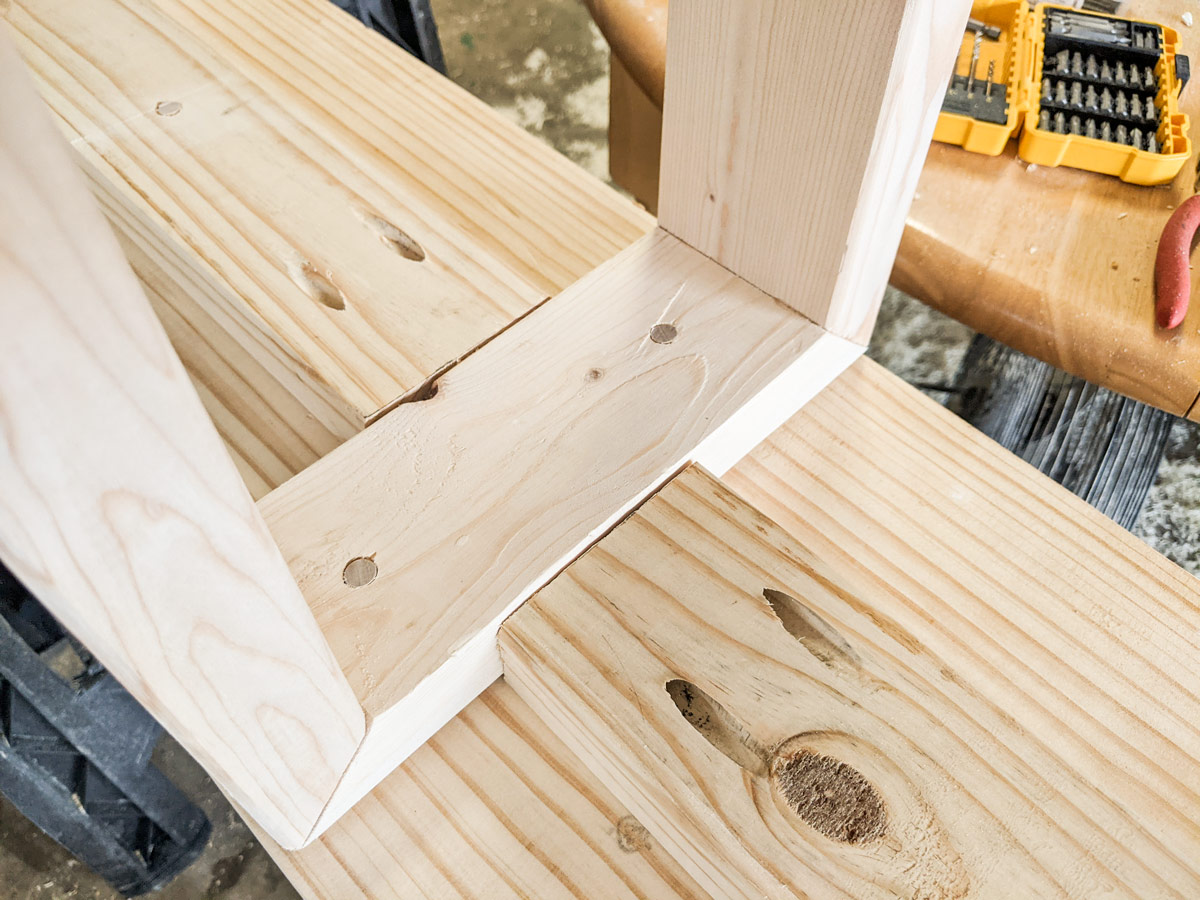
Time to make the spine. This will connect the three legs and add support for the seat. Take your smaller 2x4 and cut two pieces at 16.75-in long. The legs will be about 8-in in from either end.
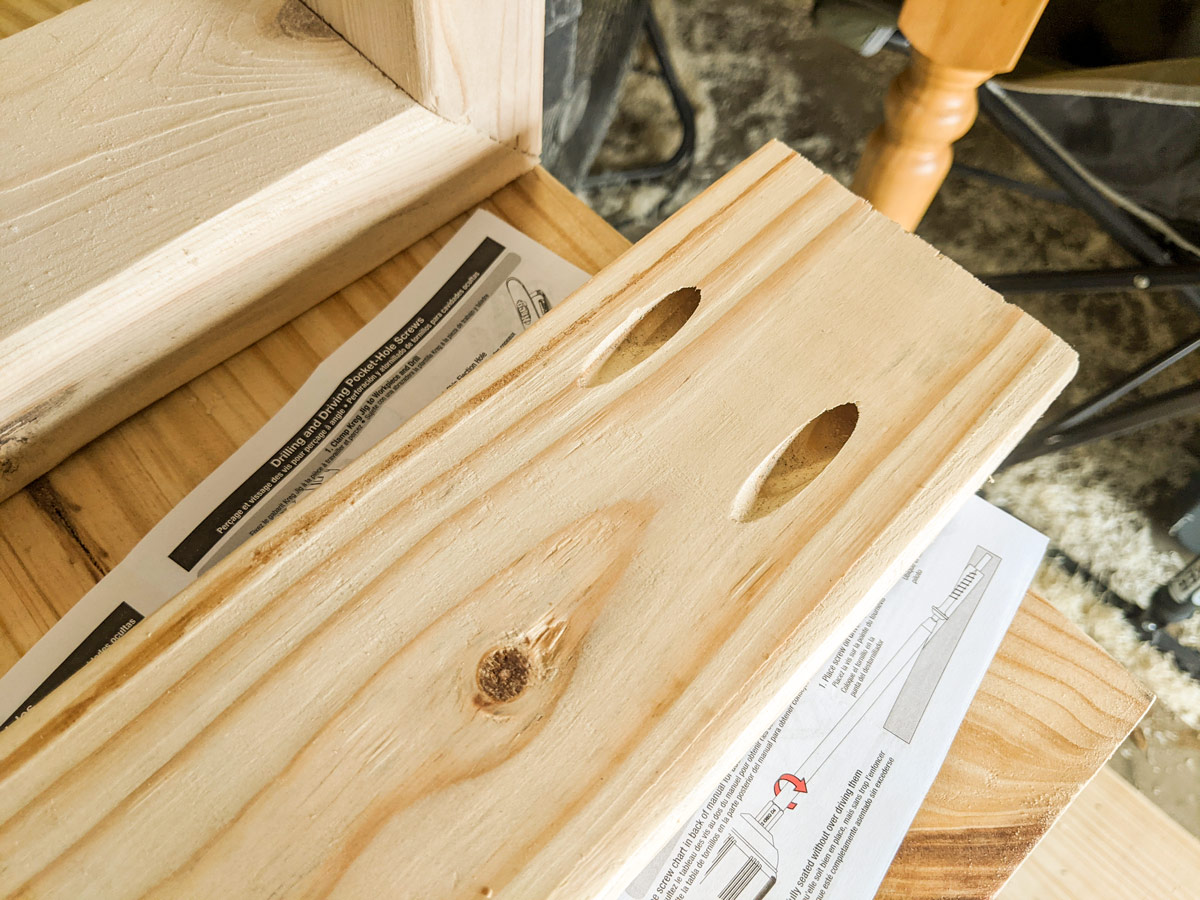
To connect the spine pieces to the legs, I thought the best course of action would be to drill in pocket holes. Pocket holes allow screws to create more secure connections versus drilling right through one board and into a second.
There are a lot of tutorials on YouTube where people explain it better than I can, but using a pocket hole jig is pretty simple. You use the included thickness measuring device to, well, measure the thickness of the wood. Then set the stopper on the included drill bit to that number and set the slider on the jig itself to the same number. I have the basic one-hole jig and clamped it onto my board then drilled in the holes one at a time making sure it was far enough from the edges.
I clamped the spines one at a time to the middle leg and screwed in the pocket screws. Then clamped on the outside legs and repeated. You’ll need a square drill bit to screw them in.
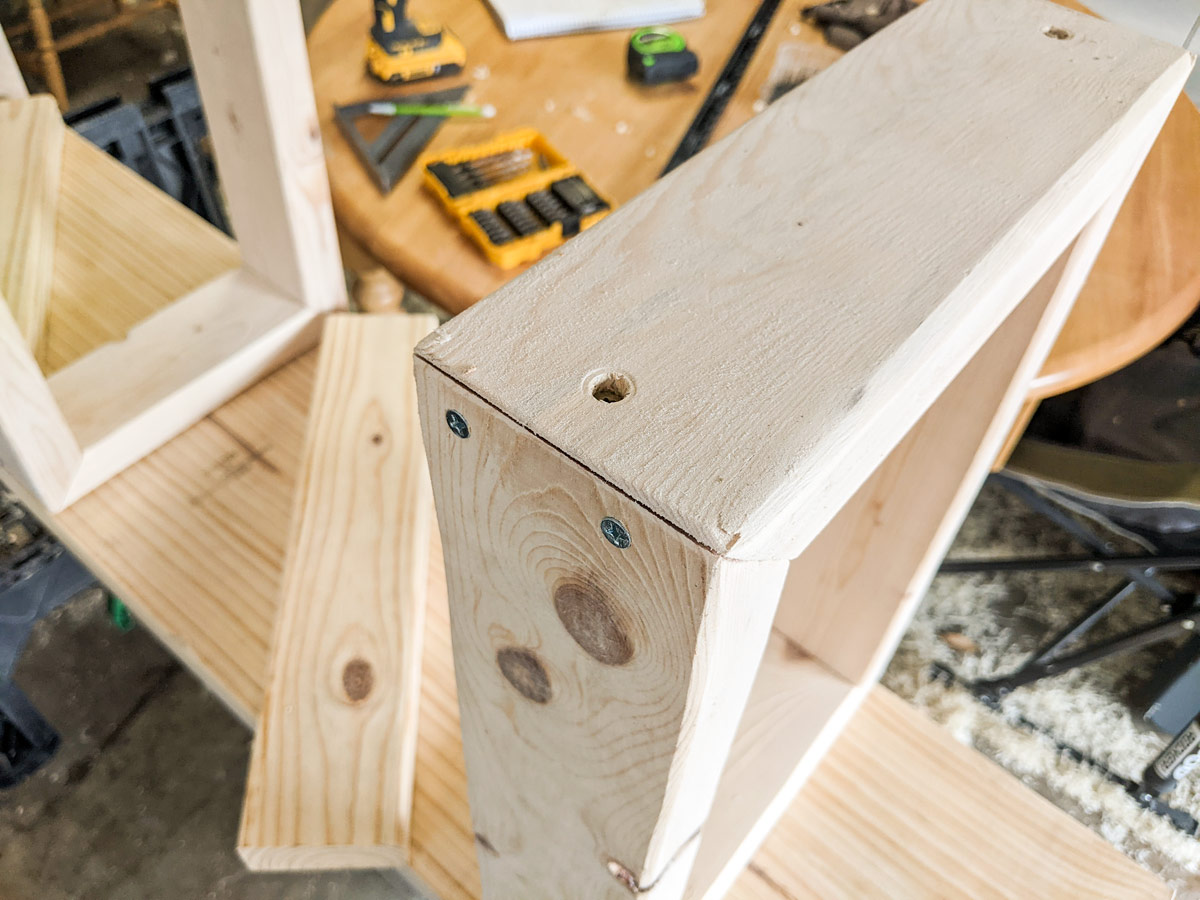
I flipped the seat so the bottom was facing up and put the completed legs on top to attach. I predrilled holes on the legs and along the spine that were appropriate for my screws, then I took a 3/8-in bit and re-drilled 1-in into those same holes. Use painter’s tape to mark 1-in on your drill bit. I did this because my 1.12-in screws wouldn’t be able to go through the 2.x4s and into the actual bench seat. If you’re using longer screws then you can skip this step. Remember it’s about 3-in of wood between the legs and the seat, so be sure not to drill through.
Once it’s all attached, flip it back around and put it on the ground to make sure it’s level. I used a planer to shave off a bit of the leg bottoms so it sat flat. You could also use those felt pads for sliding furniture around to make it sit right.
Now, it’s time to stain. I used the same stain as the table- red oak by Minwax. I did the legs and the underside first, let it dry, flipped, then did the top. My technique is to brush on the stain and then immediately wipe with a shop rag. You can always make it darker, but it’s hard to go lighter! I did one coat of stain.
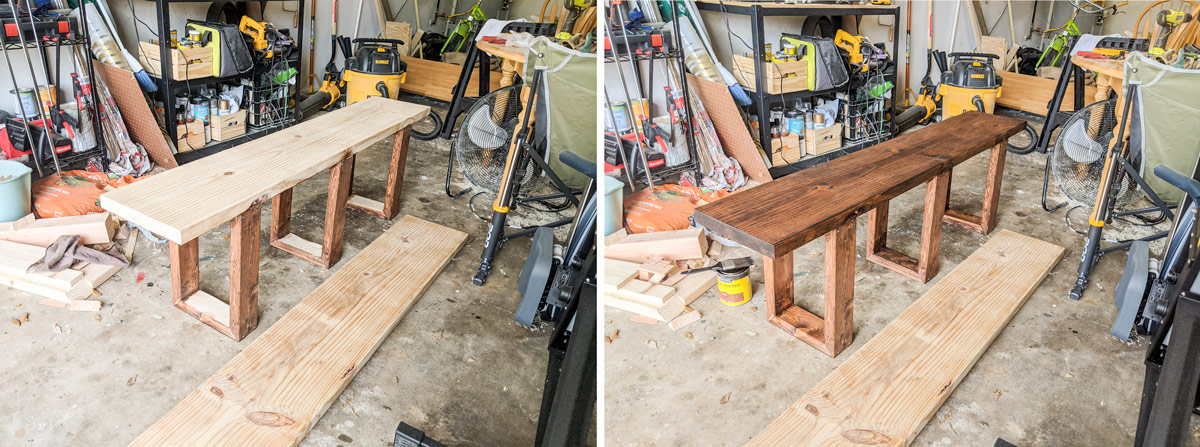
When that’s dry, put a few layers of poly on. Brush on, dry, sand with 220-grit paper, then put on another coat. I did two coats and didn’t sand after the last coat.
Dry, dry, dry, and it’s done!