Update: Just added a PDF for purchase in my Etsy shop!
First up, I’m not going to make chairs. No way. I will, however, be making a matching bench and that’s one side of seating settled at least.
And second, you read that right, we’re going to build an 8-foot long dining table for under $200. I kept the receipts so you can check.
I have been hunting for a dining table for what feels like years now. Actually, eons. I’ve found several that I really liked, but then I add up the total with seating and it’s absolutely ridiculous. And, to be frank, it’s the chairs that kill me. Cool, comfortable, dining chairs are about $150 each minimum. I’m not talking about anything handmade either- it’s all mass-produced crap. A set is as much as some tables and I just can’t do it. I’m too cheap.
So, I’m going to do what I always do and build it for less. I’ve never made anything this large before so why not start with one of the centerpieces of the home and something everyone will see as soon as they walk in? No problem, right? Right.
The start of any project begins with inspiration. I’m a creative person, but not so creative that I can come up with fantastic, executable designs- they usually don’t fall into both categories. I like to look up ideas of things that are known to work and then make them to suit my tastes and abilities.
That being said, today’s inspiration is IKEA’s MÖRBYLÅNGA dining table. It’s the right amount of style and thickness that I like. I wanted to stay away from full farmhouse and I believe this table does a good job of being style-neutral, but interesting enough.
Does this count as an IKEA hack? Kind of? In any case, we’re going to get our dupe as close as we can including that “floating” look the tabletop has. We’re also going to be using a lot of 2x4s.
Let’s get started.
Supplies
- 2x4x8 (x6)
- 4x4x8 (x1)
- 2x10x8 (x4)
- Miter saw
- Jigsaw
- Drill
- Sander
- Planer (if needed)
- 4-in wood screws
- Clamps
- Ruler
- Speed square
- Wood glue
- Liquid Nails
- Stain
- Polyurethane
- Wood filler or putty (if needed)
- Pencil
- Safety glasses
- Earmuffs
- Gloves
How-to
There are some notes I need to put first: This project will be easier if you have more saws than just a miter saw and a jig, like me. There are some tricky cuts I made that would have been 1000x easier with something like a band saw. Use your judgment and remember safety first. However, my shop space is limited as I only have half a two-car garage to work in so I need to be choosy with what tools I buy.
The miter saw will kick, trust me. Lift the saw out of the wood before letting go of the power. If you make a mistake in your cuts, which is easy to do, use wood filler or putty that matches whatever stain you choose. I will show you how it turns out on mine.
The 4x4 is what I used to create the “floating” look and sawed out some notches on either end. These are those tricky cuts I was referring to. What would be easier is to cut one 2x4 short and attach it to another, longer 2x4 with liquid nails.
Alright, step one is a plan. Hammer out your measurements and buy the wood sizes you need. Remember to take into account your chair seat height.
All of my measurements are below:

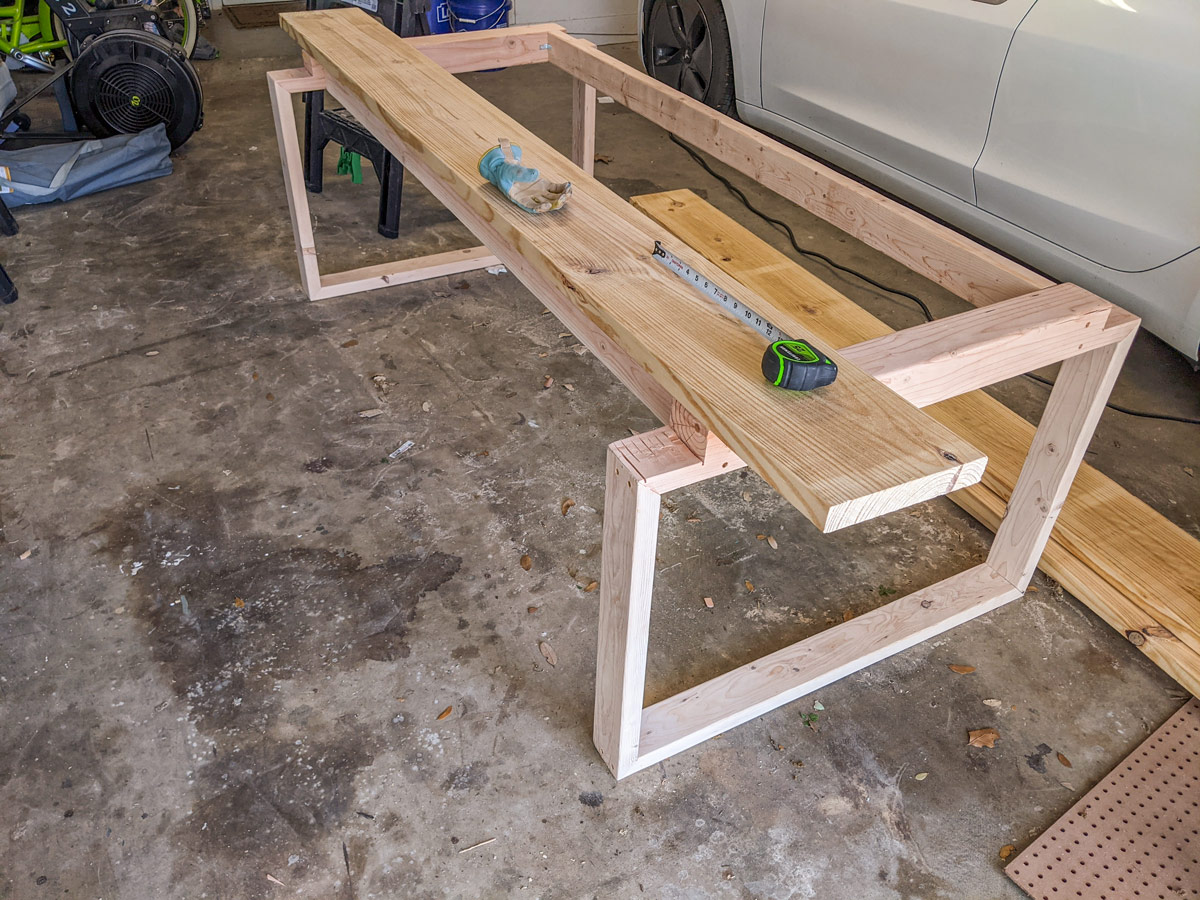
Step two is cutting. Lots and lots of cutting. I wanted to do 45-degree joins for the legs this time instead of my normal “just put the wood on top of each other and glue” method. This is where the miter saw shines. I started by cutting all of my pieces then going back and adding the 45-degrees on the pieces that needed it i.e. most parts of the legs. I probably added an extra step in here, but it’s my first time making angled cuts and I didn’t want to mess it up.
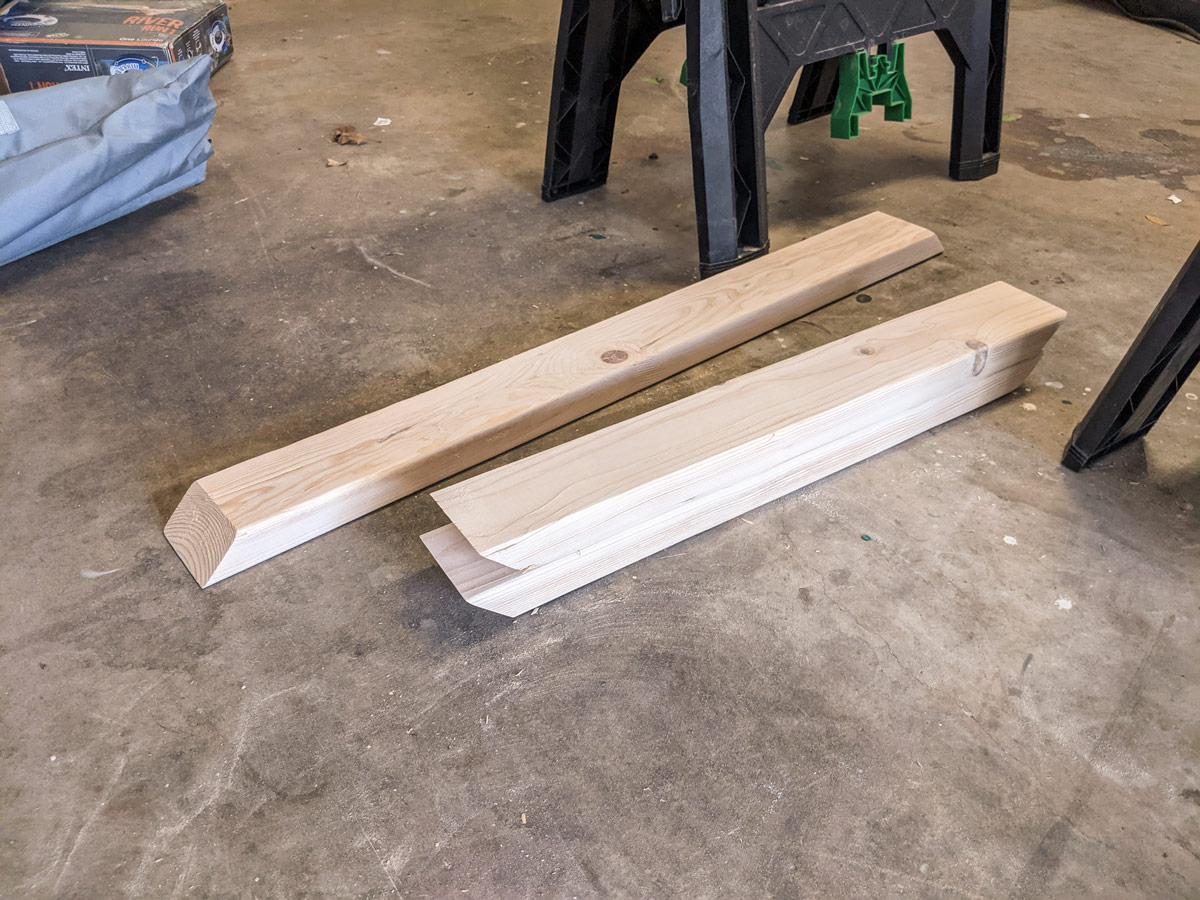
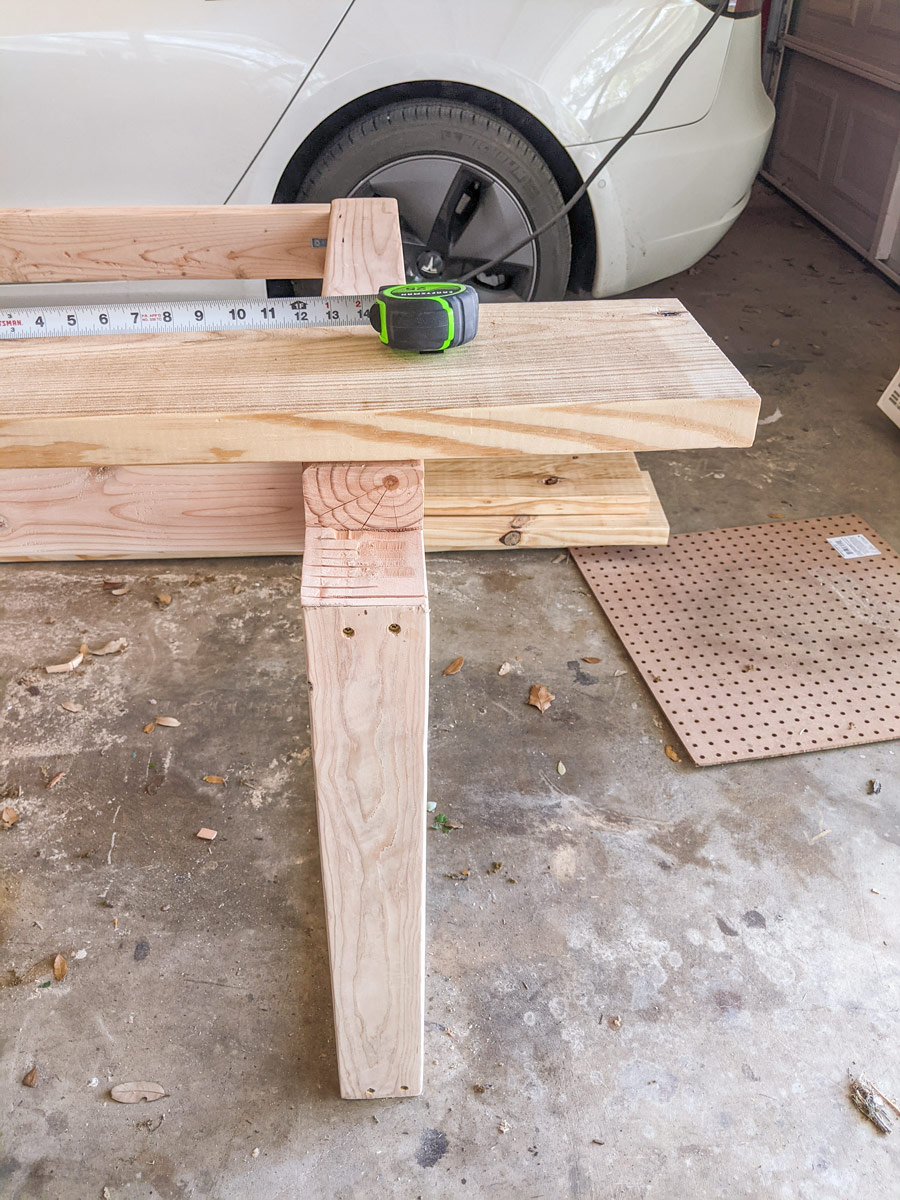
Here are those tricky cuts I was talking about. The 4x4s will be the top part of the legs and I needed to cut a chunk out of either side to create a floating look for the tabletop while being able to match it up to a 2x4. Remember that a 4x4 is actually 3.5" square and a 2x4 is 1.5x3.5. This means I needed to cut out a chunk that left me with 1.5" that would match up with the 2x4 side. I measured 4" in and 2" down and cut out that piece. This is the part where I wish I had a band saw. There was quite a bit of trial and error with the miter saw and any weird bits got shaved off with the jig. I’ll include a diagram below to better illustrate the effect I was going for as well as where I made my cuts:
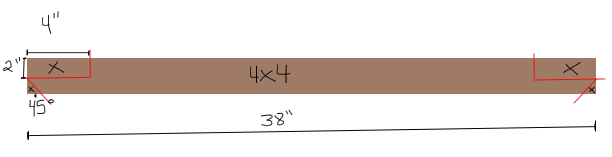
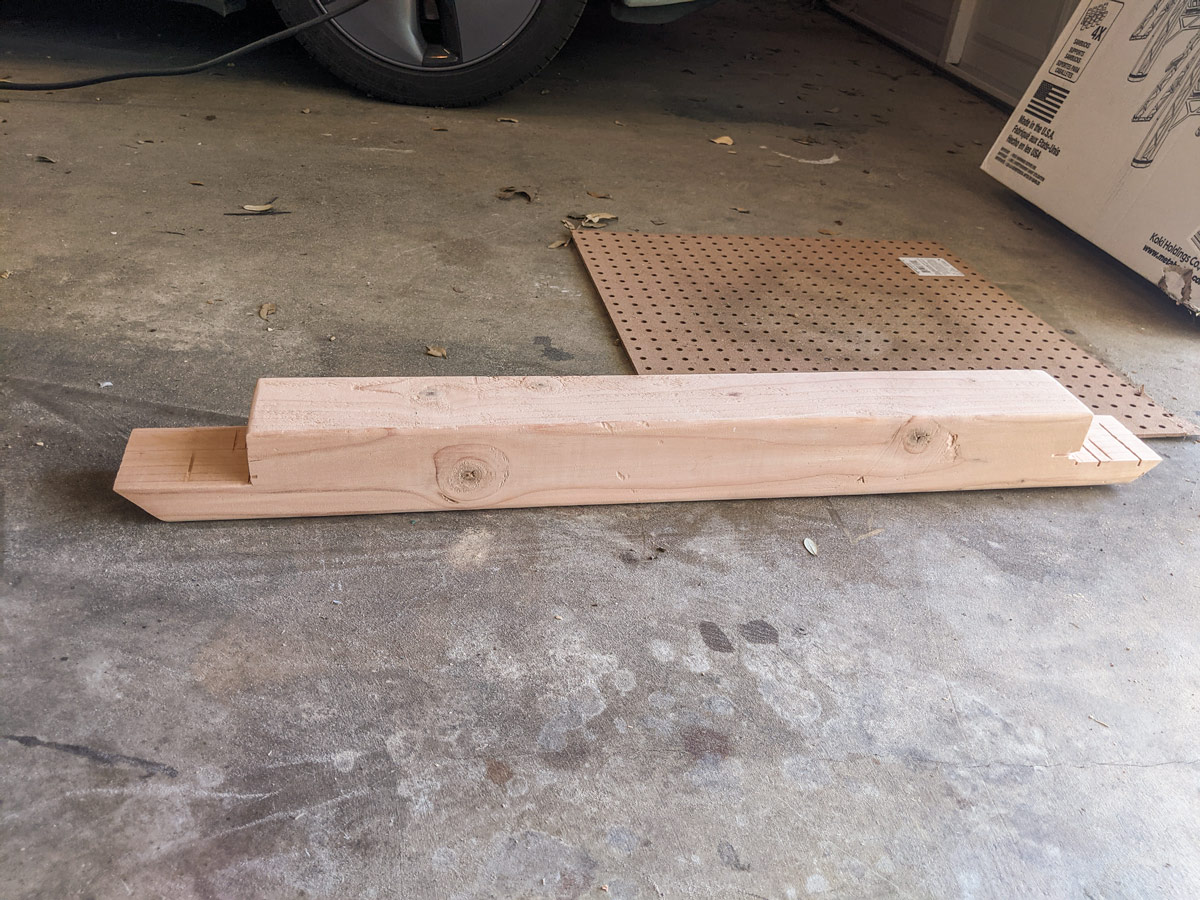
You can see what I mean about using two 2x4s instead of a 4x4. Cut one to 30-inches and a second to 38-inches. Cut your 45-degree angles into the 38-in board. Then, use Liquid Nails to attach the shorter board on top of the longer one.
One of the most important things we’re going to do is sand. You’ll want to sand the heck out of all this wood to make sure it’s smooth and you don’t pick up any splinters while you’re eating. Start with really gritty sandpaper and finish off with super fine paper.
I also bought an electric planer for this project and used it on the tabletop pieces. It quickly got rid of imperfections and I was able to align the pieces easily since cheaper wood is rarely perfect.
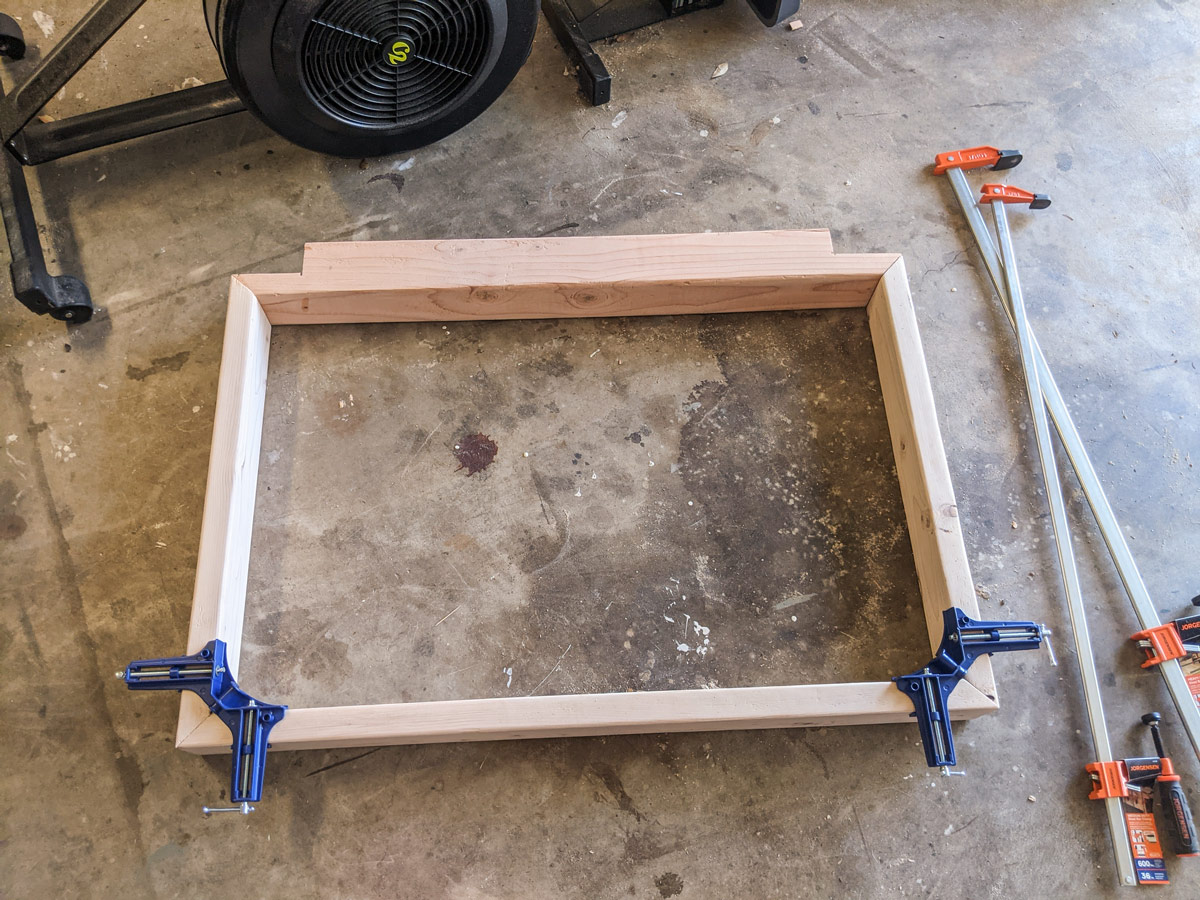
Step three is gluing and clamping all of this wood together. I built the legs and glued the corners together then clamped them in place with corner clamps. This is also where you’ll use liquid nails to glue two tabletop pieces together and clamp. Liquid Nails is quite a bit stronger than wood glue and I trusted it to hold the longer boards together permanently. When that’s dry, it’s a good time to plane the wood to make sure your table is flat.
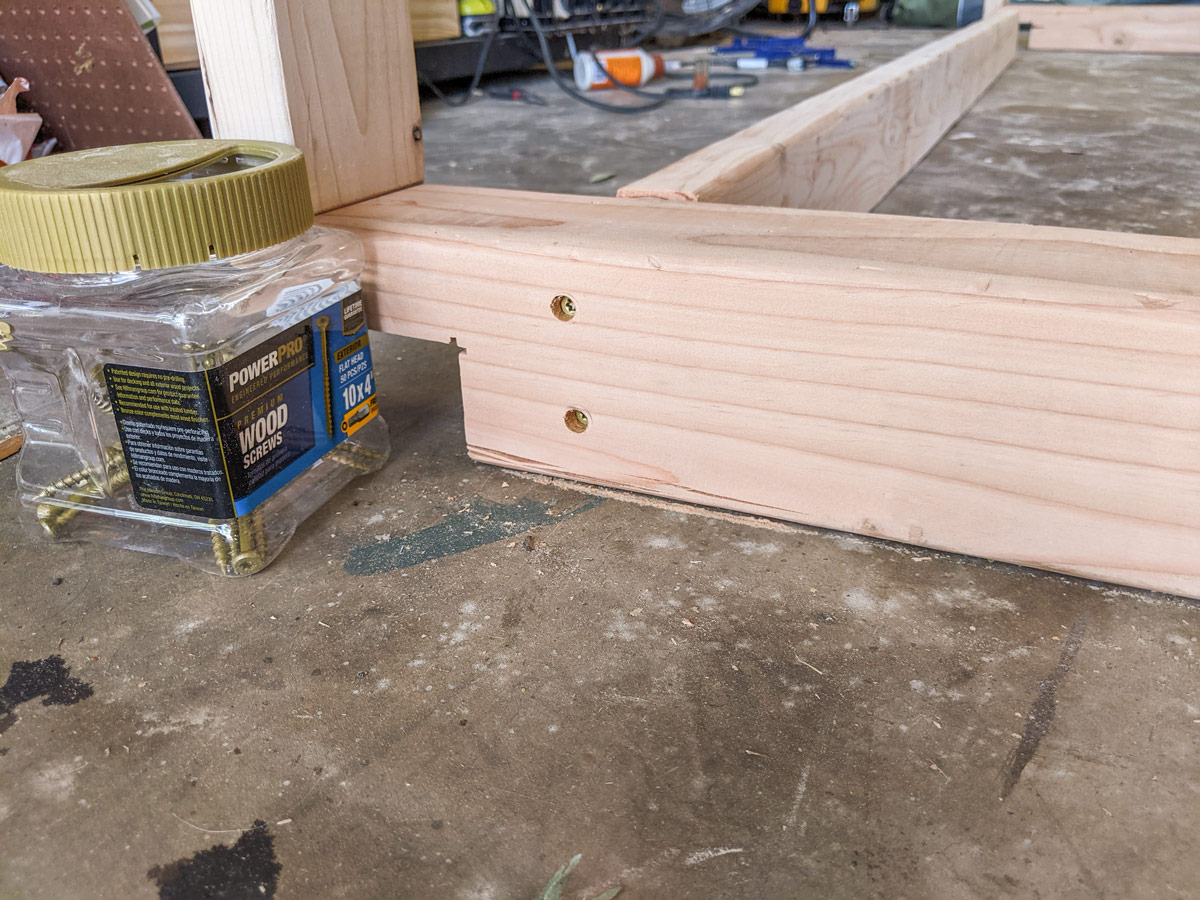
Once the glue is dry, predrill then screw the legs in place for step four. I don’t usually do it out of laziness, but predrilling is really important if you don’t want your wood to crack. I know a lot of screws say you don’t need to but do it anyway. It won’t hurt.
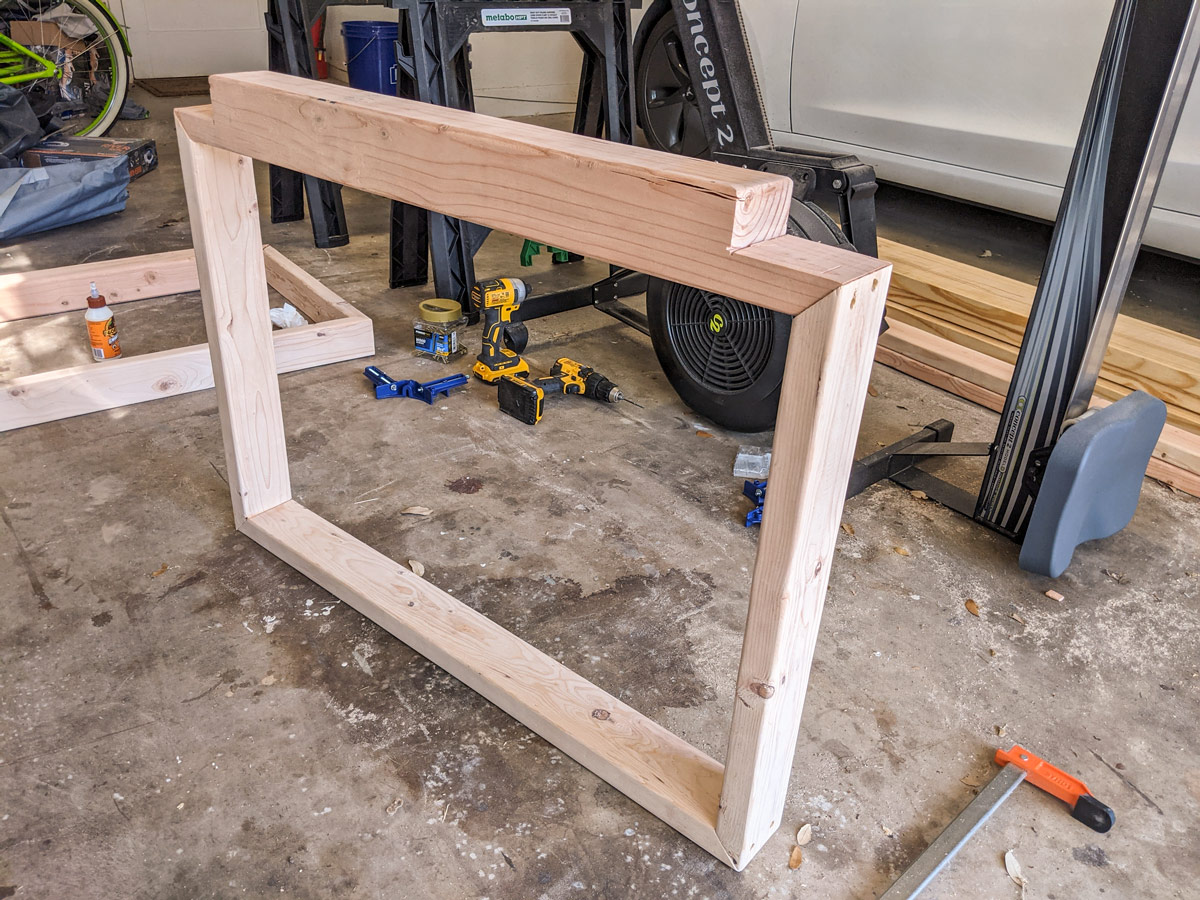
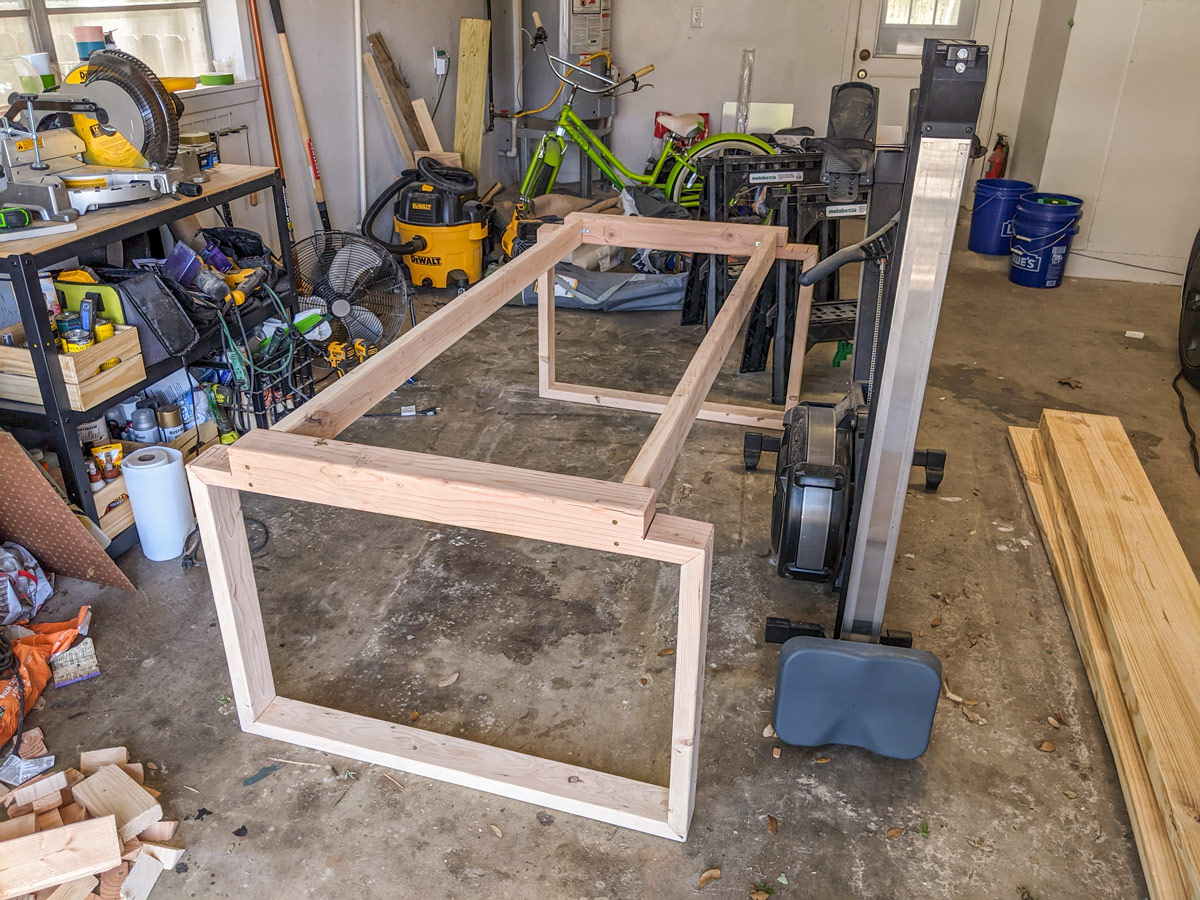
Step five is building the base. Bring the legs upright and drill in the 2x4 skirts of the table to connect them. Remember to predrill!!
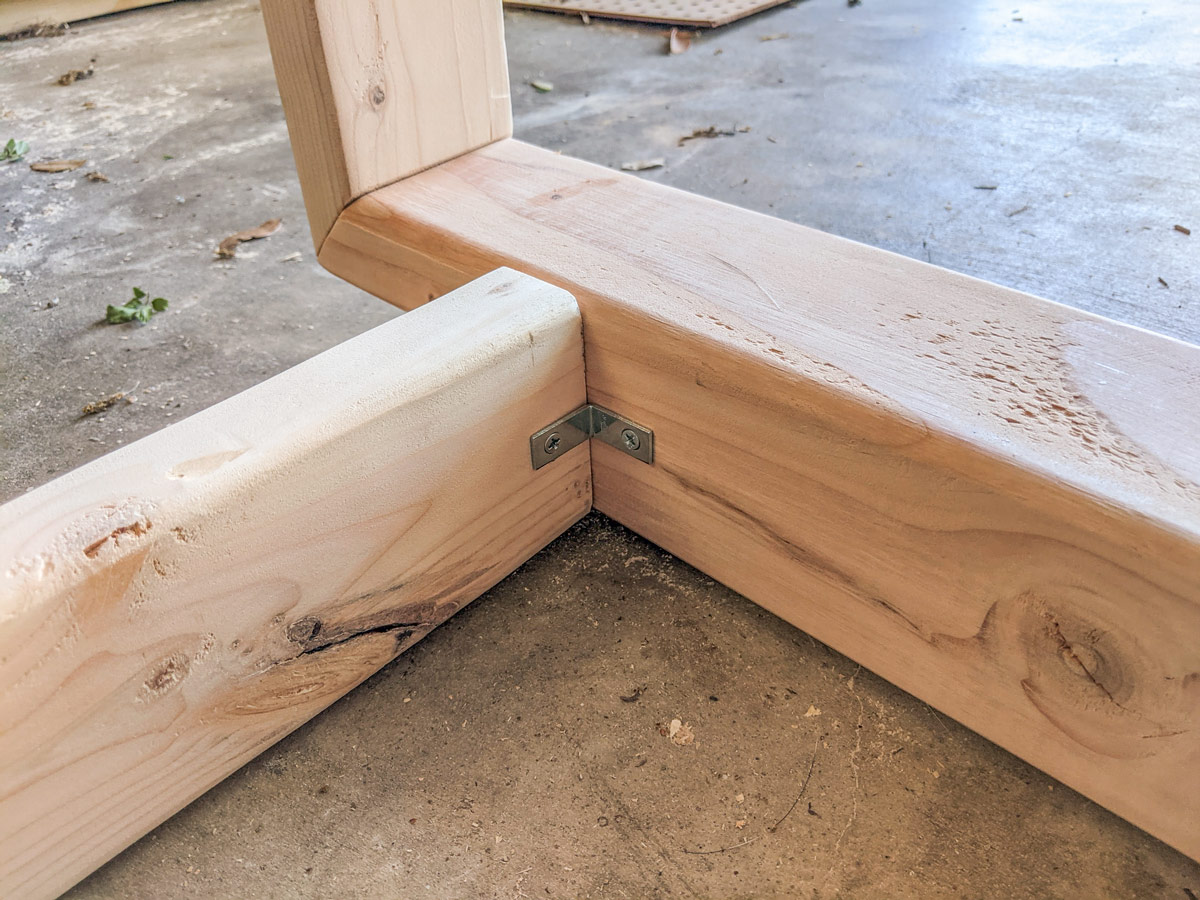
I added small L-brackets to the inside of the skirts where they connected to the legs for some extra stability.
If there are any mistakes, now is the time to fix them with wood filler (before you put the tabletop on). Follow the directions on the bottle to the T and go ahead and stain if it says to do it immediately after drying. I also used wood filler in the obvious screw holes.
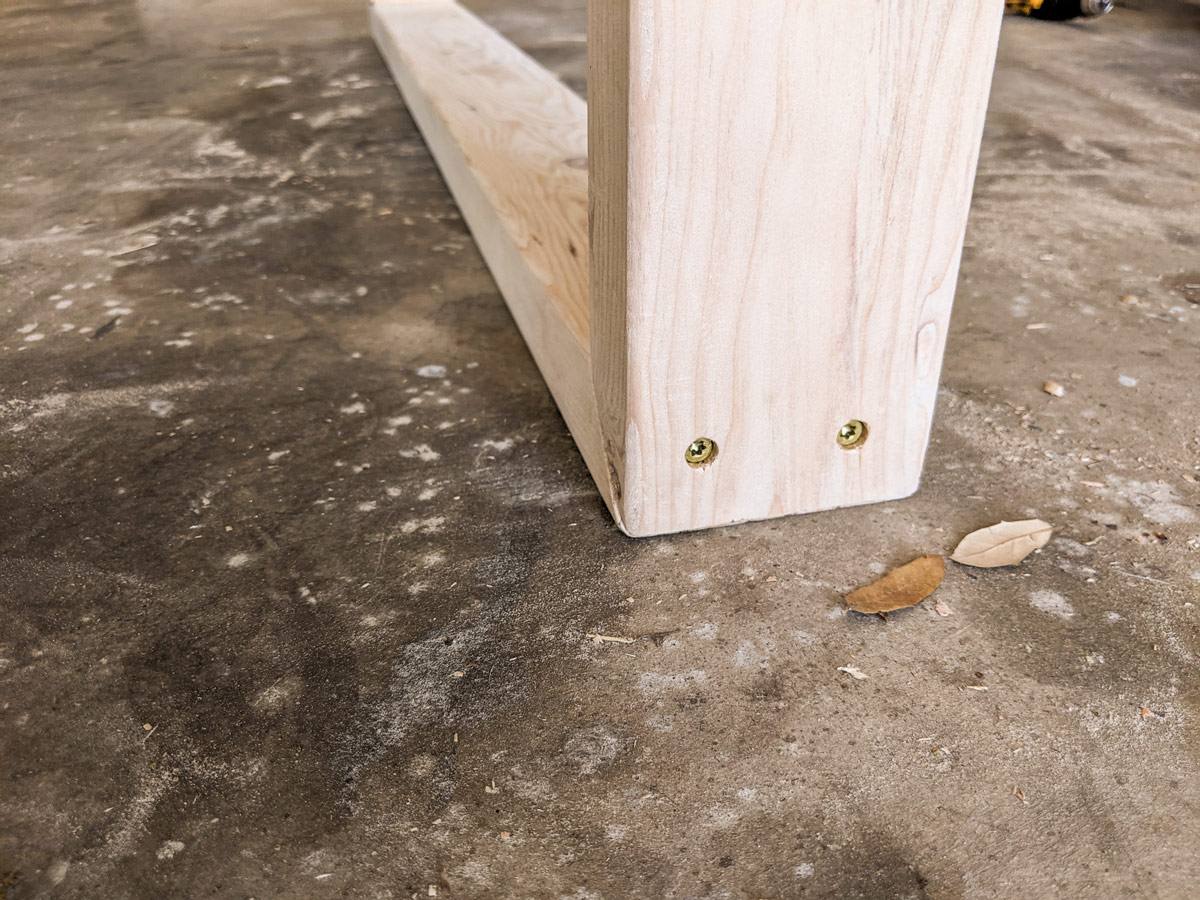
Here is when I realized the table was a little too short and it was because of the skirts. So, if you don’t want to adjust the height, then drill in your skirts horizontally instead of vertically as I did. What I did to correct the height was add feet to the base. I had extra 2x4 scraps from this project and took a couple of them, cut them in half, then glued two under the base piece of each leg to make semi-modern, wide feet. It gave me an extra 1.5-inches and should fit most, if not all, dining chairs now. The feet are a little over 10.5-inches long each but can be any size. My dining chairs have a seat heat of 19-inches.
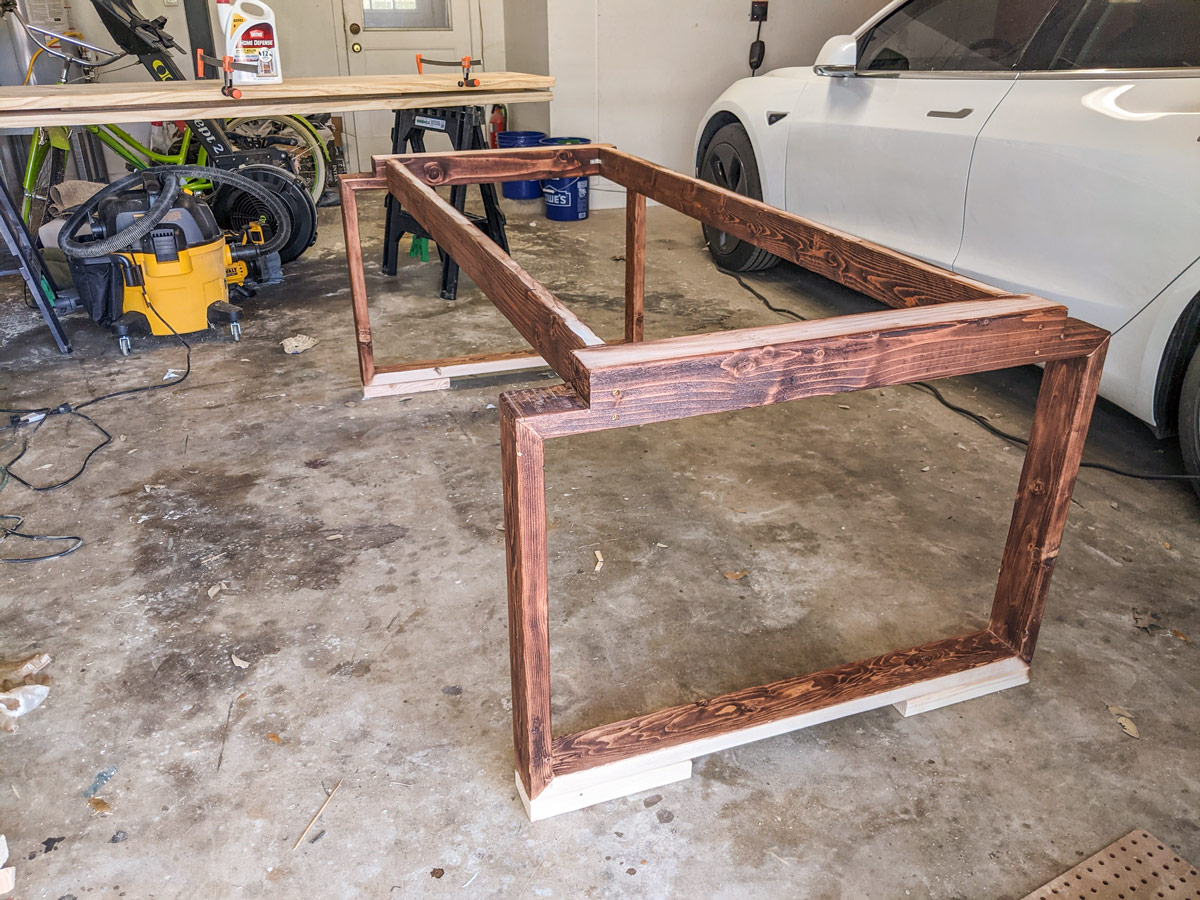
Please ignore the stain, but you can see the feet I added at the bottom more easily.
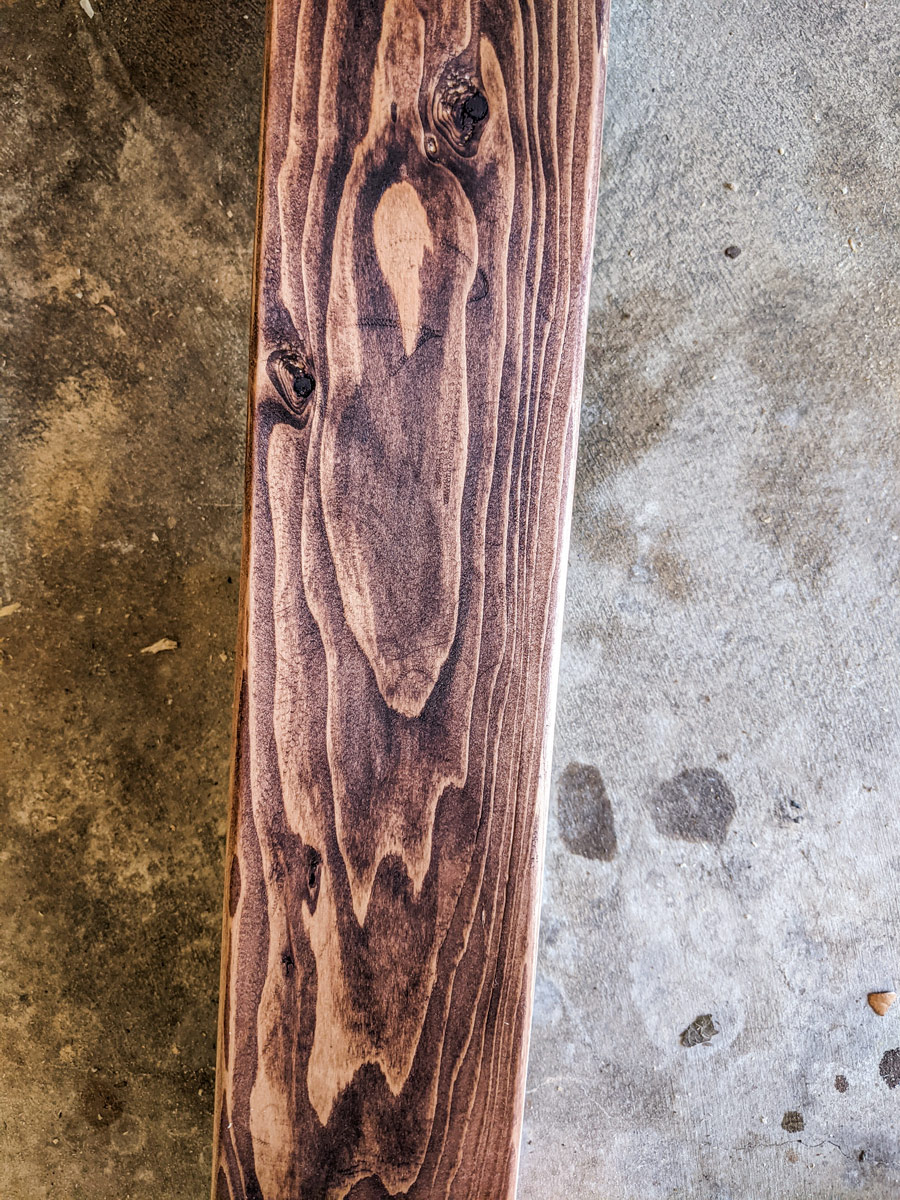
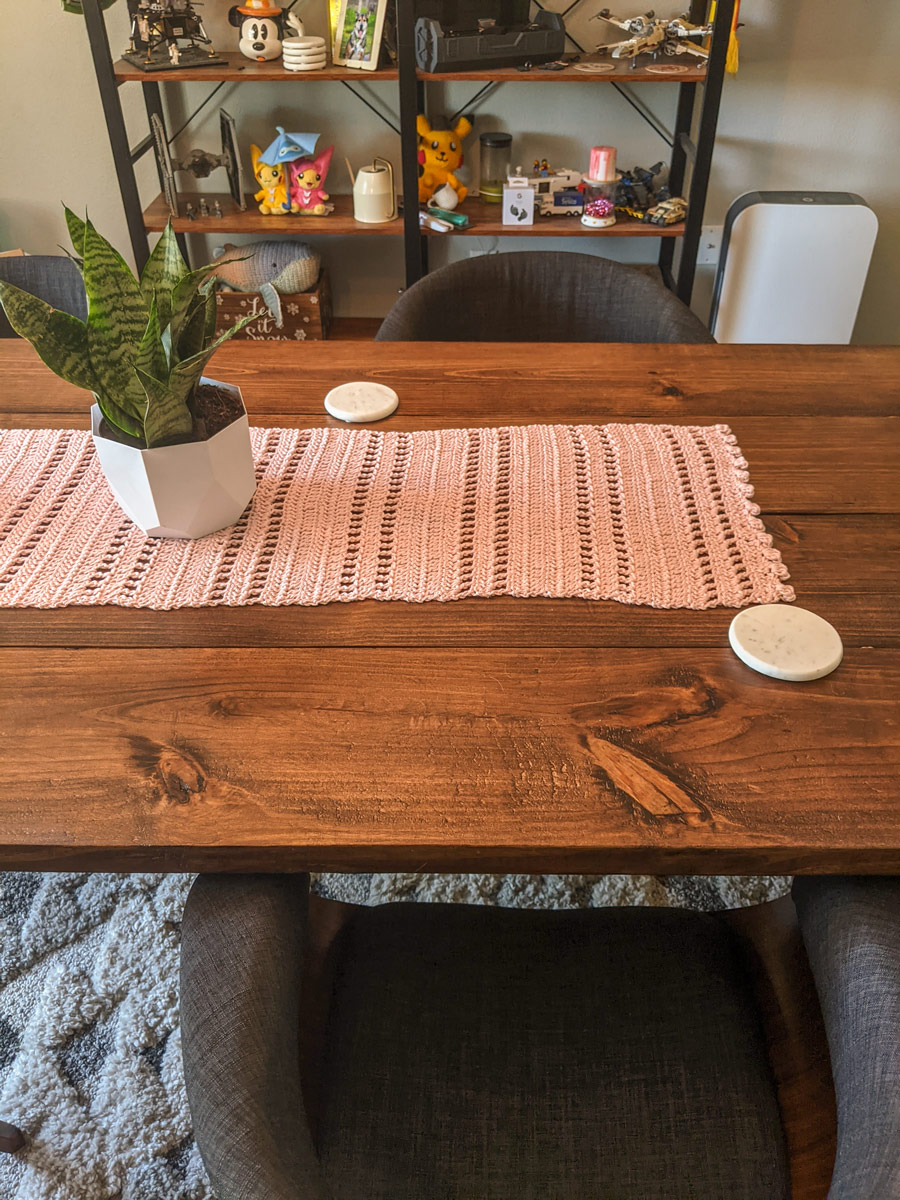
Now it’s time for step six which is staining. I bought several samples of stains because I wanted to make sure I loved it since this is a huge piece of furniture. I went with red oak and it came out gorgeous IMO. The stain hit the graining so beautifully. It kind of looks like the Japanese wood-burning technique of shou sugi ban, which was a happy accident.
After the stain is dry, you’ll want to put several coats of poly on your table to protect it.. When one coat is dry, sand with fine sandpaper and then put on the next coat. Repeat until the last coat.
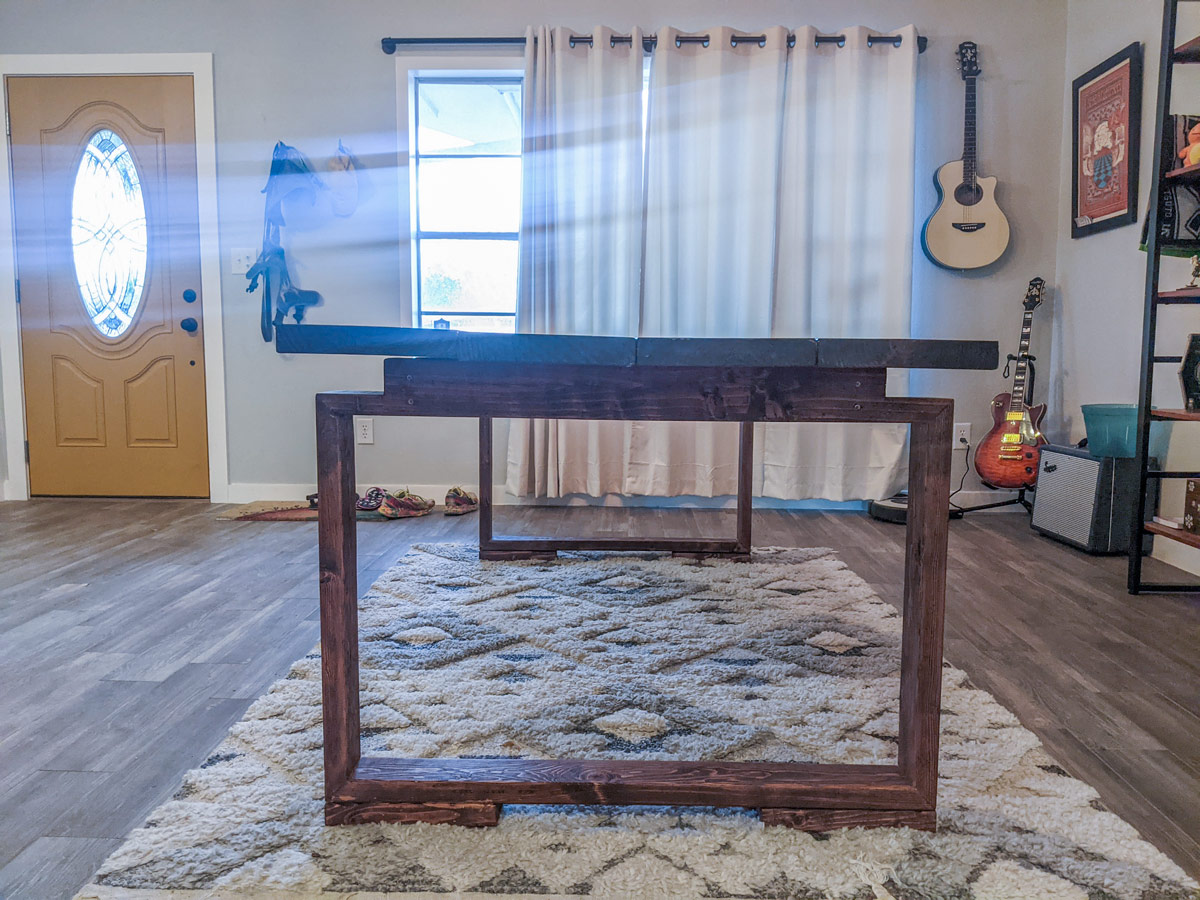
Step seven is putting the actual table on. Originally, I was going to leave a 1" gap between my two “solid” boards but decided against it when I put them on the table. If you decide to, remember to account for that when you’re measuring. I drilled in from the bottom and into the tabletop so I wouldn’t have any screws showing on the top. PREDRILL!!
I decided to attach the tabletop inside the house because it was so heavy. I can lift the frame fine on my own, but those hefty 2x10s probably added about 60 pounds. I used four screws along the bottom of the 4x4 and made sure one went into each individual board.
Once your tabletop is screwed in then it’s time to use it! After a couple of weeks, we found some dining chairs on Amazon that we liked and gave it a mid-century/rustic vibe that I’m happy with. Again, I didn’t feel too bad splurging on chairs since the table was so inexpensive. Something this large and handmade would easily cost me in the thousands.
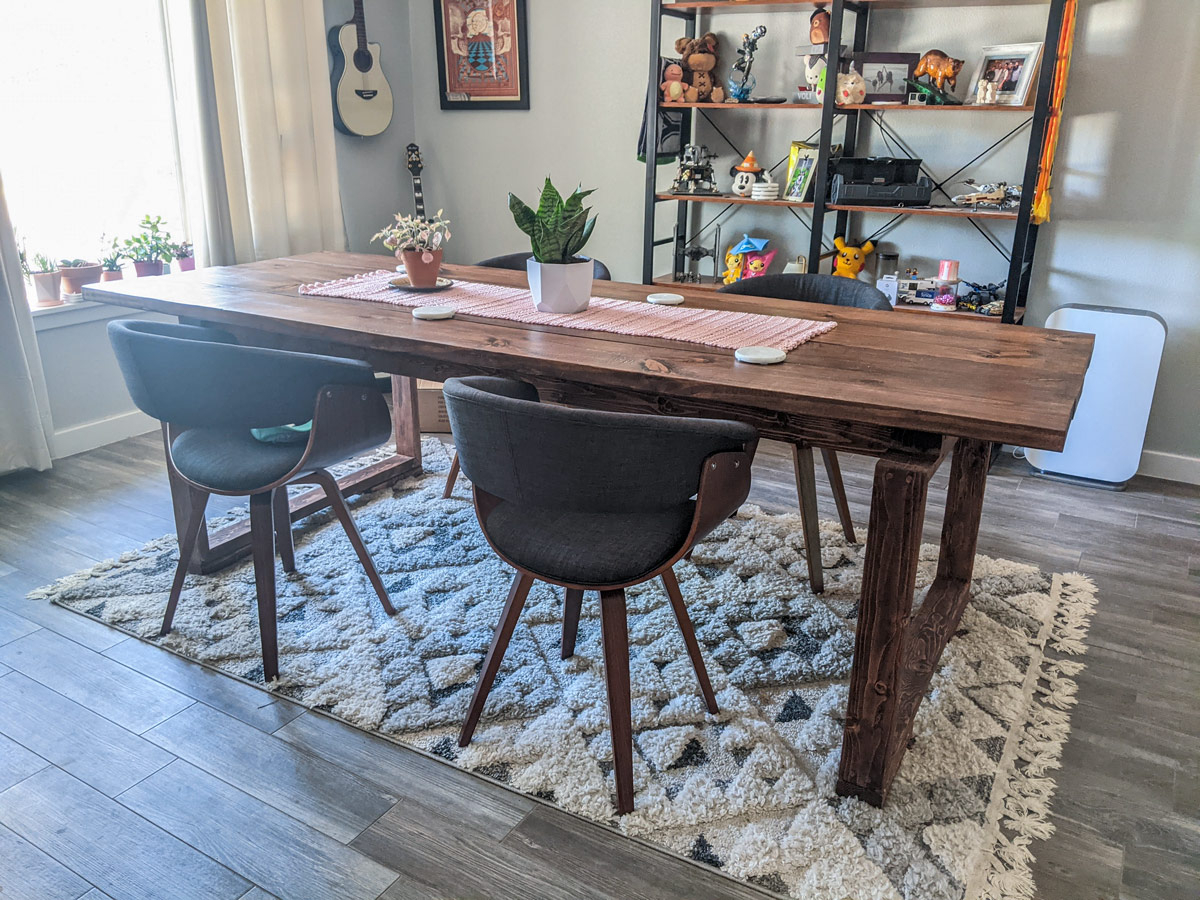
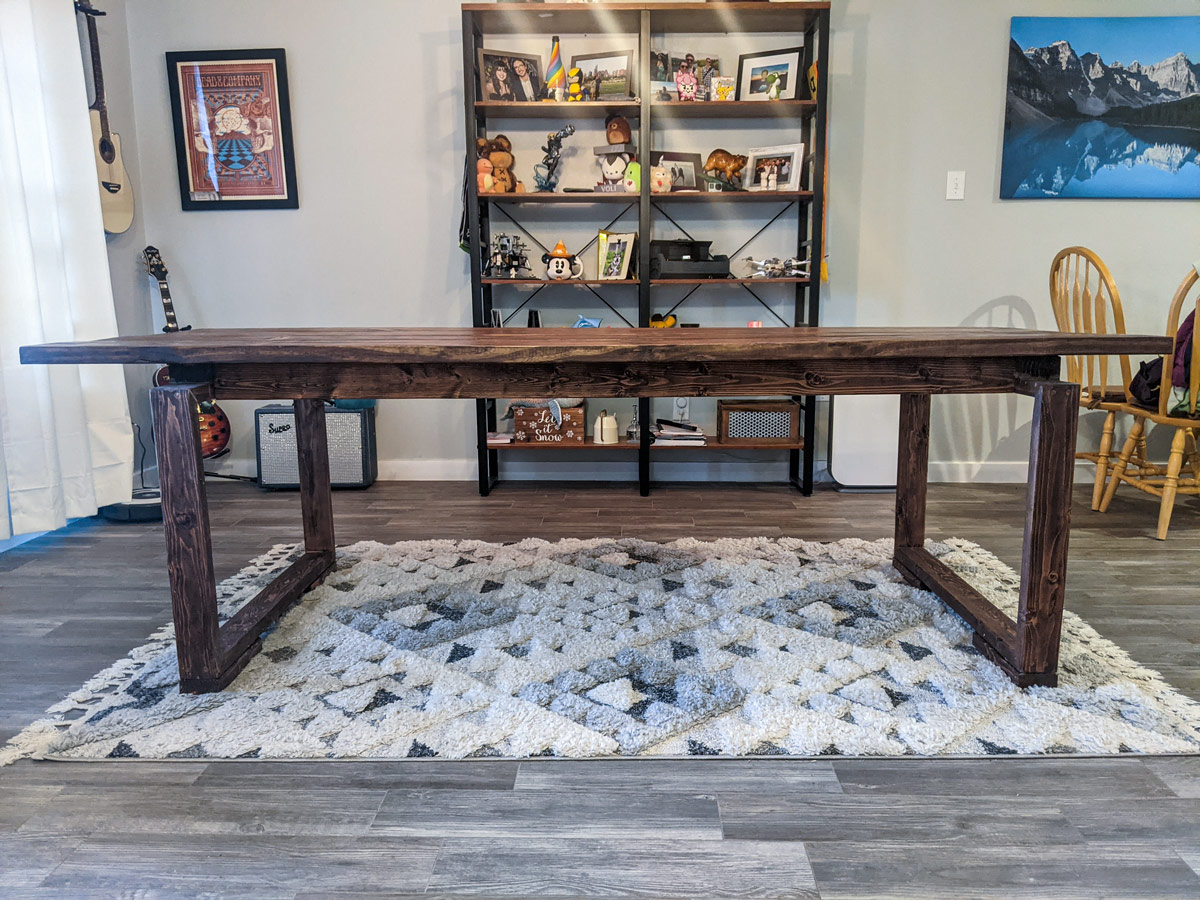
I hope you enjoy many dinners and game nights on your new, rustic dining room table! And you made it yourself!