I don’t like to buy things and I really don’t like buying things that I believe I can make.
However, as crafters, we make all sorts of things but blow a bunch of money on the supplies. Yes, we made it ourselves, but we’re still out the same (if not more) amount of money than if we had just purchased the item originally.
Well, with wood being so expensive right now, building your own furniture can be just as expensive as buying something in store. I wanted to get a little more into carpentry, but the startup cost is pretty high. Never mind the wood, you need saws, sanders, levels, squares, rulers, hammers, drills, screws, stains, and a host of other things to supply a decent workshop.
So you gotta start small. I have a jigsaw, drill, and sander. That’s gotten me through most of these projects.
The wood I used for the nightstands is 2x2 pressure-treated balusters. They’re about $1.88 at Lowe’s, a little more at places like McCoys. You’re going to need a lot of them for this project.
Supplies:
- 2x2x42 (sometimes 36in long) balusters. I used 12 and had a mix of both lengths.
- Jigsaw
- Wood screws
- Drill
- Wood glue
- Flush cut saw
- L-brackets
- Clamps
- Sander
- Ruler
- Stain (Miniwax, Dark walnut)
- Dowels (3/8in)
- Polyurathene
Process:
I’ll put in all of my measurements of course, but this project is completely customizable to your needs.
We’re going to be making three sections (a tabletop, lower top, and legs) and attaching them together.
Here’s how I divided up my wood pieces:
[x2] 42in long = Legs
[x4] 42in long = Middle
[x6] 36in long = Tabletop
The reason I had different lengths is that they sell 36in balusters at McCoys and 42in balusters at Lowe’s.
Once you get all your measurements right and buy enough wood the project itself is pretty straightforward.
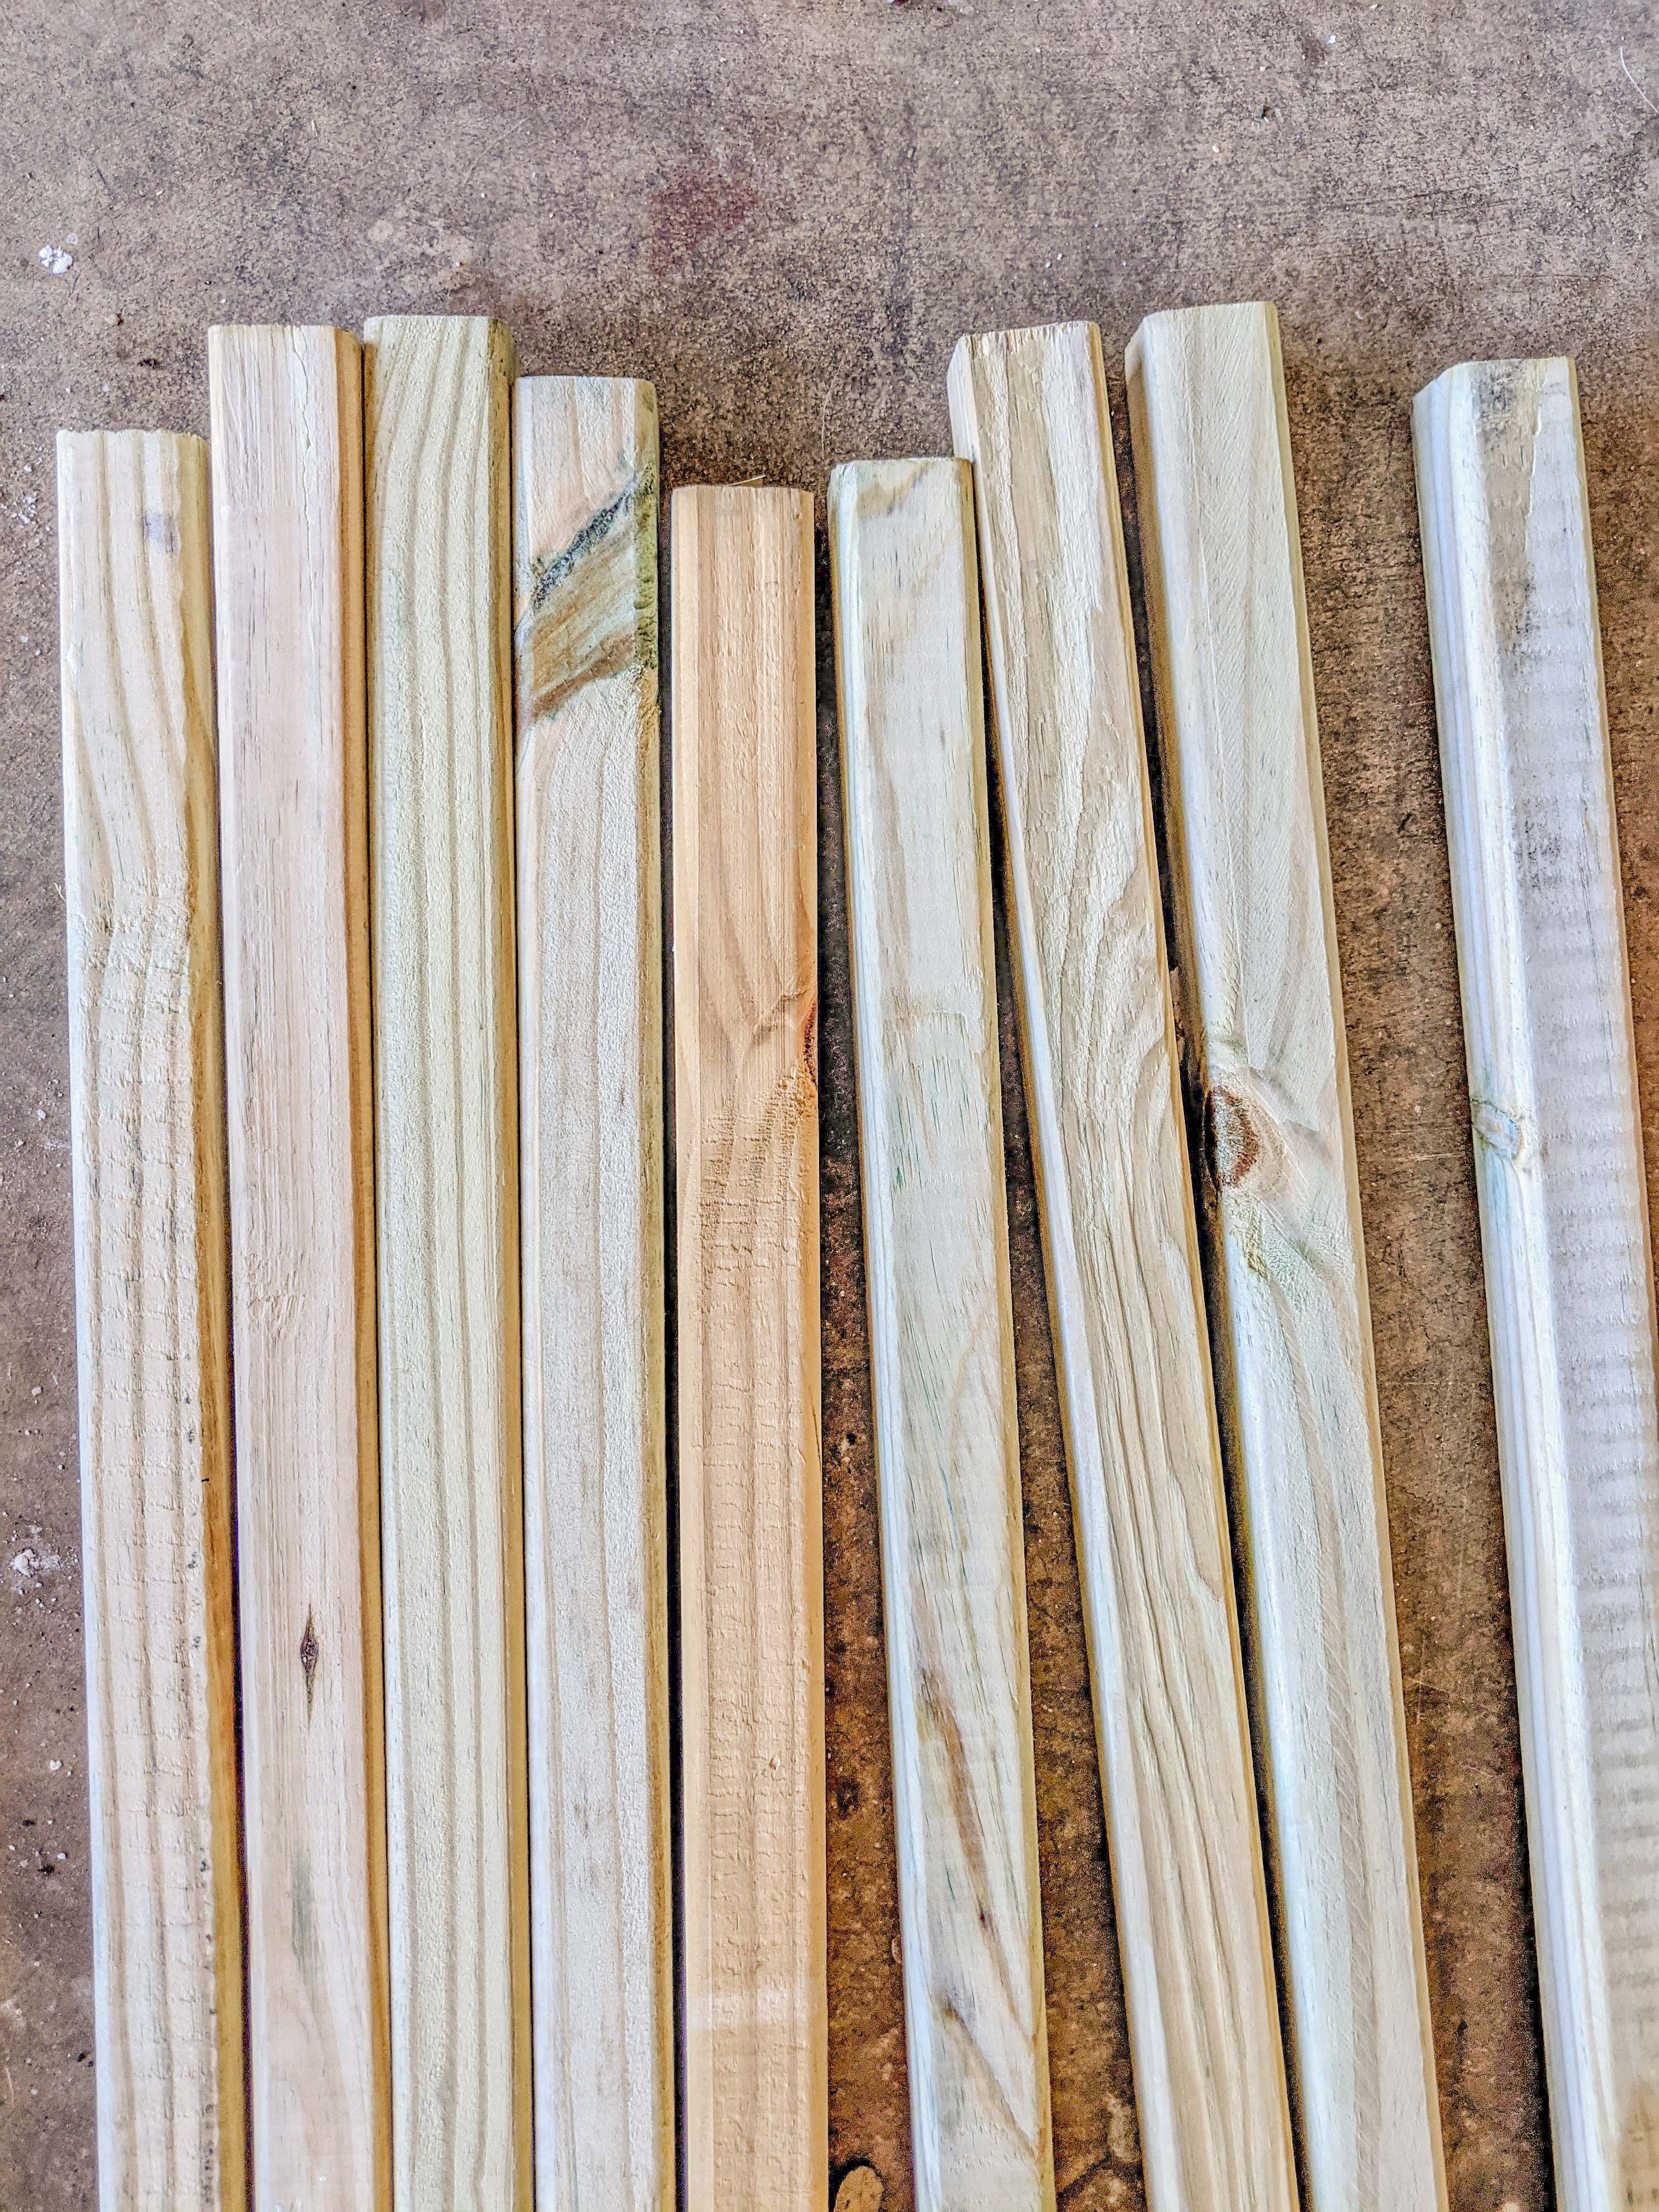
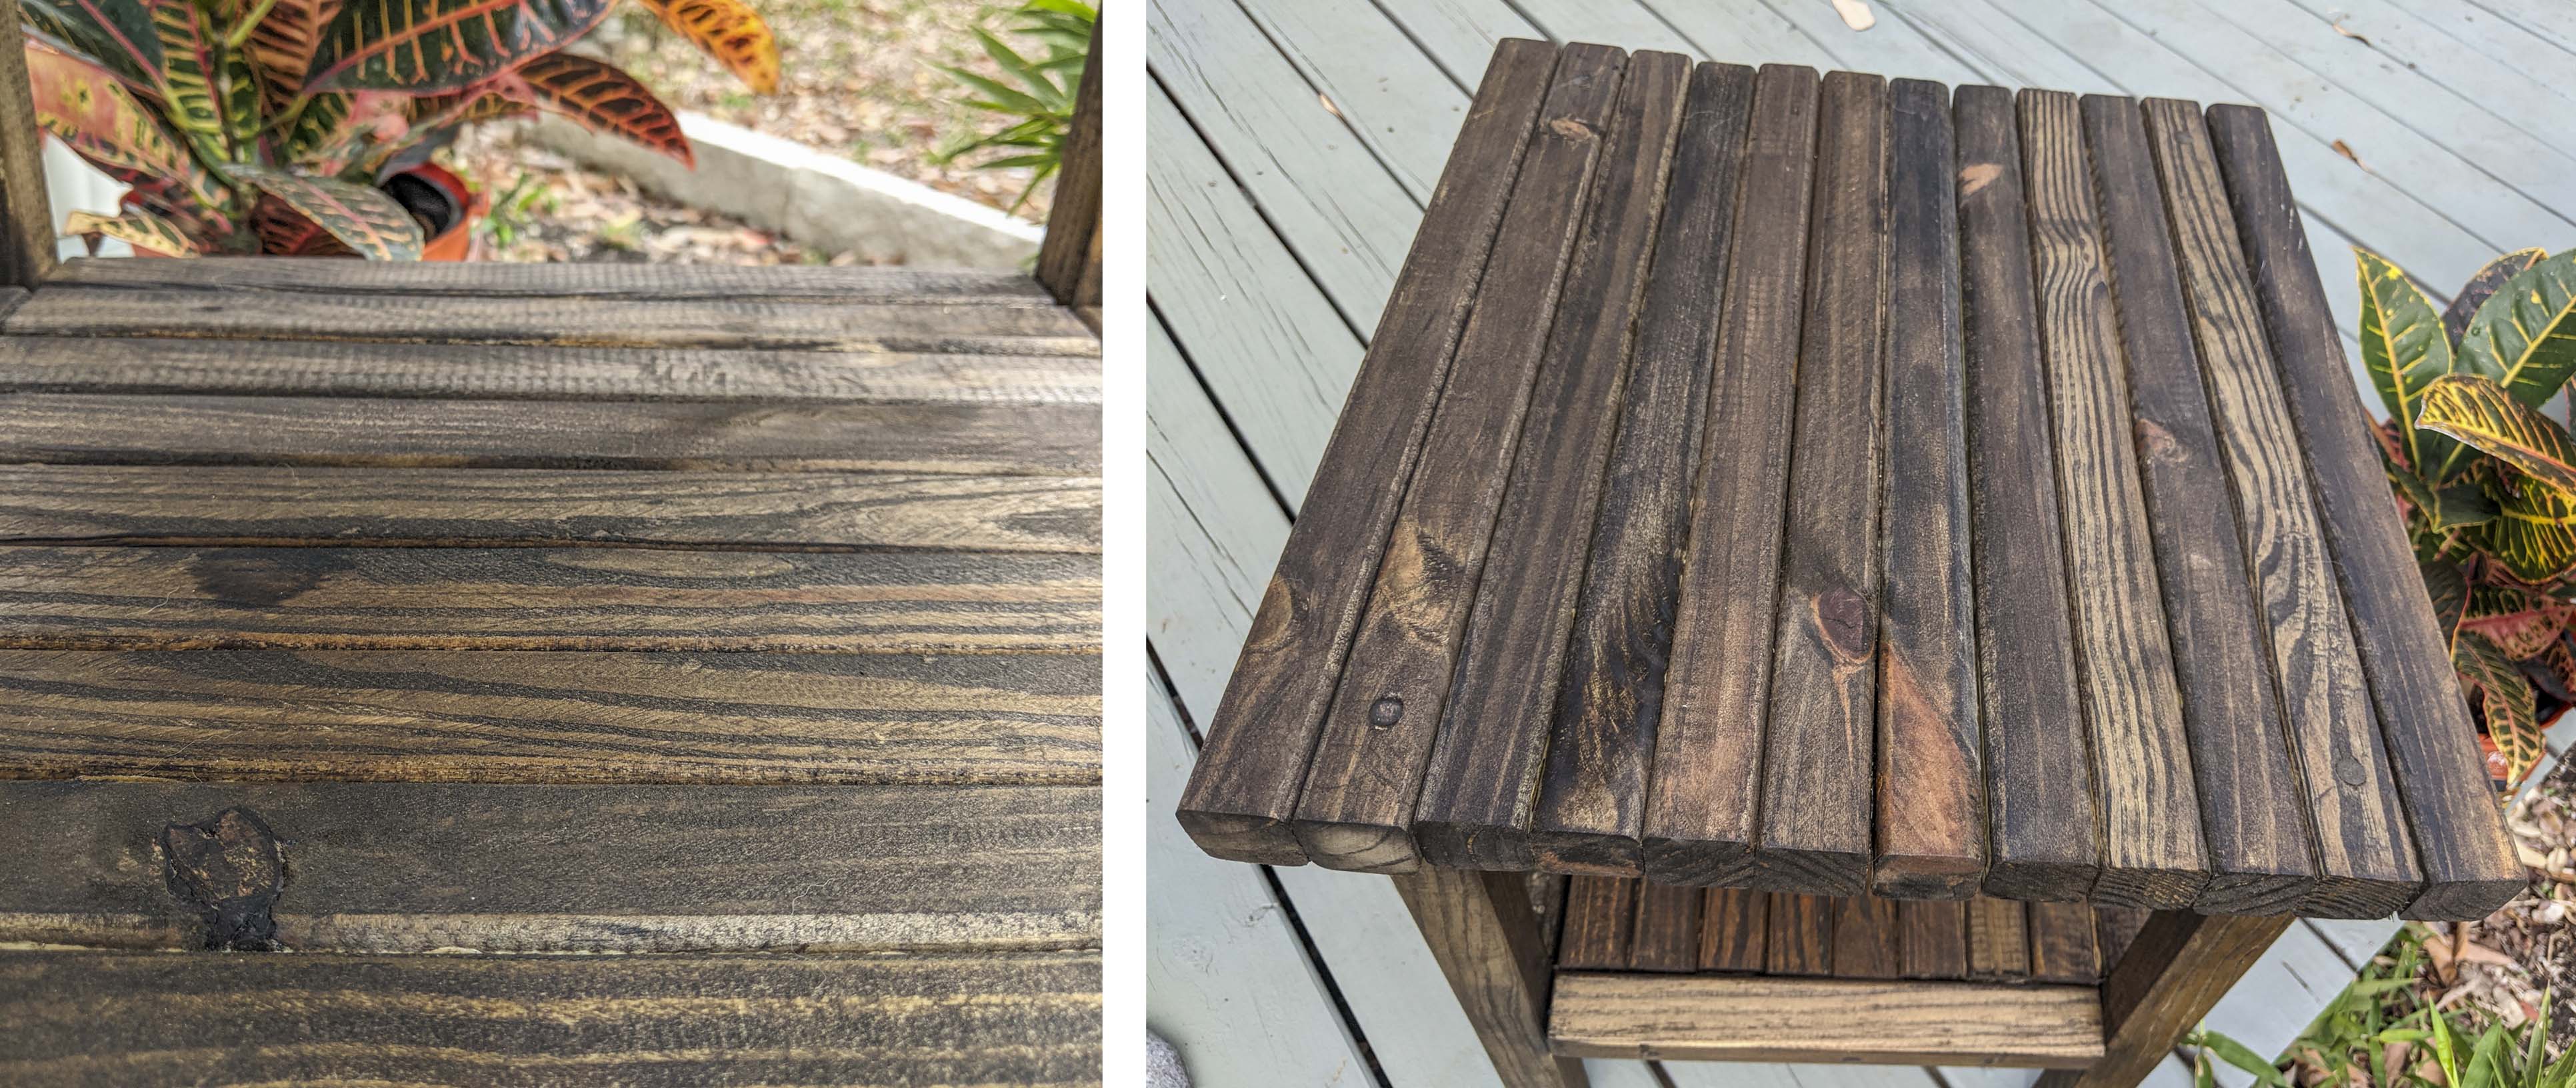
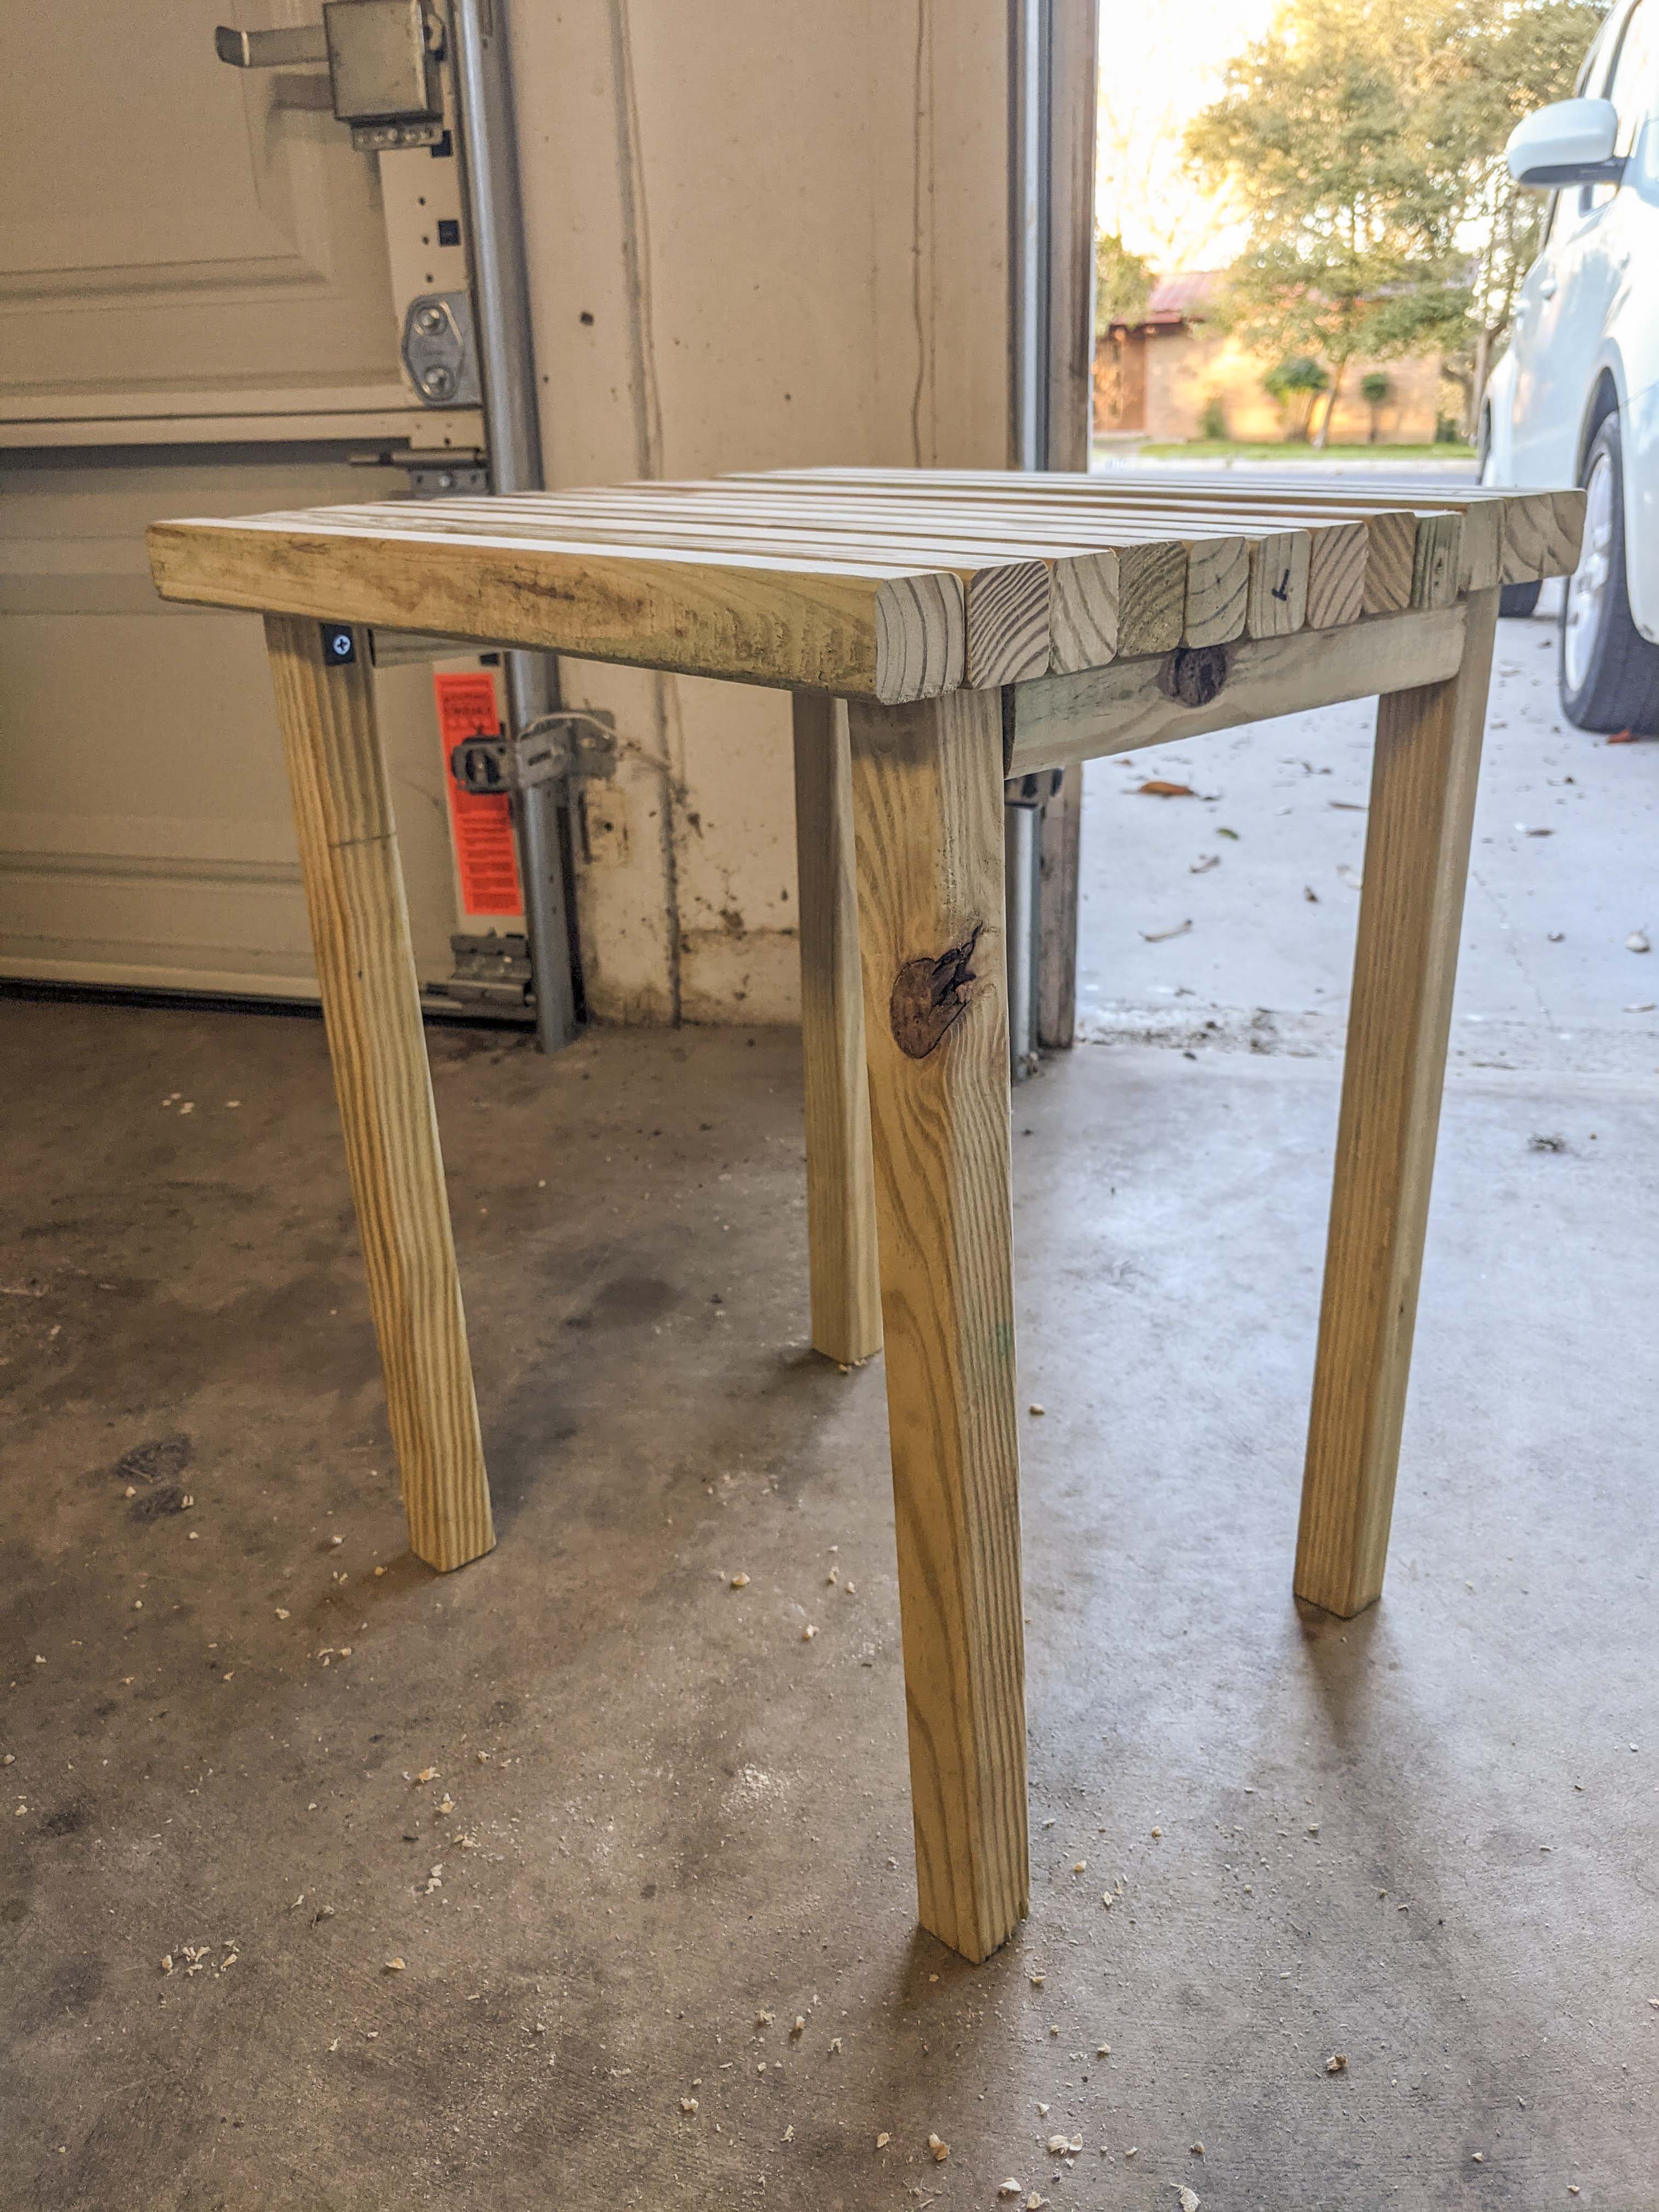
I started with the tabletop and cut twelve 17in pieces from my 36in long balusters. Remember wood has a common size and an actual size. These boards are actually about 1.3inx1.3in square, not 2in square. I lined the pieces up, glued in between them, made sure they were flush with one another and clamped them in place.
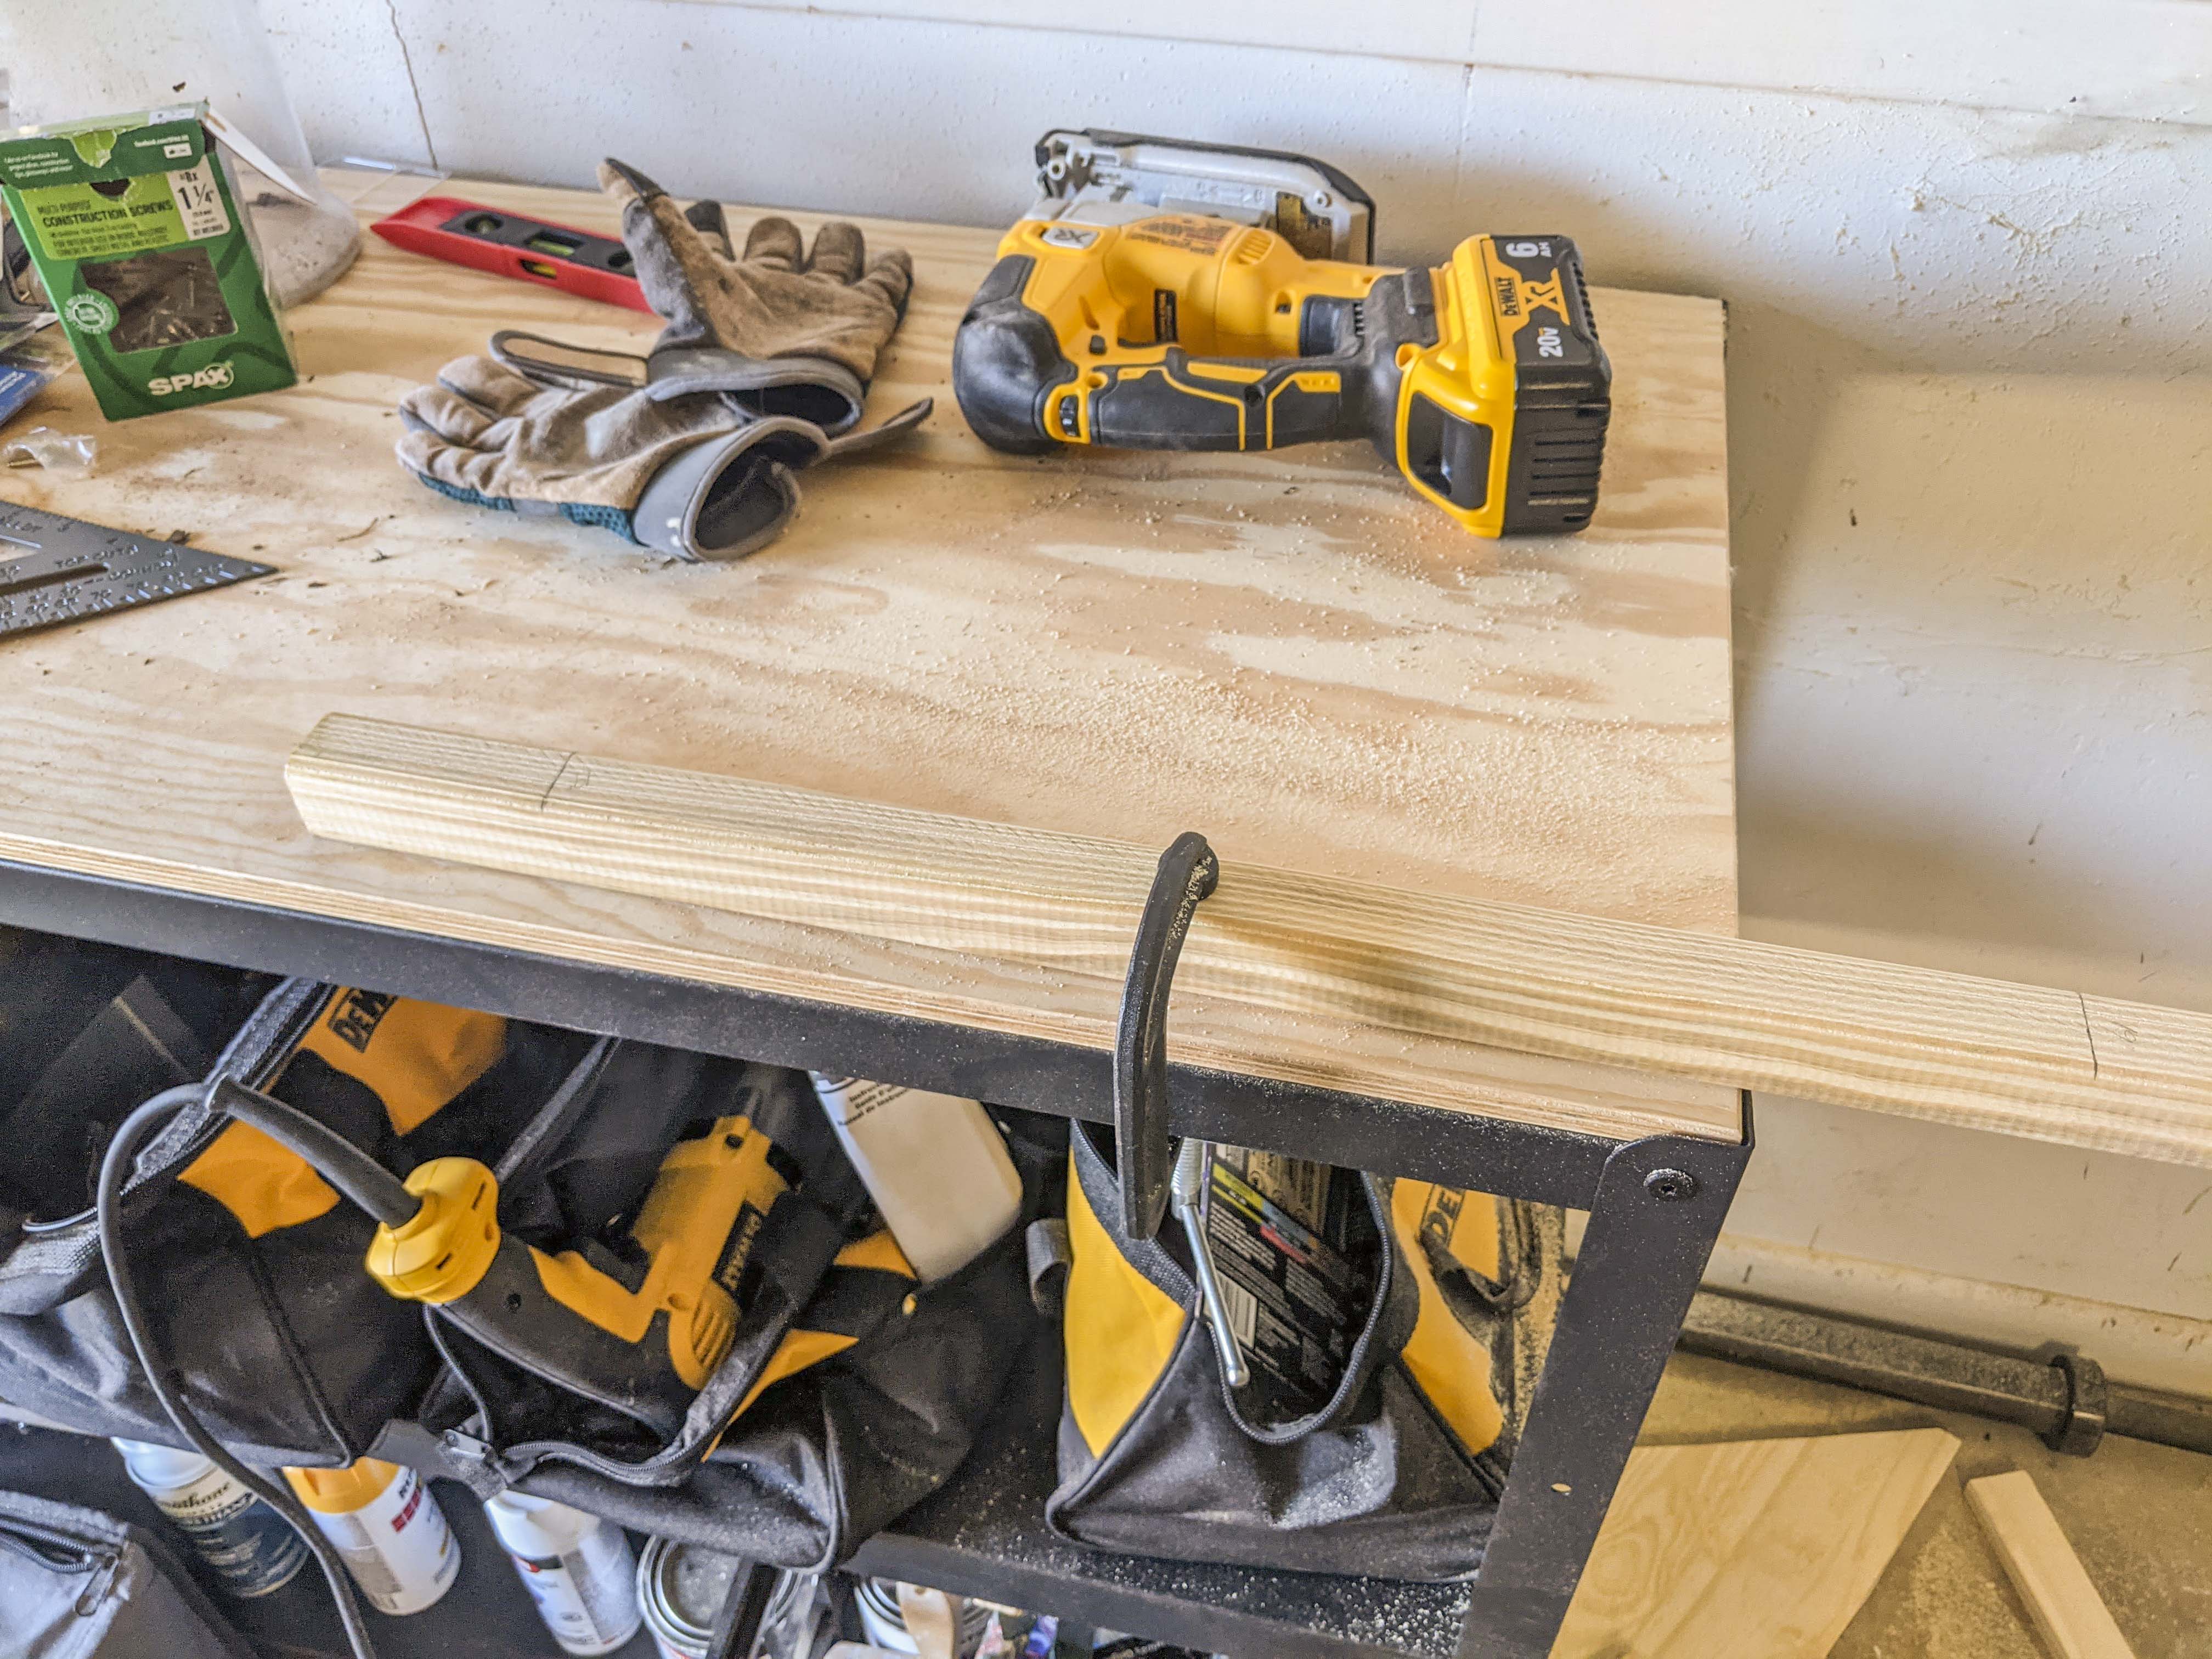
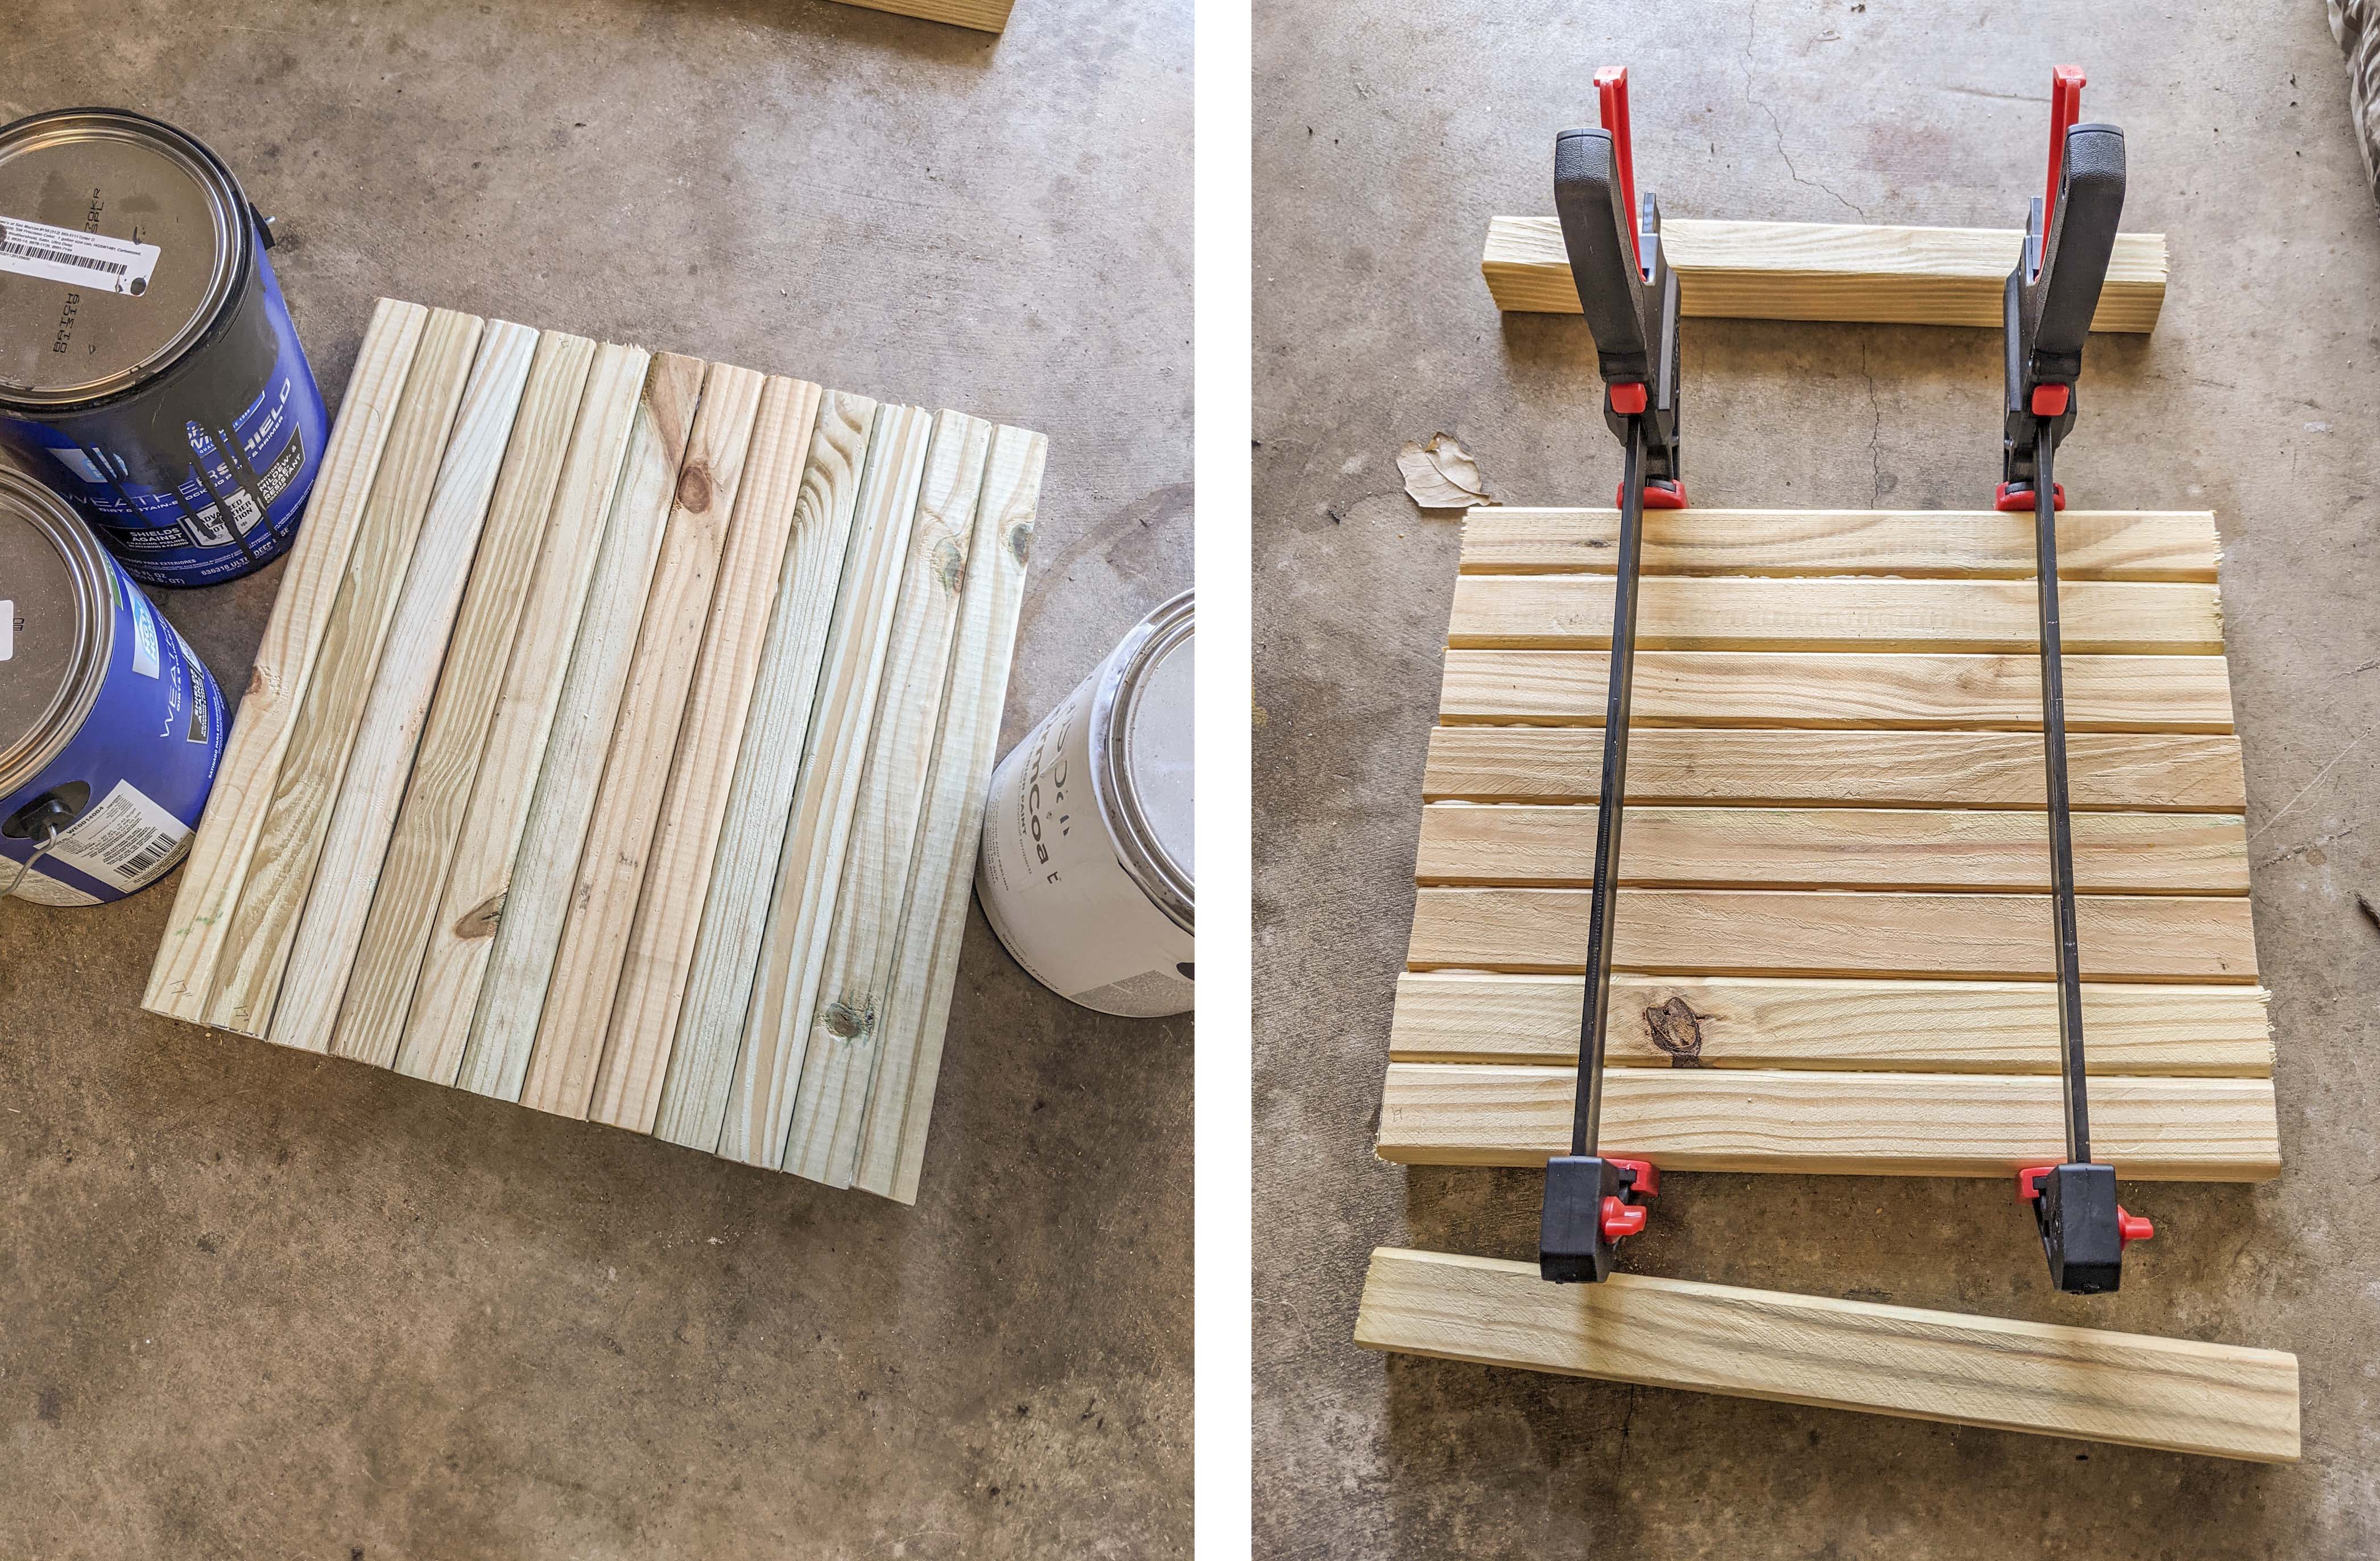
Next, I quickly cut four 19in legs from two of my 42in balusters.
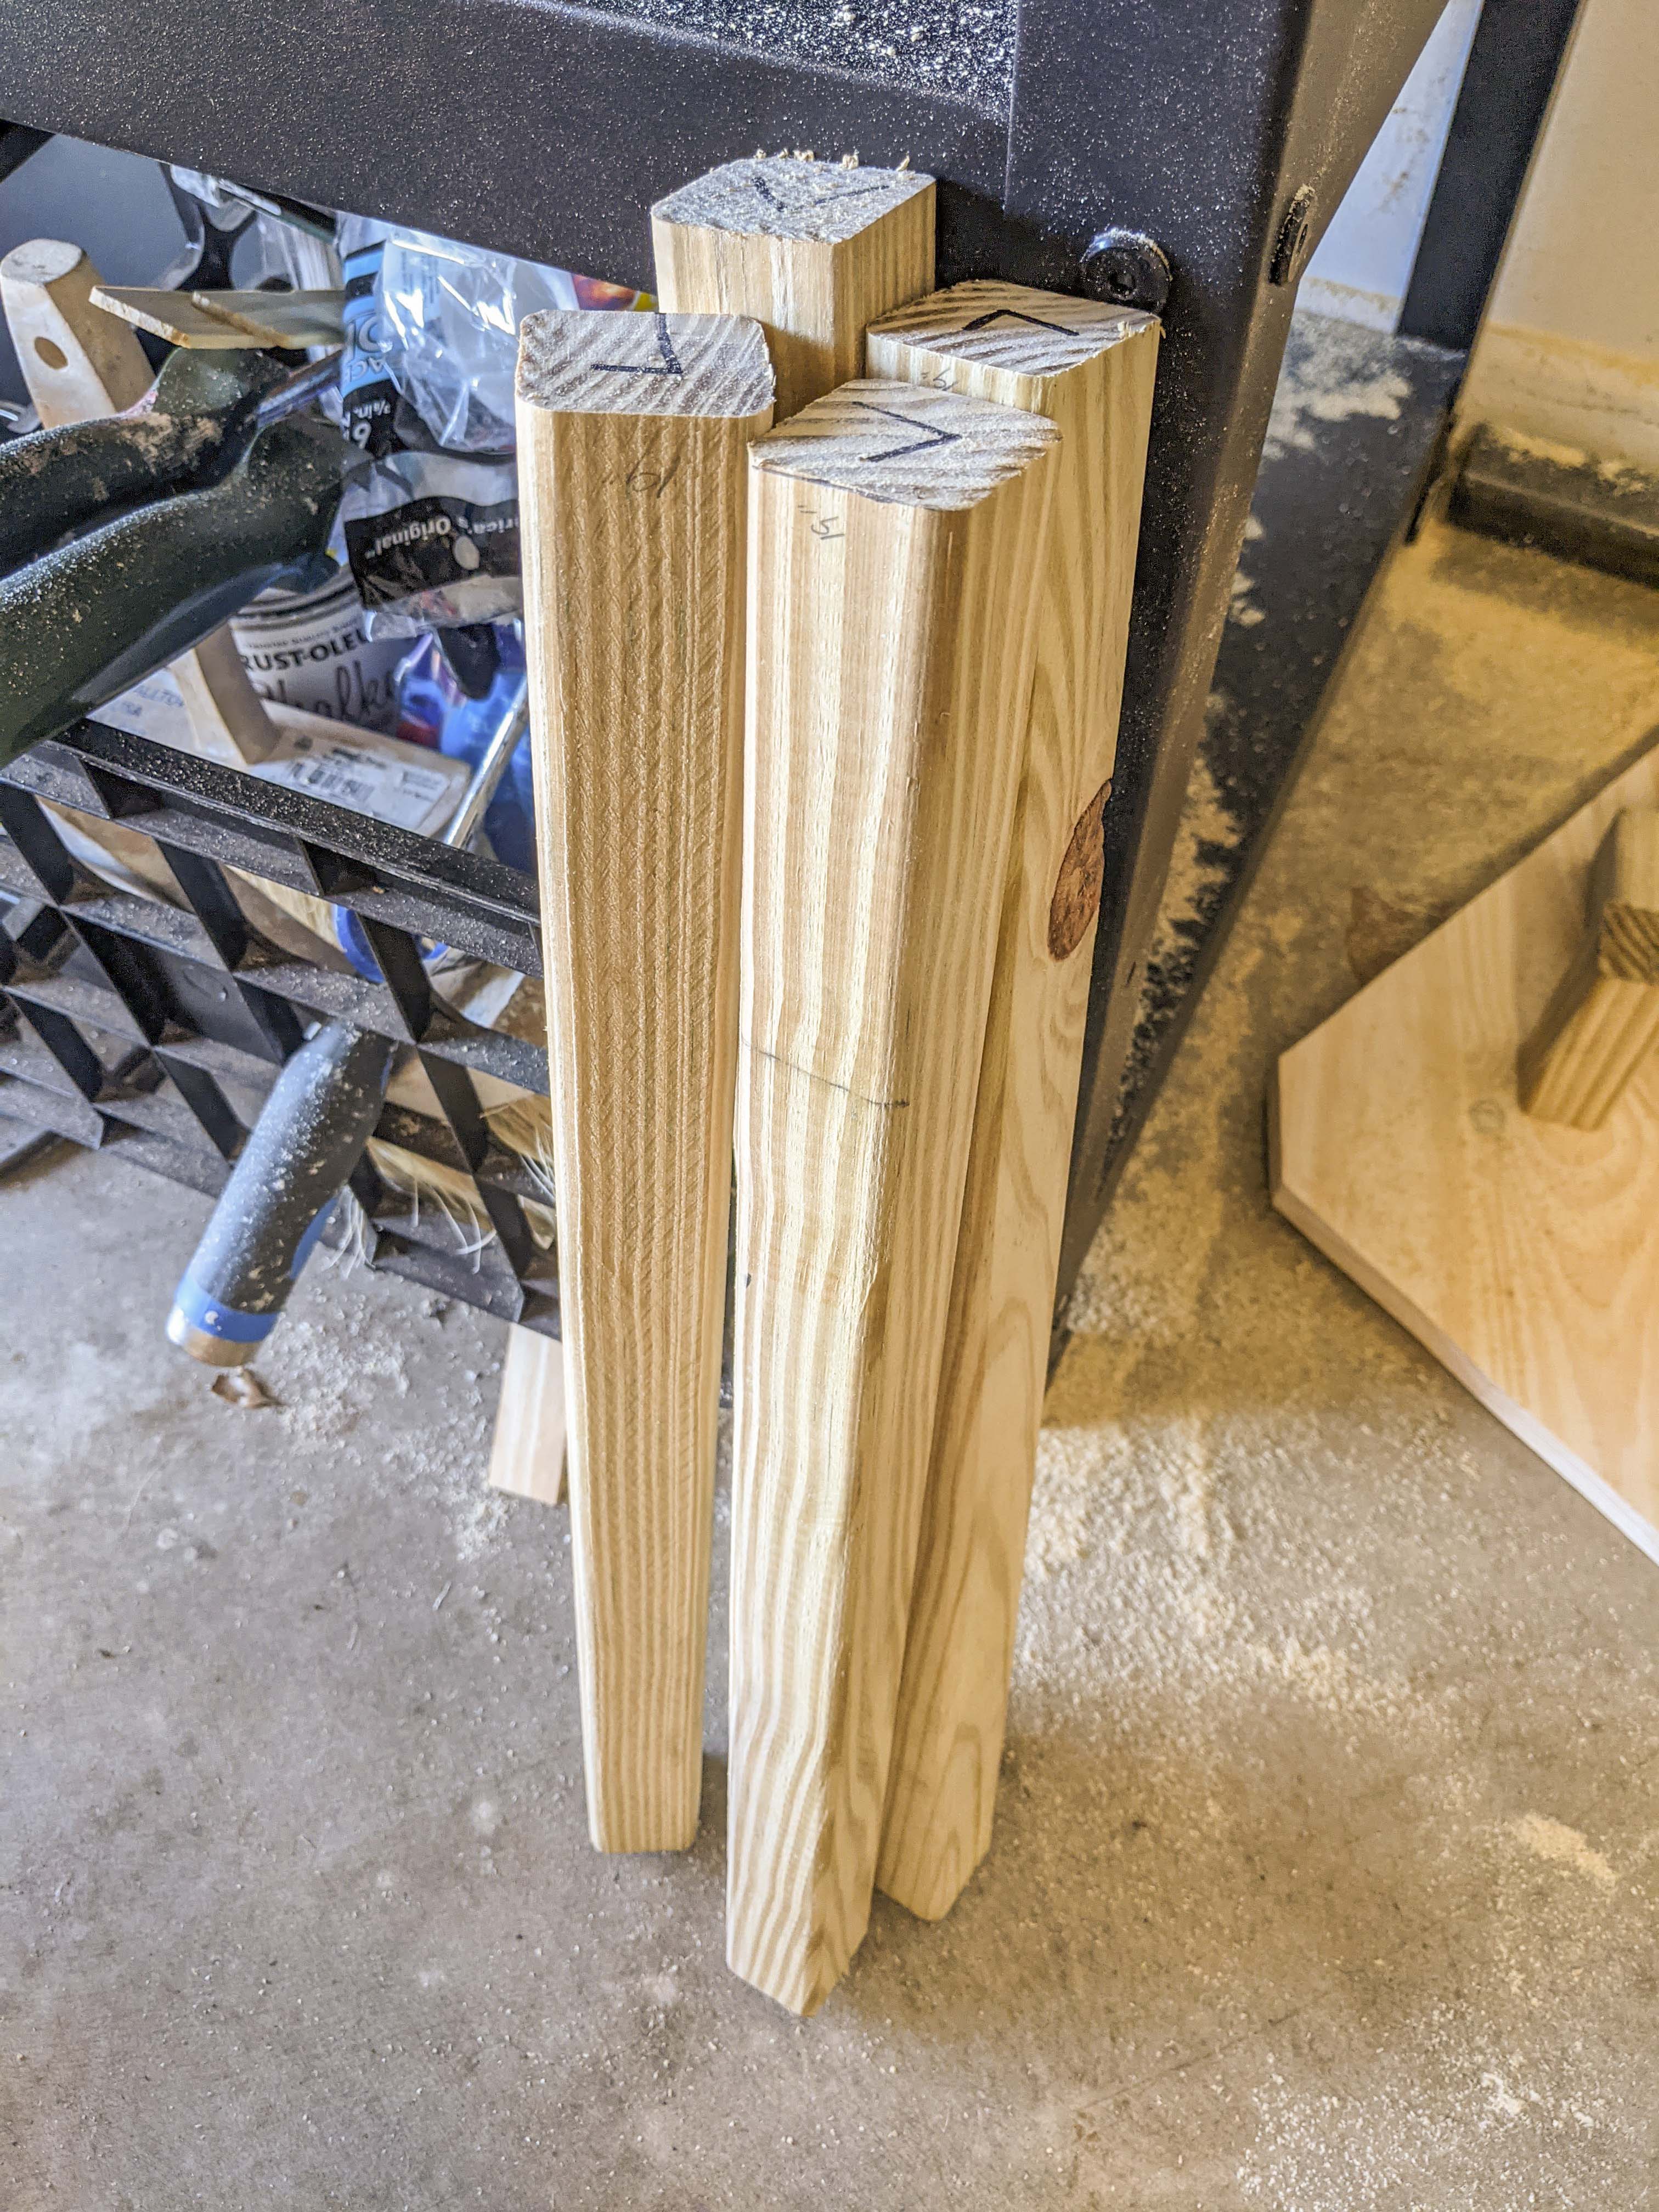
When the top dried I attached the legs. I wanted hidden screws, so I measured about an inch in from the edge on the second from the top and the second from the bottom balusters. I traced where the leg would go and, using a 3/8in drill bit, drilled down partway through the wood. Do not go all the way through. This is making a screw hole that I will cover up with a dowel. I held a leg on the bottom of the table and screwed through the hold I just made, attaching the leg to the tabletop then did this three more times with the remaining legs.
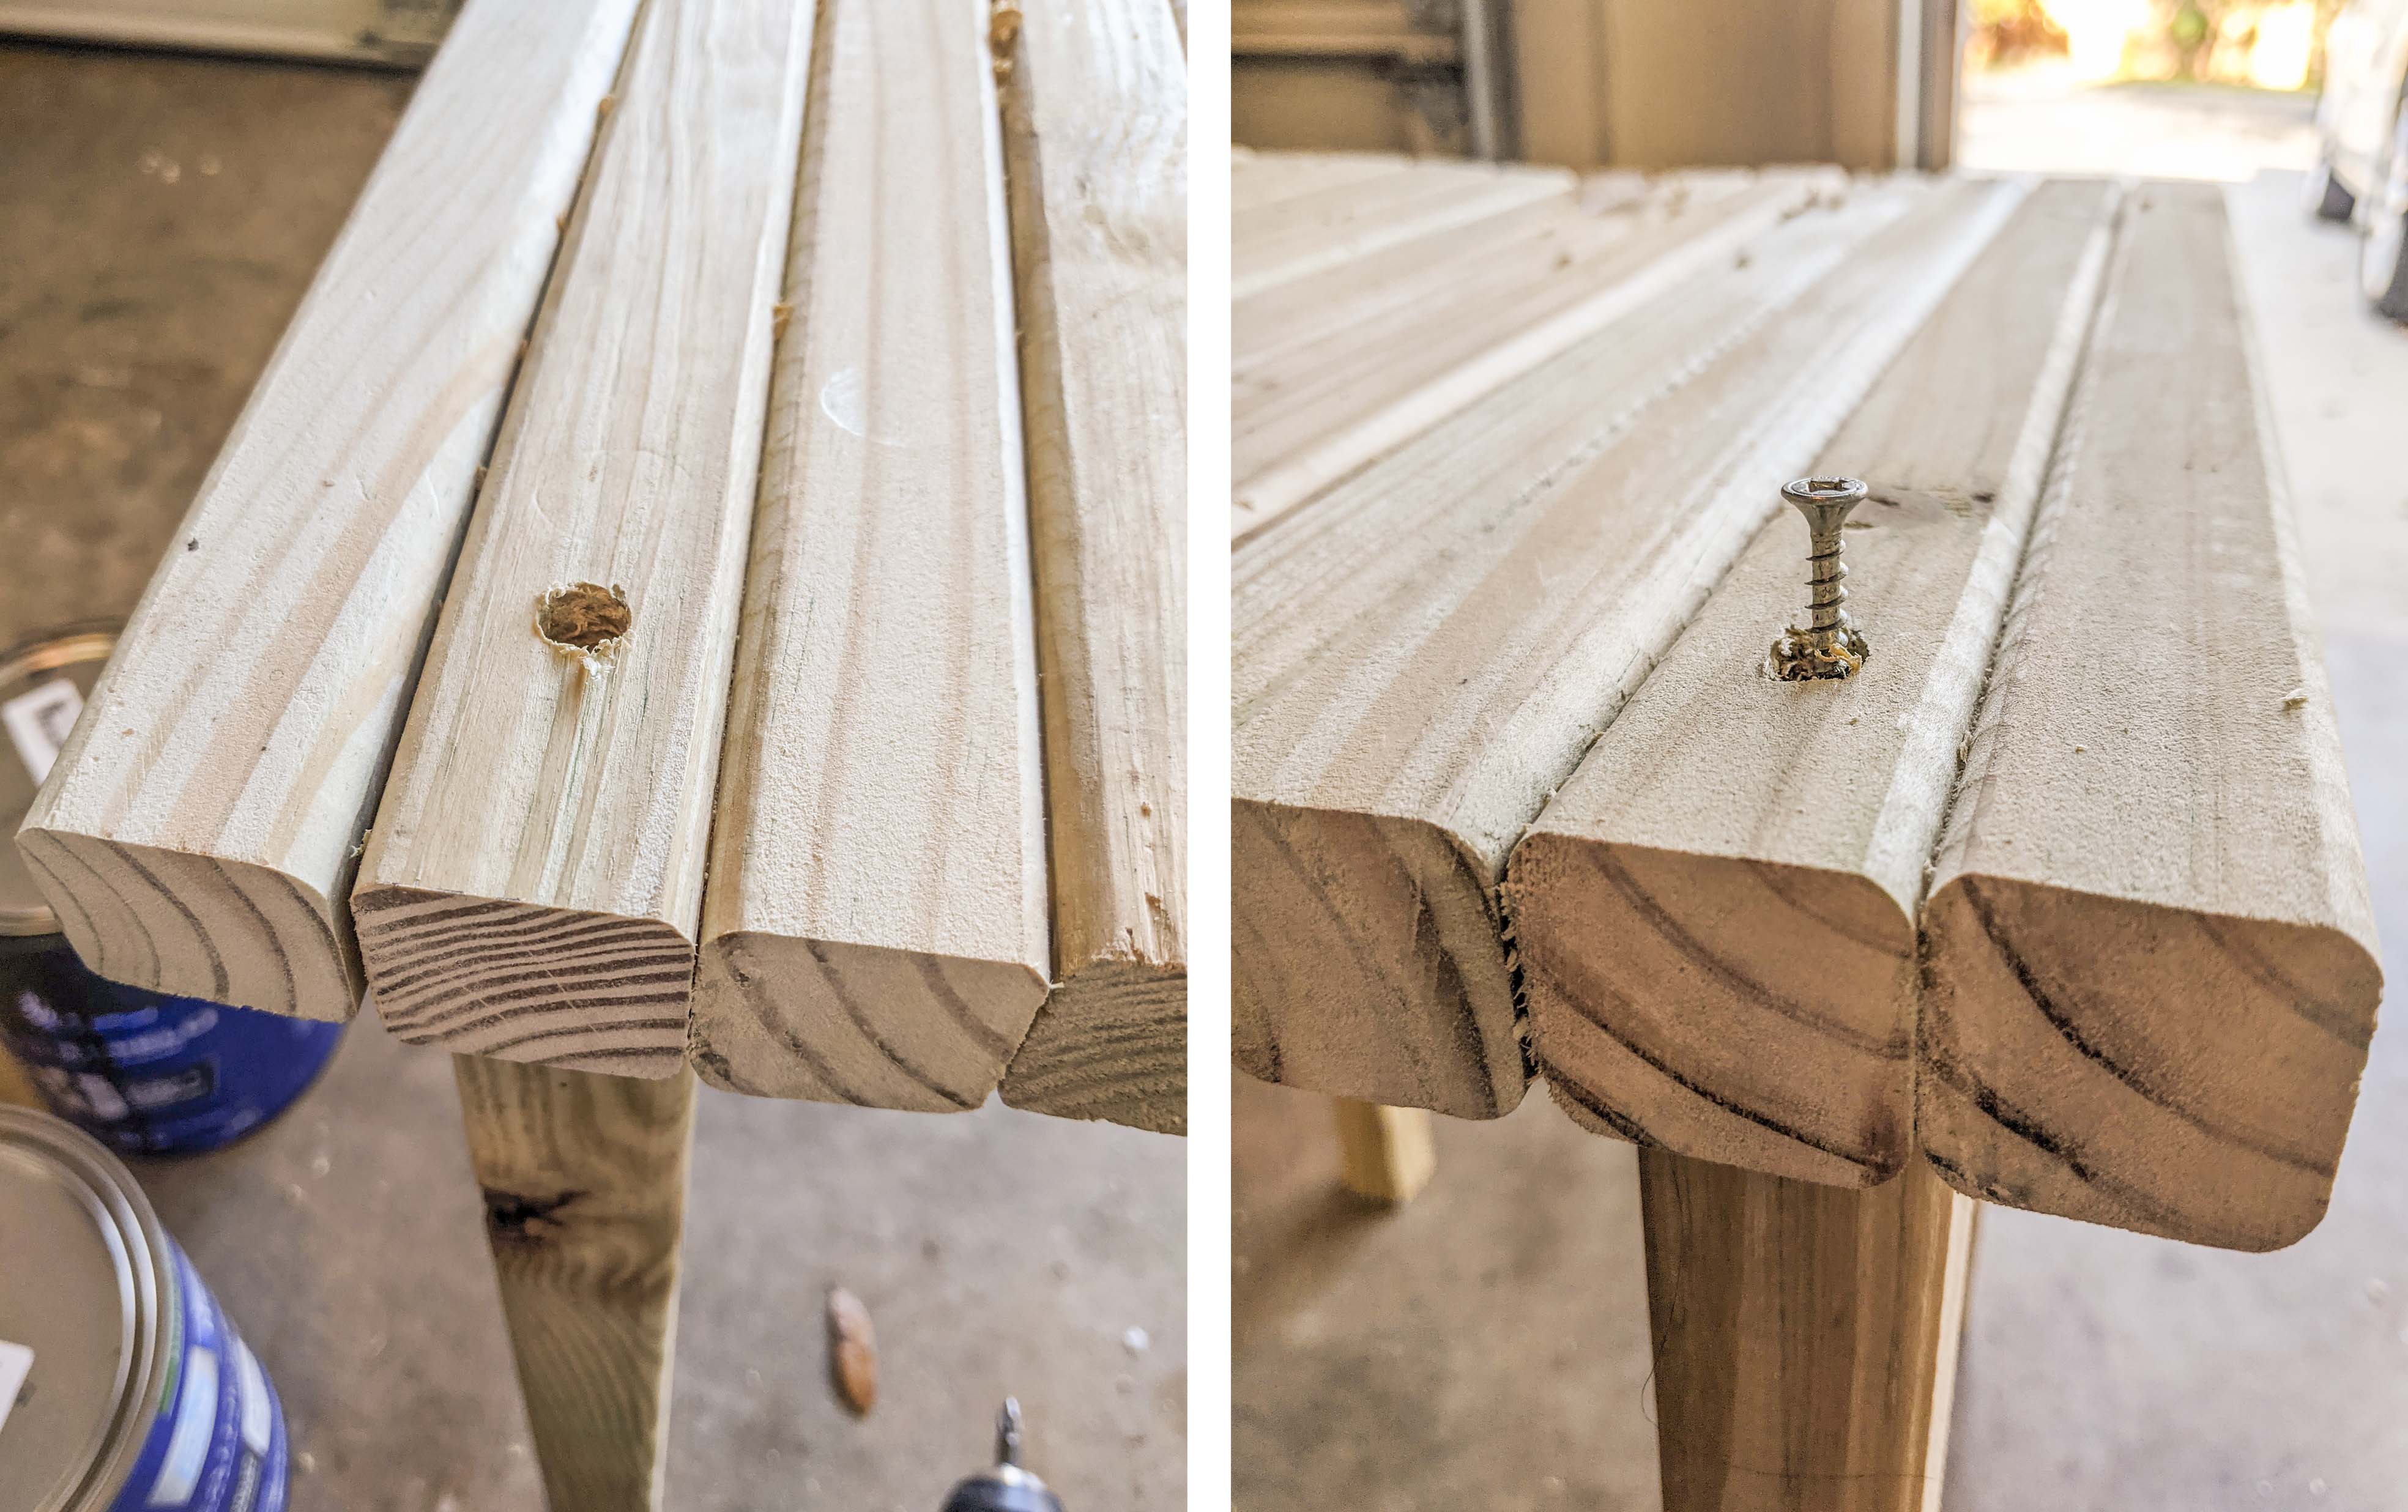
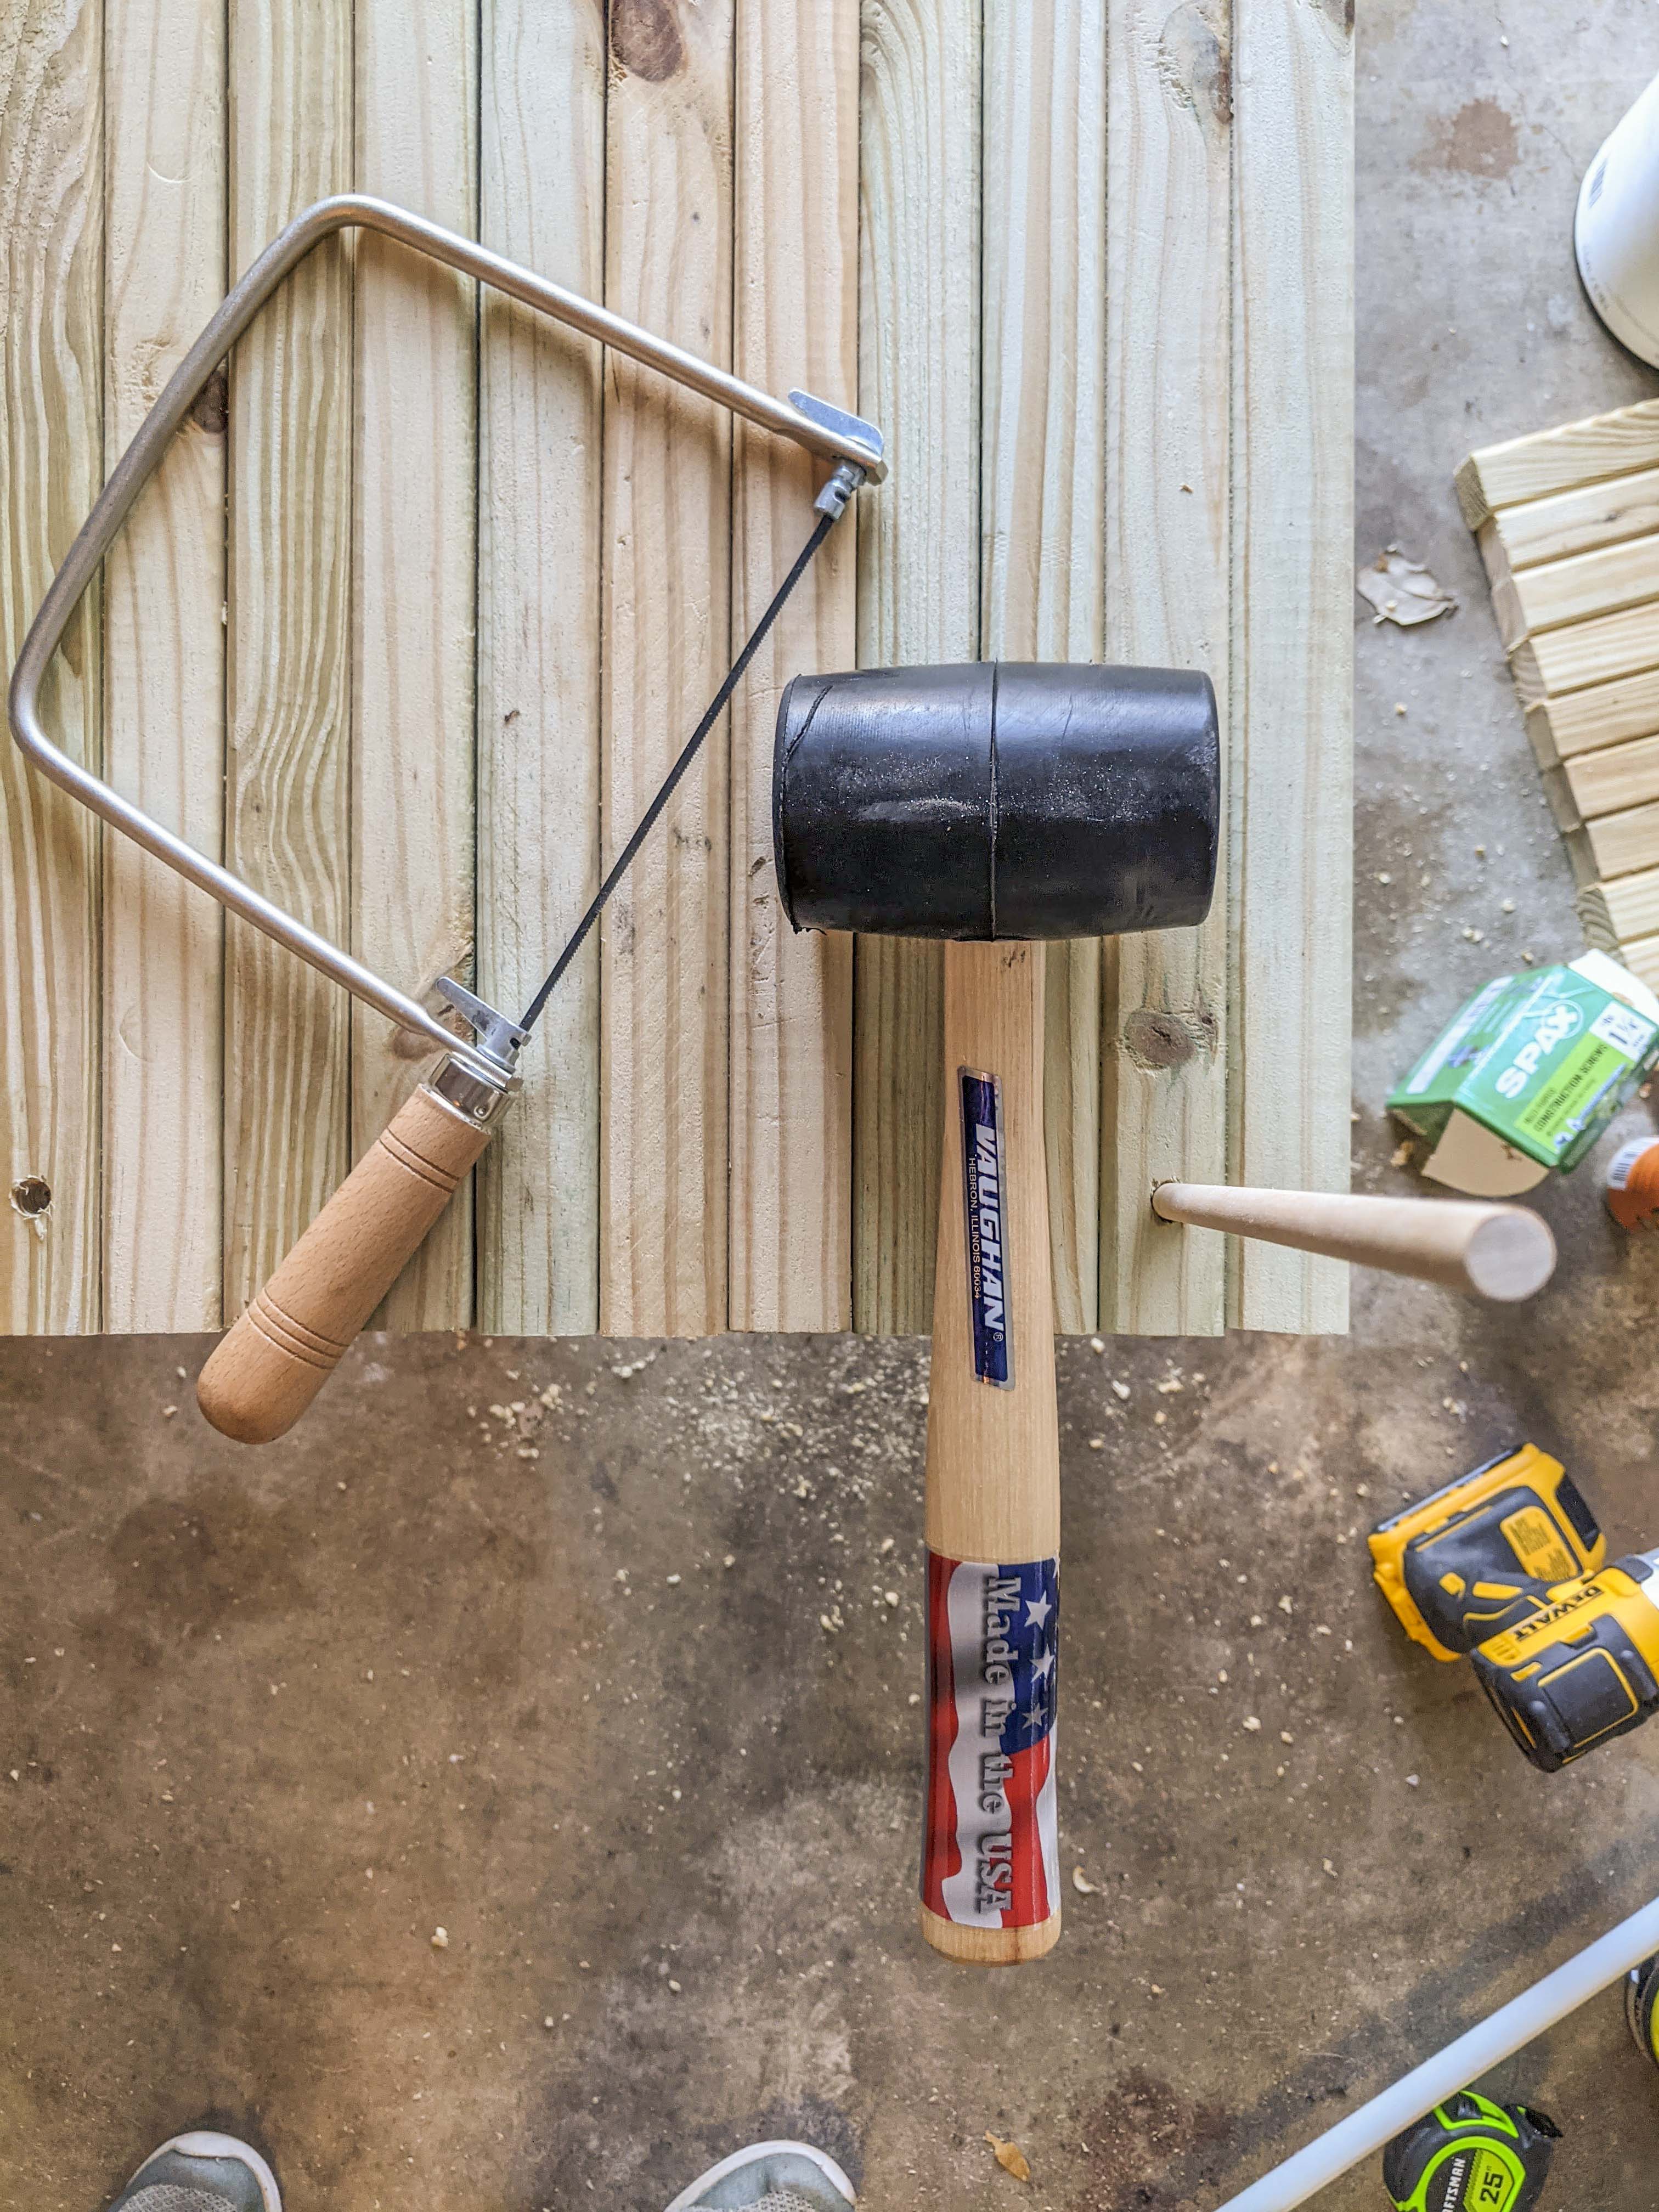
Whatever size dowel you have is going to be the size drill bit you need to make that first hole. Put some wood glue in there and place the dowel rod in, hammering in place if necessary. Then use a flush-cut saw to remove the excess dowel. Repeat for the remaining three holes.
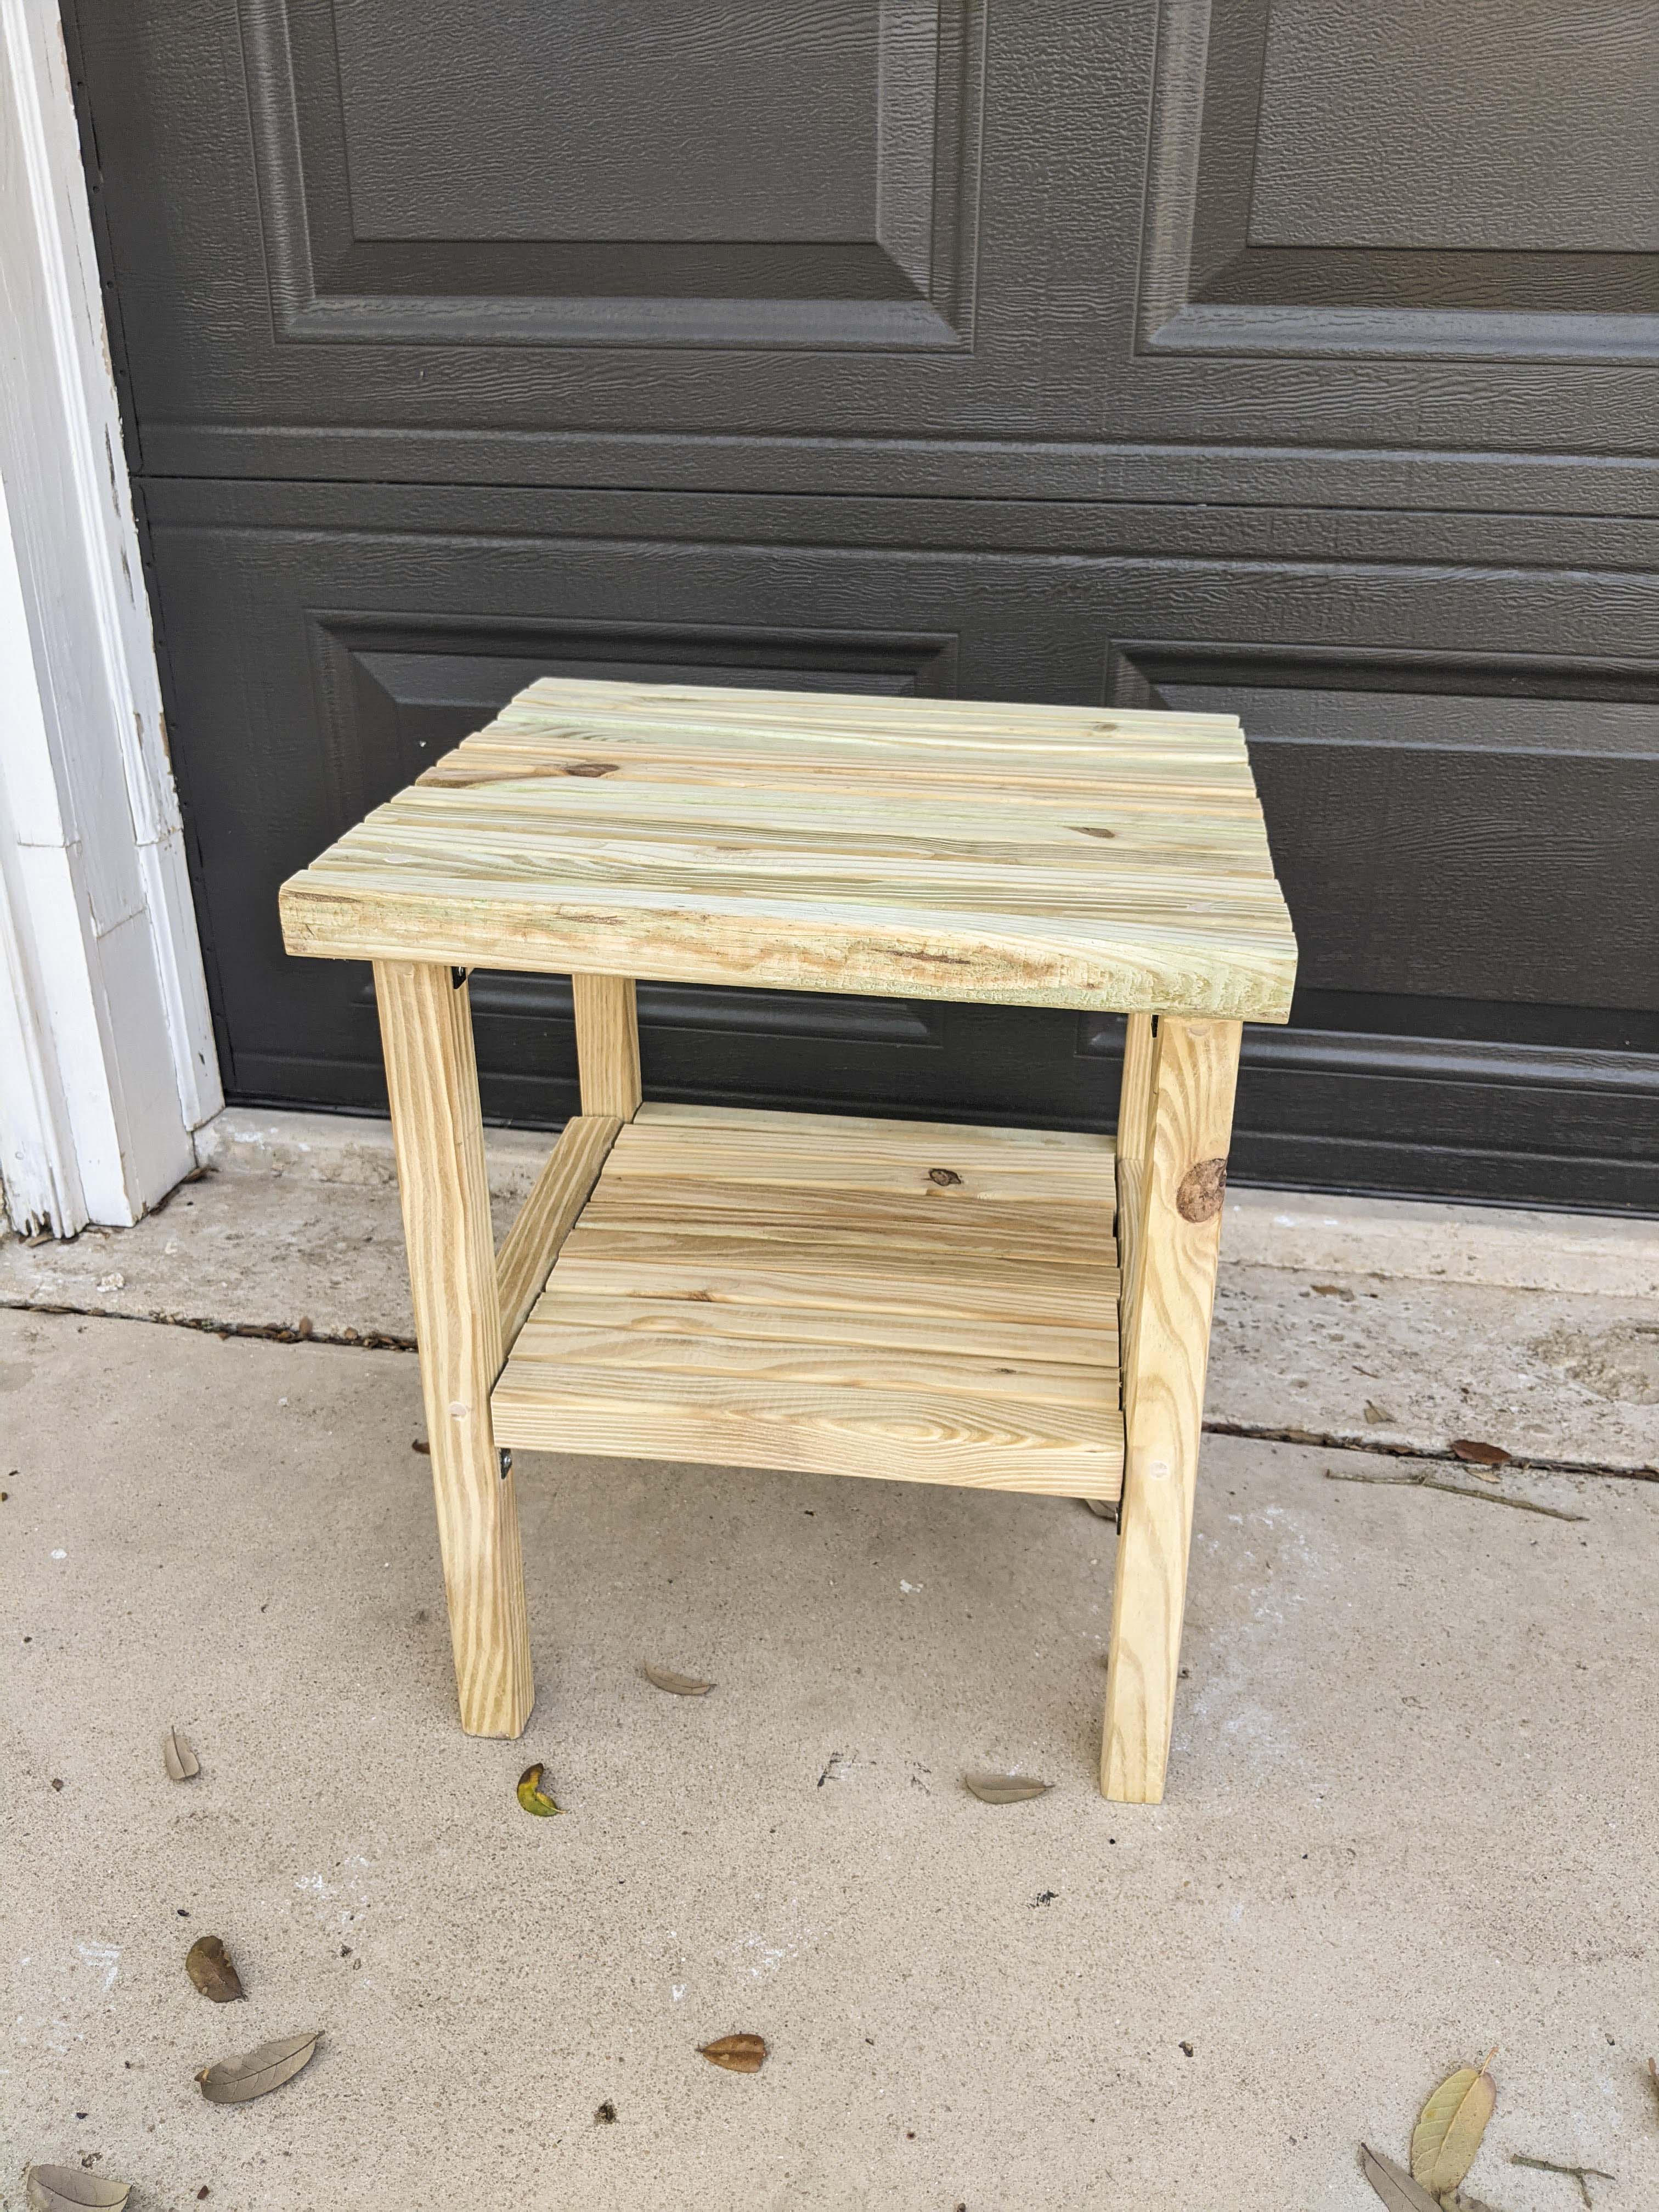
Now your table will stand up! If you don’t want the bottom shelf you can go ahead and stop here. Give it an all-over sand, stain, and poly.
However, I like (need) the storage so I added the bottom shelf. I also added some side pieces for a more finished look.
The distance between the legs is about 12.75in, so I cut 10 pieces that length from my 42in long balusters. I handled these the same way I did the tabletop- glue and then clamp them together. I also added four L-brackets on the legs so I could set the middle shelf on top of them and screw it down.
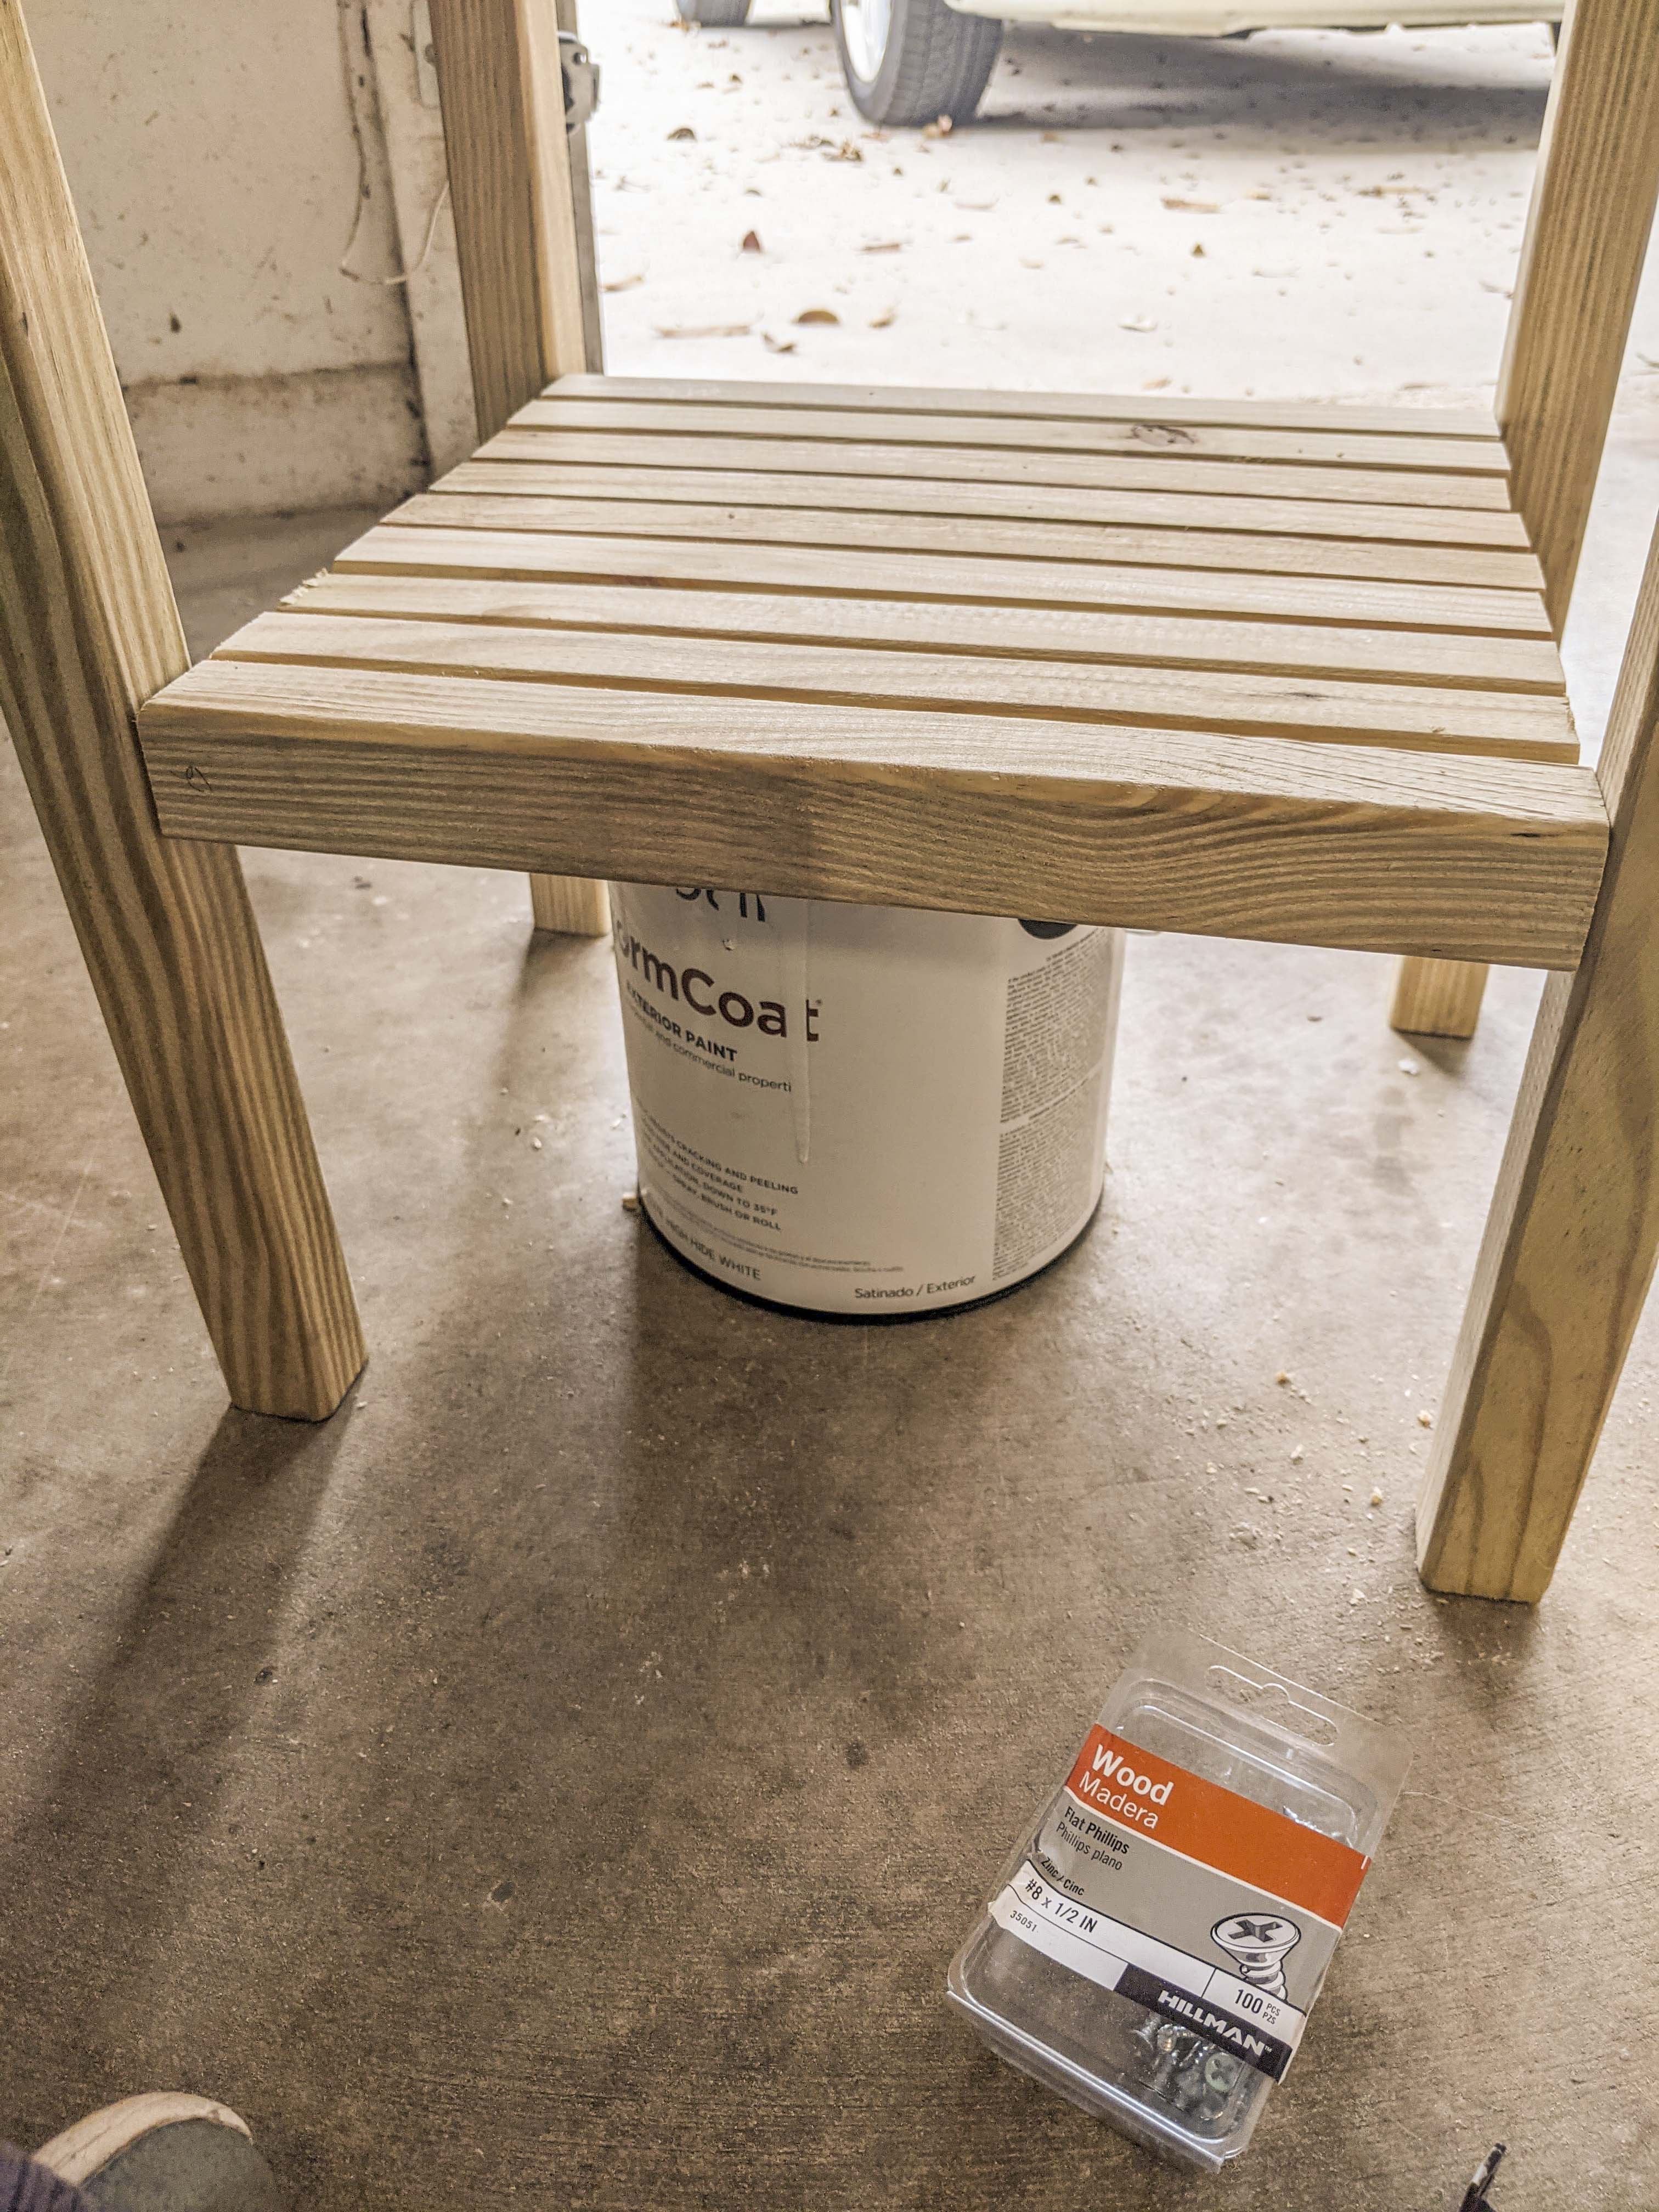
In the above photo, you can see I used a paint can to get the middle shelf at the right height. If you put the L-brackets on first then you do not need to do this.
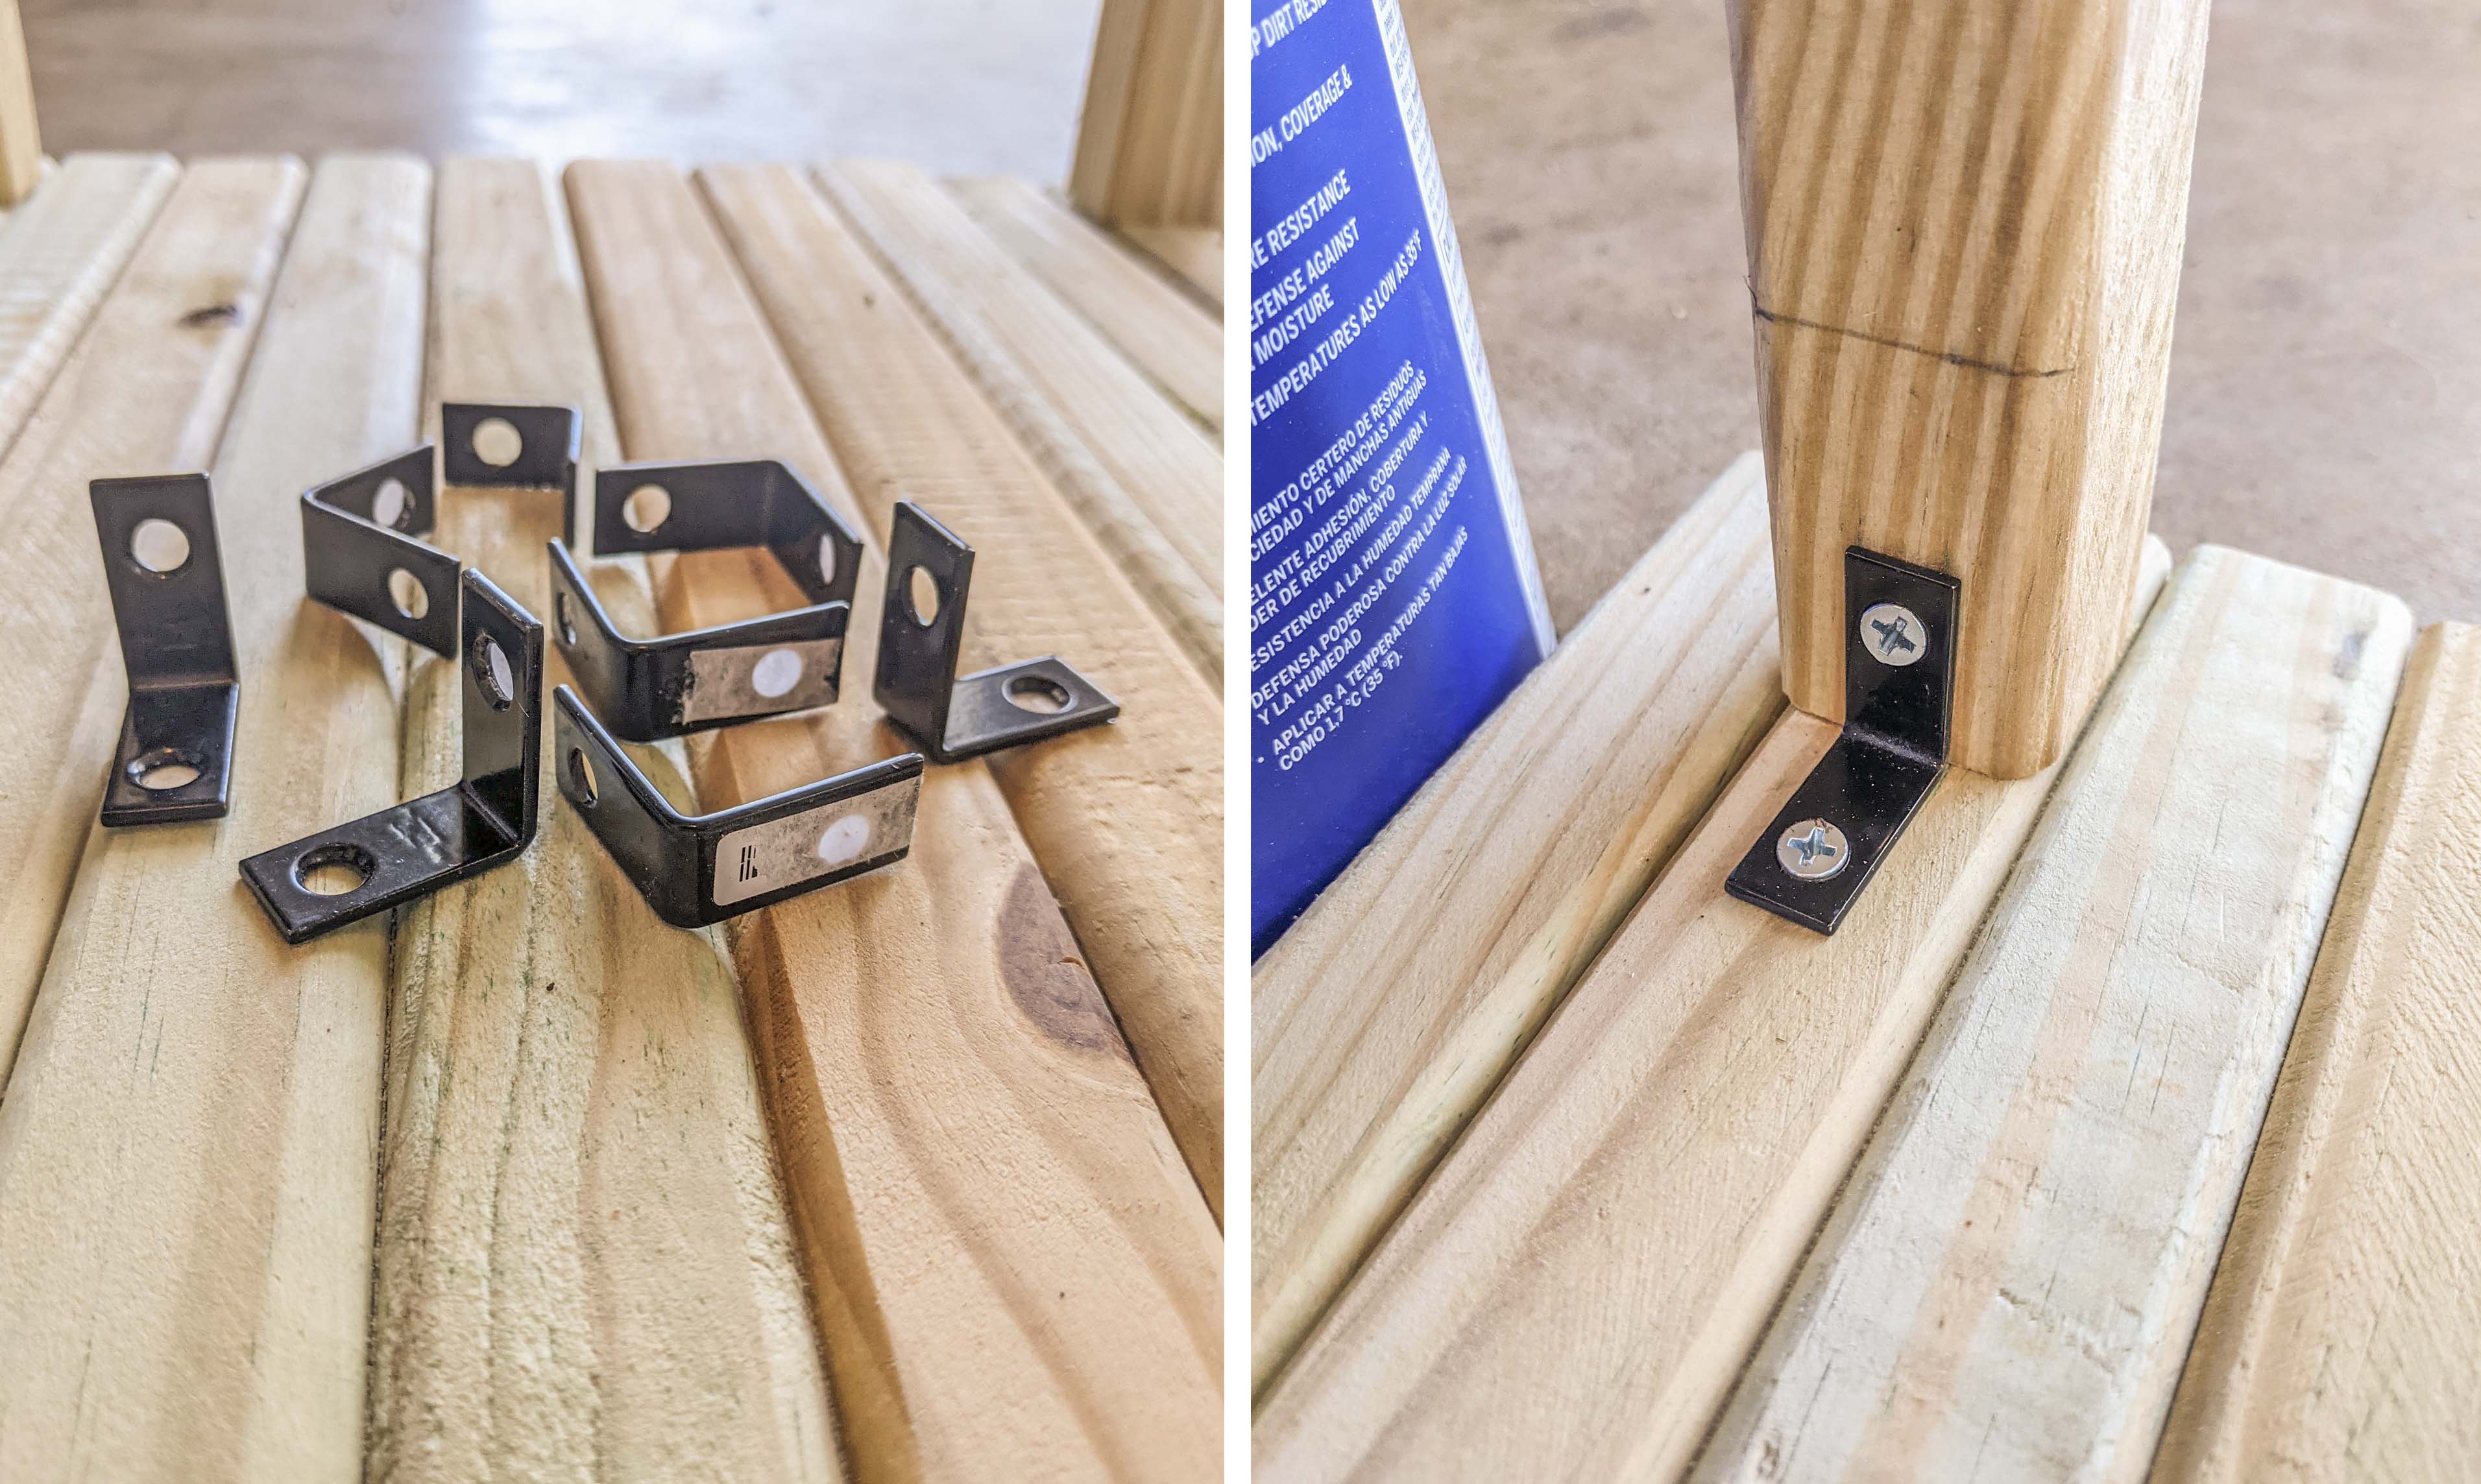
In this photo, the L-brackets are on the tabletop as well- I did not do this for my second nightstand and instead, only put the brackets on the middle shelf.
For the four side pieces, I measured between the legs and cut as needed. For the top two, I predrilled with my 3/8in bit and screwed it into the tabletop as well as predrilling into the top of the legs and connecting them to the side piece.
The middle two pieces were clamped down then I predrilled the legs and screwed them in.
Voila!
Next, I sanded all of my predrilled holes to get rid of any splinters and hammered in my dowel rods. Then, I took my flush-cut saw and, well, cut them flush with the wood. Once they were all in, I sanded them flat. Be sure to sand or chip off any wood glue that may have squished out from between the boards.
The last step is to stain this bad boy. I flipped it upside-down to get the bottom first, then turned it back upright to get the top. I used a brush and wiped away excess stain as I went.
The longest part is letting this thing dry. I left mine outside for a couple of days to air out as well.
I’m finally posting this because I also finished my second one and now have a complete set of bedroom nightstands! Next will be a headboard.