I wanted to find some simple woodworking ideas to make as a gift. I found this bottle opener guide and adapted it to work for me. I don’t have all the tools used so I needed to make do with what I had!
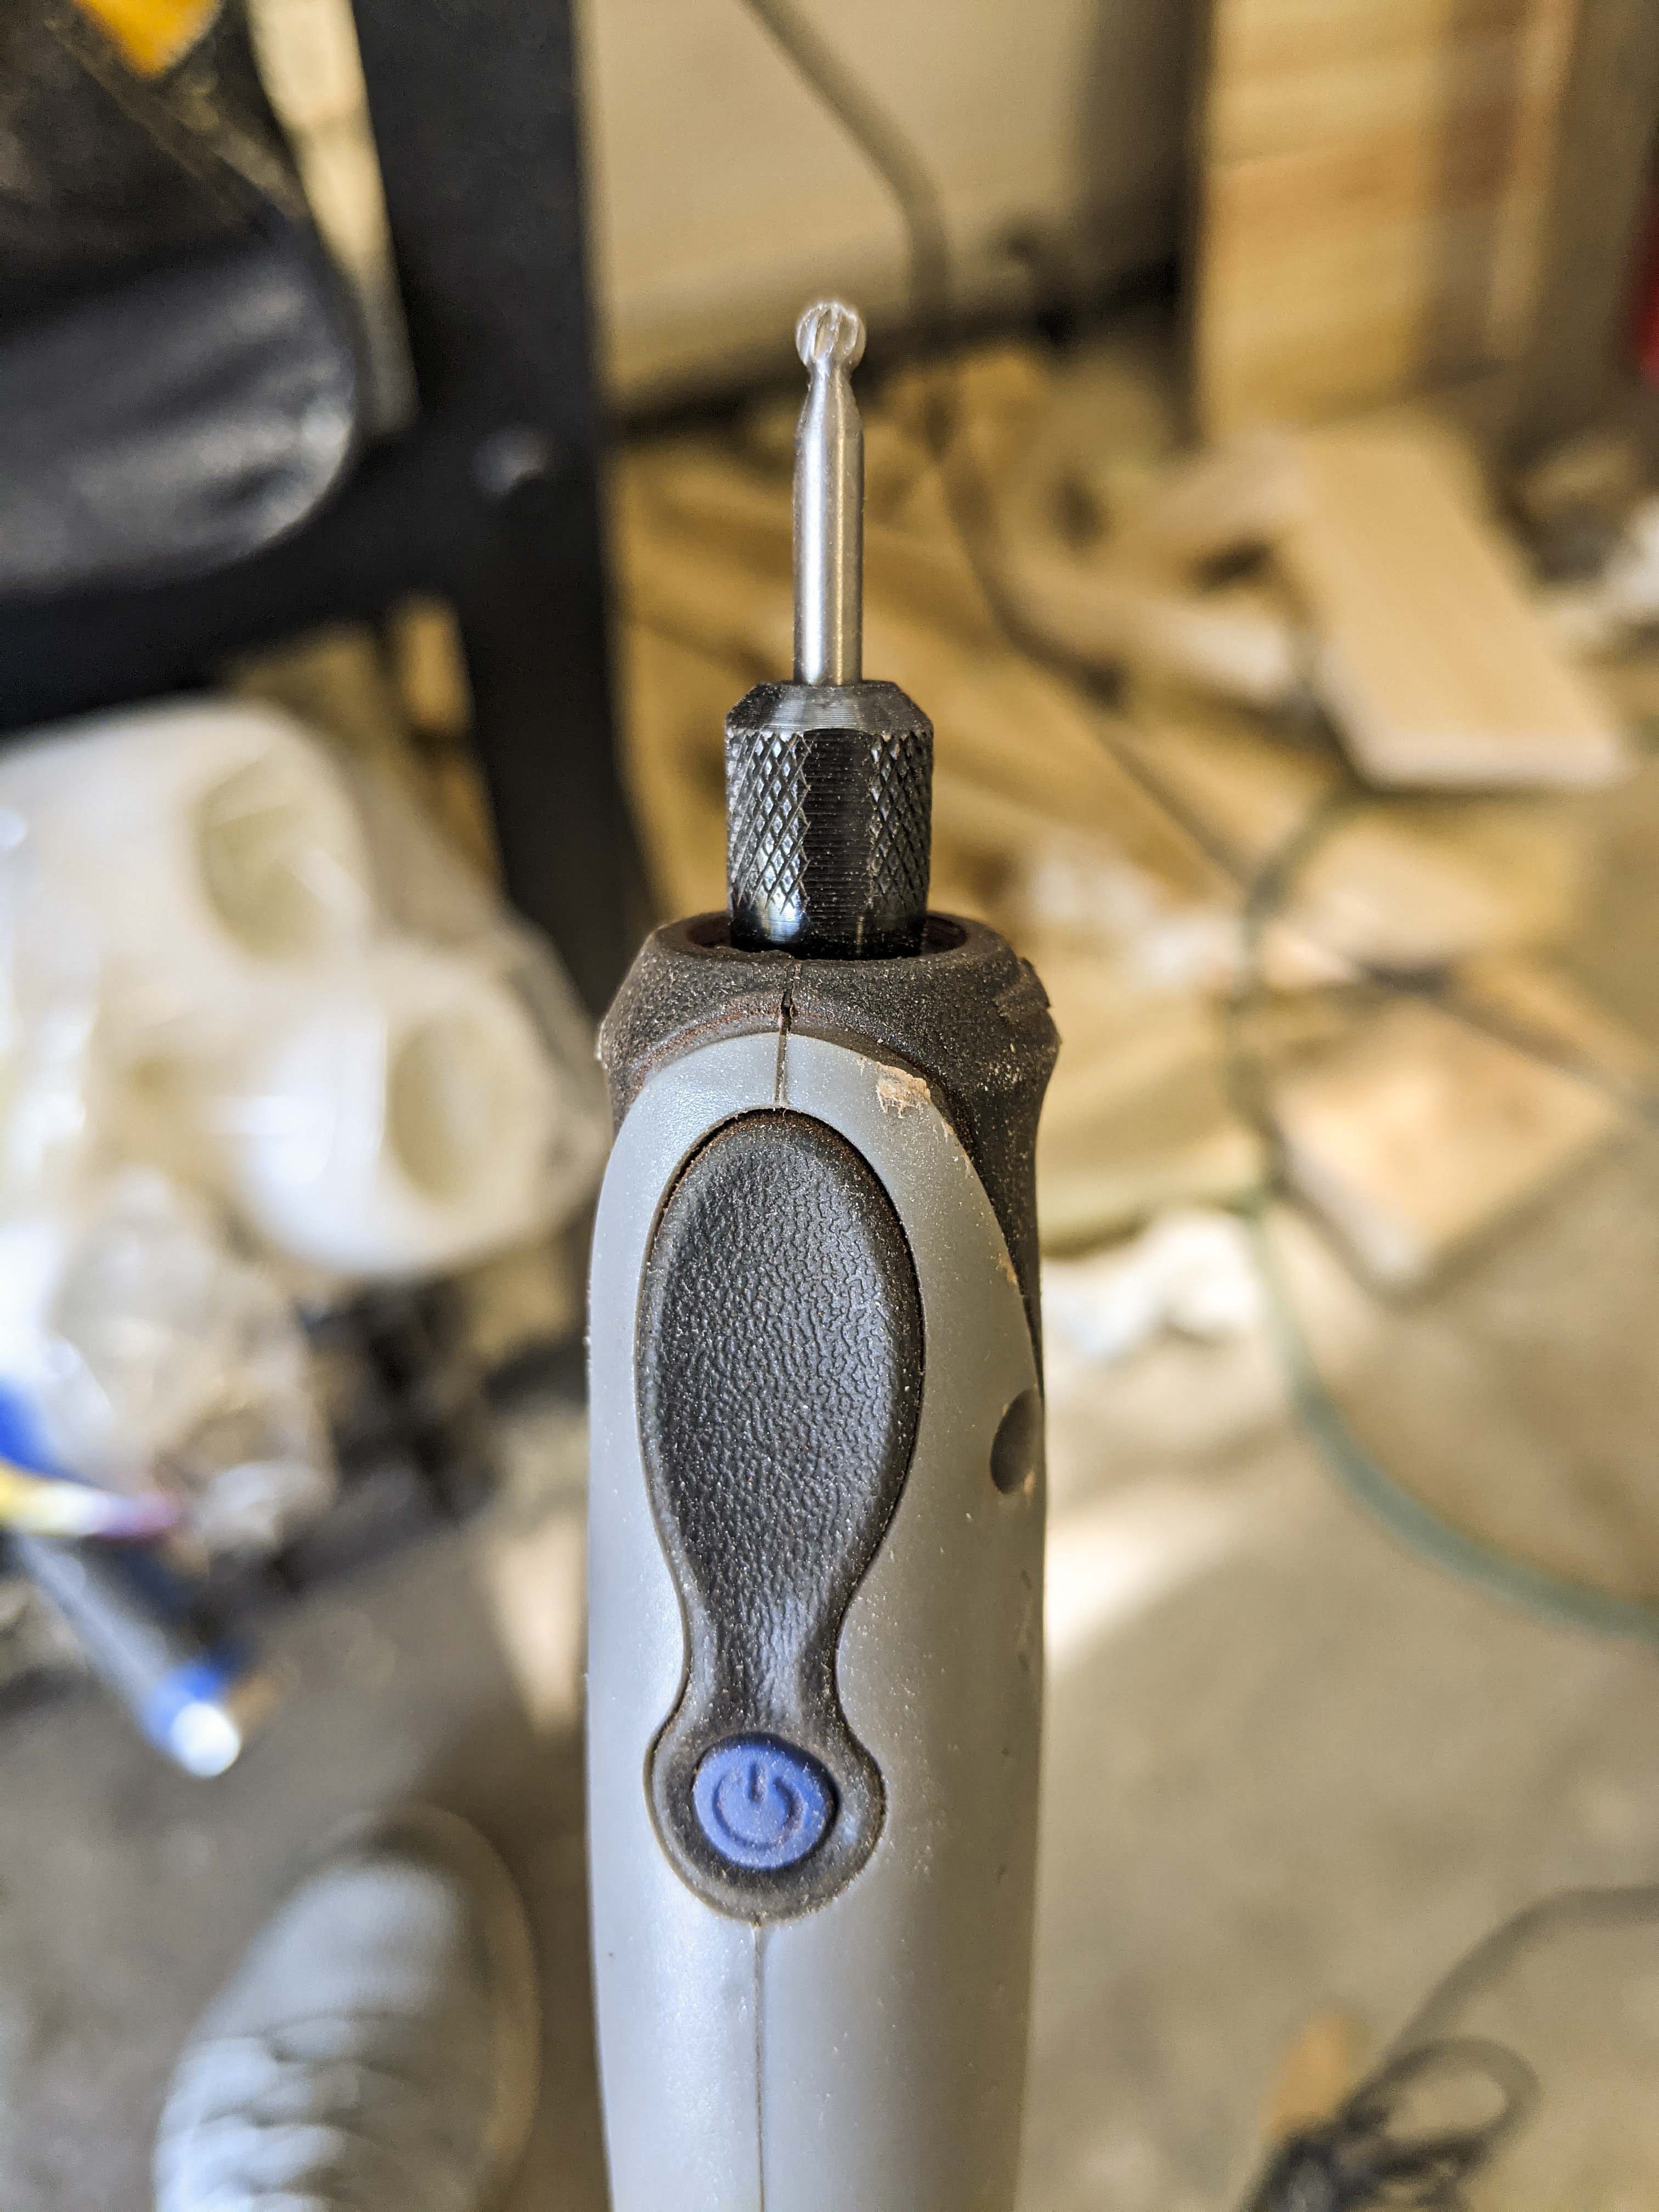
And what I had was a Dremel. I’ve never used it so extensively as I did with this project. I’m happy I had it otherwise I probably could not have done this. I have the Dremel Stylo+ and originally bought it for these wooden rings I made. It took me a couple of days to carve the wood down to where I liked. Be sure to take breaks as your hand will cramp up.
Supplies:
- Scrap wood
- Bottle opener
- Dremel Stylo+
- Jigsaw
- Drill
- Screws
- Drill bit for stainless steel
- Wood glue
- Clamps
- Dowel rods
- Flush cut saw or coping saw
- Stain
- Polyurethane
Process:
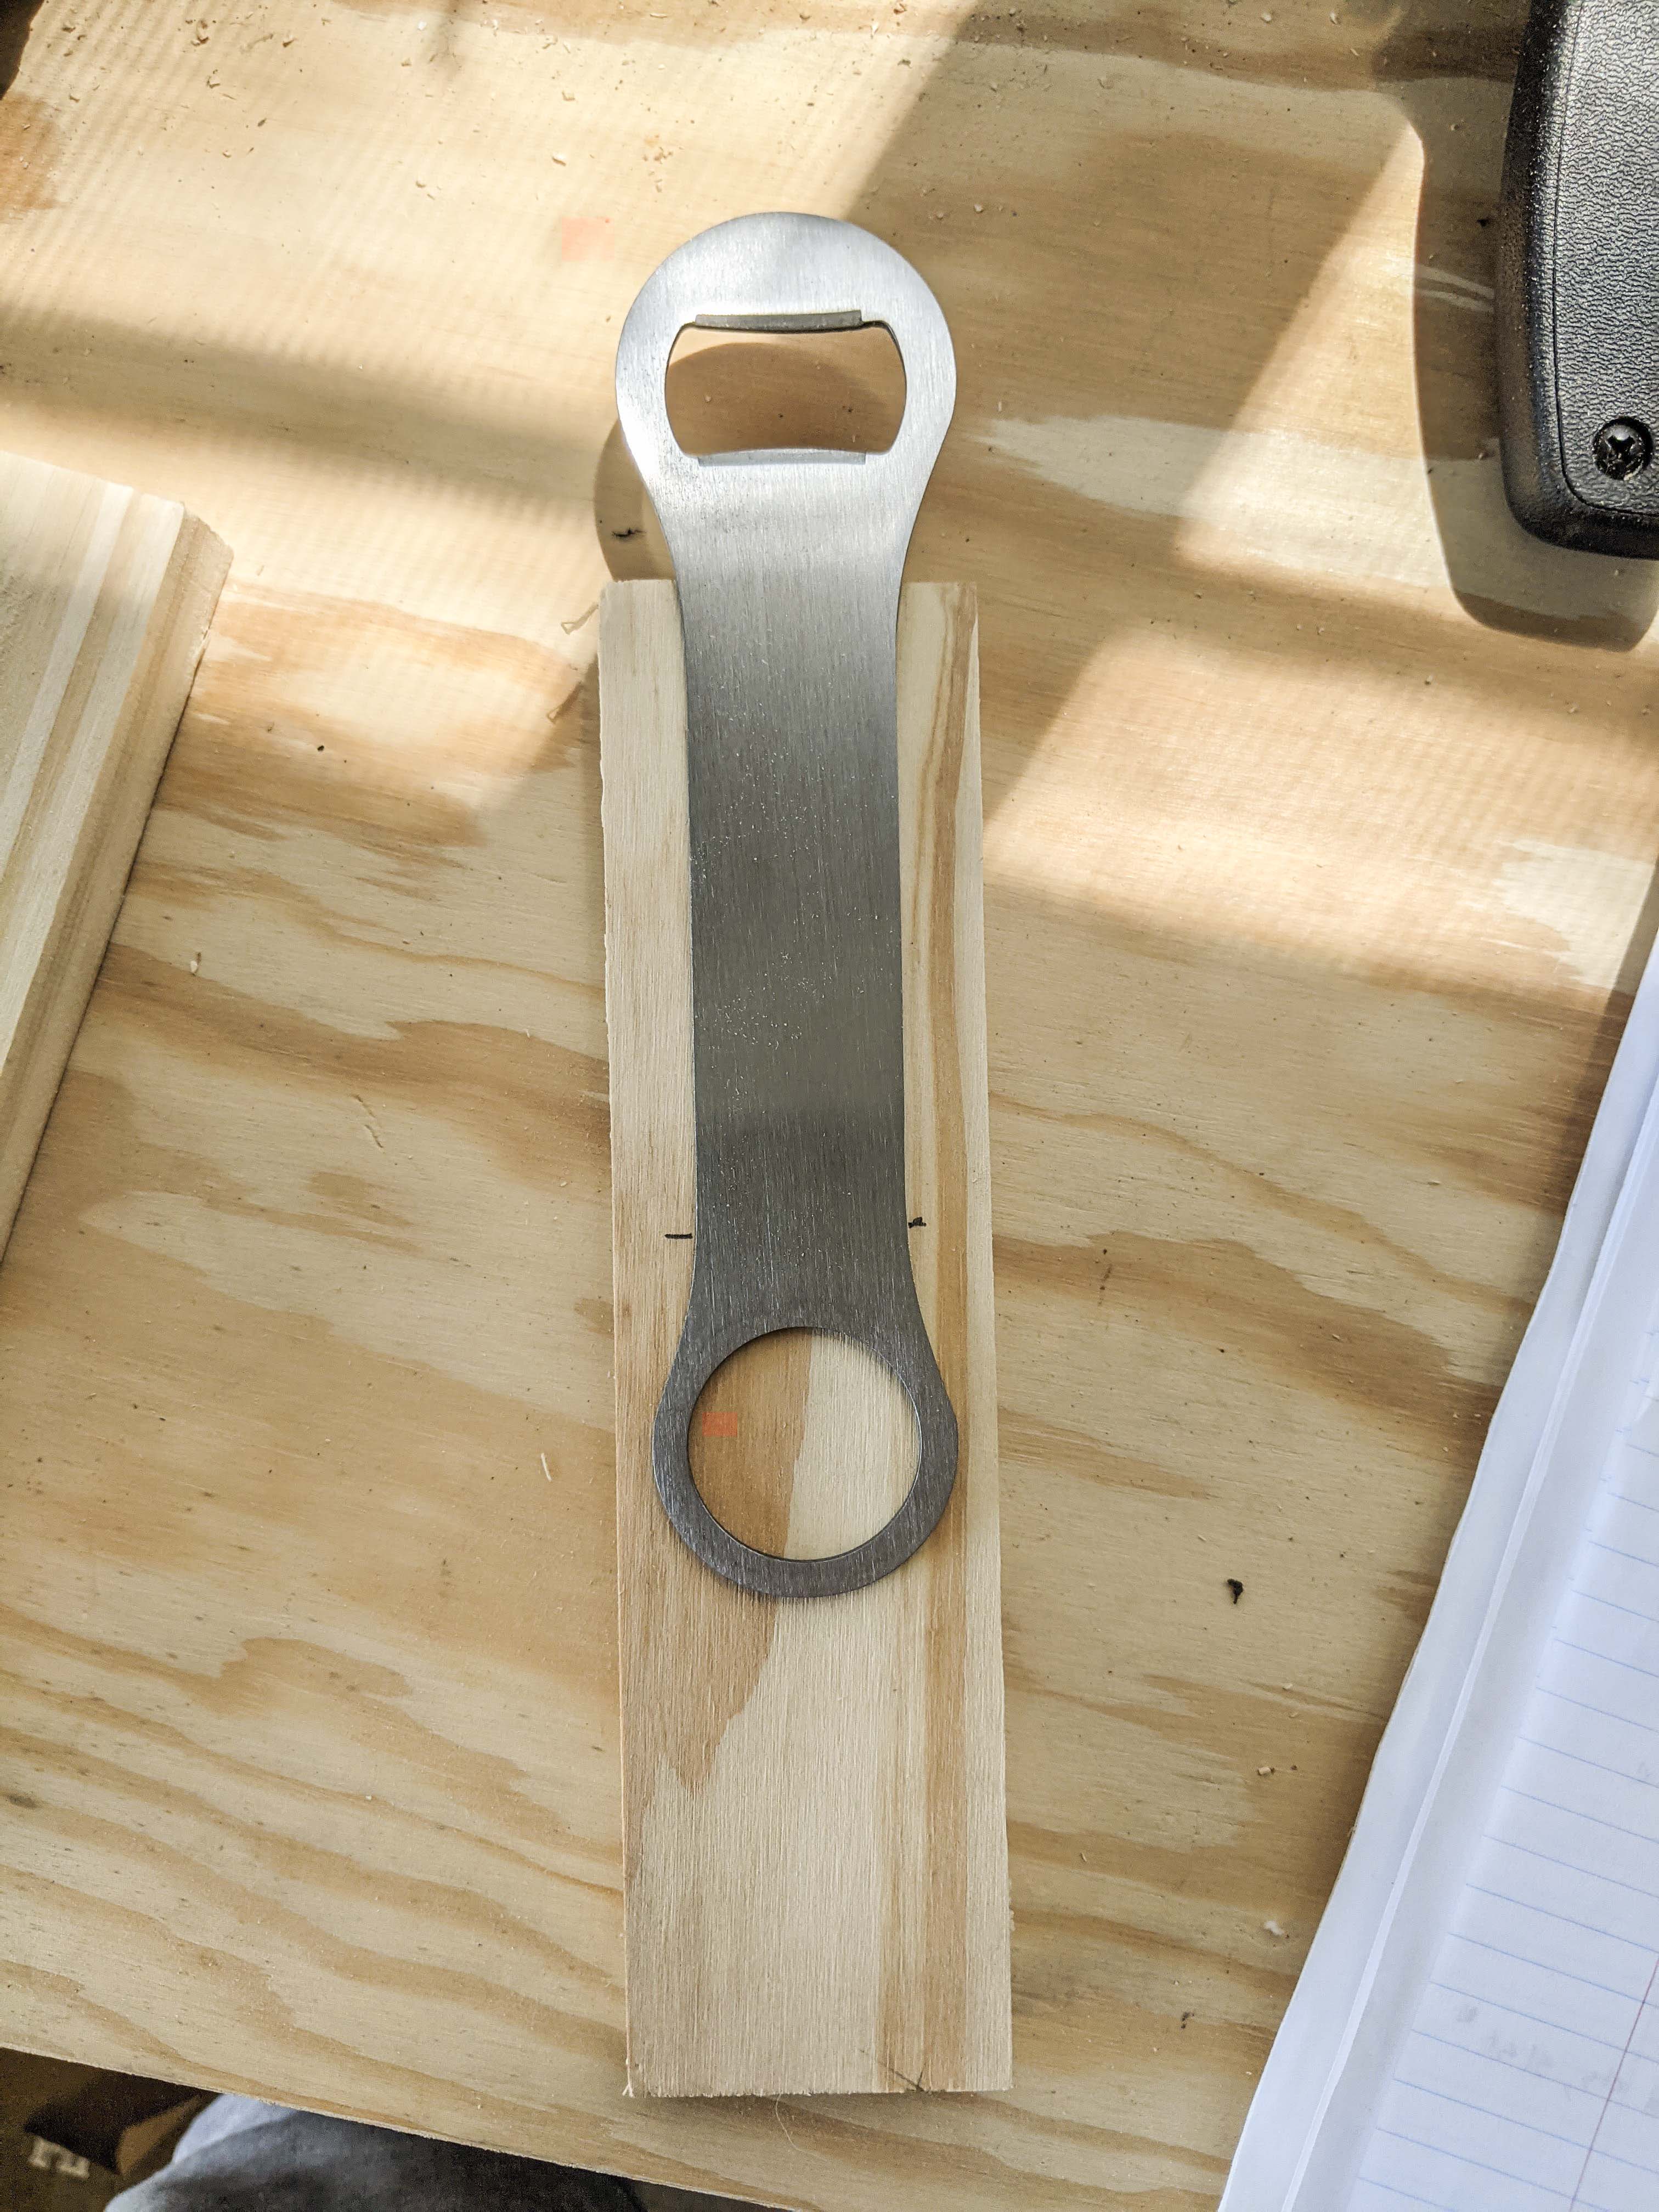
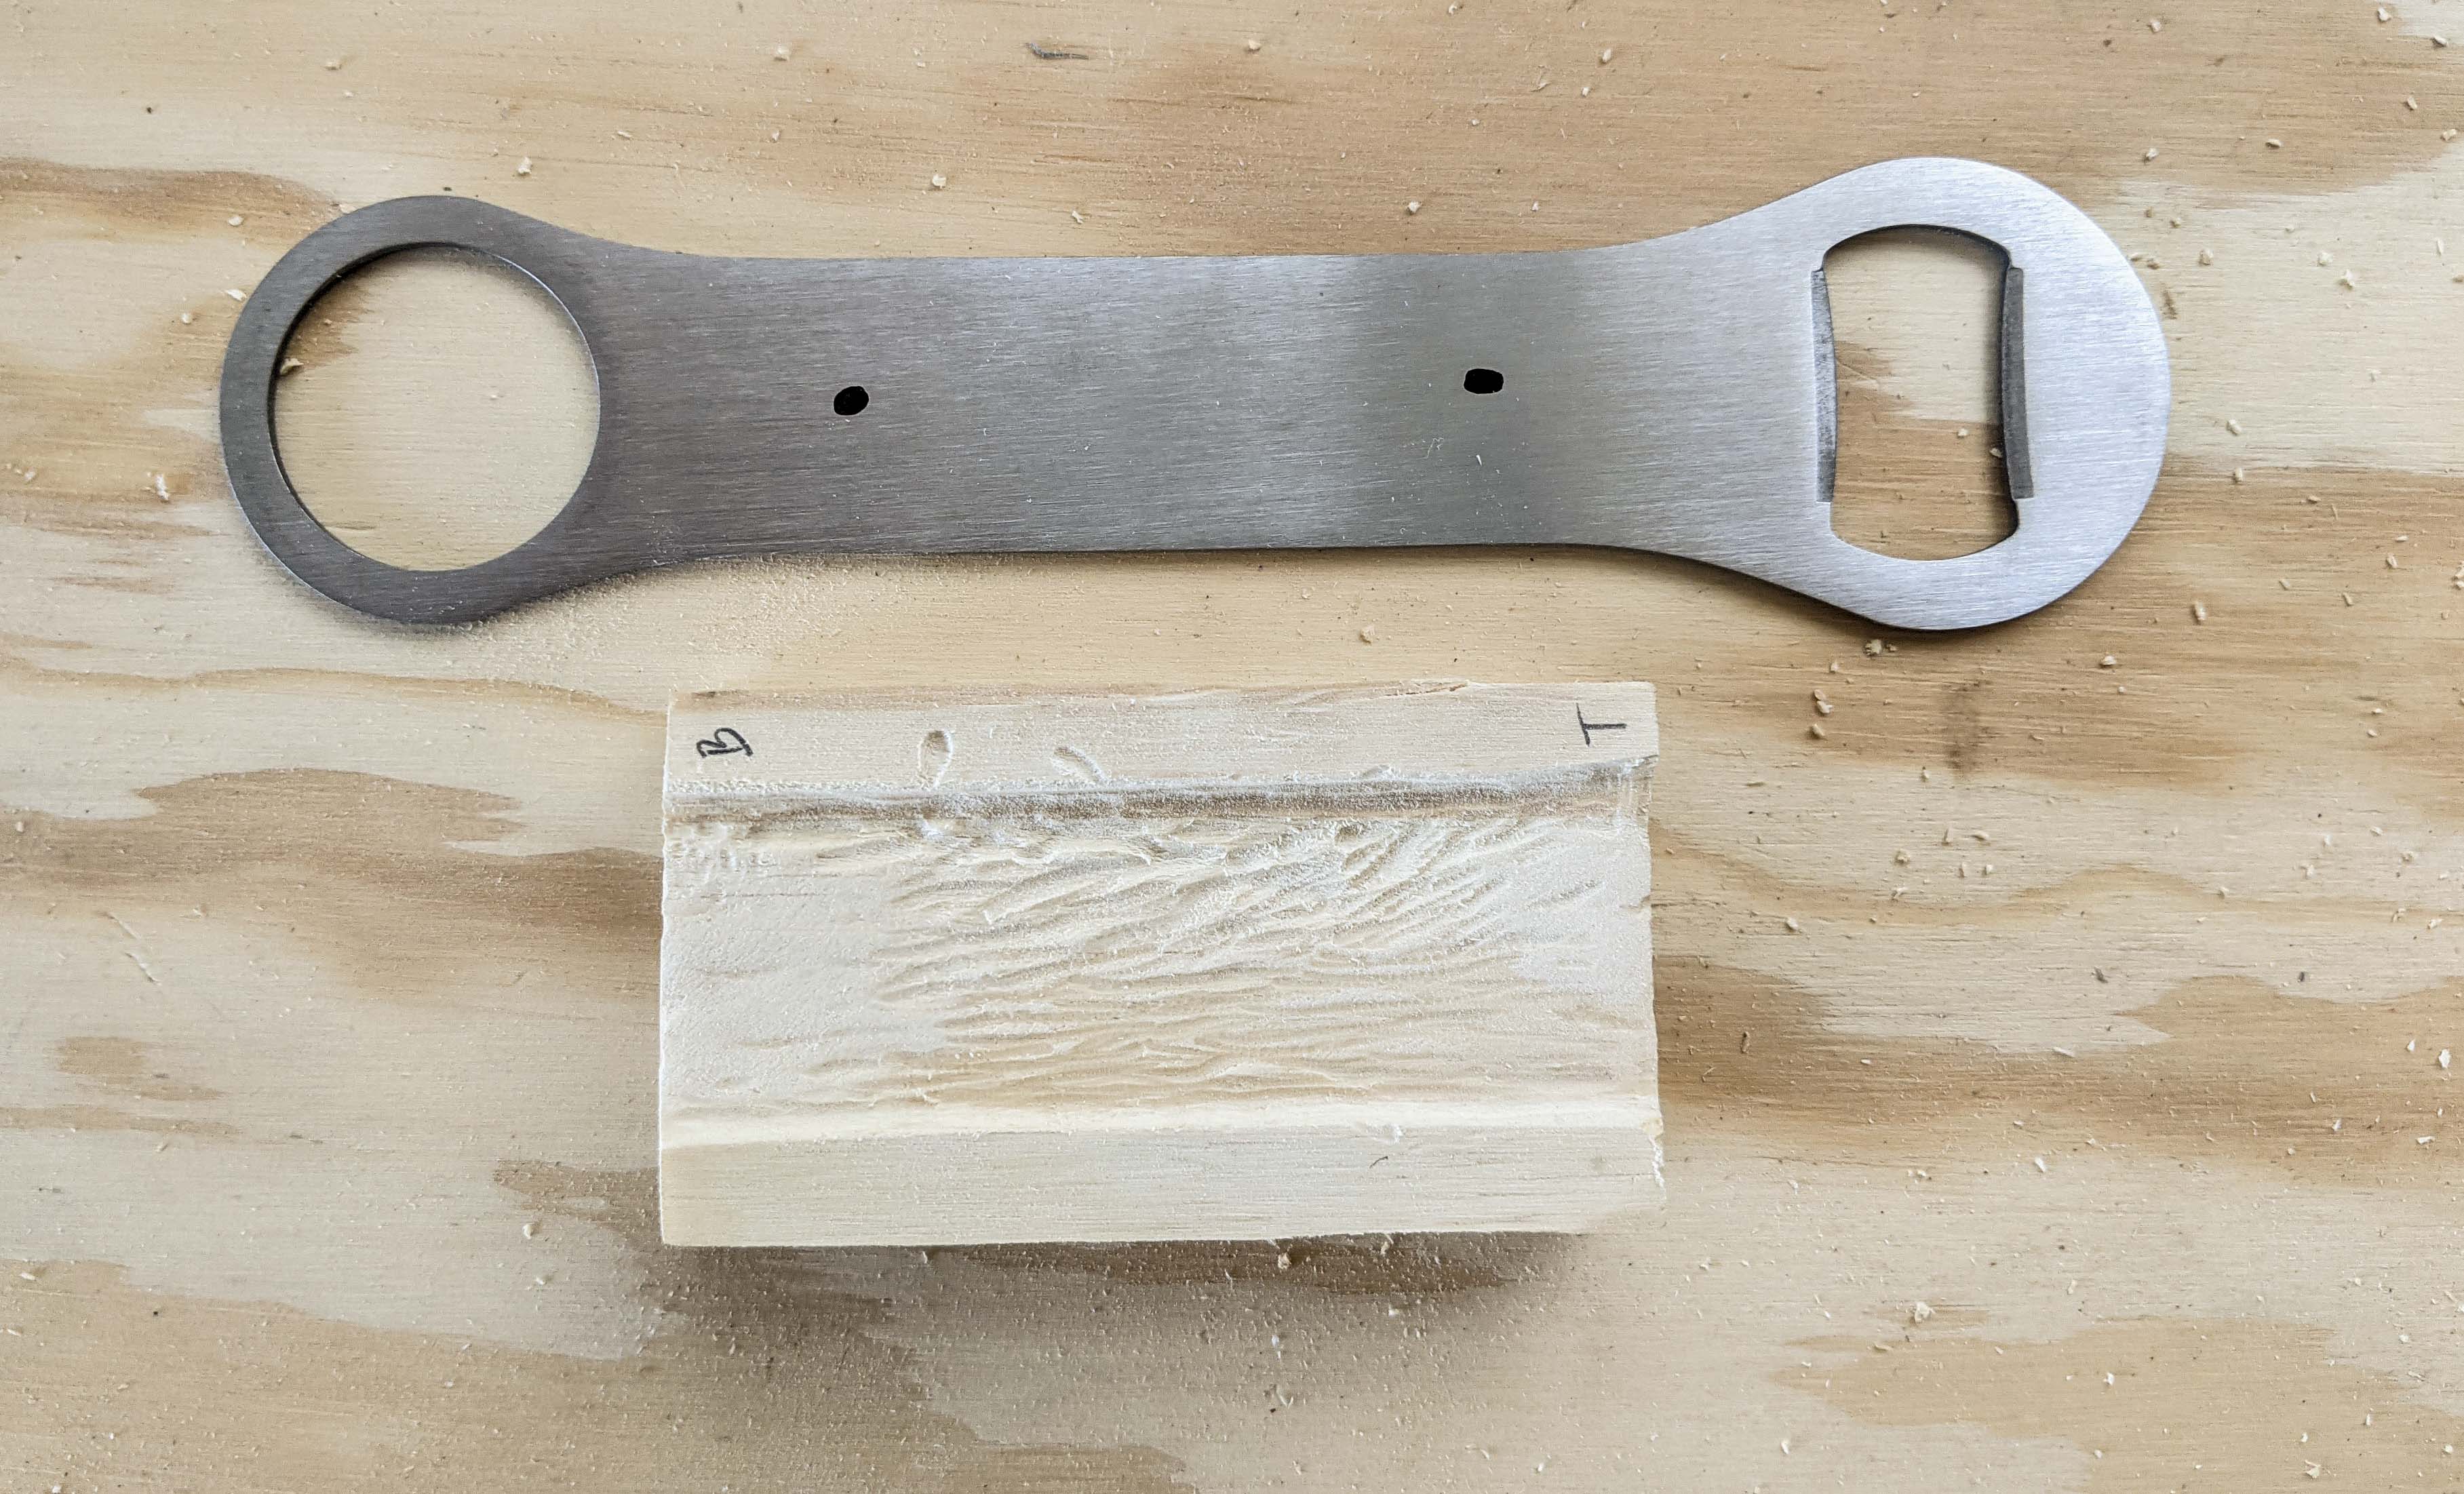
The first thing you have to do is find a metal bottle opener that will work. I went to HEB and got this flat, wide one I knew I’d be able to drill into and create a handle around. If you have an old bottle opener laying around, feel free to use that one.
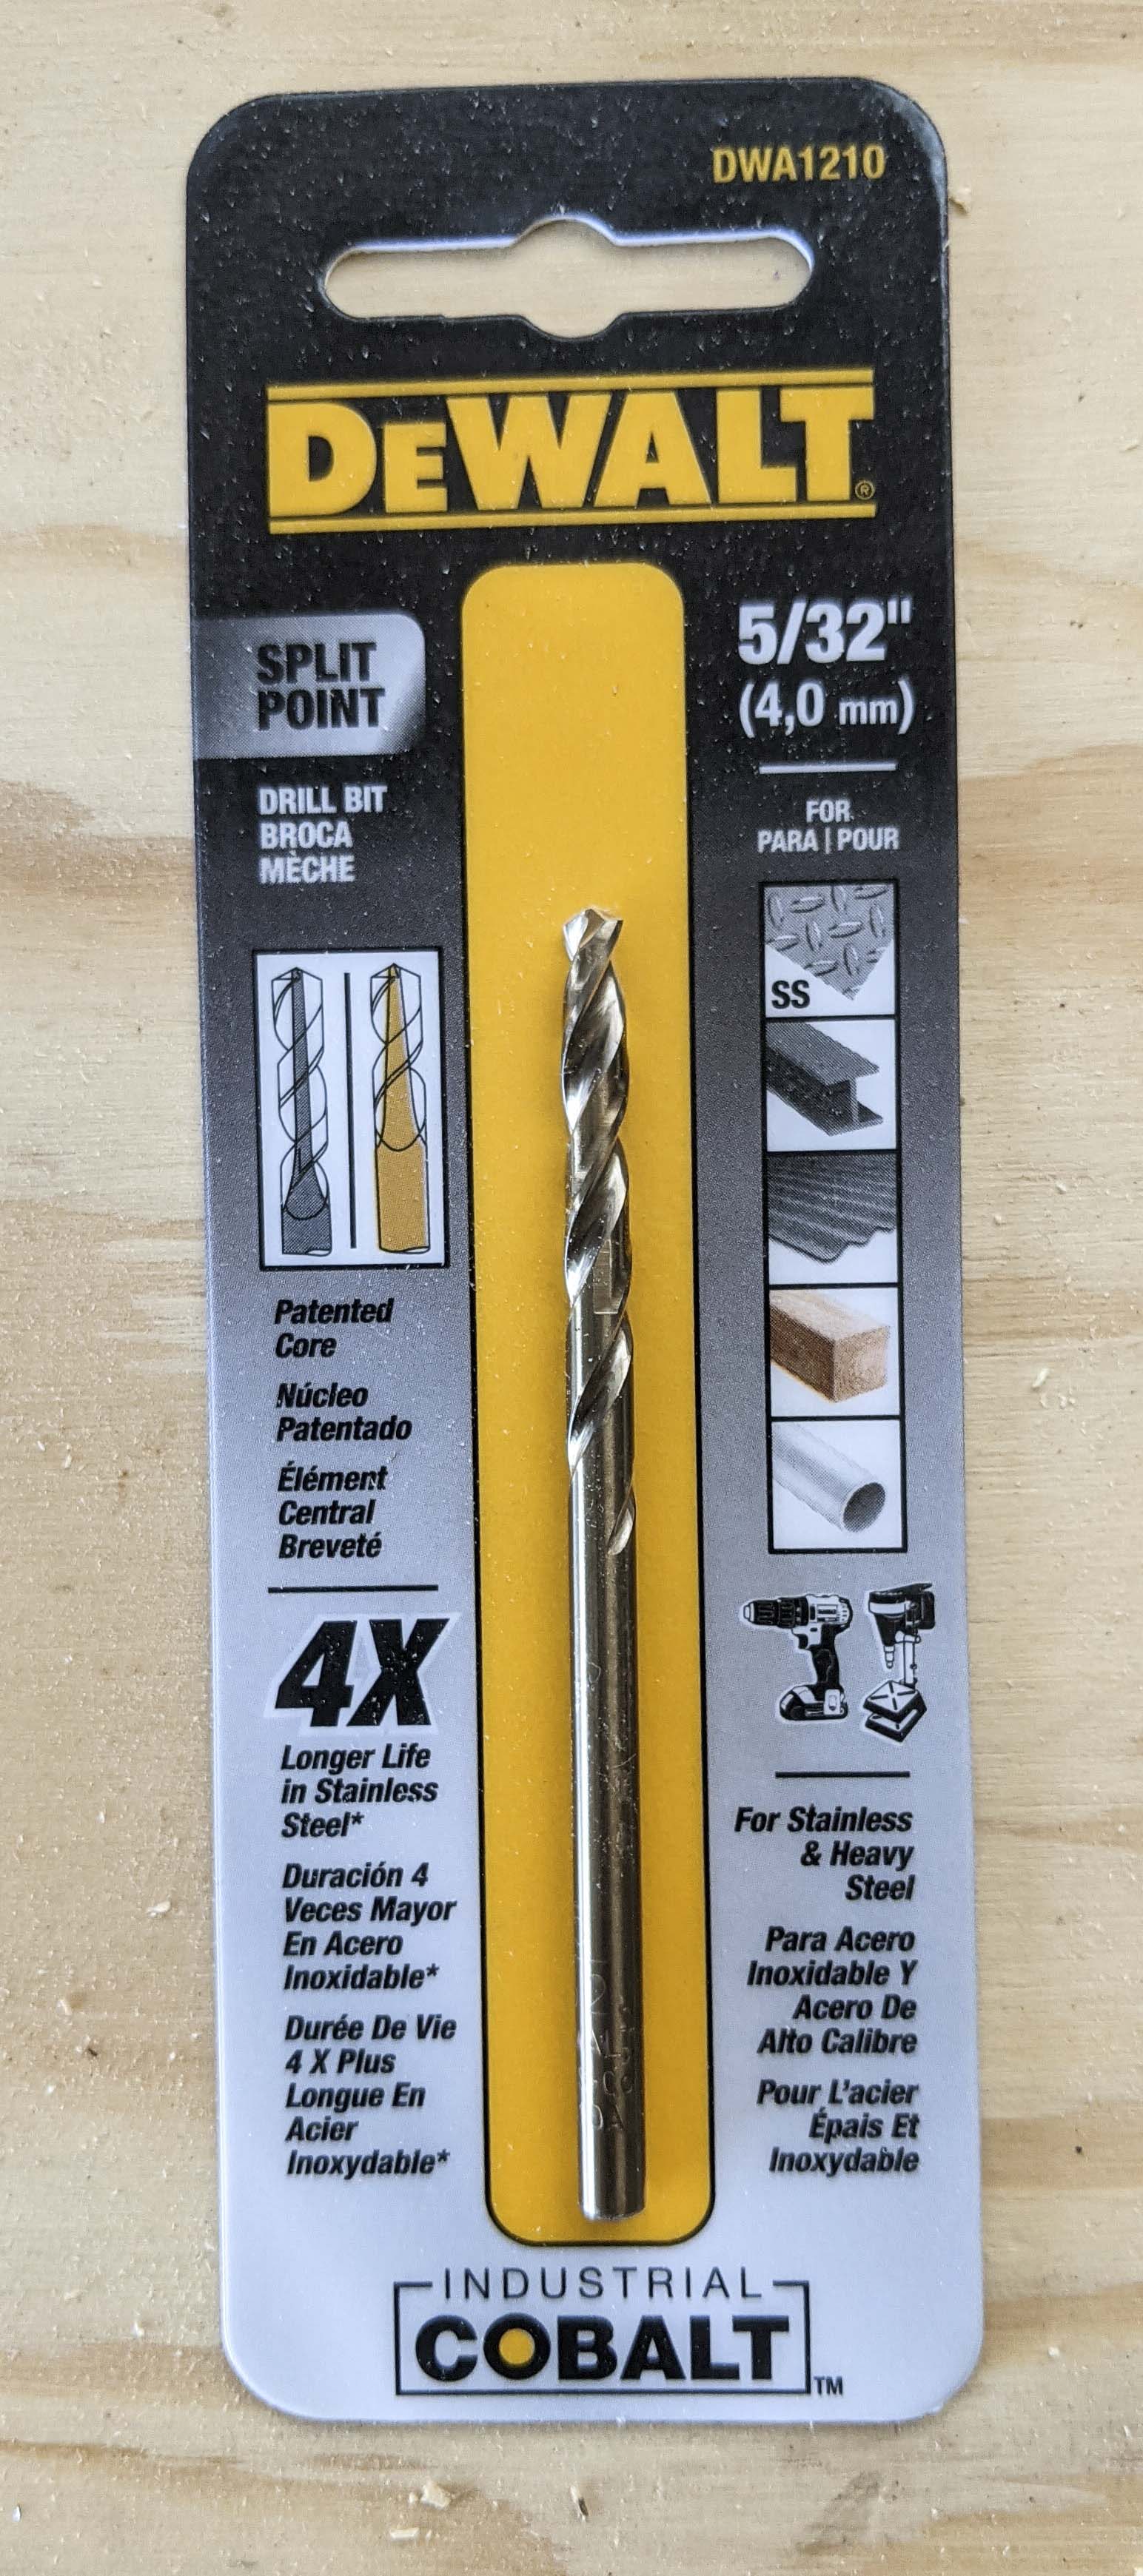
Another thing you’ll need is a drill bit that can drill into stainless steel. I estimated what size I would need- kinda small. Not the most scientific way to do it, but it worked for me. I bought the one below from Lowe’s:
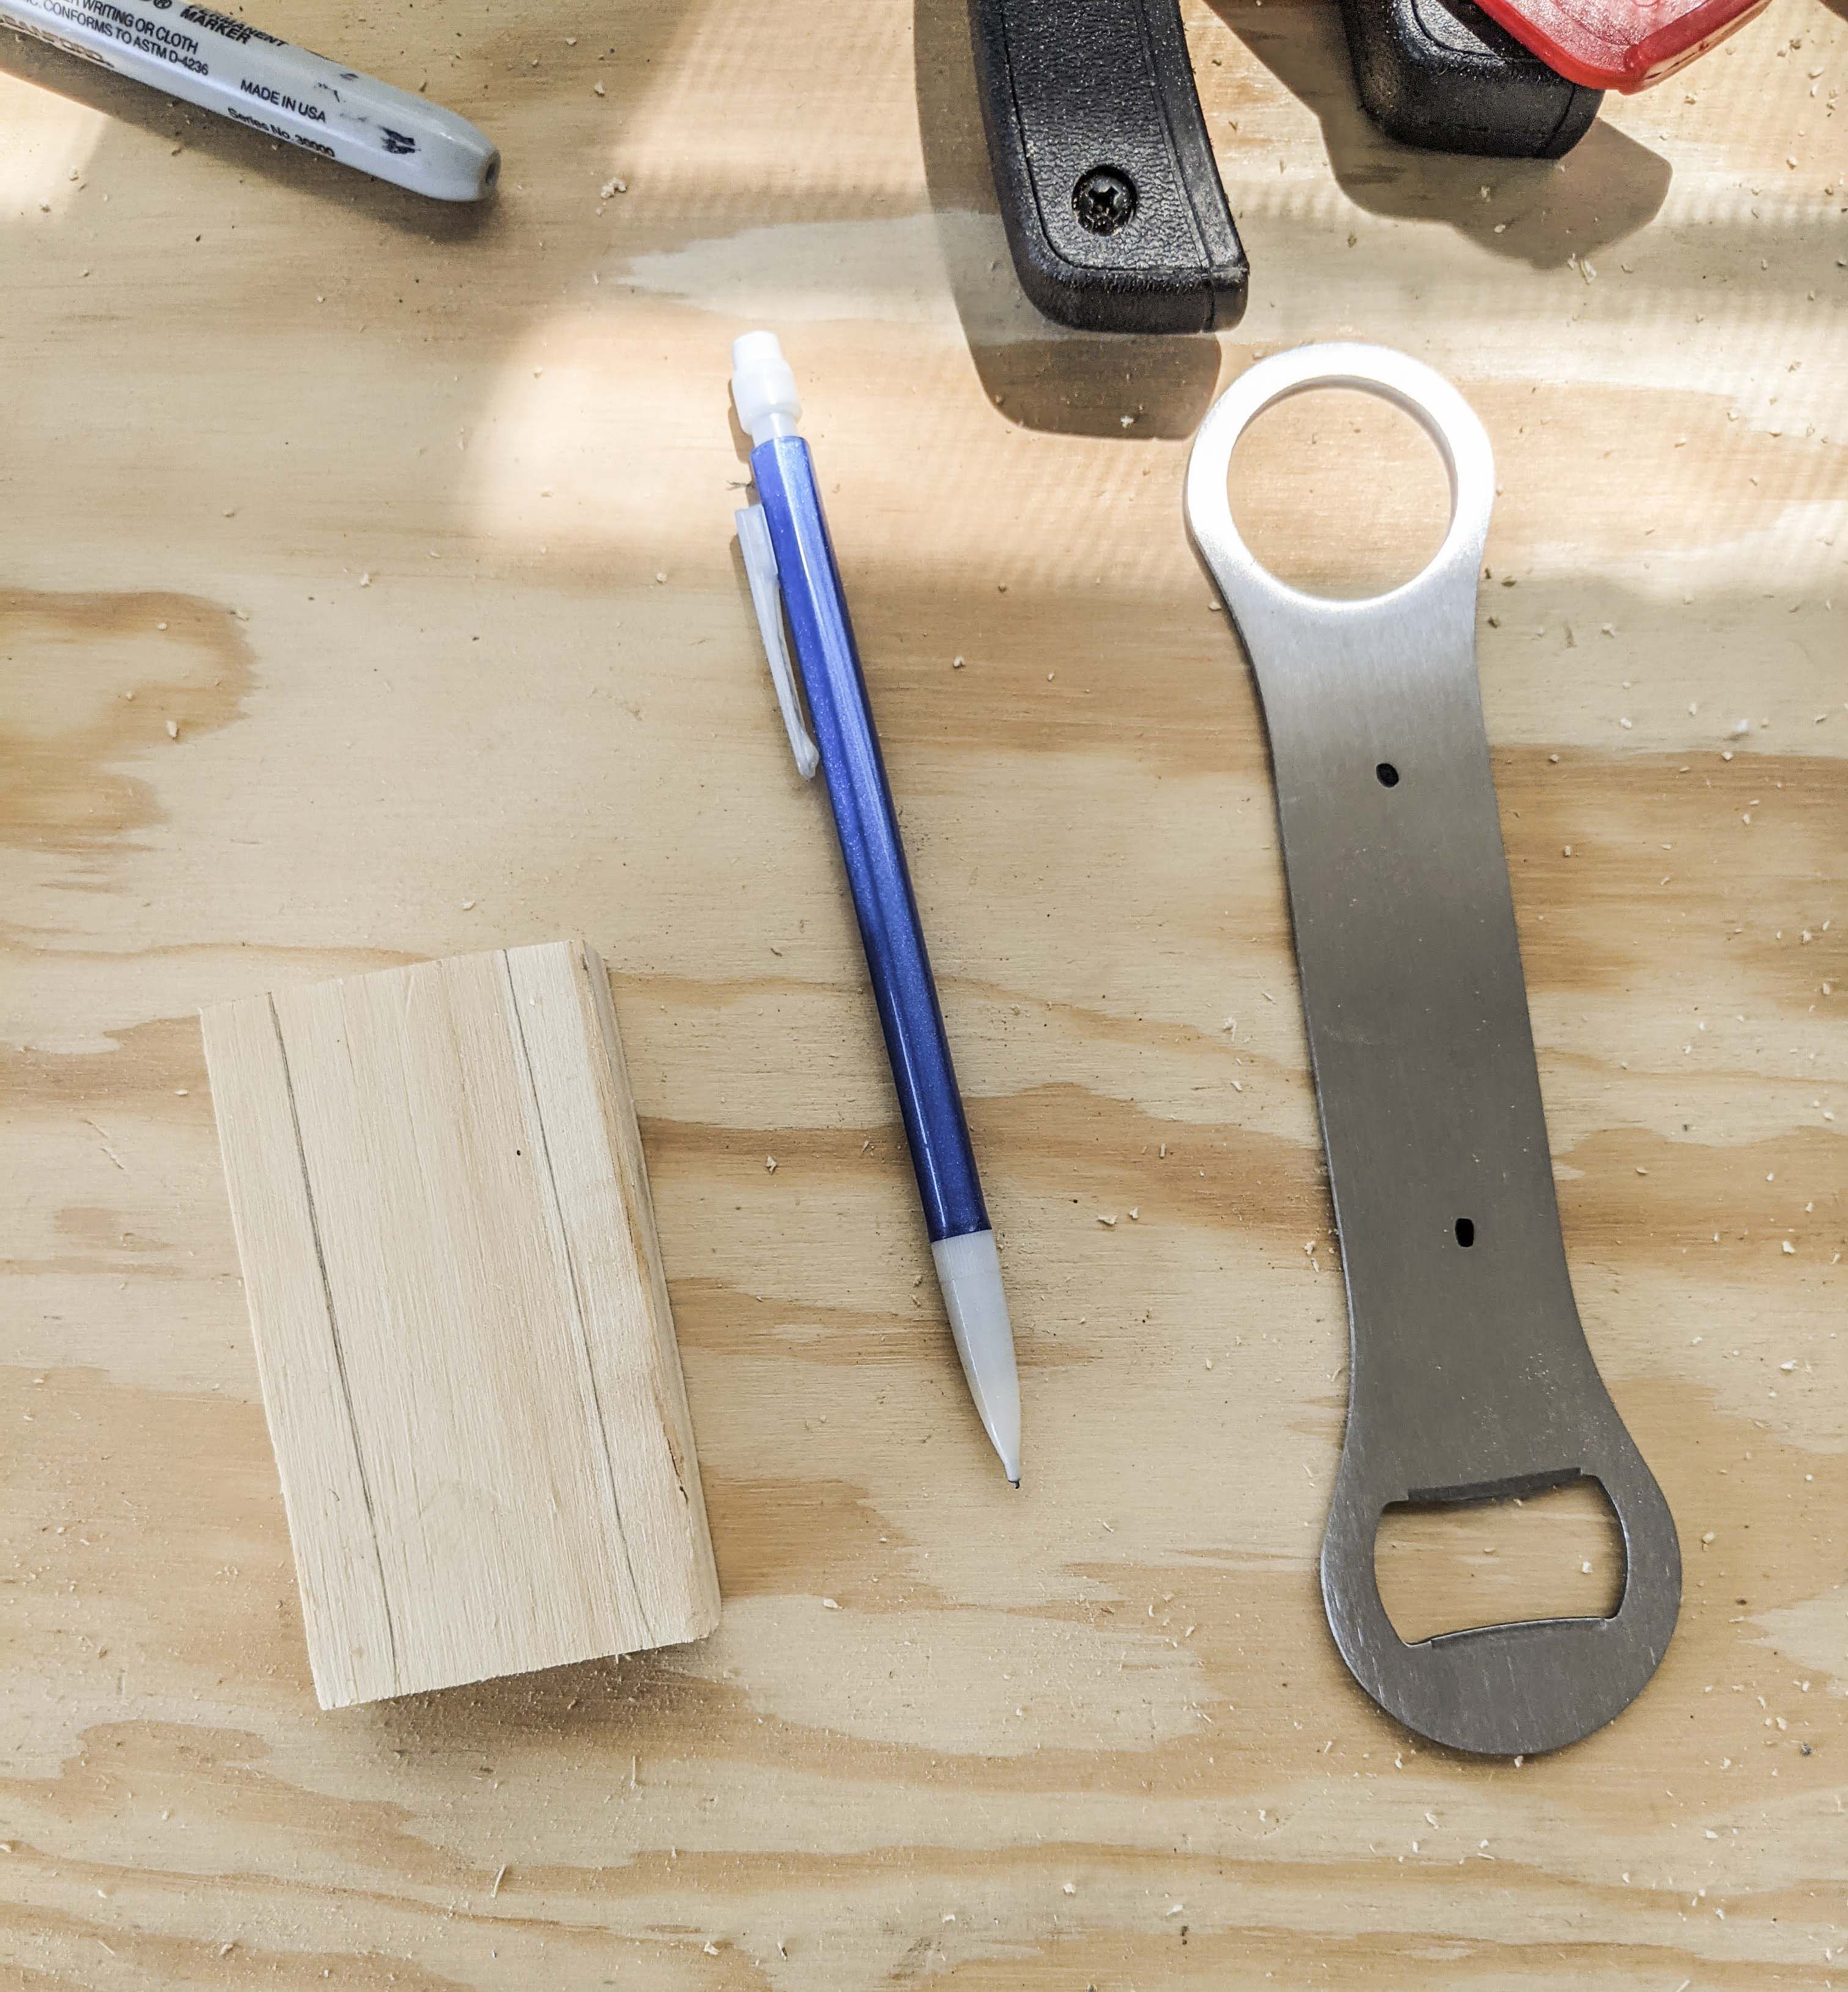
I had some scrap wood that was perfect for this project- you don’t need much! I measured two pieces and cut them to be the same size. Then placed my opener on one piece and traced around it. I needed to know where I would be carving into the wood to make an indentation for the opener to lay flat in otherwise the two wood pieces would have a gap between them.
Now begins the heavy Dremel use. That will be about 80-90% of this project- carving. The Dremel I have came with a lot of different heads and I picked one meant for wood. It was a rounded head, but I will be using the cone-shaped one later.
I slowly began carving between the two lines I drew earlier until I had carved enough out to where the opener would sit flatly in the groove. The two black dots on the opener are where I drilled my holes next. I clamped the opener to the side of my worktable and drilled through. That bit worked like a charm!
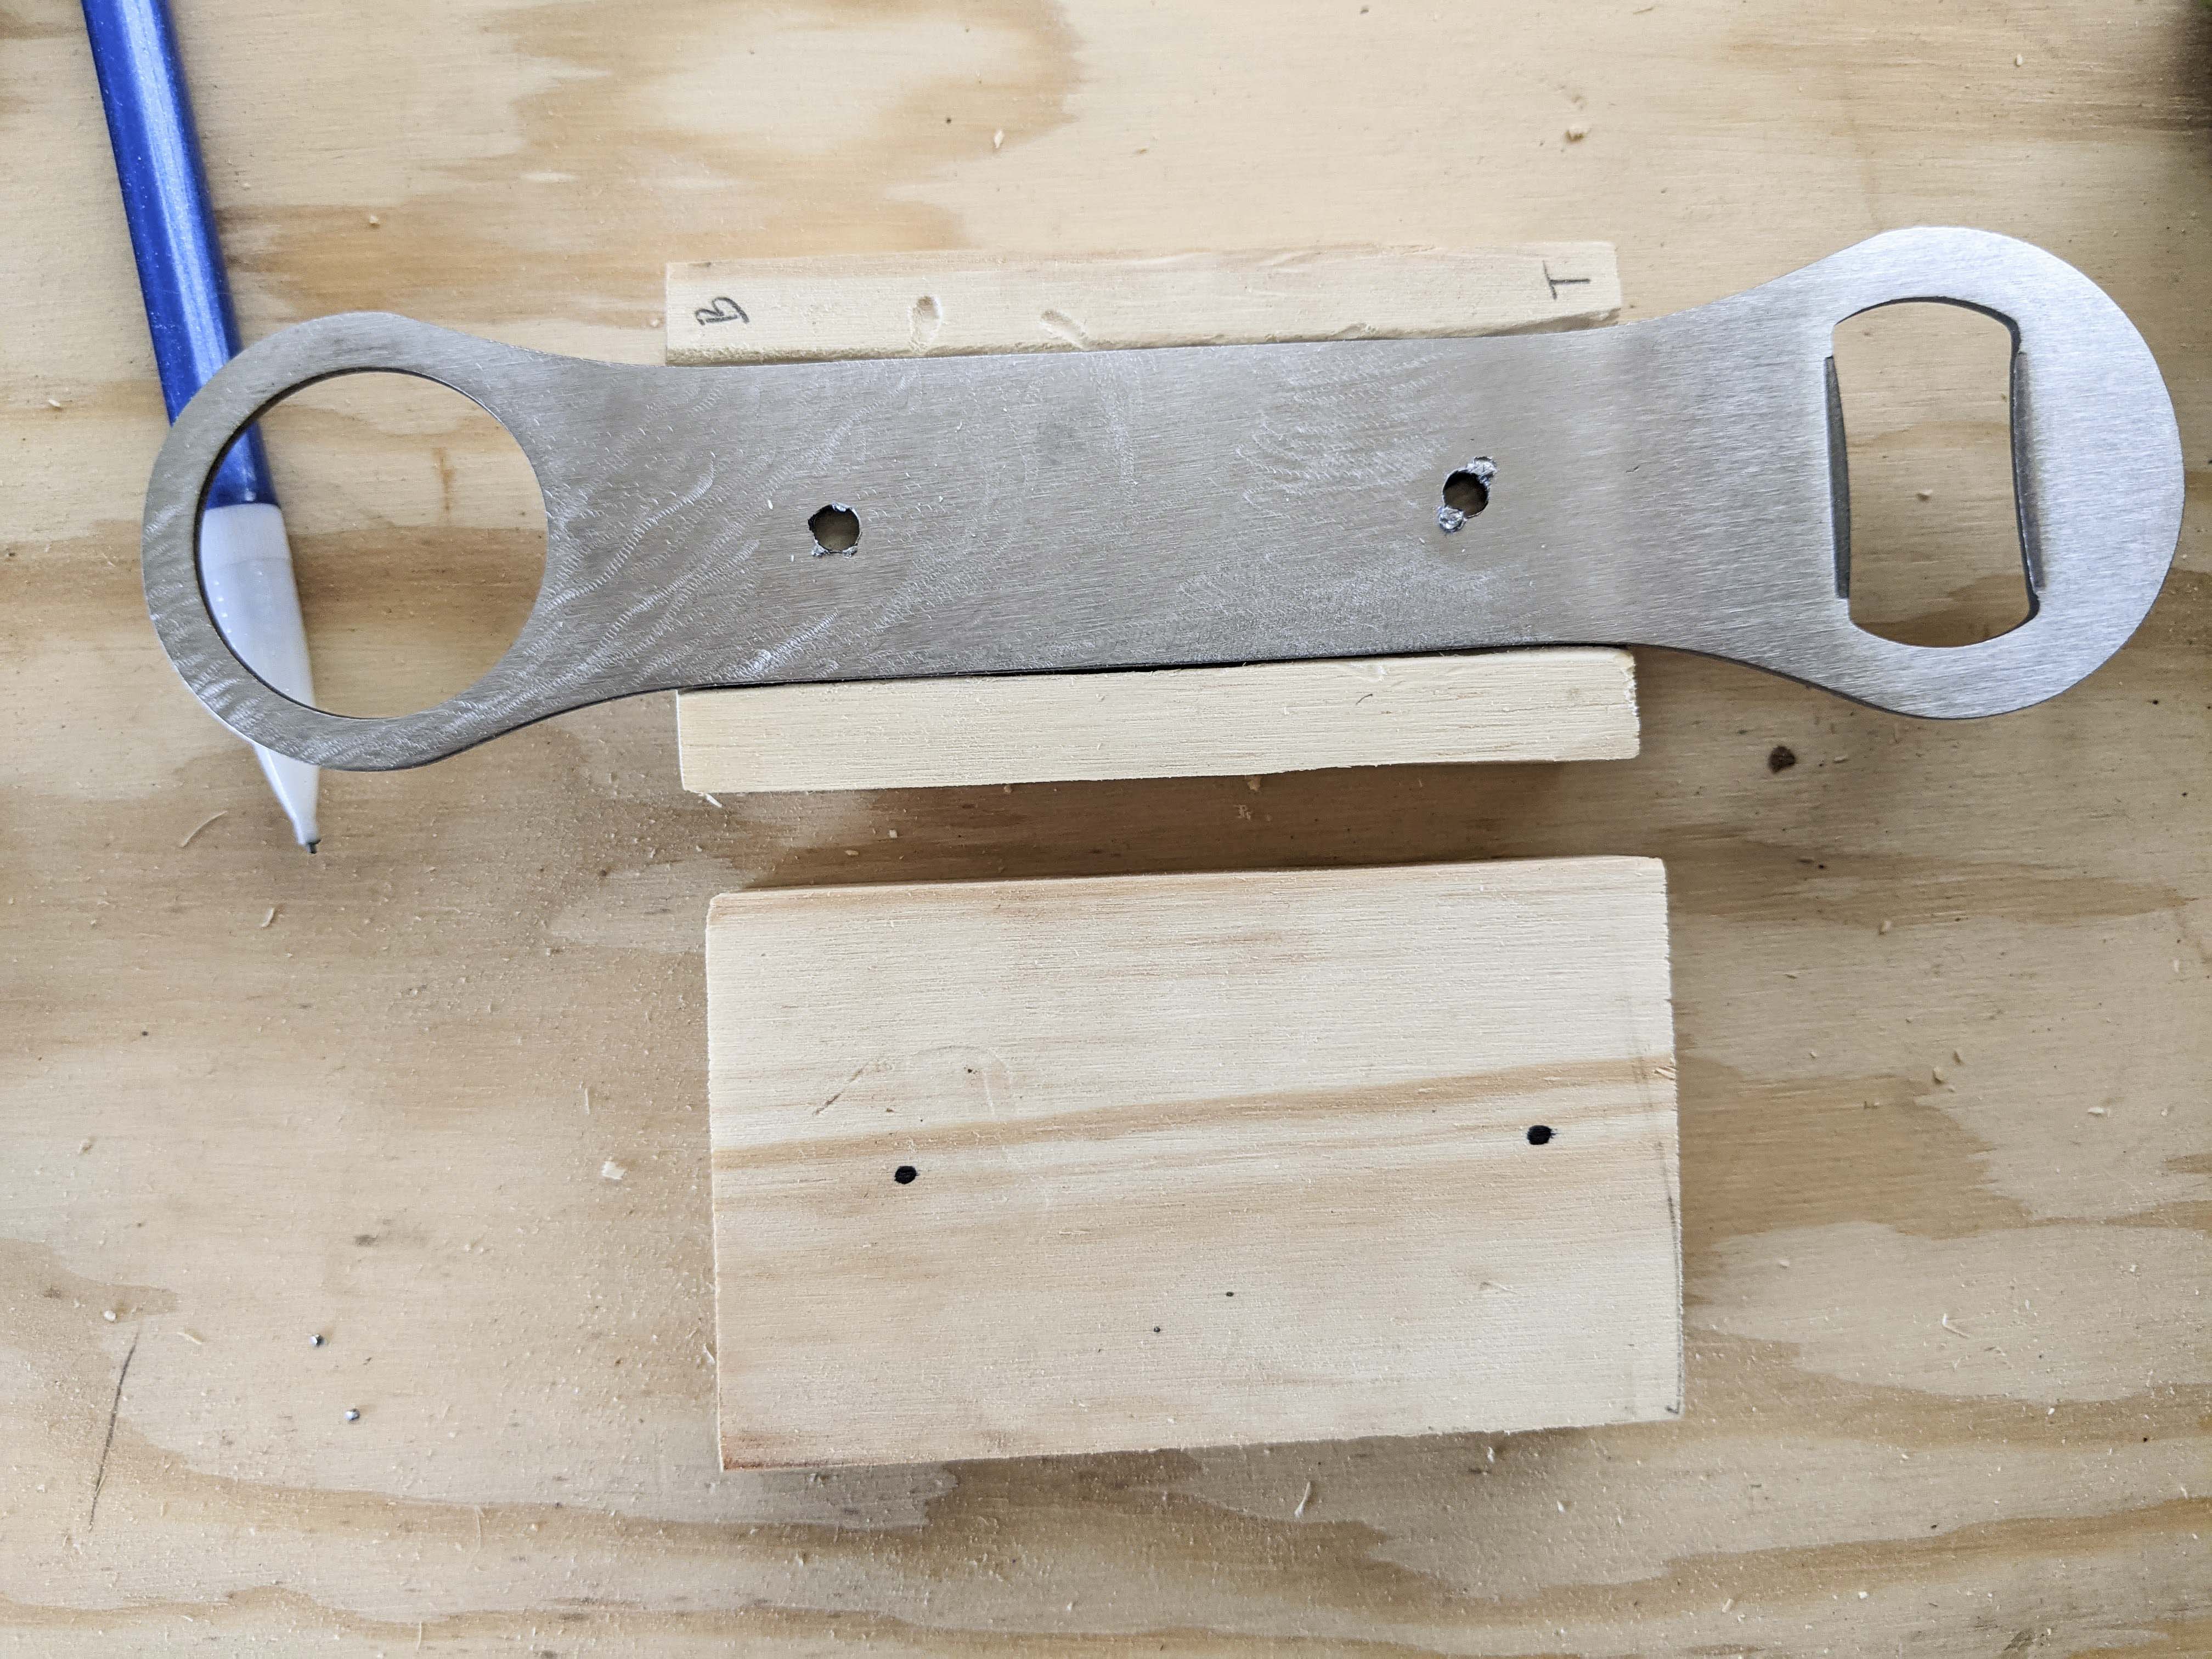
Here’s one of the more important steps. I used a smaller bit to drill through the holes I just made in the opener and through the wood so I knew where to screw once the two wood pieces were glued together. This made sure the screws would go through the holes I made in the bottle opener. Clamp your blocks together to make sure they don’t move around while you drill. You need those holes in the other piece of wood (bottom one in photo above) since that’s the one the screws will be going into first.
Wood glue the two halves together and use a clamp to secure. Allow to cure fully since the drilling and carving will put a strain on the glue. You don’t want it all falling apart.
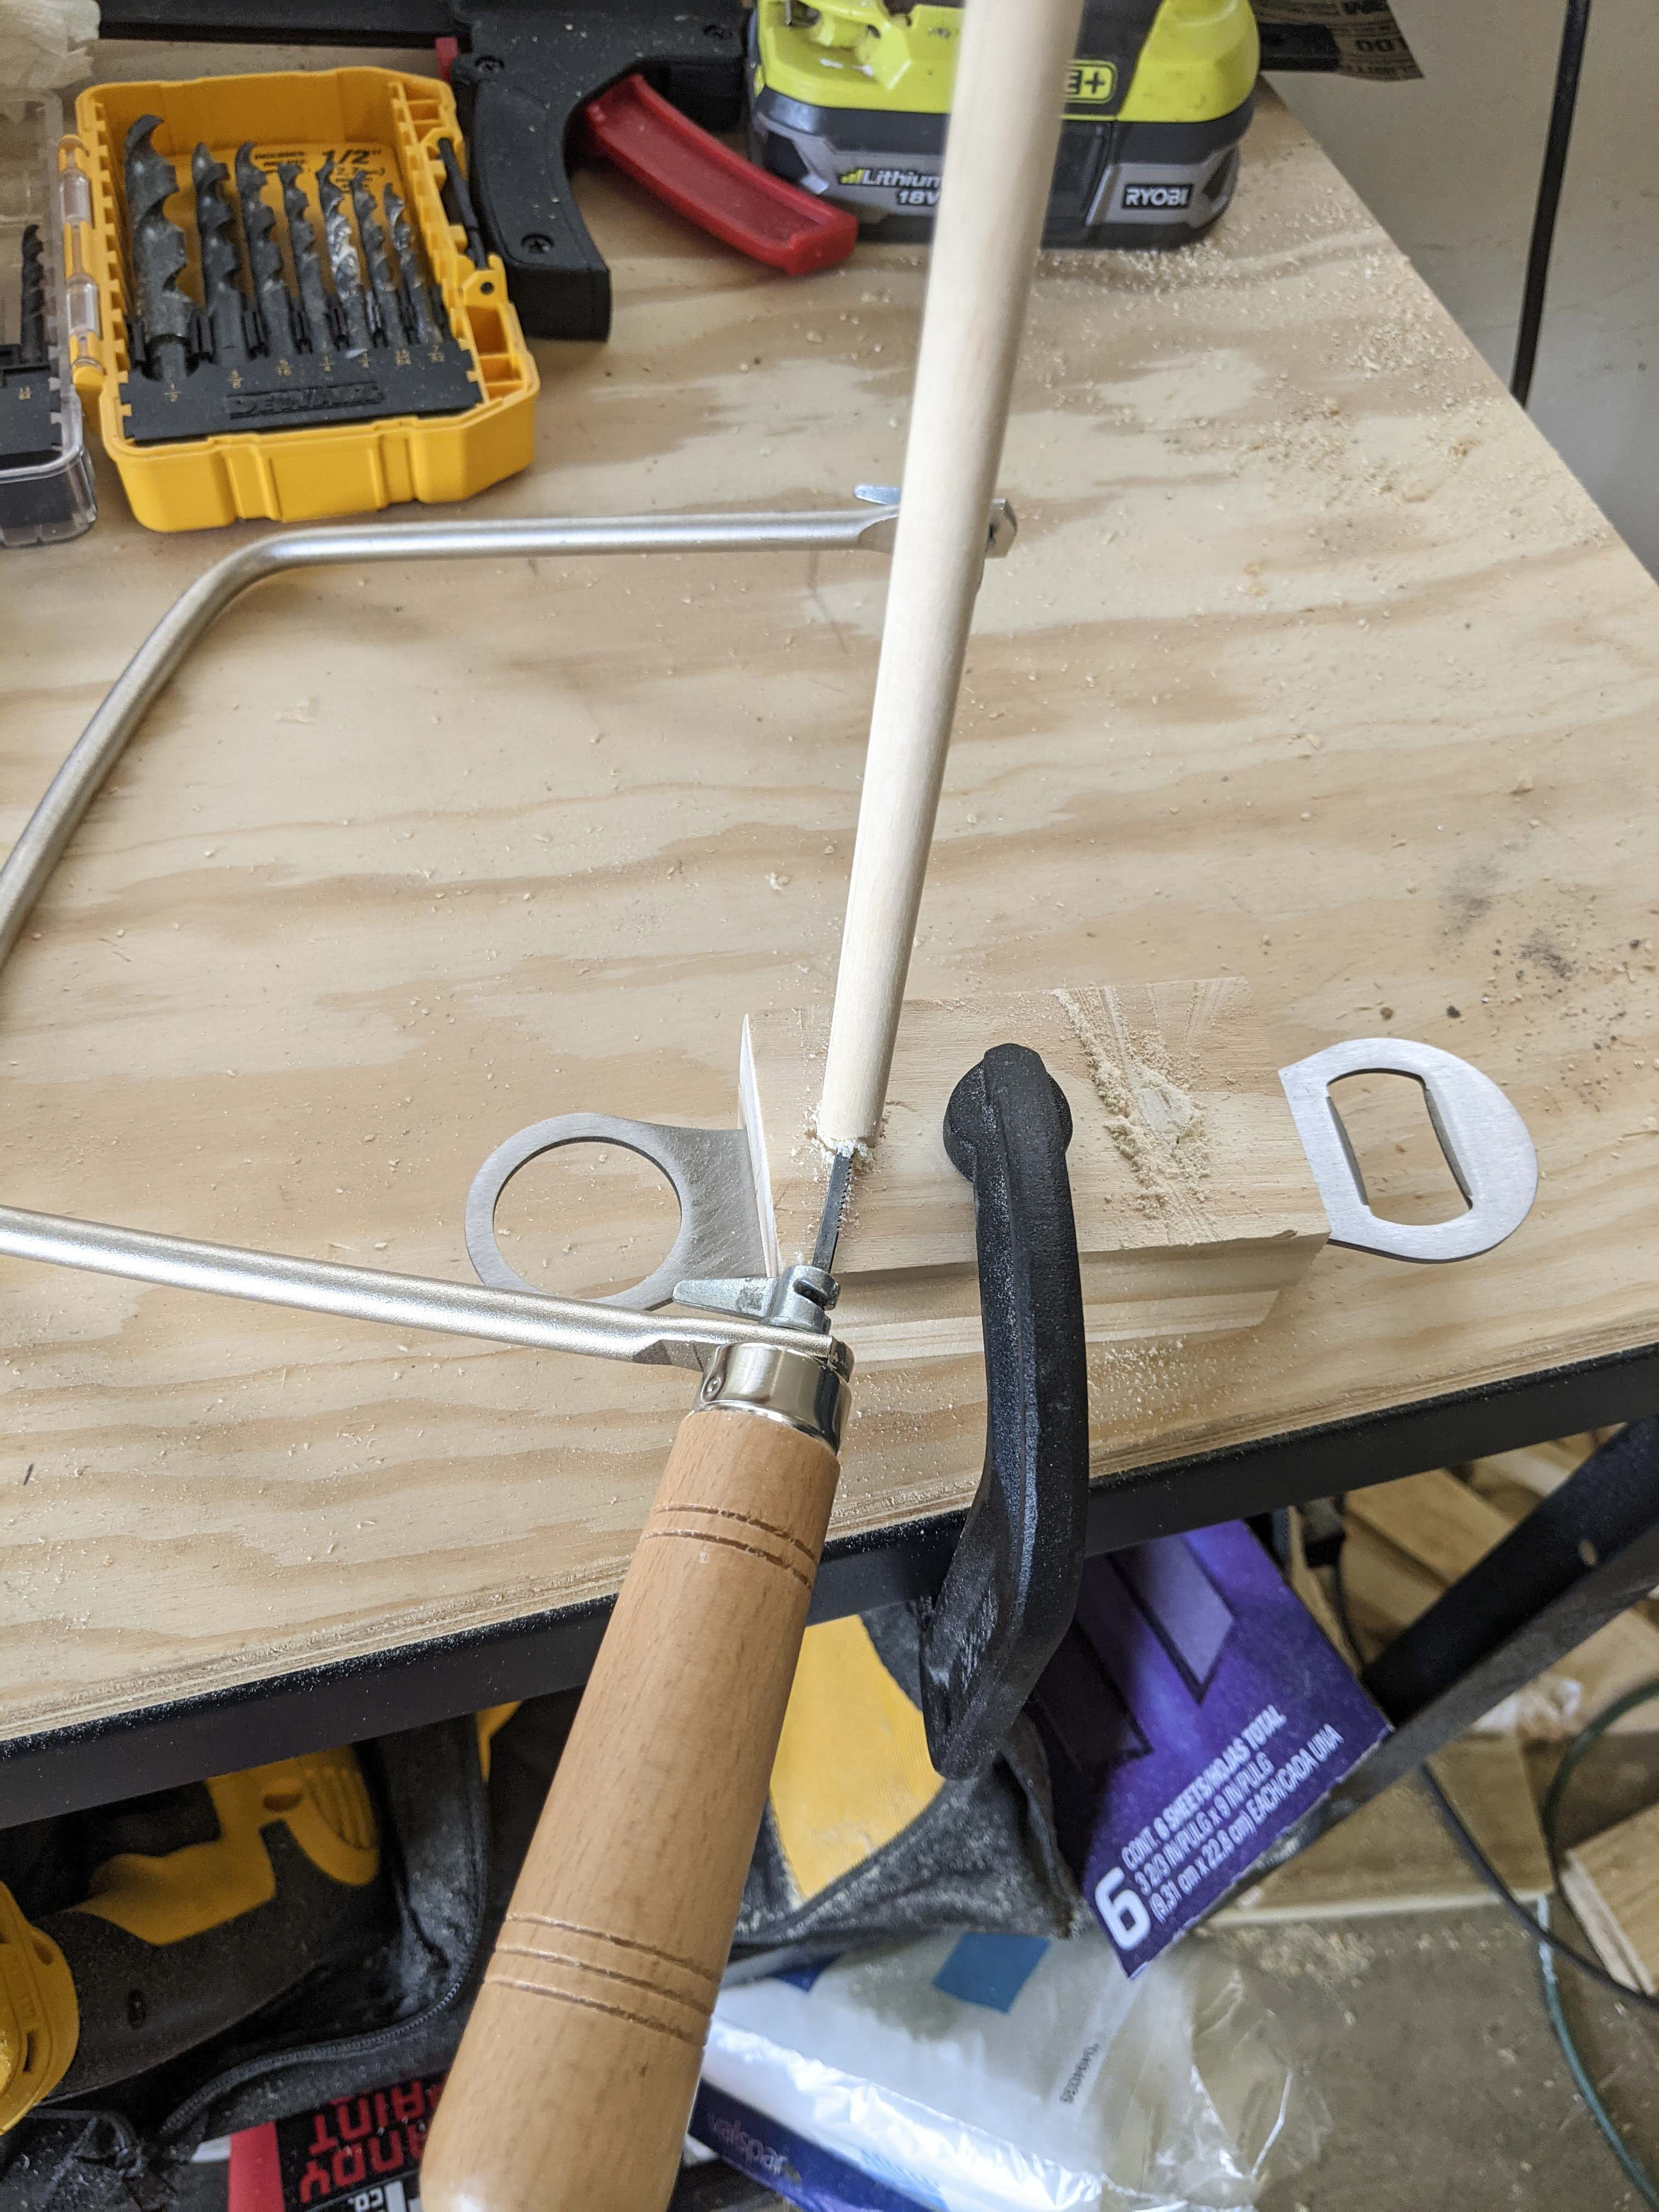
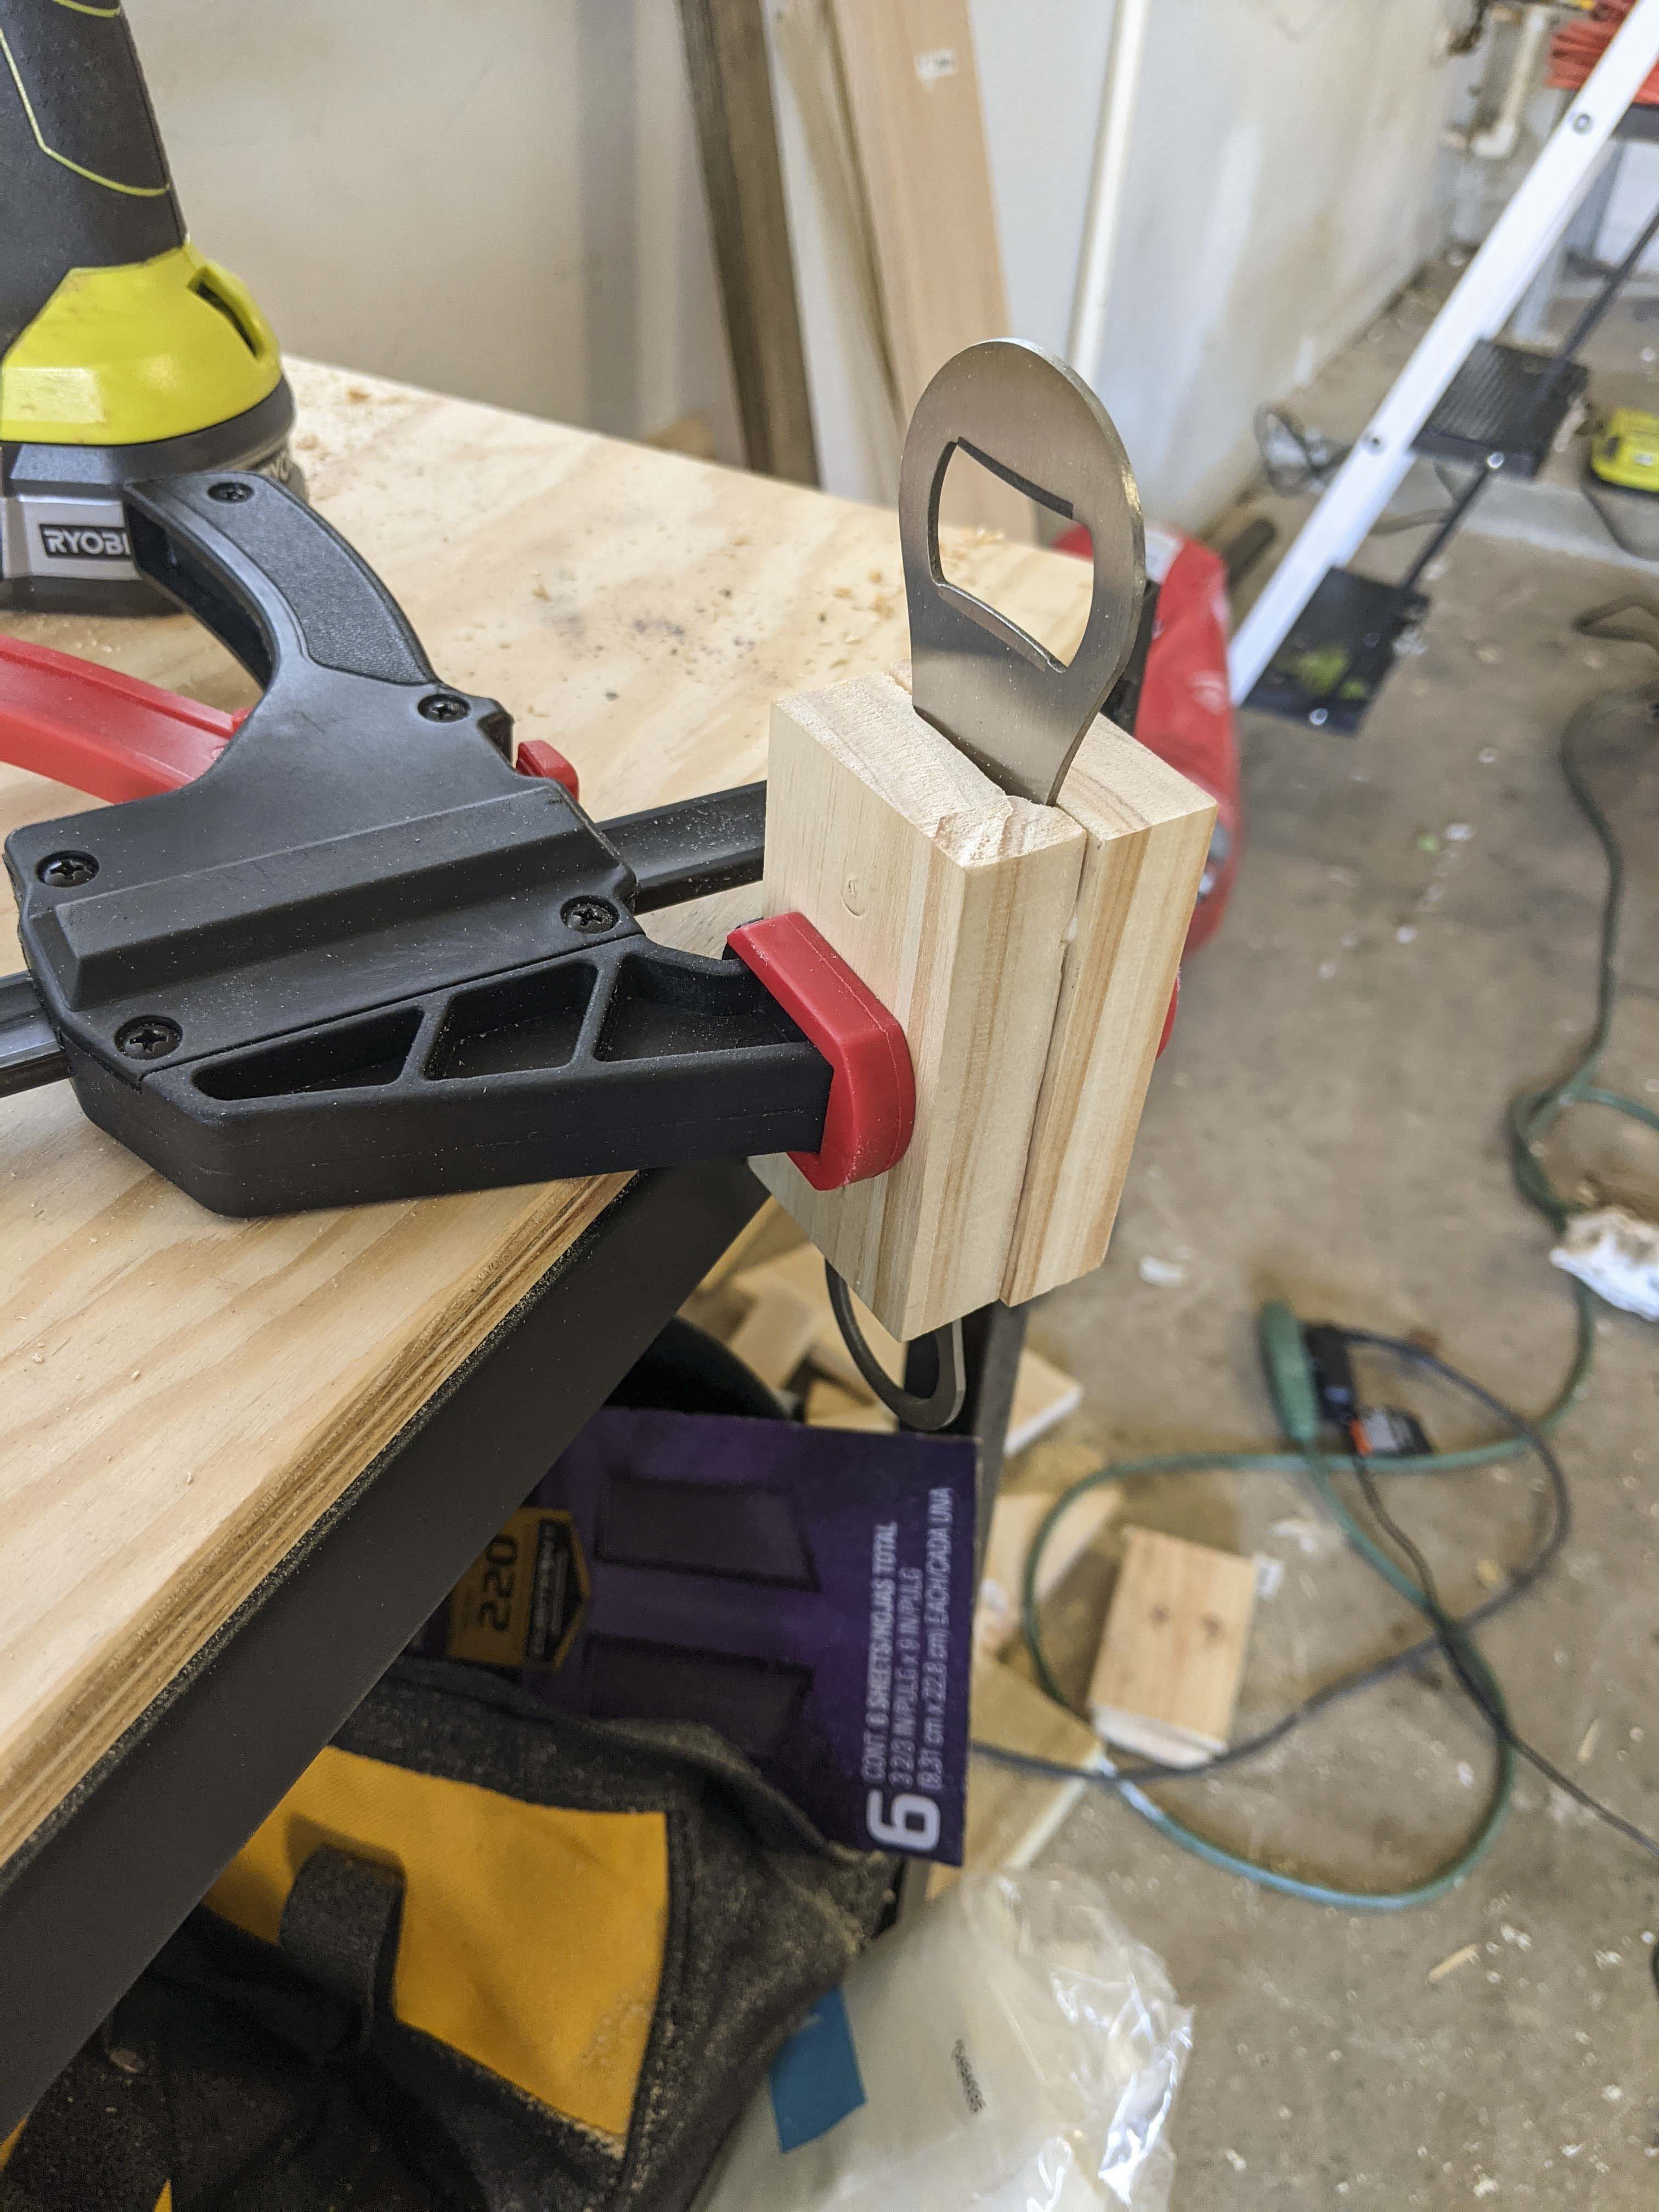
Next, I used a 3/8" drill bit (the same size as my dowel rods) to drill slightly into my marked holes- do not go all the way through! I drilled in my screws into those new holes, then wedged a dowel rod into each hole to hide the screw head. You can use wood glue to help secure the dowel. Then, I used my coping saw to cut off the excess dowel. I kept it clamped to my worktable through this part. Also, use the smallest screws you can get away with. The heads on mine were #8 and were just a touch big for this project.
Now begins the most time-consuming part- the shaping. This is where I used the cone-shaped head for my Dremel. It will take a long time, but works better and faster than a carving knife. Be careful not to expose the screws as you carve.
Tip: If you do accidentally expose the screws, then just use a little wood putty that’s the same color as your stain to hide the metal. You won’t need much and no one can tell.
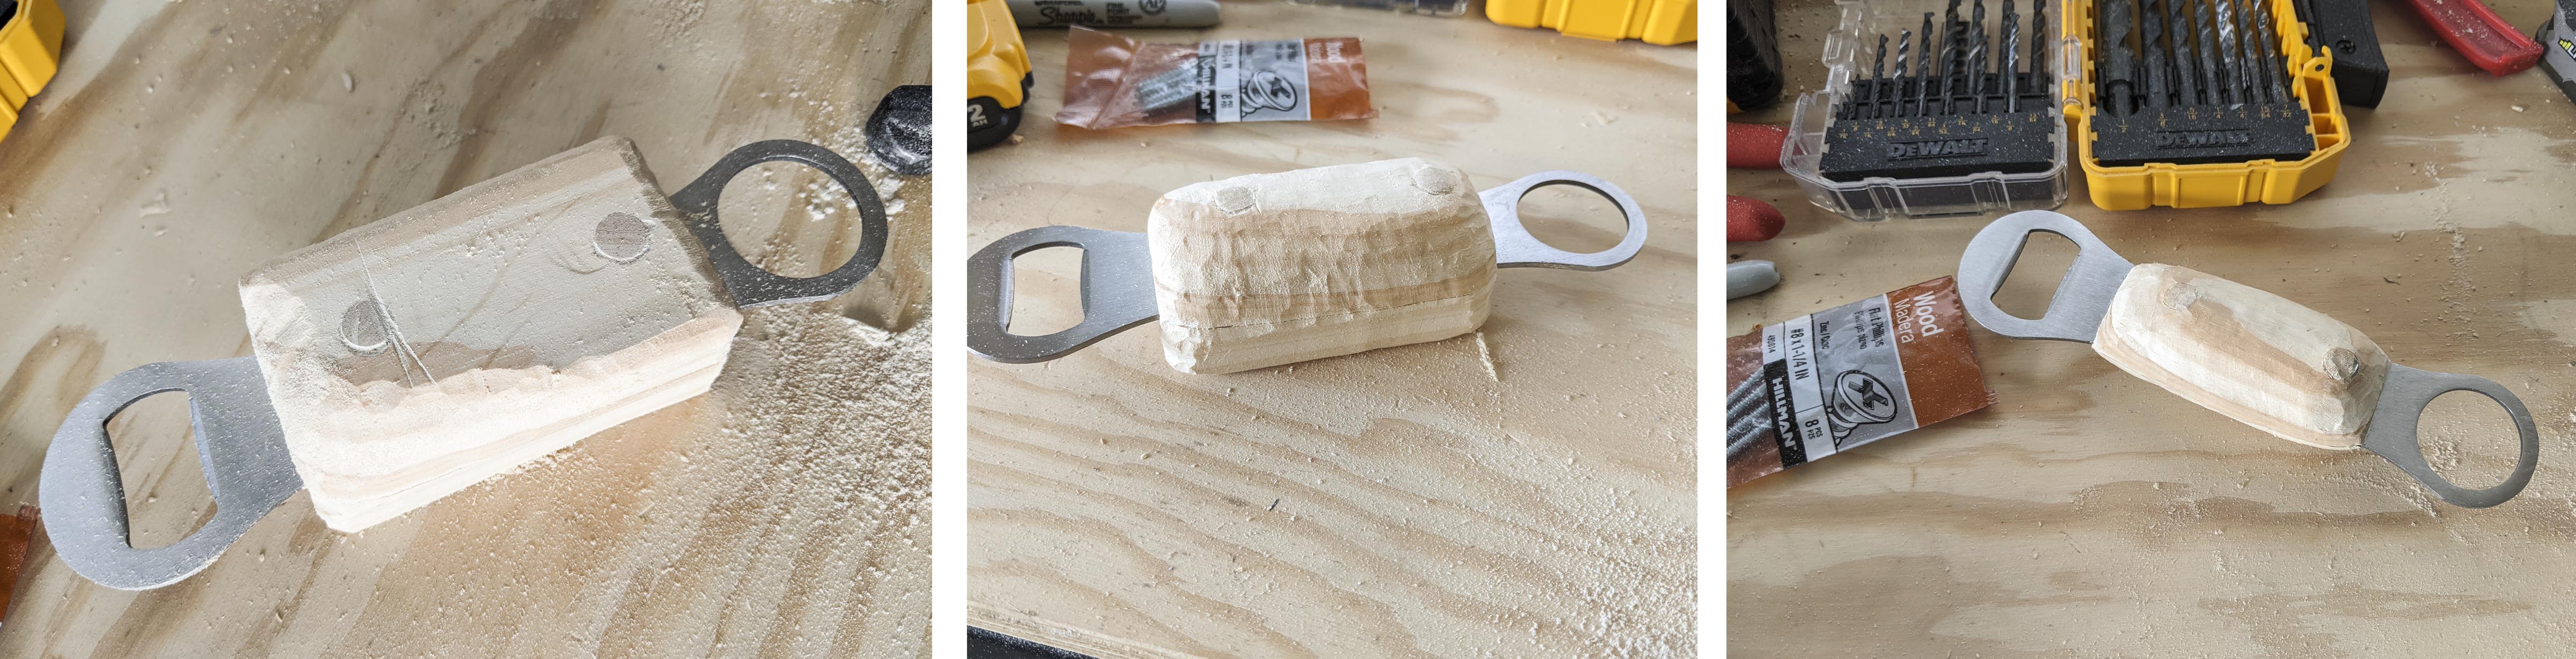
Years later you’ll get the shape you want! This took me a couple of days working for about 2 or so hours each session. Give your hand plenty of breaks.
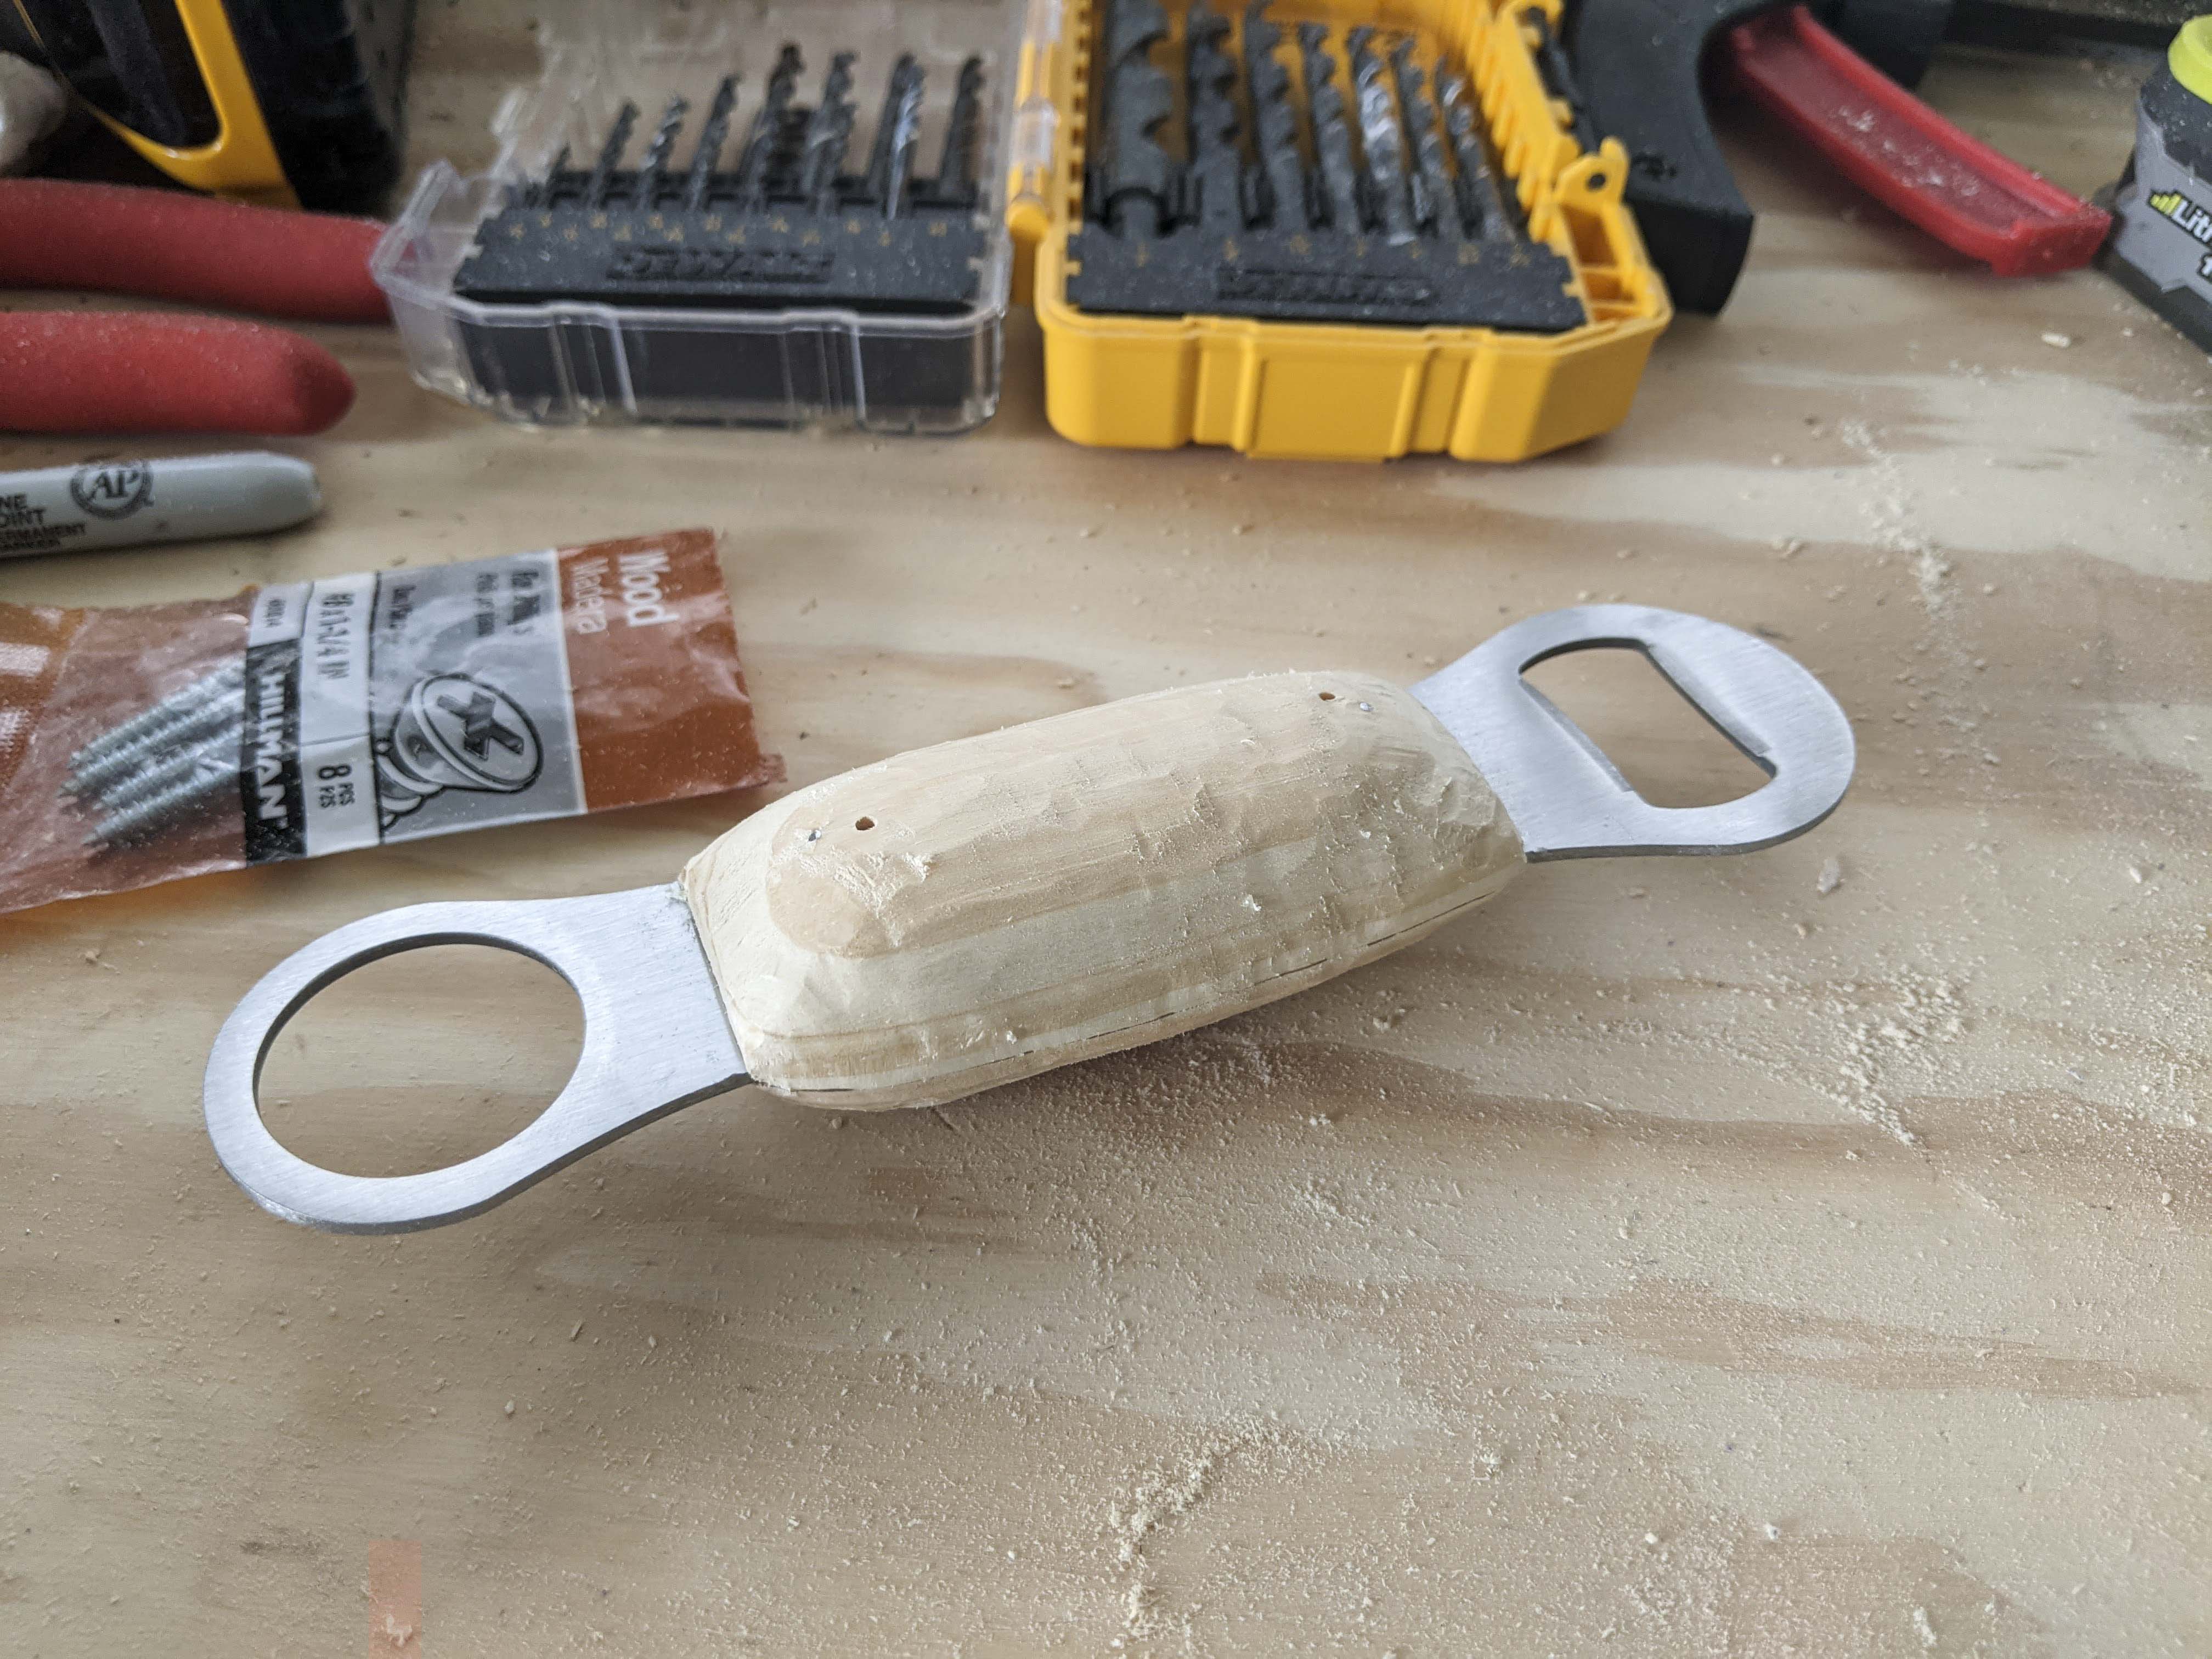
Sawdust was absolutely everywhere, but I wanted my handle to be fairly trim with the opener so it looked more like one piece versus just gluing wood together and calling it a day.
Next, I took a wood carving head and personalized the handle for my friend. It was a birthday gift! He isn’t a big drinker, but will certainly use it for his Topo Chicos.
The last thing to do was stain and coat in poly for longevity.
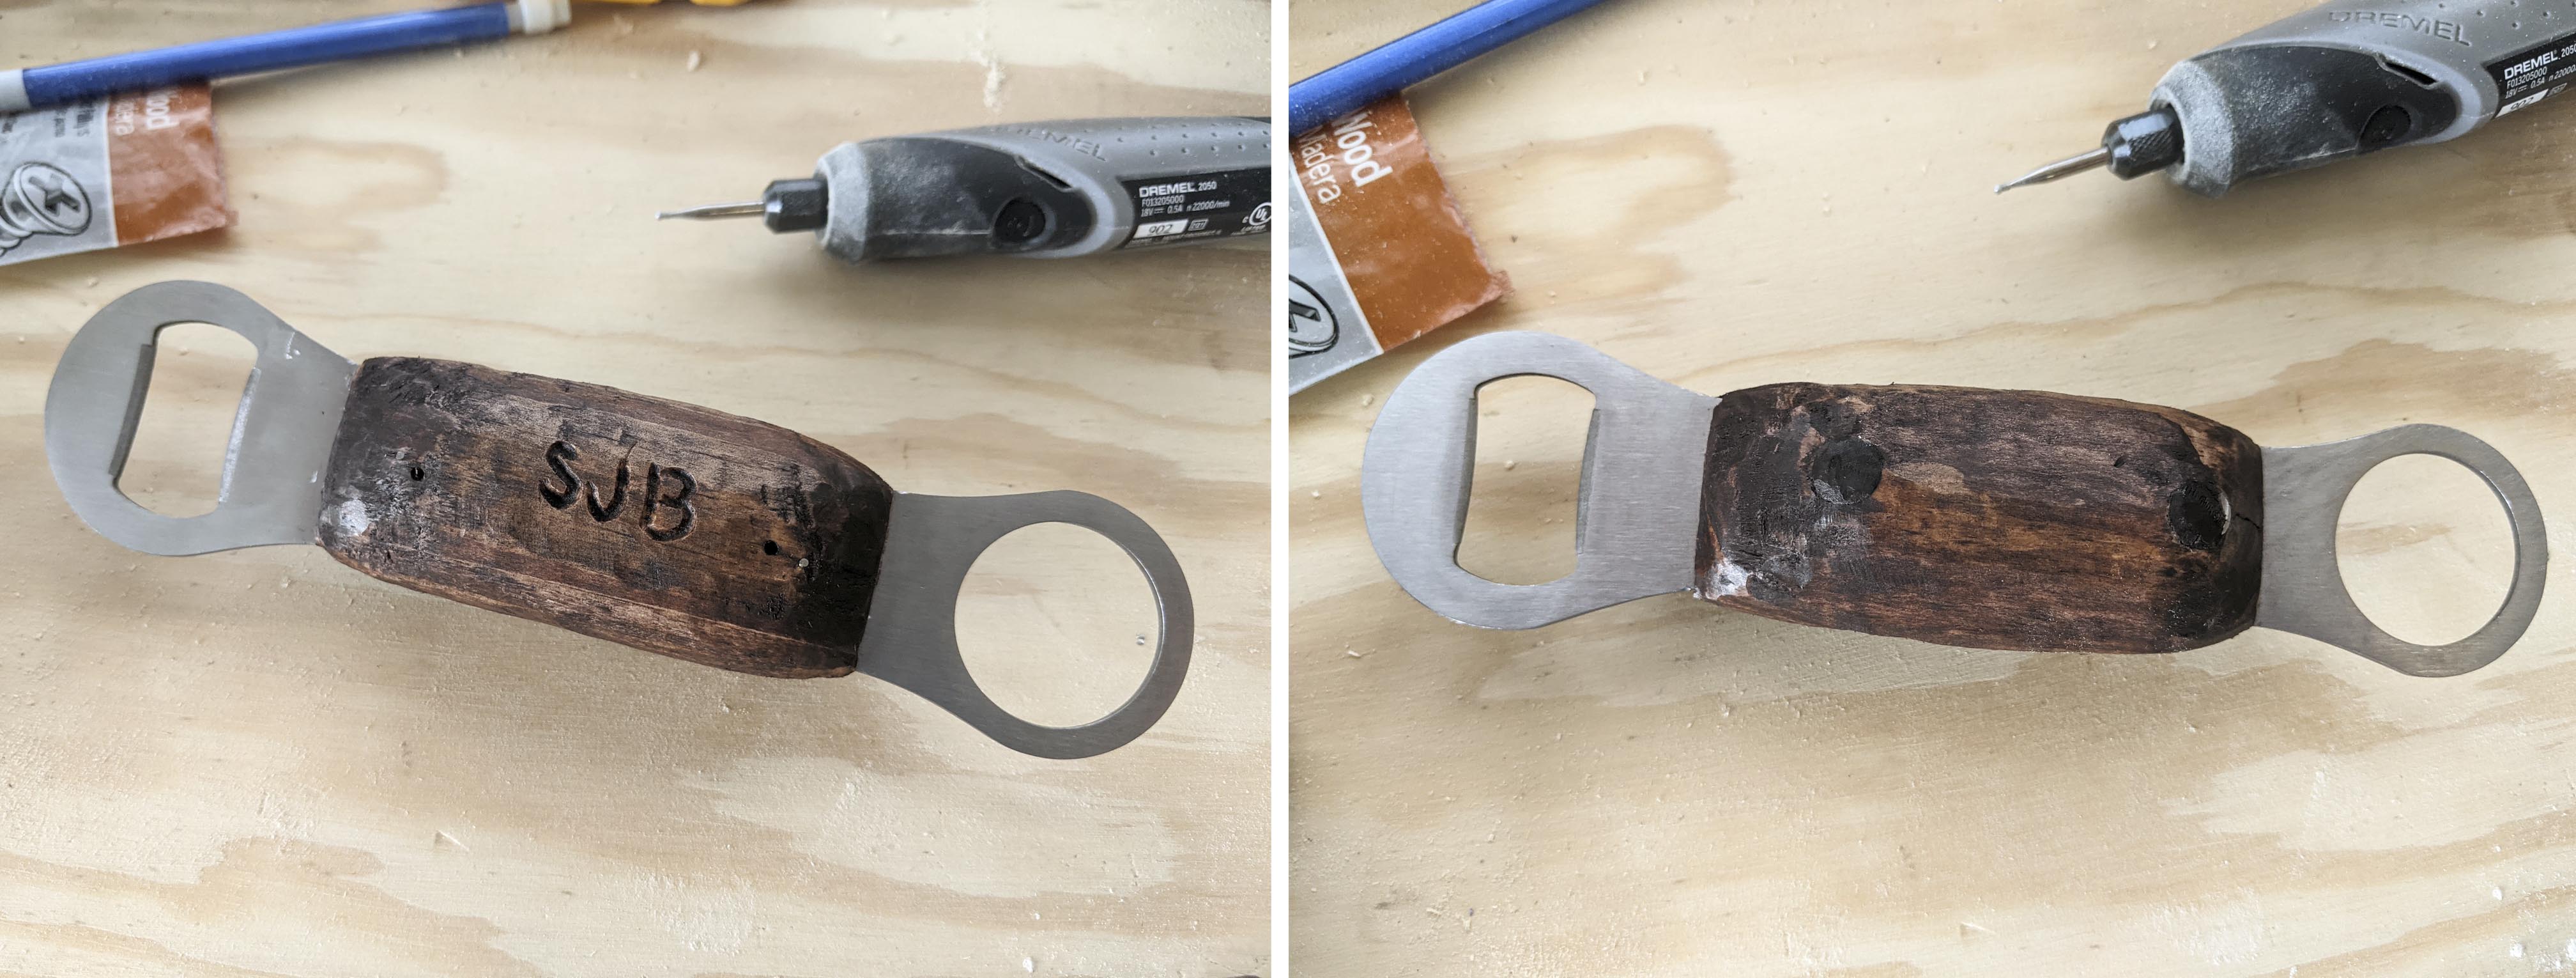
All done!