This post contains affiliate links at no cost to you.
I have been wanting a knife block for years. We have one large knife we use all the time and it sits out on the cutting board when not in use. It bothered me so much that it didn’t have a home.
While I was looking around for simple DIYs, I came across this knife block tutorial after finding one for my bottle opener. The author created such a simple design that’s easy on the budget and can be done by a beginner (like yours truly!).
I had to make some alterations because, as usual, I don’t have all of the same tools so I will lay out my supplies and process below in case you’re working with the minimum like I was.
Supplies:
- 4ft long x 5in wide and 3/4" thick wood board. I grabbed red cedar.
- 1/4" square dowel rods (4x)
- Jigsaw
- Coping saw or flush cut saw
- Sander
- Wood glue
- Ruler or measuring tape
- Polyurethane
- Stain (for the dowels)
Process
I don’t have a table or a miter saw as the author does in that article. The only powered saw I have is a jigsaw. This means I couldn’t create the dividers the same way. There is no way to get a straight, quarter-inch cut with a jig. If you manage to do it, you’re my hero.
Instead, I found 1/4" square dowel rods at Lowe’s. I searched their app just to see and lo and behold, square dowels exist. Thank goodness.

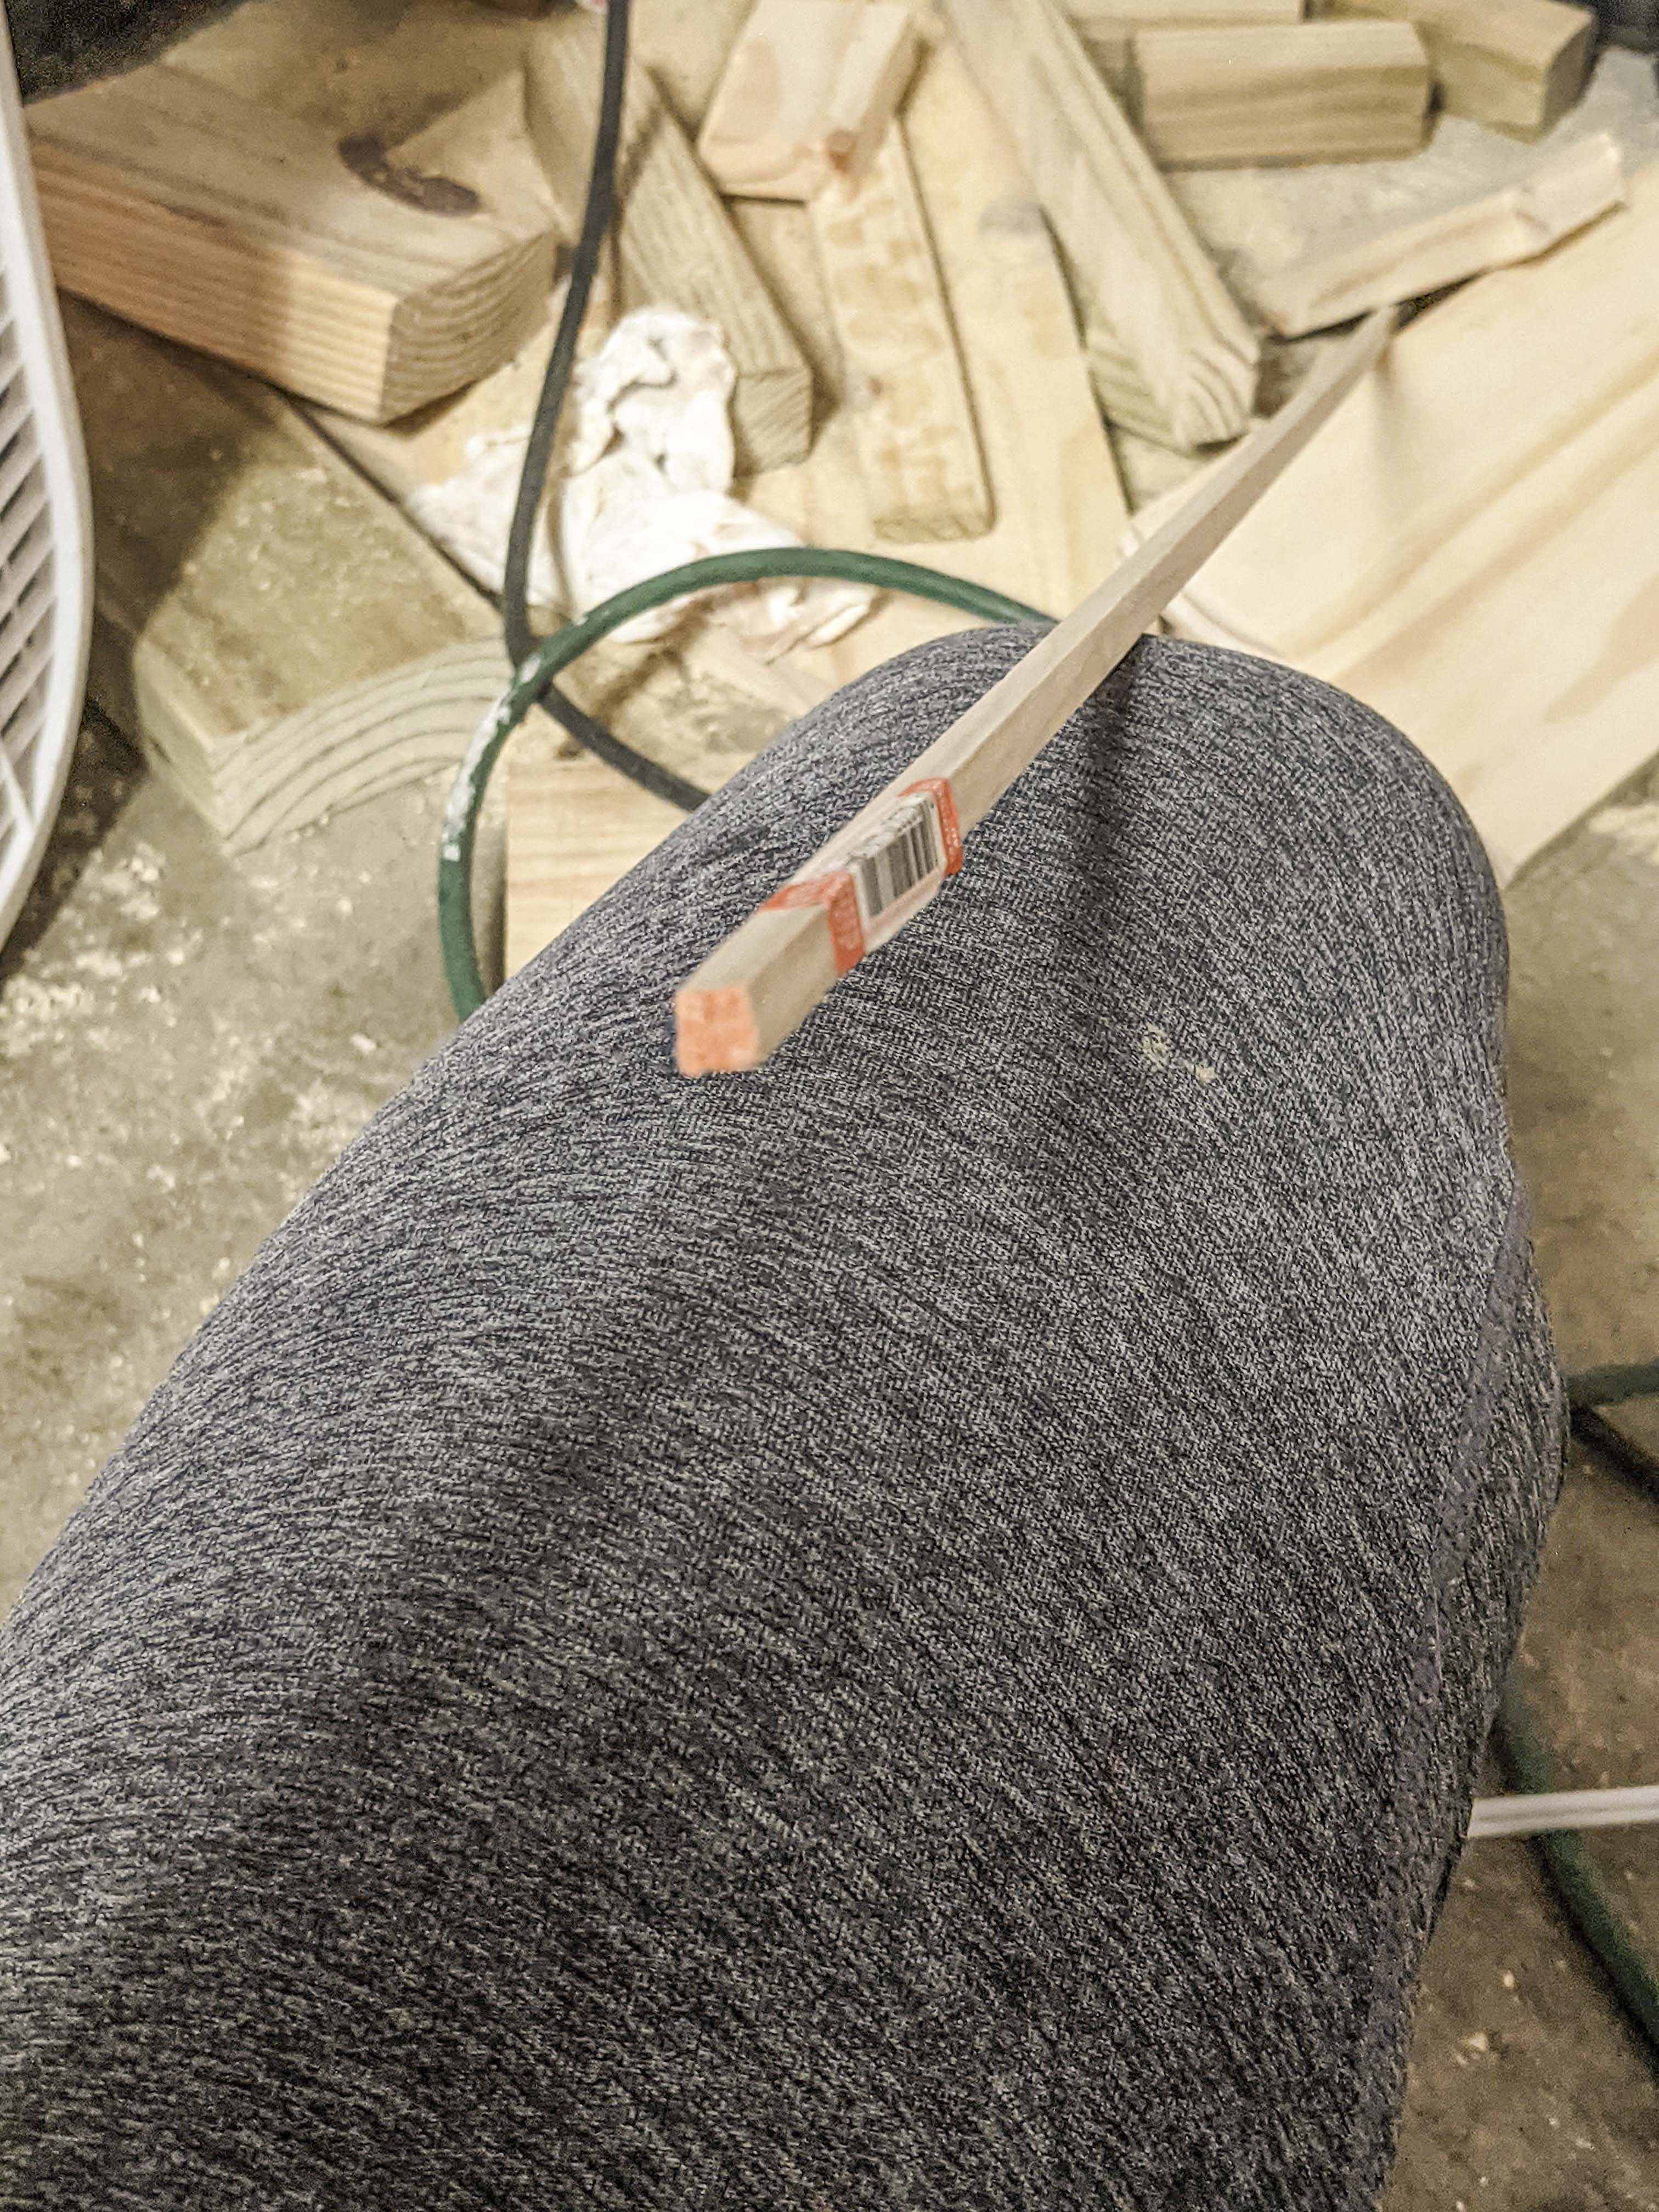
I cut my board into four 10in pieces (with the jig) and my dowel rods into ten 9.5in pieces (with coping saw) as the article describes. I only needed one 4ft board and 4 dowel rods to get all the parts I needed. I sanded the edges of my boards to even out the cuts and account for the jig’s wonkiness.
After cutting the dowels, I rubbed stain on them with a paper towel so they would be protected and look better once everything was together. They dried quickly since it was such a light coat.
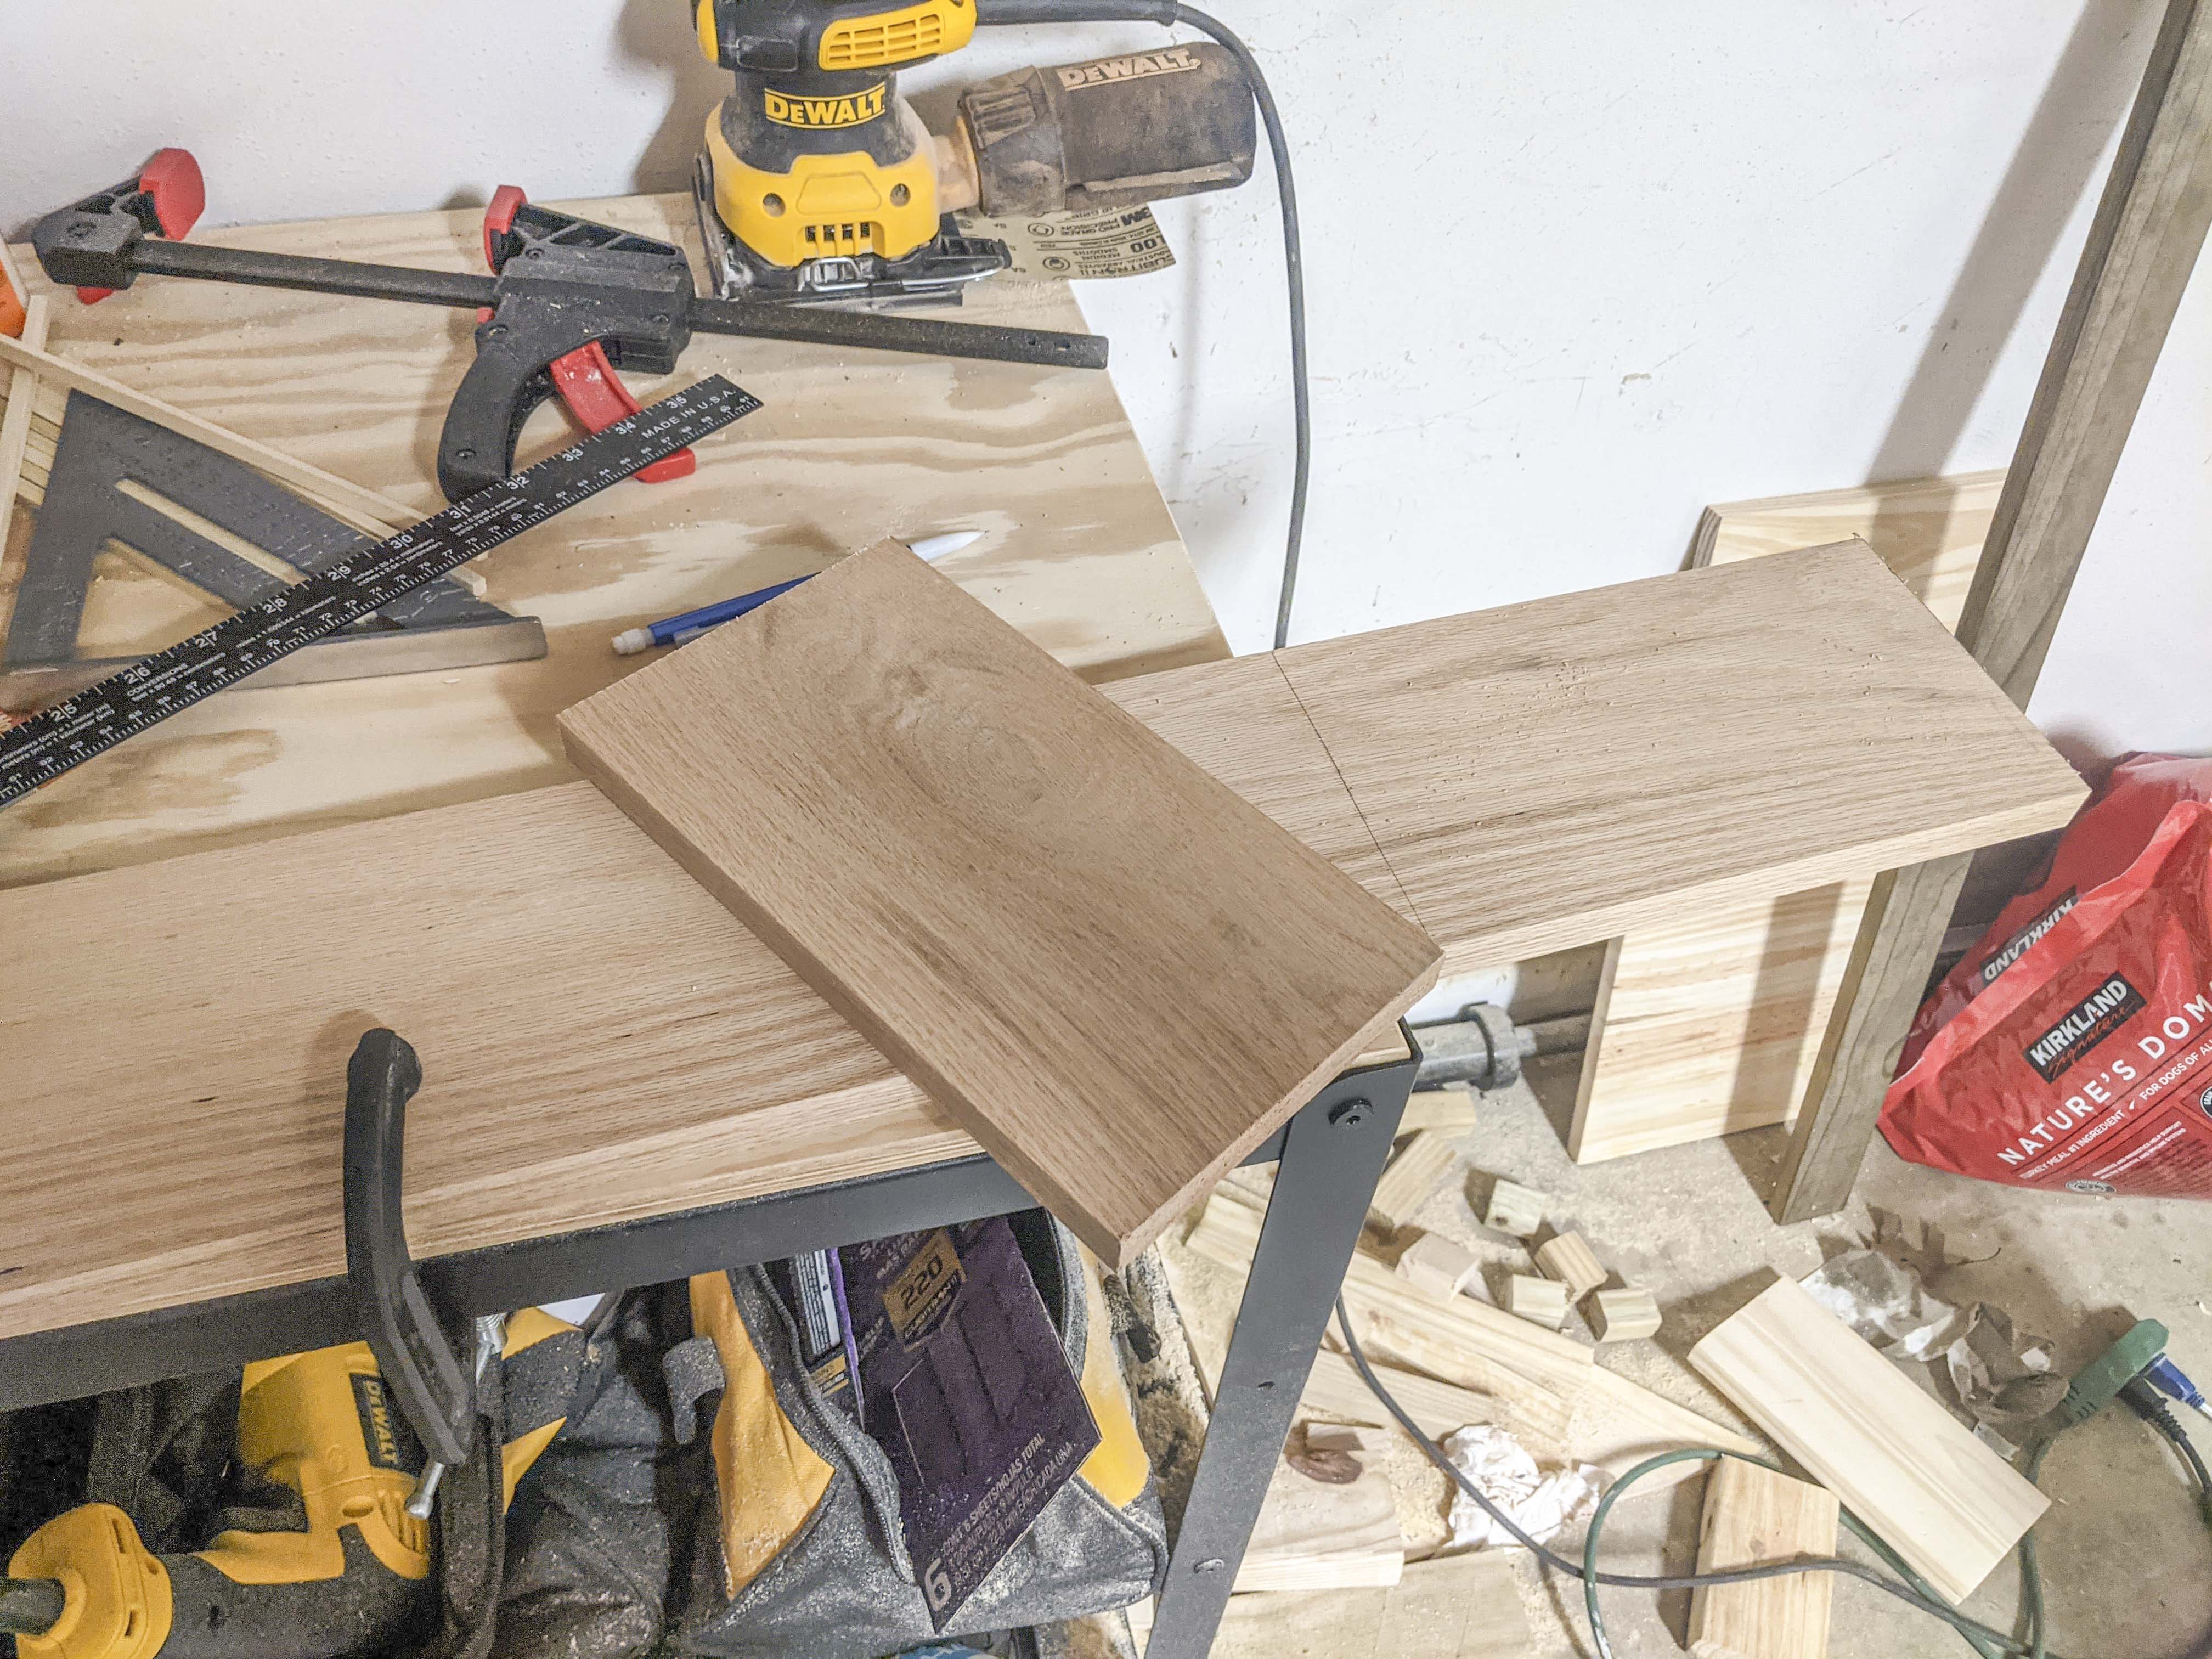
I laid out my 4 sections and placed dowels on the edges to create the sides. I went ahead and put a thin layer of wood glue on the dowels with my fingers and glued them down.

Remember you won’t put them on that last piece (far left piece in the photo above). The dowels only need to go on one side of three pieces since you’ll be stacking them together to form the knife block.
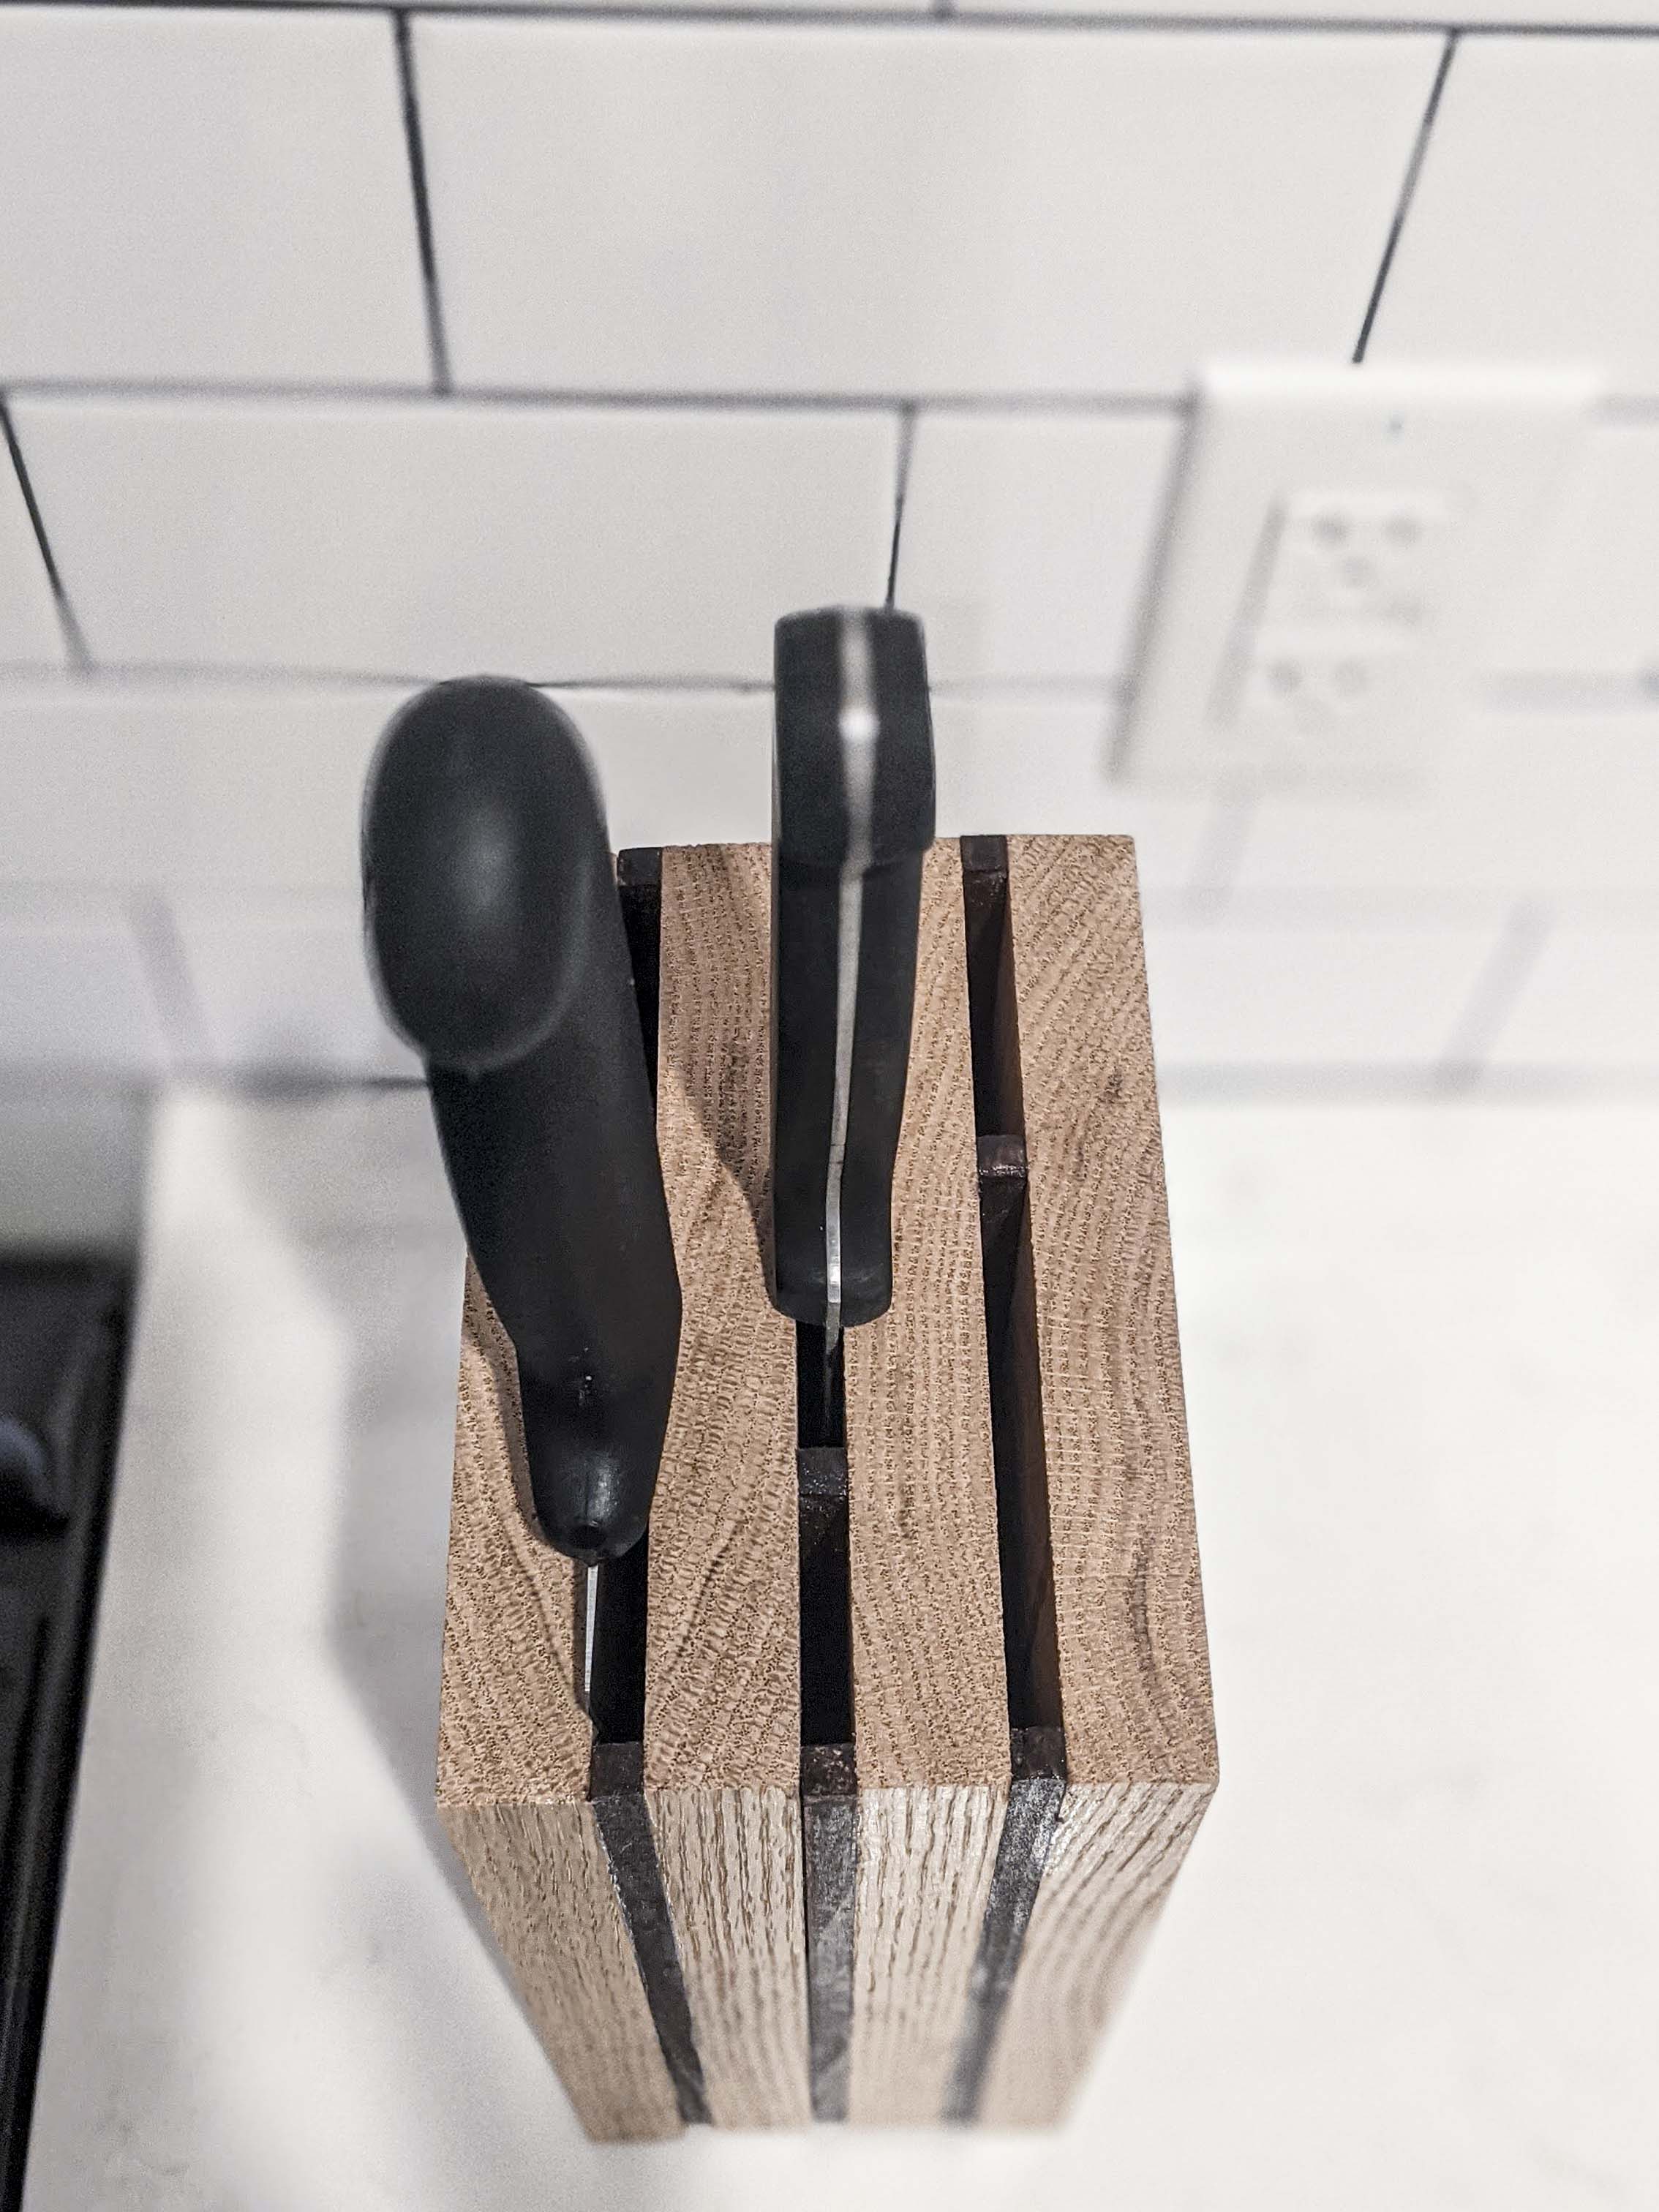
I measure my large knife and it’s about 2 inches wide, so I made one slot 2 inches and another 3 inches. In other slots, I followed the article and made 1 1/8" wide. Since my boards are slightly wider than the guide’s, I had room for several different sizes. Be sure to measure the knives you want to store in the block. This part is completely customizable!
Here’s what mine looked like after I glued in the dowels to make the knife slots. Make sure the tops of the dowels line up with the tops of the boards so the knives sit evenly. The dowels are shorter than the boards for aesthetic purposes and gives some visual interest.
Now, wipe some glue on the tops of your dowels and place one piece on top of the next carefully making sure the sides and the tops are even.
I followed the article and didn’t clamp them together since that would make the boards move. Instead, I put a full gallon paint can on top and let the glue cure.
When it’s all dry, you can take your heavy item off and coat it with some polyurethane.
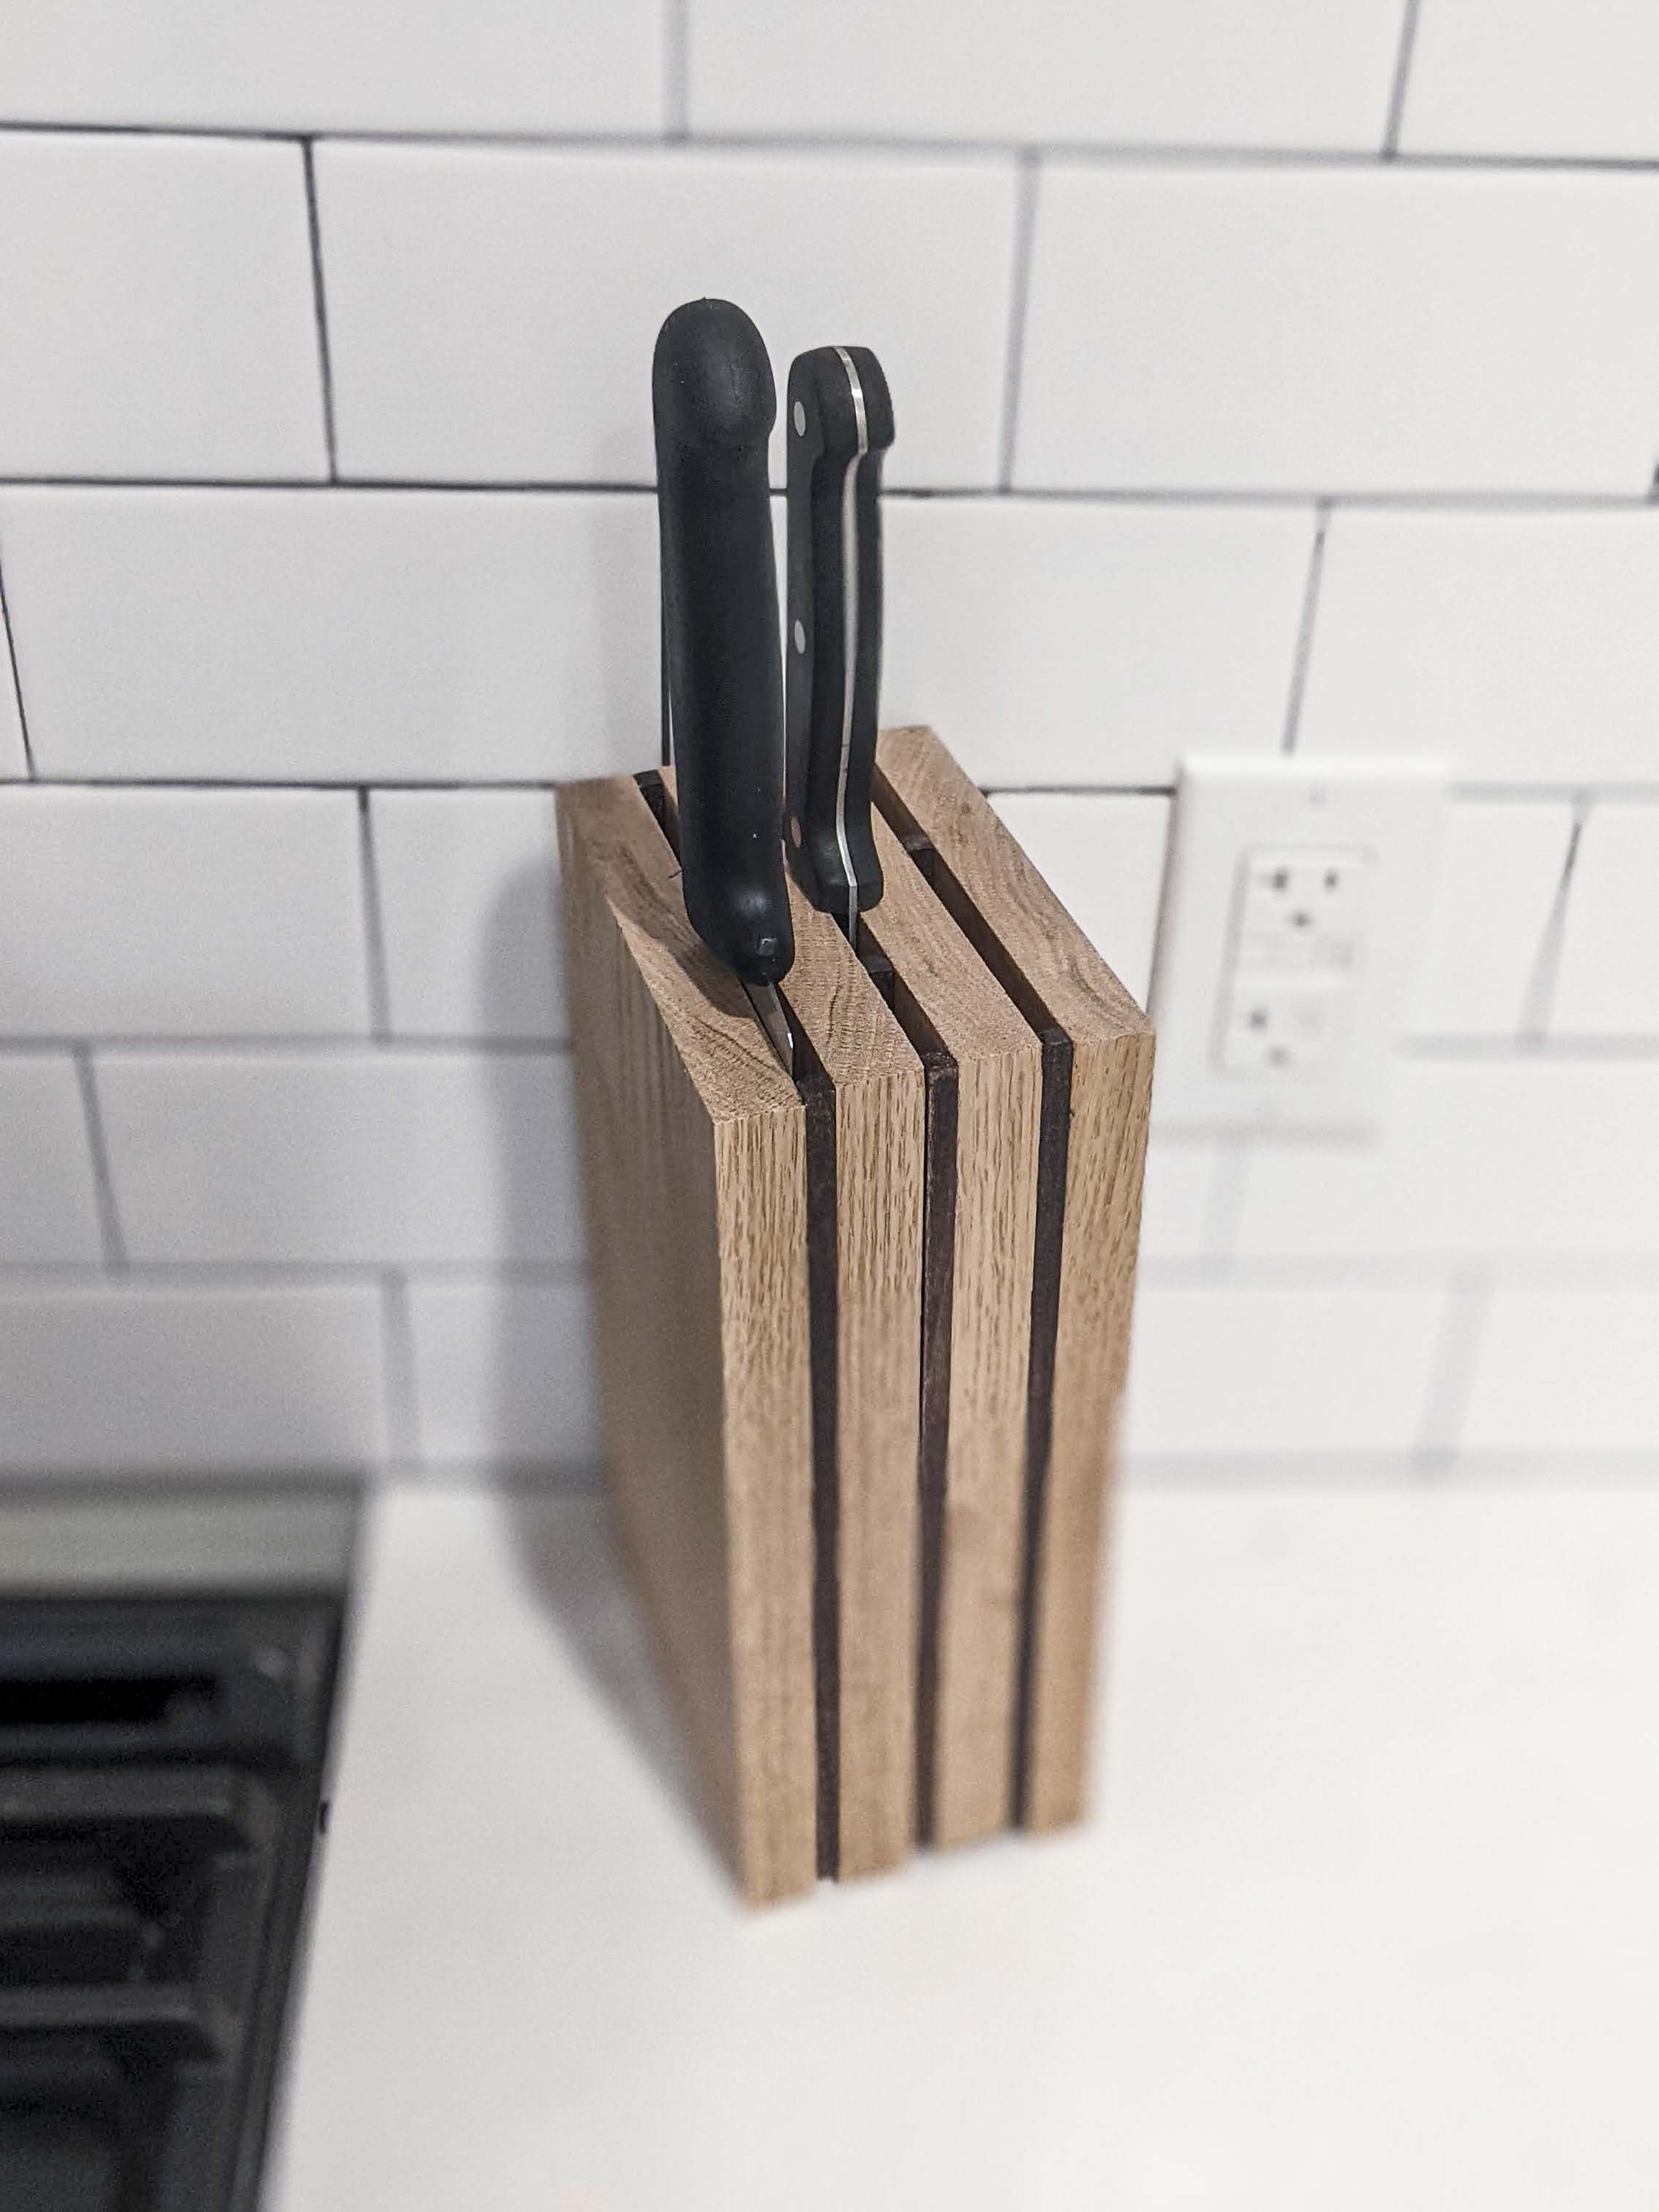
And that’s it! Give it ample time to dry then it’s ready to house your knives. I also grabbed our bread knife from the drawer and popped it in there. Yay, two whole knives!