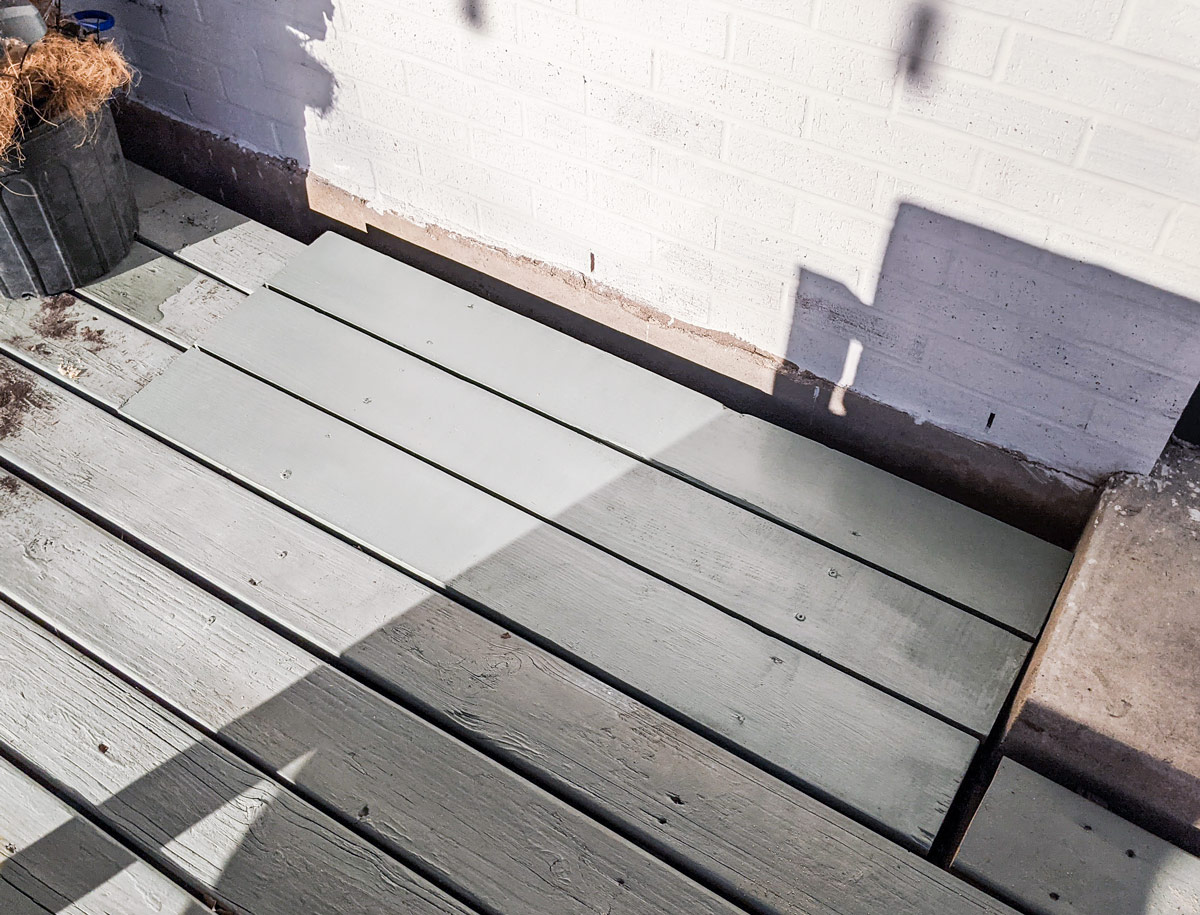
It was difficult to title this post and, as I type, I’m sure I’ll come up with another iteration. For whatever reason, whoever built our deck left this gap open by the utility room steps. There was a big plant there that I removed and that’s really the only reason I can think of leaving the space in the first place. I thought it was dangerous as it would be easy to step right off and into the hole as there weren’t any guard rails added. Just another example of new homeowners complaining about what the previous owners did. I’m sure whoever buys our house in the future will complain too.
Anyway, this spot has really been bothering me. The deck is small, and having that large gap is a terrible use of space. I decided I was going to fill it and put a potting bench on top as it would be nice to be right by the door in case I needed anything from the garage as I messed with my plants. It’s also right by a hose for easy watering.
I tried to make this as simple as possible. I’ve never built a deck before, but how hard could a little section be?
Here’s what I did:
Supplies
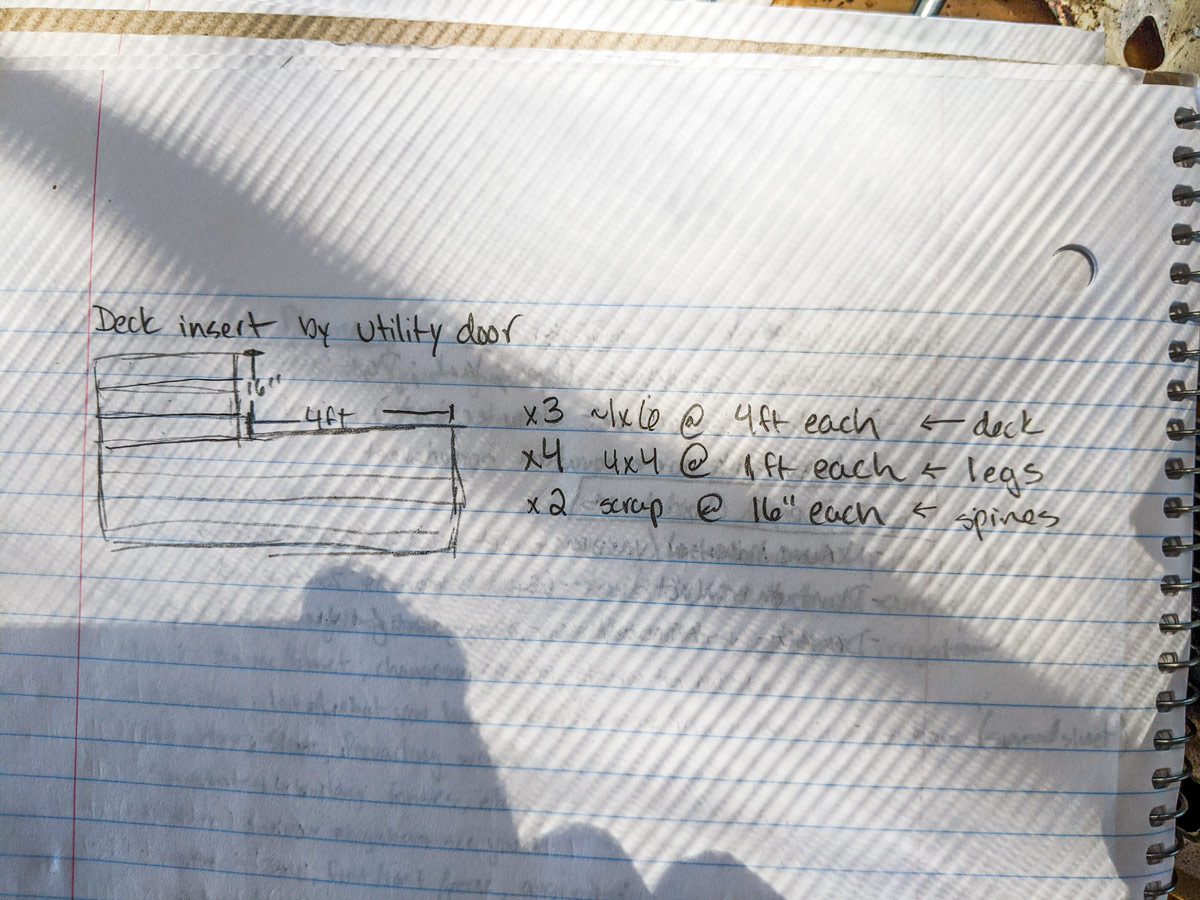
- Lumber (three 1x6s @ 4ft each) <-Deck
- More lumber (eight 2x4s @ 1ft each) <-Legs
- Even more lumber (2 pieces of scrap @ 16in each) <-Spines to connect deck pieces
- Deck screws (3in)
- Drill
- Miter saw
- Wood glue
- Clamps
- Ruler and speed square
- Paint to match the deck
- Safety glasses
- Earmuffs
Process
Note before we begin: I know I forget to write down safety supplies sometimes, but it’s so important to wear the proper gear. Your eyes and ears will thank you.
Alright!
This is a relatively simple project, as most of my DIYs seem to be lately. I finished in an afternoon and the longest steps were waiting for glue and paint to dry.
Step one is drawing up a plan with approximate measurements. Sizes will be different for everyone, but the gap I needed to fill was about 4ft by 16inches.
To be honest, the real step one was ripping a huge plant out of the space so I could actually drop an insert in there. Feel free to watch that process in the video.
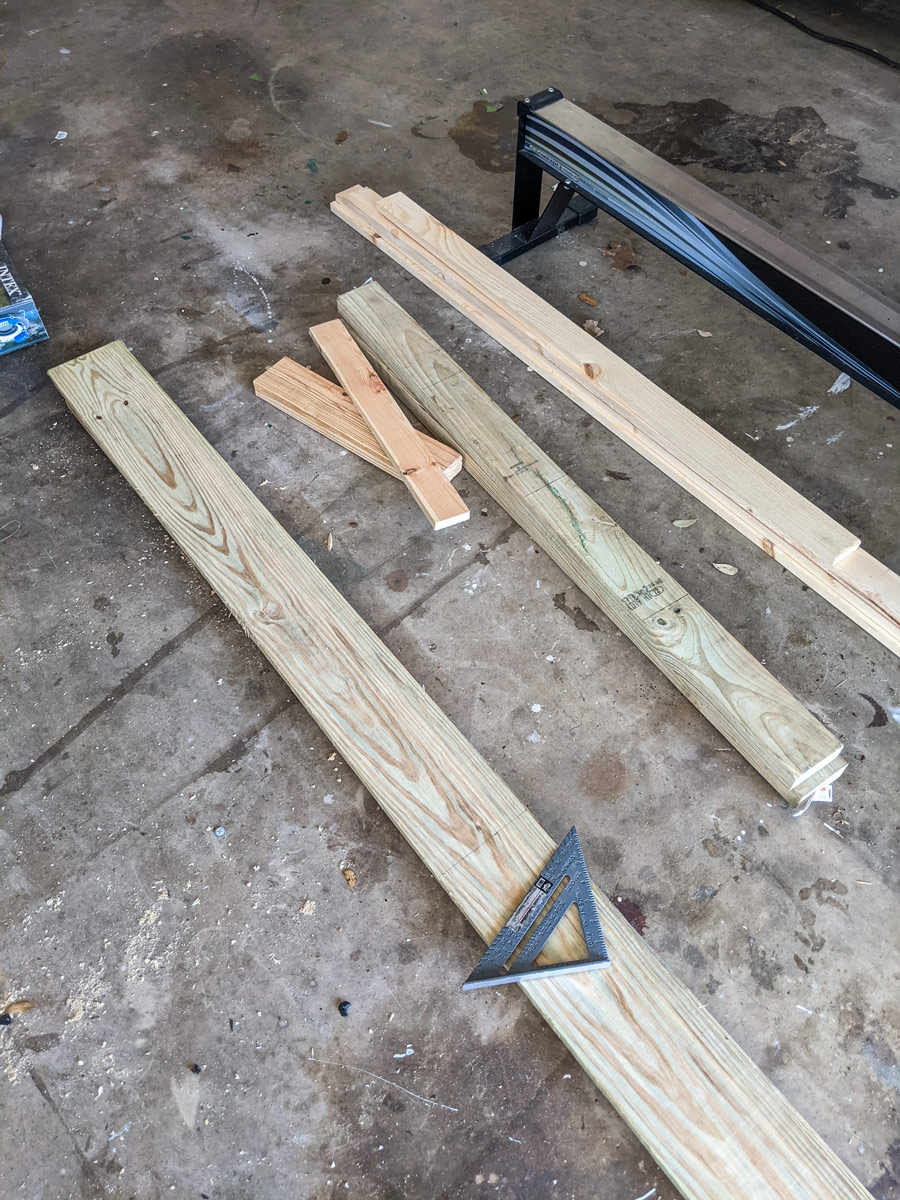
After my plan was done, it was time to head to Lowe’s and get some materials. In this case, it was a lot of wood and I somehow got four 8ft pieces to fit in my car. Who needs a truck?
Be sure to use weather-treated lumber as this is going to sit outside forever. For the spines, I had some scrap wood that I used, but I recommend using 2x4s as they can take the screws and won’t split as easily. One of my scraps is a 1x3 and that was a mistake. Also, I didn’t use deck boards because I honestly didn’t even think about it which is why my boards are a little wider even though they’re the “same” size. Using normal 1x6s ended up being half the price so I’m happy it worked out that way.
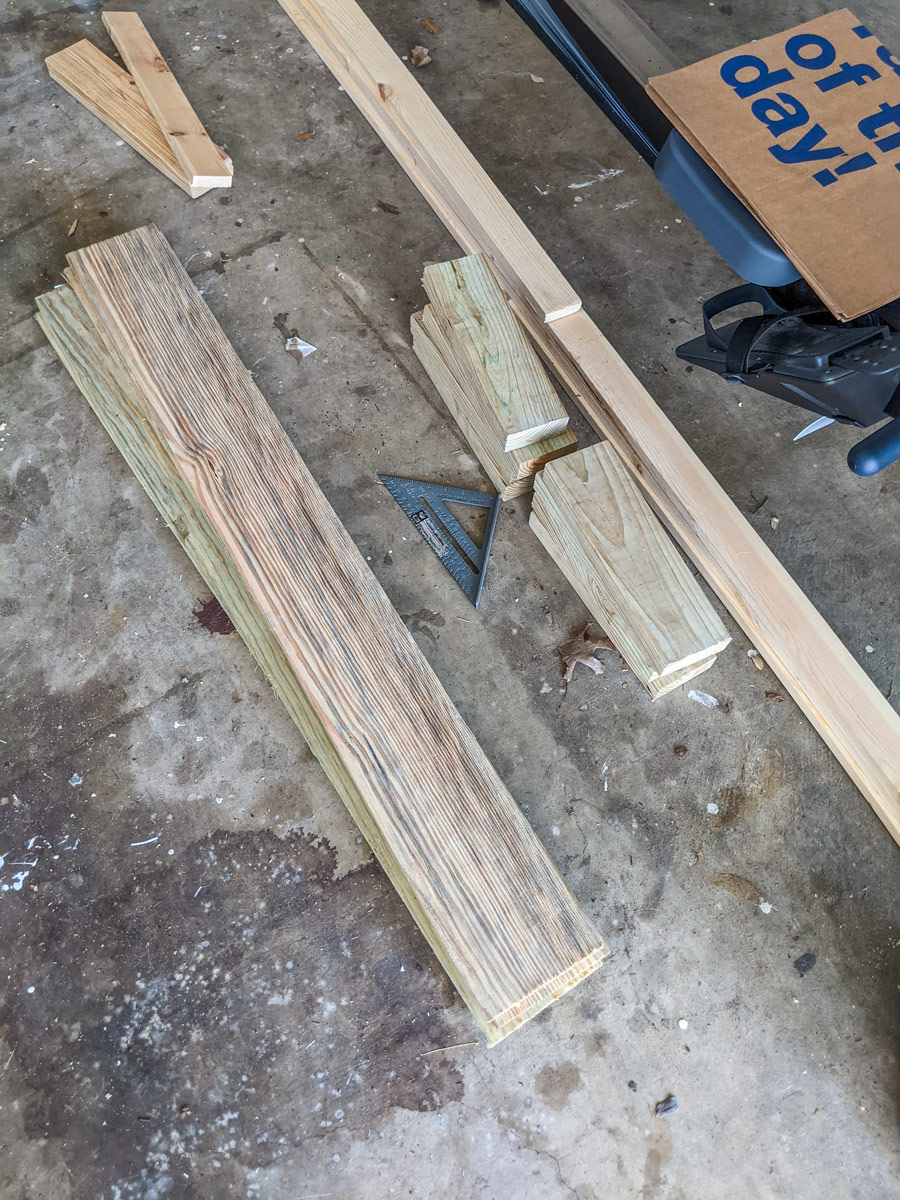
Step two is measuring out all your pieces. All of mine are on the supply list. Originally, I was going to use 4x4s for the legs, but they didn’t have the kind I needed so I ended up buying two 4ft 2x4s, cutting them into 1ft pieces, and gluing two pieces together to create four legs. Worked just fine and was cheaper. When they’re dry, you can trim off any excess wood if your measurements weren’t 100% perfect. Mine weren’t and I had to do this on two legs.
Step three is to make all your cuts. A miter saw makes quick work of the wood and it only took me a few minutes between measuring and cutting. I then glued and clamped my legs together and gave the glue an hour to set.

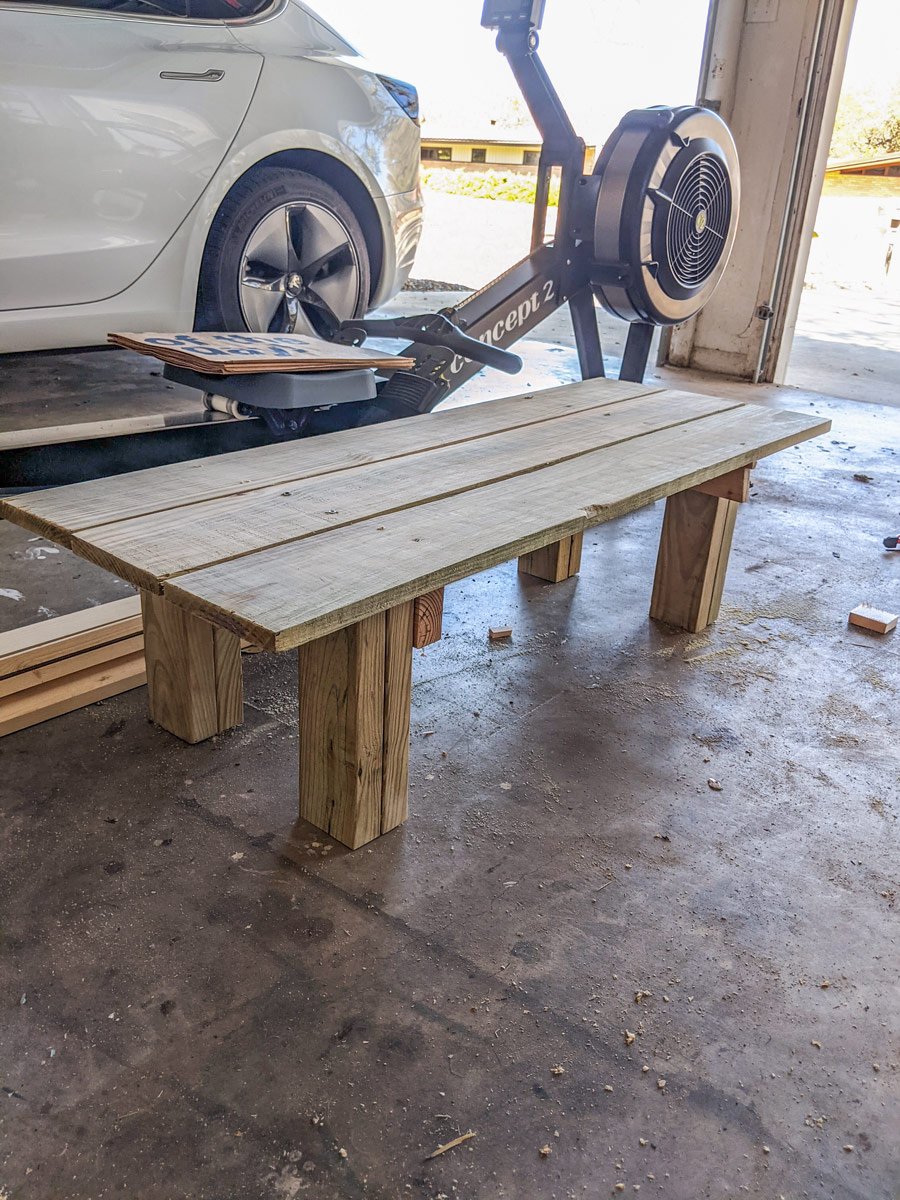
Time to build! Step four is putting this thing together. I first laid my two spines down, put my three deck boards on top of them, and used a dowel rod to get the spacing even. Then, I drilled them in using two screws on each side of each board.
Once that was done, I flipped it over and placed my legs on the outside of the spines then drilled into them and into the legs. I used two screws per leg. This was also pretty quick, thank goodness. This whole thing fits together well.
Step five is painting. Easily the longest step since I wanted to make sure and cover the whole piece then had to wait for it to dry. When we bought the house, the deck was already painted this reddish-brown color that was very 90s. Typically people stain decks, but since it was already painted, and kind of shoddy that I didn’t want to take the time to strip it and stain, I decided to paint it a new color. If we ever replace the deck, then we’ll stain it. Or just get Trex decking and never worry about it again.
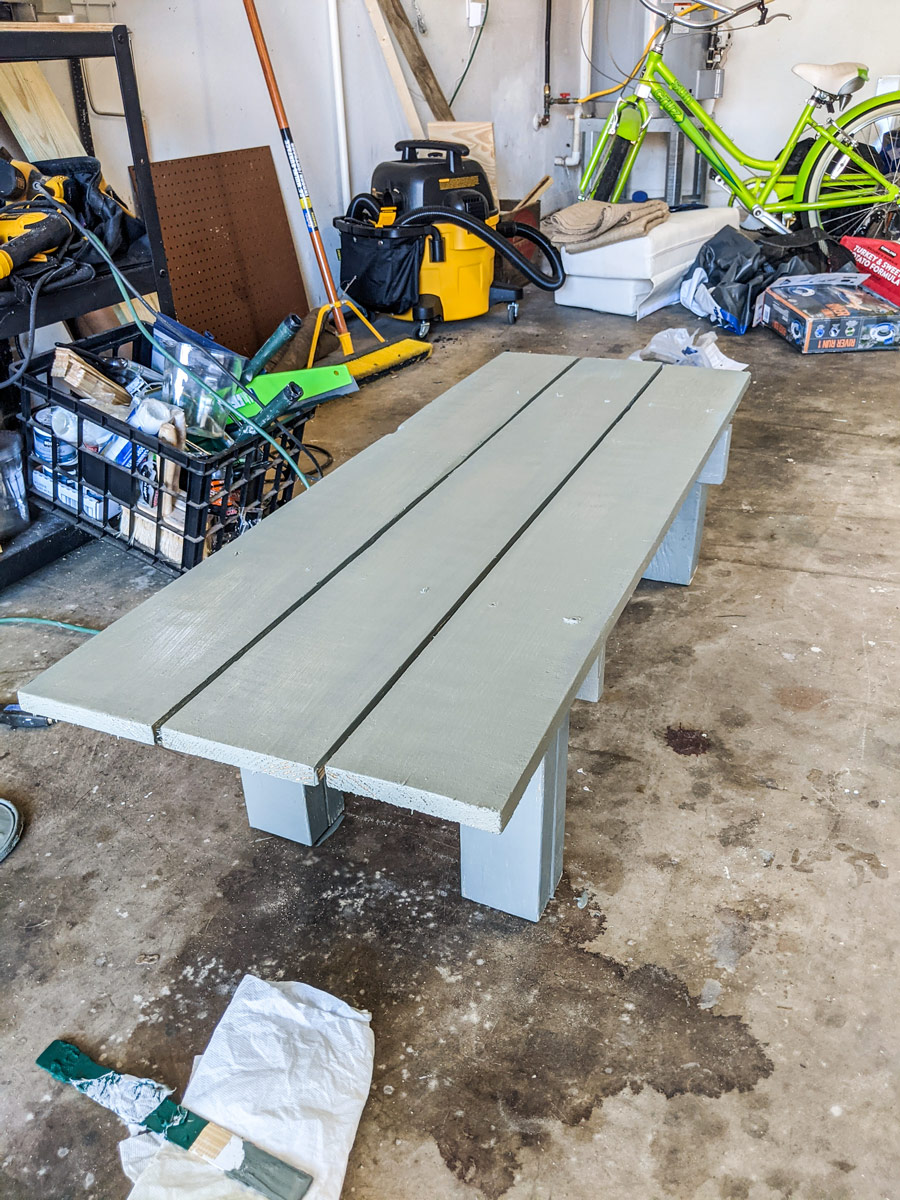
After several hours, it was ready to be put into place and it fit perfectly…enough! It’s level and sturdy so I trust it to hold a potting bench. Which I will also build.
Fun tip, if you make this deck insert a little taller, you could use it as a bench. I sat and stood on it and it didn’t wobble or creak.