Update: I’ve just listed a downloadable PDF version of my jewelry organizer on my Etsy storefront!
I’ll be honest, my jewelry storage was pretty pathetic. I put together what I thought was a cute idea years ago and have been dealing with it ever since. It’s heavy and, admittedly, ugly. I can’t really hang it anywhere anymore because I always knock into it and it’s hard to get the piece of jewelry I want off of it. It’s too bulky and can’t hold all of the jewelry I’ve accumulated over the years. What isn’t hanging off of my wooden monstrosity is just hidden away in drawers.
I needed something better.
So after some Googling, I found a few ideas for jewelry storage I really liked. I don’t have room for a traditional jewelry box of any size so I need to utilize wall space which I have plenty of.
Eventually, I came across one I instantly loved and knew I could build myself. We don’t need many materials for this project at all making it beginner (and budget!) friendly. All of the materials cost about $20 and it was because I got a big pack of cup hooks which was $7 on its own. These jewelry organizers can easily cost over $100 online. This is a versatile project because you can make it any size you need and stain/paint it whatever you’d like.
Let’s get started!
Supplies:
- 2x4x2 pine (x2)
- 3/8-in oak dowels (x2 @ 36-inches long)
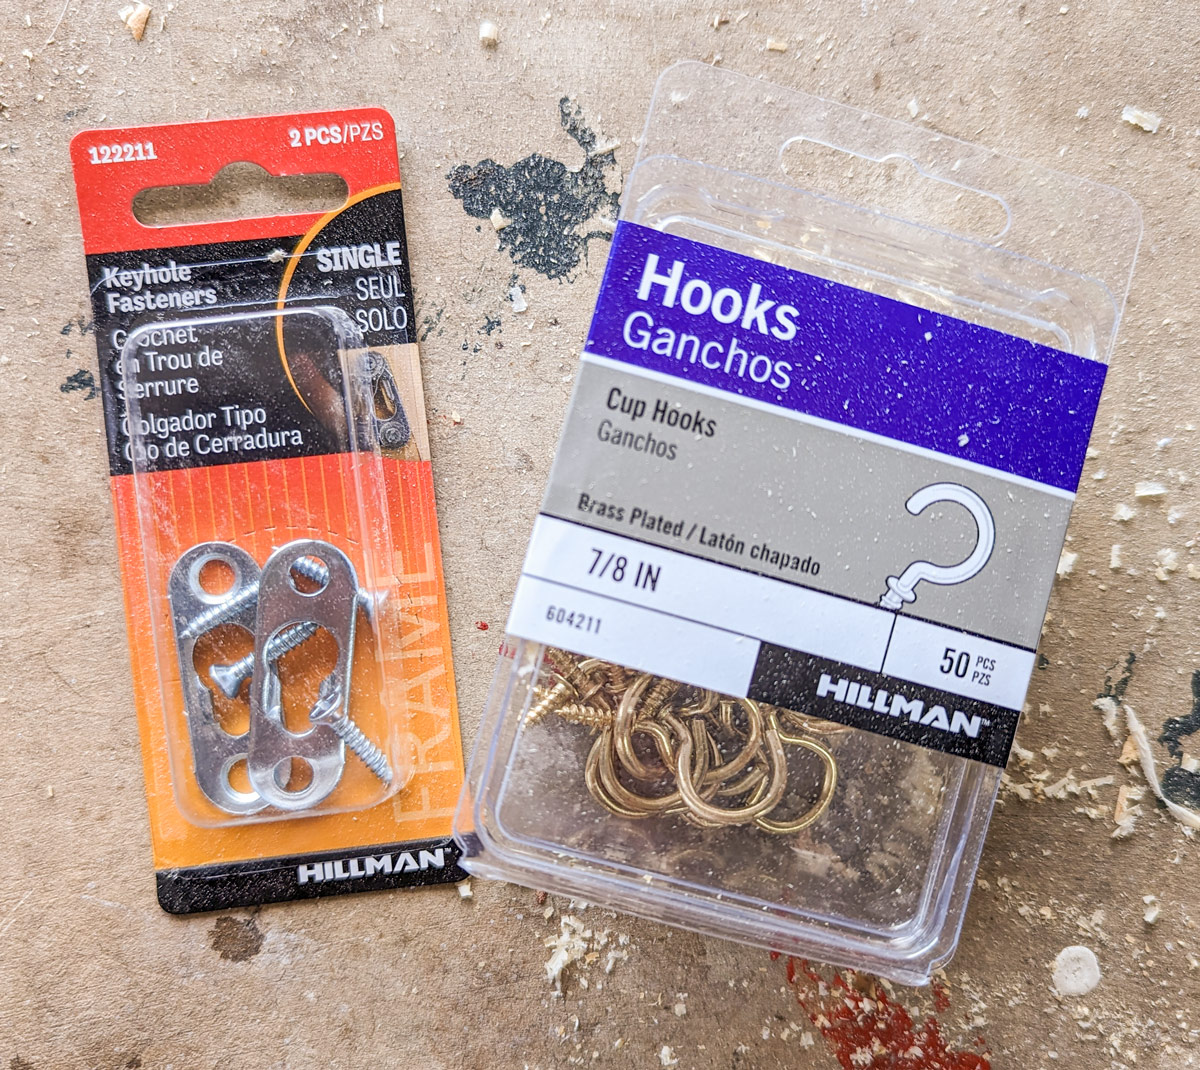
- 7/8-in cup hooks (for necklaces, I used seven total)
- Keyhole fasteners (x2)
- Miter saw
- Drill/Impact Driver
- 3-inch wood screws (x2)
- Sander
- Planer
- Flush cut saw
- Wood glue
- Ruler and speed square
- Stain (if needed)
- Poly
- Nails or screws for mounting
- Safety gear
How-to:
Step 1:
This is going to be another project that you can completely customize. I’ll be using my dimensions, but you can make this any size you need.
I started off with two 2x4x2 from Lowe’s. You can grab a 4ft board, but they were out of stock so I bought two 2ft boards. I went ahead and did some sanding and planing before getting started.
I decided not to cut them down any further since I liked the 2ft length. I used my miter saw to cut 30-degree angles on each of the ends. You’ll need to chop a little off from the board you use as the bottom piece so the triangle will look “even”. Cut one angle about 1.5 inches in to achieve this.
Step 2:
Next, we’re going to sand again. Get all the splinters off of your boards and smooth out any plane lines.
Using some wood glue, I glued my jewelry organizer together to form the triangle. Make sure the end grain from the top piece is facing down because we don’t want it to look weird on the side. I let this dry overnight.
Step 3:
I predrilled some screw holes with a 1/8-inch bit to create pilot holes for my screws. I used 3-inch long wood screws to secure my two boards together.
I sanded everything off again to get rid of any splinters from drilling and to remove dried glue that smooshed out.
If you’d like to paint or stain your jewelry organizer, now is the time. I was going to leave mine natural, but it was looking unfinished so I went ahead and stained mine in ‘Early American’ by Minwax.
Step 4:
Time to size and cut the dowels. I wanted them to mimic the shape of the triangle and gradually get longer as they went down. Make them as long as you need to fit your jewelry. I eyeballed everything. I used a flush cut saw to cut them.
After they were cut, I gave them a light sanding on their ends then stained them in ‘Red Mahogany’.
When the stain is dry, coat your piece in poly and follow the instructions on the label.
Step 5:
Drilling the holes for the dowels was easily the most time-consuming part. I suggest getting a drill guide to help your drill go in straight otherwise you’ll have to shape your holes repeatedly to make sure the dowels are parallel with the base. Also, be sure to use a drill bit that is the same width as the dowels you use. I’m using 3/8" dowels, so I used a 3/8" bit to drill the holes.
A trick that might help is using one of the scrap off-cuts from step one. They’ll be 30 degrees as well and you can use a drill guide in conjunction with one to make sure the angle of the drill is correct.
Anyway, after drilling I made sure all of the dowels went in and were sitting how I wanted them to. Then, I took some (a lot of) wood glue and filled the holes then slid the dowels into each. I used a mallet and my drill to hold them in place while the glue dried.
Wait 24 hours to really let that glue cure. You can use wood filler for any gaps from the drill.
Step 6:
Now it’s time to add the keyhole fasteners to the back of the piece. I placed one near the top of the triangle and the second one directly under it on the base. I predrilled holes for the screws to avoid splitting the wood.
You might find that your keyhole fastener is too big to fit on one of your boards. Feel free to drill an inch or so into the board with a large-ish bit so that a nail or screw can fit inside. I had to do this on the bottom board- the fastener was just too tall. I used a 5/8-inch bit.
You can skip keyhole fasteners altogether and drill holes on the top and bottom instead if you prefer.
Step 7:
The last building step is adding the cup hooks along the bottom. Predrill small holes to make screwing these in by hand a ton easier. I used a 1/16-inch bit to predrill small holes for the cup hooks. I drew a straight line down the middle of the base so I could evenly space them. A 2x4 is actually 1.5x3.5 so the center would be 1.75 inches in.
I spaced them as evenly as I could and was able to fit seven hooks. Add or subtract as many as you need.
Step 8:
Once everything is dry and all together, it’s time to hang! I used two nails with wider heads to fit into the keyhole fasteners.
Place nails into the mounts (keyhole fasteners and/or holes) on your jewelry holder and hold them in place and press them against the wall. You can use this as a placement guide.
If you’re going to be putting heavy objects on this, I would suggest mounting it into studs or, at the very least, using anchors and screws to hold it up.
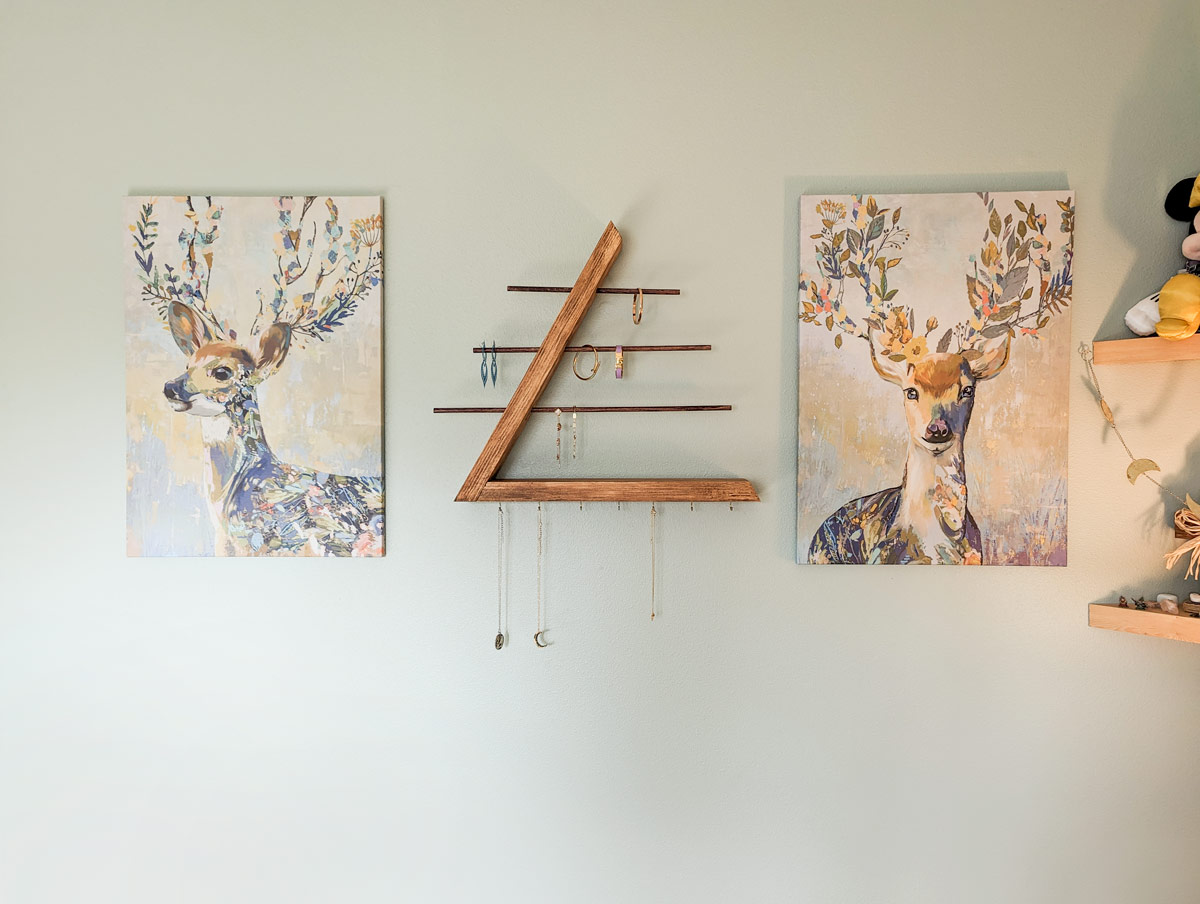
Finished project
Creating a DIY jewelry organizer is not only a fun and creative project, but also a practical solution for keeping your jewelry organized and easily accessible. By following the simple steps outlined in this guide, you can create a unique and personalized jewelry storage solution that fits your specific needs and style preferences. Not only will this save you time and frustration in the morning rush, but it will also help to prolong the life of your jewelry by keeping it organized and protected. So why wait? Get started on your DIY jewelry organizer today and enjoy the benefits of a clutter-free and stylish space!
Now all that’s left is to fill it with treasures!
