I don’t know if this is common among men, or if I have a weird sample group, but both my husband and my grandfather like to have their pants out and ready to go at a moment’s notice. My grandfather has always hung his slacks on a dining room chair and my husband keeps his pants on a chest by his bedside. I don’t know why they have an aversion to drawers, but I’ve stopped putting them away as they always end up back on that chest.
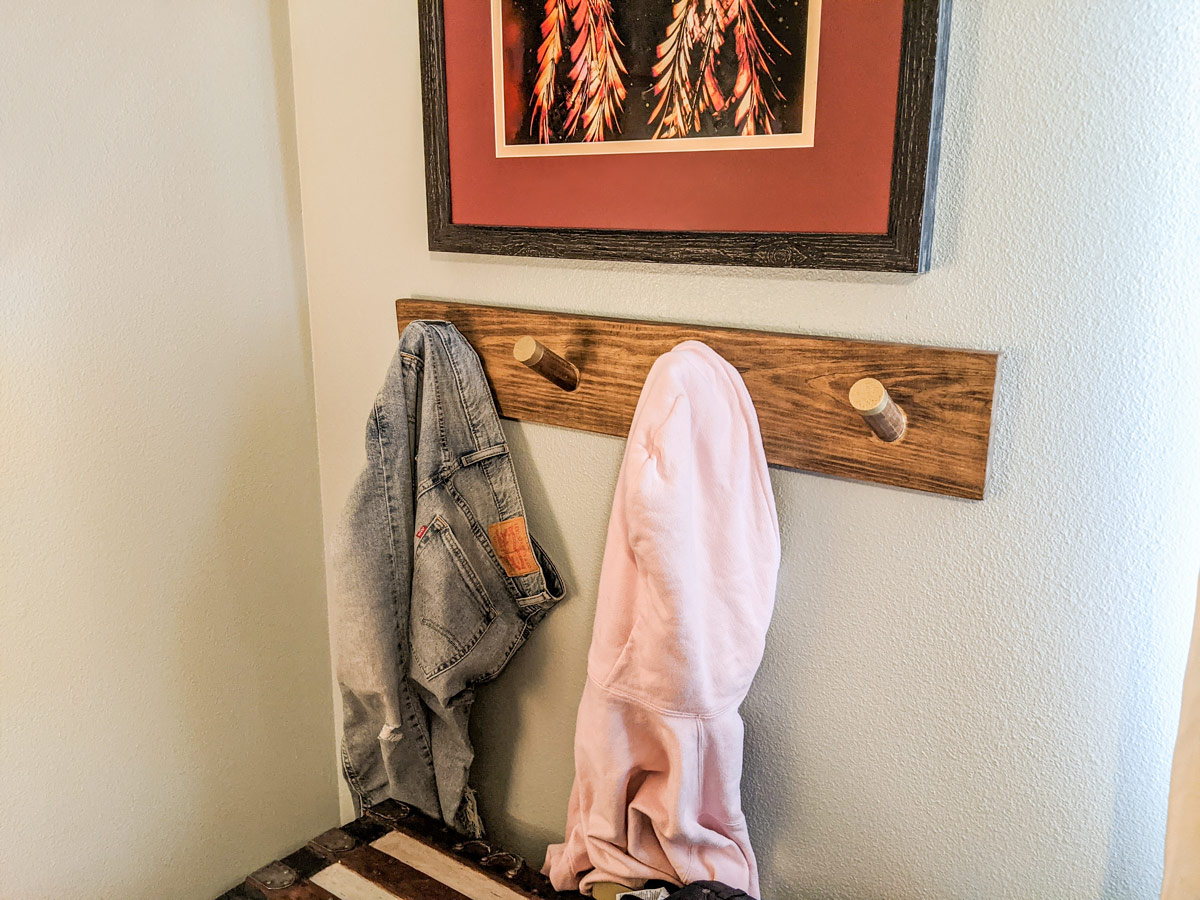
So recently, my husband asked me to build him a pant rack to hang his aforementioned pants and eliminate the small pile on the chest. Okay, I thought, I can make something simple and I do like making things. I also really like things on the walls, so I guess pants are as good as anything.
I made this entire project with scraps, so dig around in your wood bins and see what you have laying around. I was lucky enough to have a long, thin board and thick dowel rods in my scrap pile. The rest is a saw, drill, screws, glue, and stain. I build this in an afternoon, so it should be a quick project as well.
While I’m using this for pants and a singular hoodie in my bedroom, you could also use this in an entryway for actual coats or hats. Be sure to hang onto studs and use appropriate hardware if you’re planning on putting anything heavy on it like a full backpack.
Supplies:
- 1x6 board
- 1.25" dowels
- Miter saw
- Drill
- 7/64" drill bit
- 1.25" screws #8
- Sawtooth hangers x2
- Wood glue
- Painters tape (optional)
- Stain and/or paint
- Shop rags
- Safety glasses, earmuffs, and gloves
How-to:
Okay, this will be short and sweet.
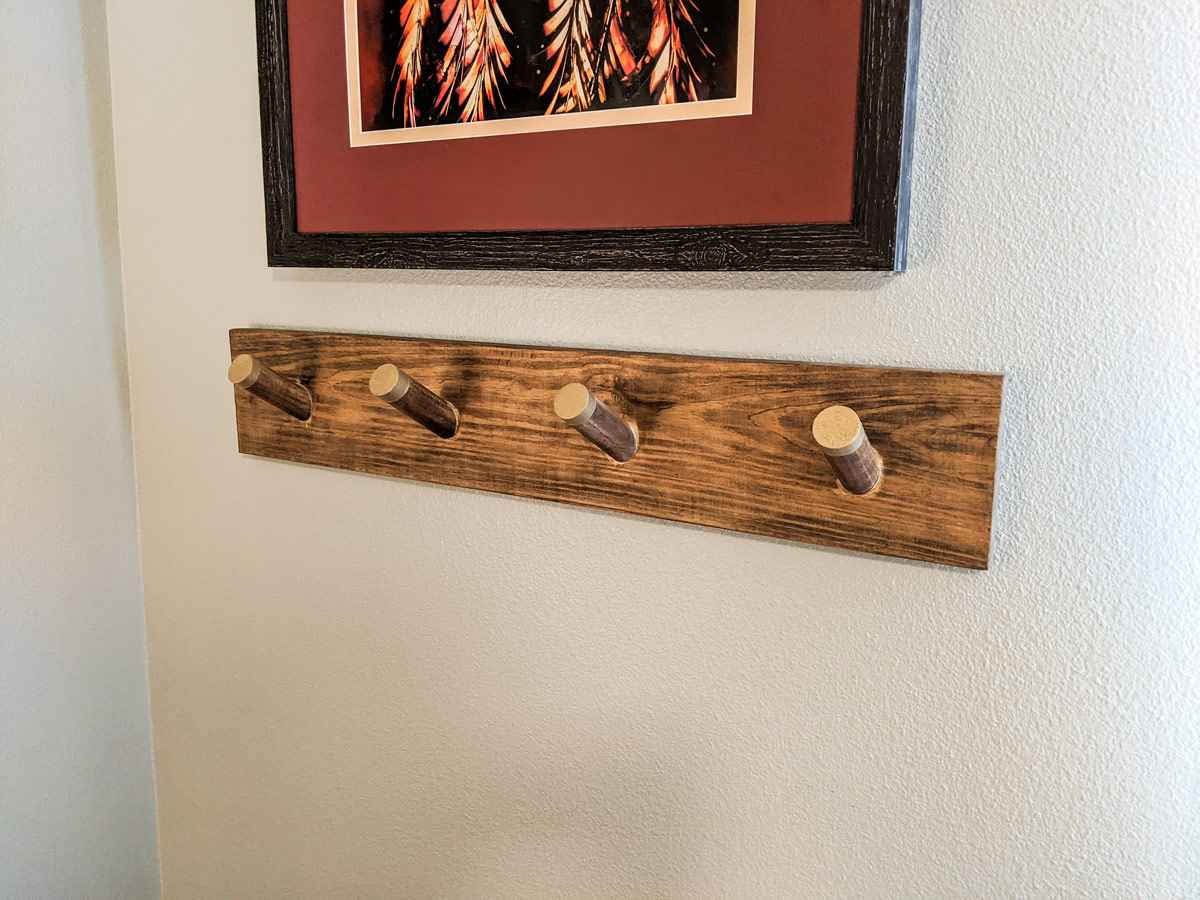
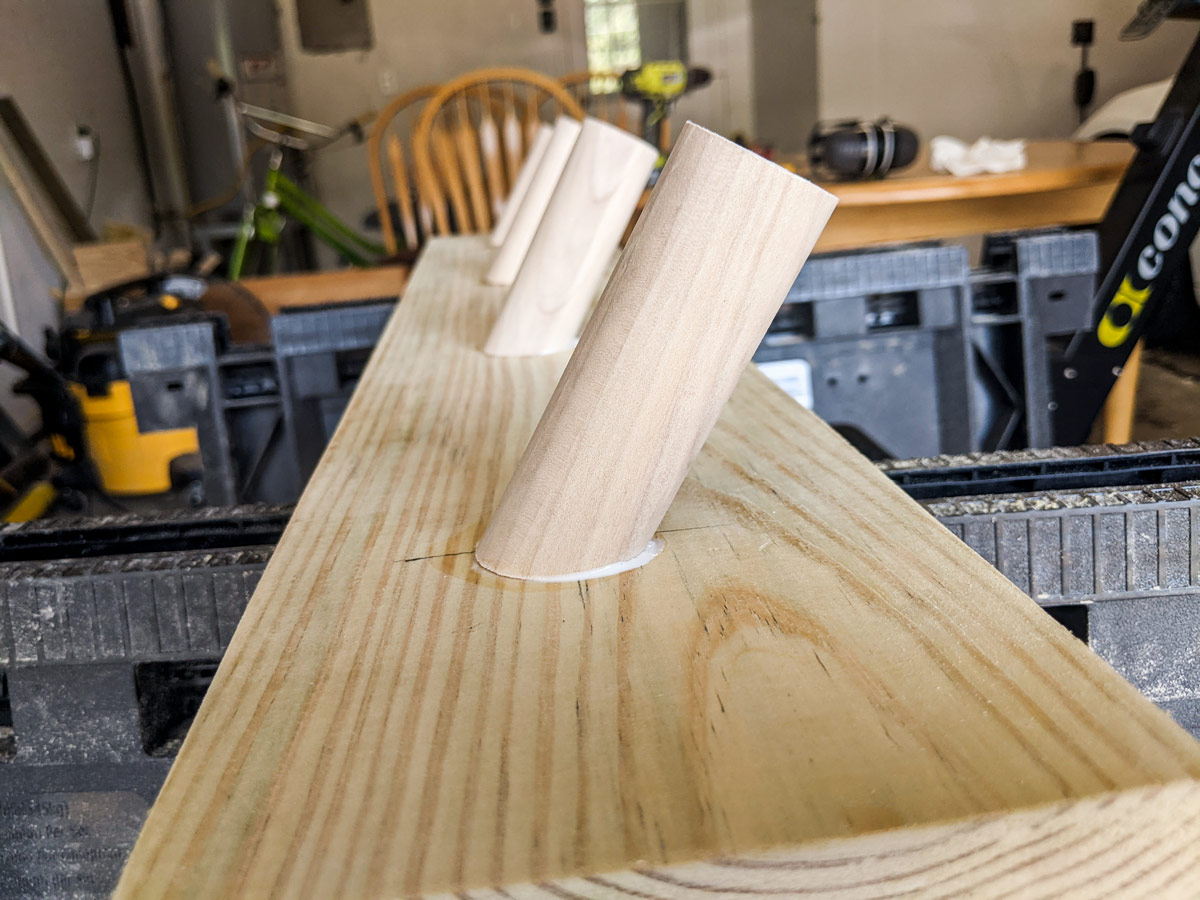
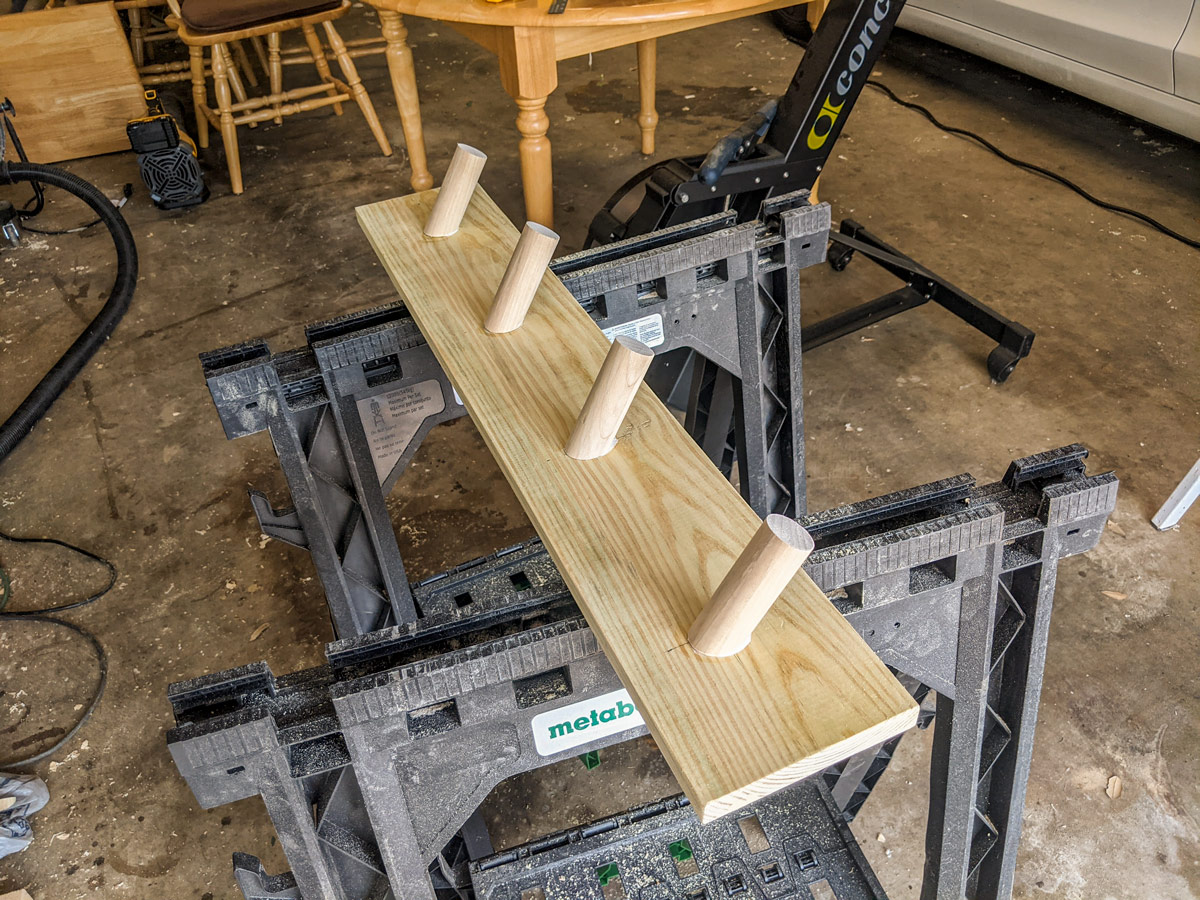
Cut your 1x6 to 32 inches. The dowels I cut into 4-inch pegs then cut one end at a 30-degree angle.
Next, we need to mark where the pegs will be drilled into the board. I drew a line across the middle and marked 4-inches in for my first peg then spaced them 8-inches apart.

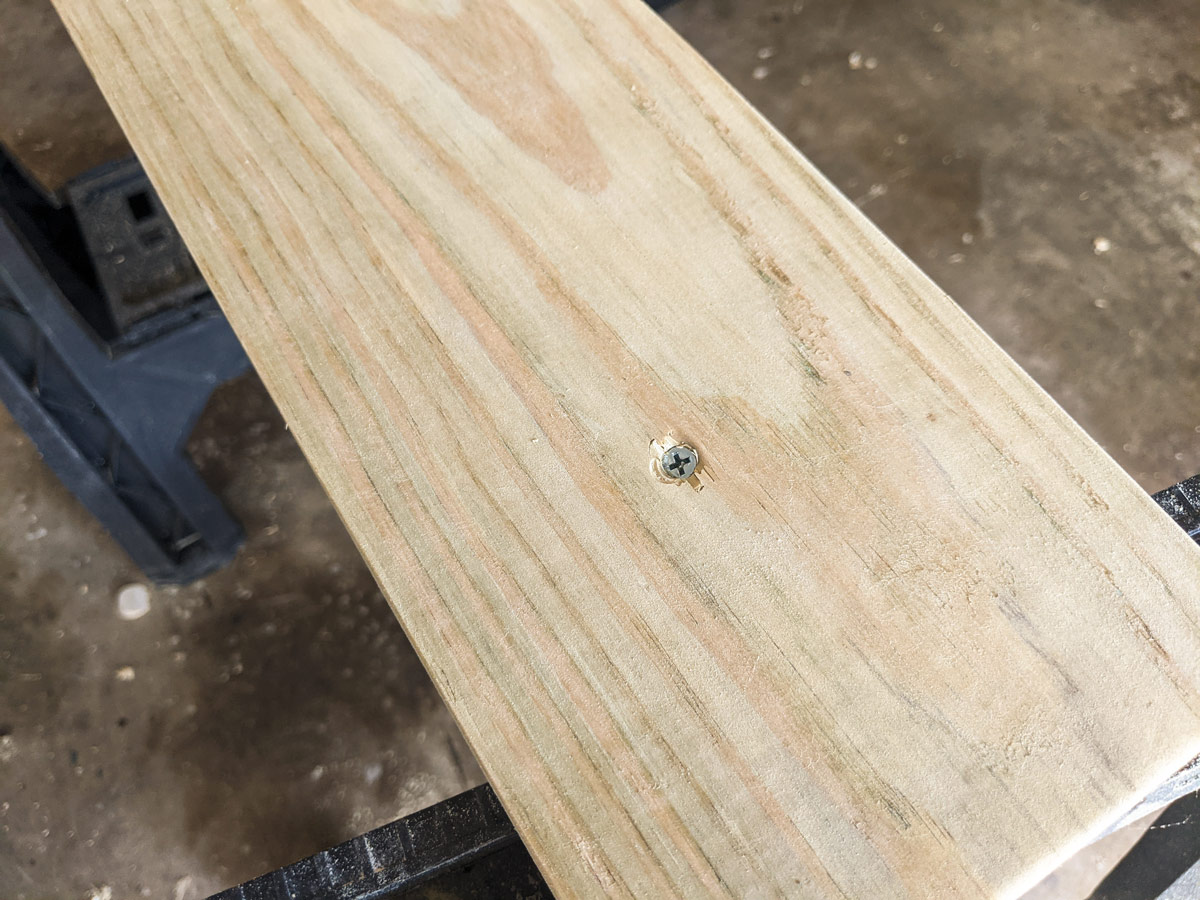
I drilled pilot holes through these four spots using a 7/64" bit since I used #8 screws.
Then, I glued the dowels in place over the holes I just made. I let the glue set for one hour before flipping the whole thing over and redrilling through those pilot holes and into the dowels through the back. I drilled at an angle since the dowels are at an angle and I didn’t want the screws to poke through the wood.
The screws went in pretty well and at the angle I needed them. No split wood or screws poking through. I also over-drilled them into the wood so that the board would lay flat against the wall. This isn’t really a technique and just something I did. A pocket hole might work well here, but I went with brute force.

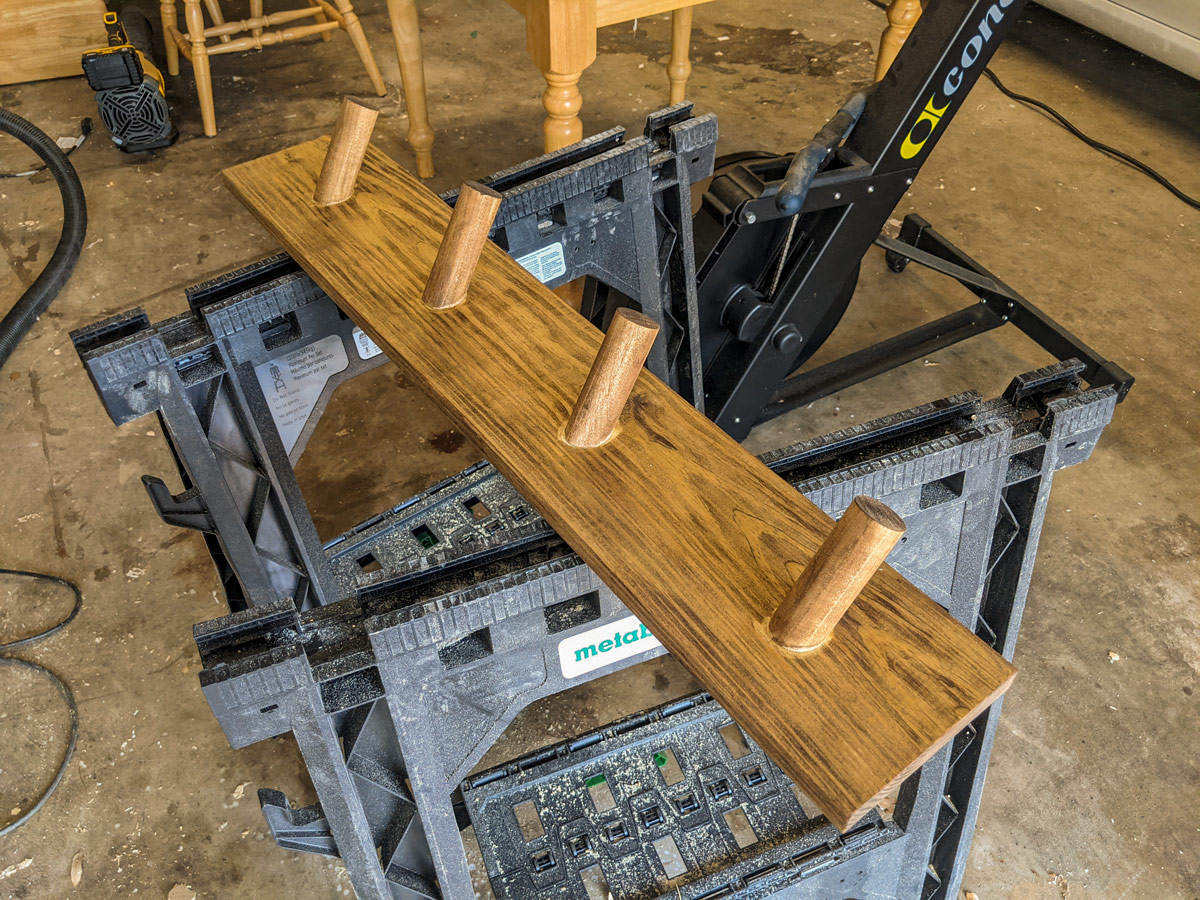
Now that the pegs are securely attached, it’s time to stain. I went with ‘red chestnut’ by Minwax, but go with whatever you’d like. You can also paint it, of course. I stained both sides using a shop rag so the stain went on thin and dried quickly.
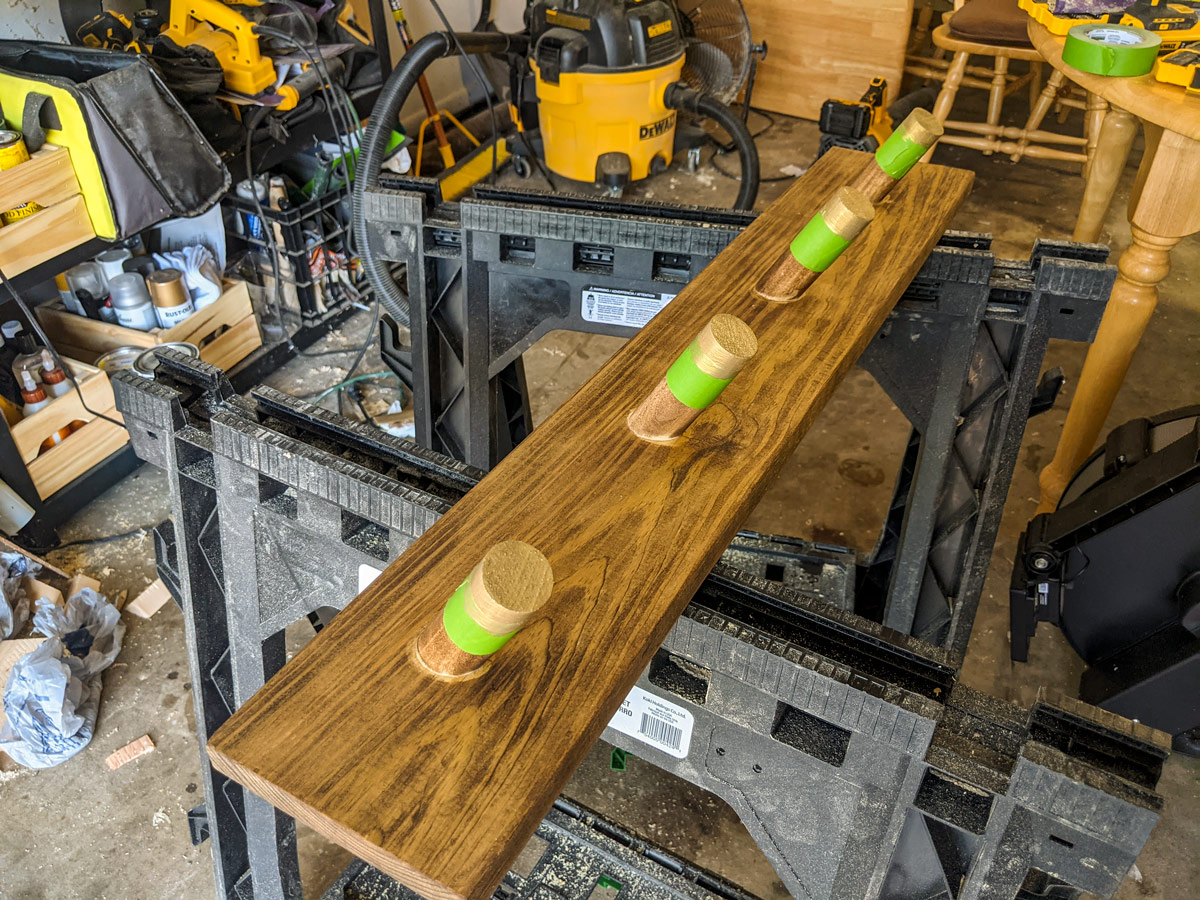
I also wanted to be a little extra. Once the stain was dry, I marked 3/4" down the pegs with painter’s tape and painted the tips gold. I always pick gold with stain and I don’t know why because you can’t really see it. Either way, I think painting the ends of the dowels tidies them up and will help protect the clothes hanging on them.

Anyway, it’s time to add the hardware. I used two sawtooth hangers. Flipping it back over, I used a ruler and drew a line 1" down from the top. I just liked the ruler up with the edge and drew across the bottom for this, no actual measuring. I used this line to help make my hangers level.

The nails used to attach these are microscopic, so grab a pair of needlenose pliers to hold the nails while you hammer. It makes it 1000x easier and you won’t hit your fingers this way.
Now it’s all done! Time to hang and, well, get to hanging!