I am not a landscape designer by any stretch of the imagination. I am, however, an avid plant enthusiast and Pinterest lurker. Clearly, I’m qualified to spend a bunch of money and design our backyard with only a vision in my head.
Just kidding, I never spend a bunch of money.
Our backyard was a total blank slate. As was our front yard, but we let it die and had to do something with it lest the neighbors start side-eyeing us. The backyard has several wonderful trees (one of the main reasons I bought the house) and healthy grass, but that’s kind of all it had going. It was beautiful, but there was no personal touch to it, and you know how I like that. It’s why I bought an old house that needed updating.
We’ve been here almost 2 years and I’ve always known that I wanted to do a Japanese-inspired garden back there. Maybe not as elaborate as some of the ones I found on Google, but definitely taking themes from those images and incorporating them into the yard.
So this is what we did.
Planning
What’s unfortunate about landscape design is the time it takes to get the results you want. Many plants take a long time to grow and your garden can feel empty while you’re waiting for it to fill out. I know I felt that way when it came to our front yard, but now that most plants are super bushy and full I can finally start seeing the vision come to life.
You have to take all those growth times into account. I’m sure we’re all guilty of planting small plants too close together and then they run out of room once they grow up. Really listen to those tags attached to the plants you buy.
Besides growth time, there are plenty of things to keep in mind when making a landscape design. Always check a plant’s hardiness zone. We’re in zone 8 which means we can plant things rated for zone 8 and down (i.e zone 7, 6, 5, etc.). These zones are your cold hardiness ratings. This means if I get a plant that’s rated for zone 10, I need to keep it in a pot and bring it inside when it gets too cold or keep it in a greenhouse otherwise it won’t make it.
Soil type also plays a big part in what you can and cannot plant. One thing that’s always recommended is getting your soil tested and finding out its pH as well as what kind of chemical makeup you’ve got going on in there. Some plants can be extremely temperamental when it comes to pH which can lead to making some overly complicated fertilizers.
There are a ton of things to consider when it comes to designing your outdoor space. I’ll probably be dedicating an entire blog post to that later. For now, the main thing I wanted to convey was the aesthetic of the space itself. What is the vibe you’re going for? As I said earlier, I’ve been wanting a zen-esque garden to relax in and listen to the rain.
Get ideas from all over and create those mood boards. I’m a creative person, yet I’m not good at design, but the internet sure is.
Drawing
The single best thing you can do is to draw everything out. Is it a pain? Yes. Does it help to have everything to scale? Yes. Can you absolutely drown in math? Yes.
I’m going to let you all in on a secret- I don’t draw to scale. If I was a professional, sure I would. But for my own personal projects? No way, no one has time for that.
Regardless, putting it down on paper is step one. You can place plants before digging any holes and draw landscape edging or decor before buying.
If you’re going to be buying pebbles as we did, then you’ll definitely need to be doing some math which is where a drawing also helps. Writing down all your measurements and where they are is a huge help in keeping everything organized.

Drawing a design plan helps to visualize what you want…or help your partner visualize what you want. Sometimes saying. “I promise it’ll look good!” won’t be enough to convince them. Trust me, I’ve tried.
I am usually right about it, though.
Prepping
Arguably the most time-consuming and least fun step in any project.
I hate prepping.
I hate roasting a butternut squash just to make soup out of it. I hate taping before painting. I hate digging holes before planting.
It sucks, but you have to do it.
Prepping our space meant ripping out grass so the ground would be level and mitigating the risk of it growing through the rocks. This was pretty much the only thing that needed to be done, but it took forever. I’m thankful the weather was so nice.
There are better tools to use, but I had my trusty hori hori knife to help me rip through roots and grass. If you don’t have one, I suggest looking into them because they are great for gardening. They make quick work of weeds or digging a small hole. They also look totally badass.
Creating
Once the grass was (mostly) gone, it was time to start laying landscape fabric. For this project, it was really simple and really quick- just two straight lines of fabric were all we needed.
On top of the rocks I ordered to fill the space, I needed more edging to hold it all in. I bought it at the same place, but since I have a Nissan Cube, I had to make two trips to pick it all up. Needless to say, I made friends with all the guys there. We laid the edging all the way around before the gravel arrived.
Sidenote: I also put a border of regular rocks from the yard all along the underside of the deck. I’m not going to pay an arm and a leg for rocks just to have them get lost under there.
After the landscape fabric was down, I poured and tamped down sand piles to lay pavers onto. I did this about 100 times in the front yard, so I’ve got a good system and can lay them relatively quick. I used one 50lbs bag of sand for every two pavers and that helps keep costs down as well as mitigate waste.
I spread the sand into a square roughly the size of the paver and make another sand square beside it. My pavers ended up being 13in apart. This was fine because they’re more for looks than an actual walkway. The pavers in the front yard are 9.25in apart and are easier to walk on, for reference.
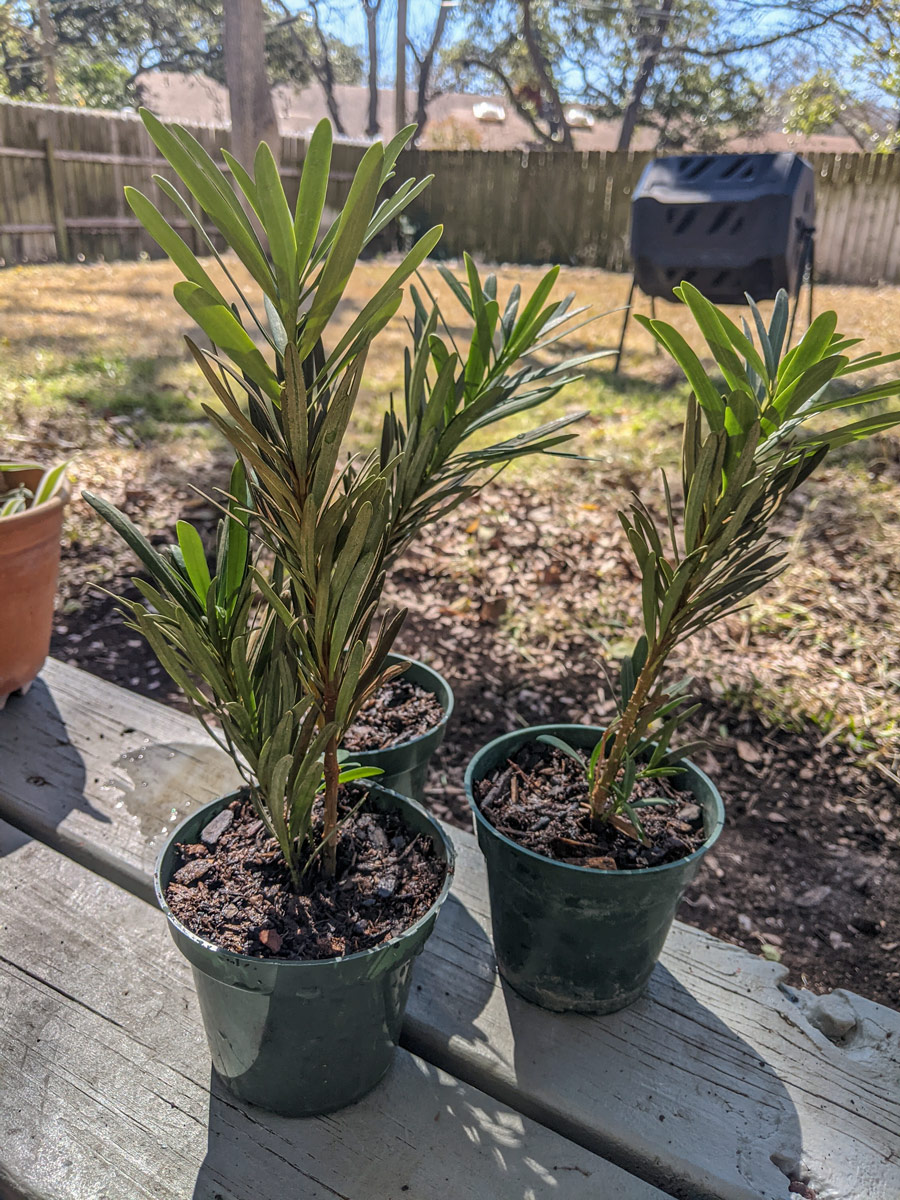
Once the pavers were done, I decided to place and plant the yews. These are Japanese yews and will grow fairly big to help with shade and privacy. You can also prune them as much as you’d like to get a cool bonsai effect. I gave them enough space to grow while, hopefully, gaining some privacy and shade from them once they’re grown. Only time will tell!
Then, it was time for the rocks. As I said, we did all this before in our front yard and are seasoned pros at moving small rocks. It actually really did help having done this before and we had all the rock in place in about a day and a half, which is amazing. That being said, it’s incredibly hard work which is why I wanted to get this project done asap before summer got here.
All you need is a wheelbarrow and a transfer shovel. Then, it’s just scoop, wheel it around, pour, and push it around into place. Do that about 1000 times and you’re done.
We ended up adding rocks into the garden bed under our bedroom window because we had so much extra. That turned out to be a nice surprise since the two beds are next to each other.
When all the black gravel was down, I went back and added some fun, decorative rocks I have. The first time around, I bought some rainbow river rocks and put them around the front yard, but now thought they’d have more purpose in the back. That and I could actually enjoy them! I tossed them around in a random pattern and added some other large rocks for variation.
I plan on getting a nice pot for my gardenia and setting it back where it is now and I also found that cute elephant at Ross. We don’t have really any outdoor decor because I think it can clutter yards quickly, but I do like some non-organic elements like that.
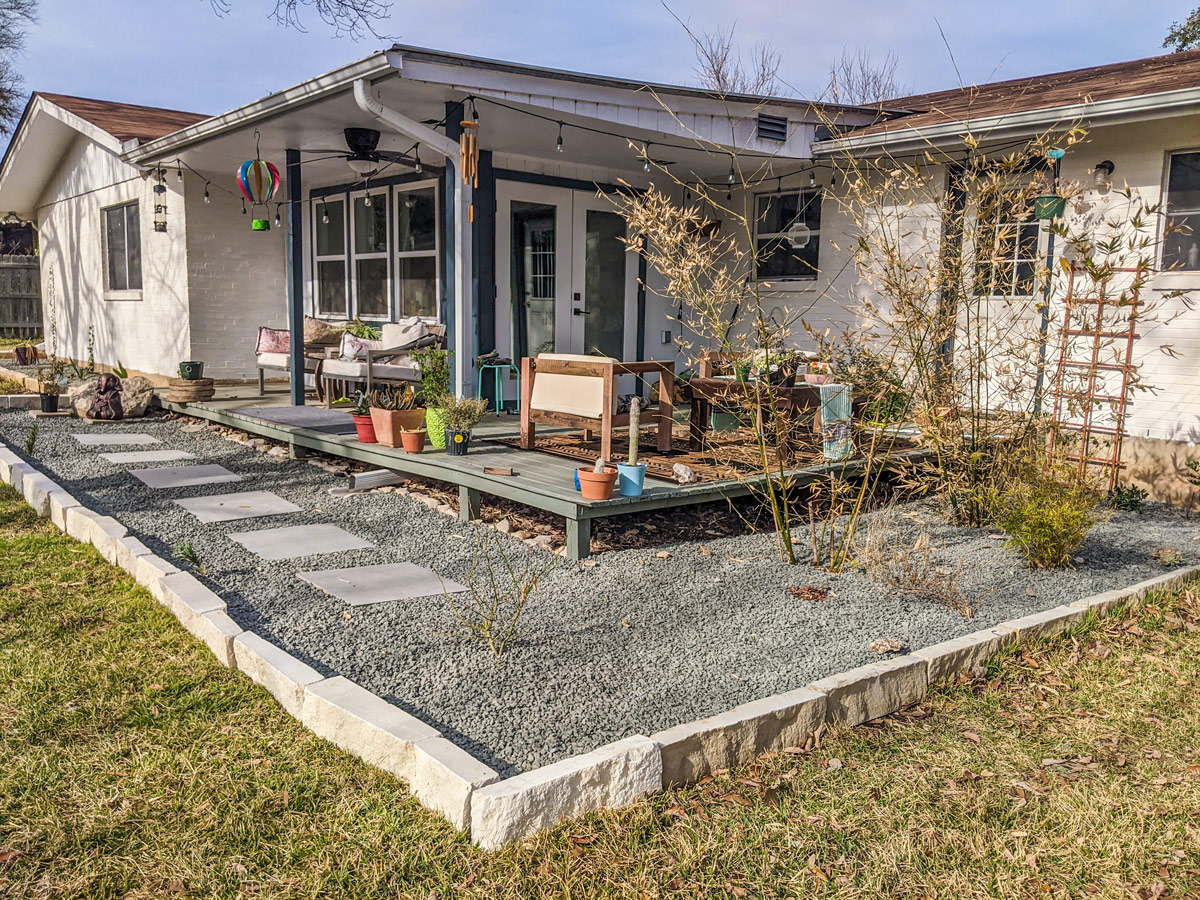
Relaxing
The whole space looks SO good! All the plants, furniture, and bistro lights tie in together so well and make this a fun outdoor space. We have enough seating out here for a couple of guests and can even light up a fire in our Solo Stove.
We have been hanging out back here quite a bit and are really enjoying it now that it has some identity. We’re sitting out here as much as we can before summer (and the mosquitos!) rolls around again.