Ever since I added a stencil to our laundry room door, I’ve been wanting to try it on a larger area. I wanted to start in our bedroom and picked out a stencil that I thought would look good. My husband suggested we also add an accent wall in our sunroom, which I thought was a great idea albeit a little surprising.
Sidenote: I didn’t plan for these posts to go up right after each other. TBH the laundry room door has been done for months and I just got around to blogging about it.
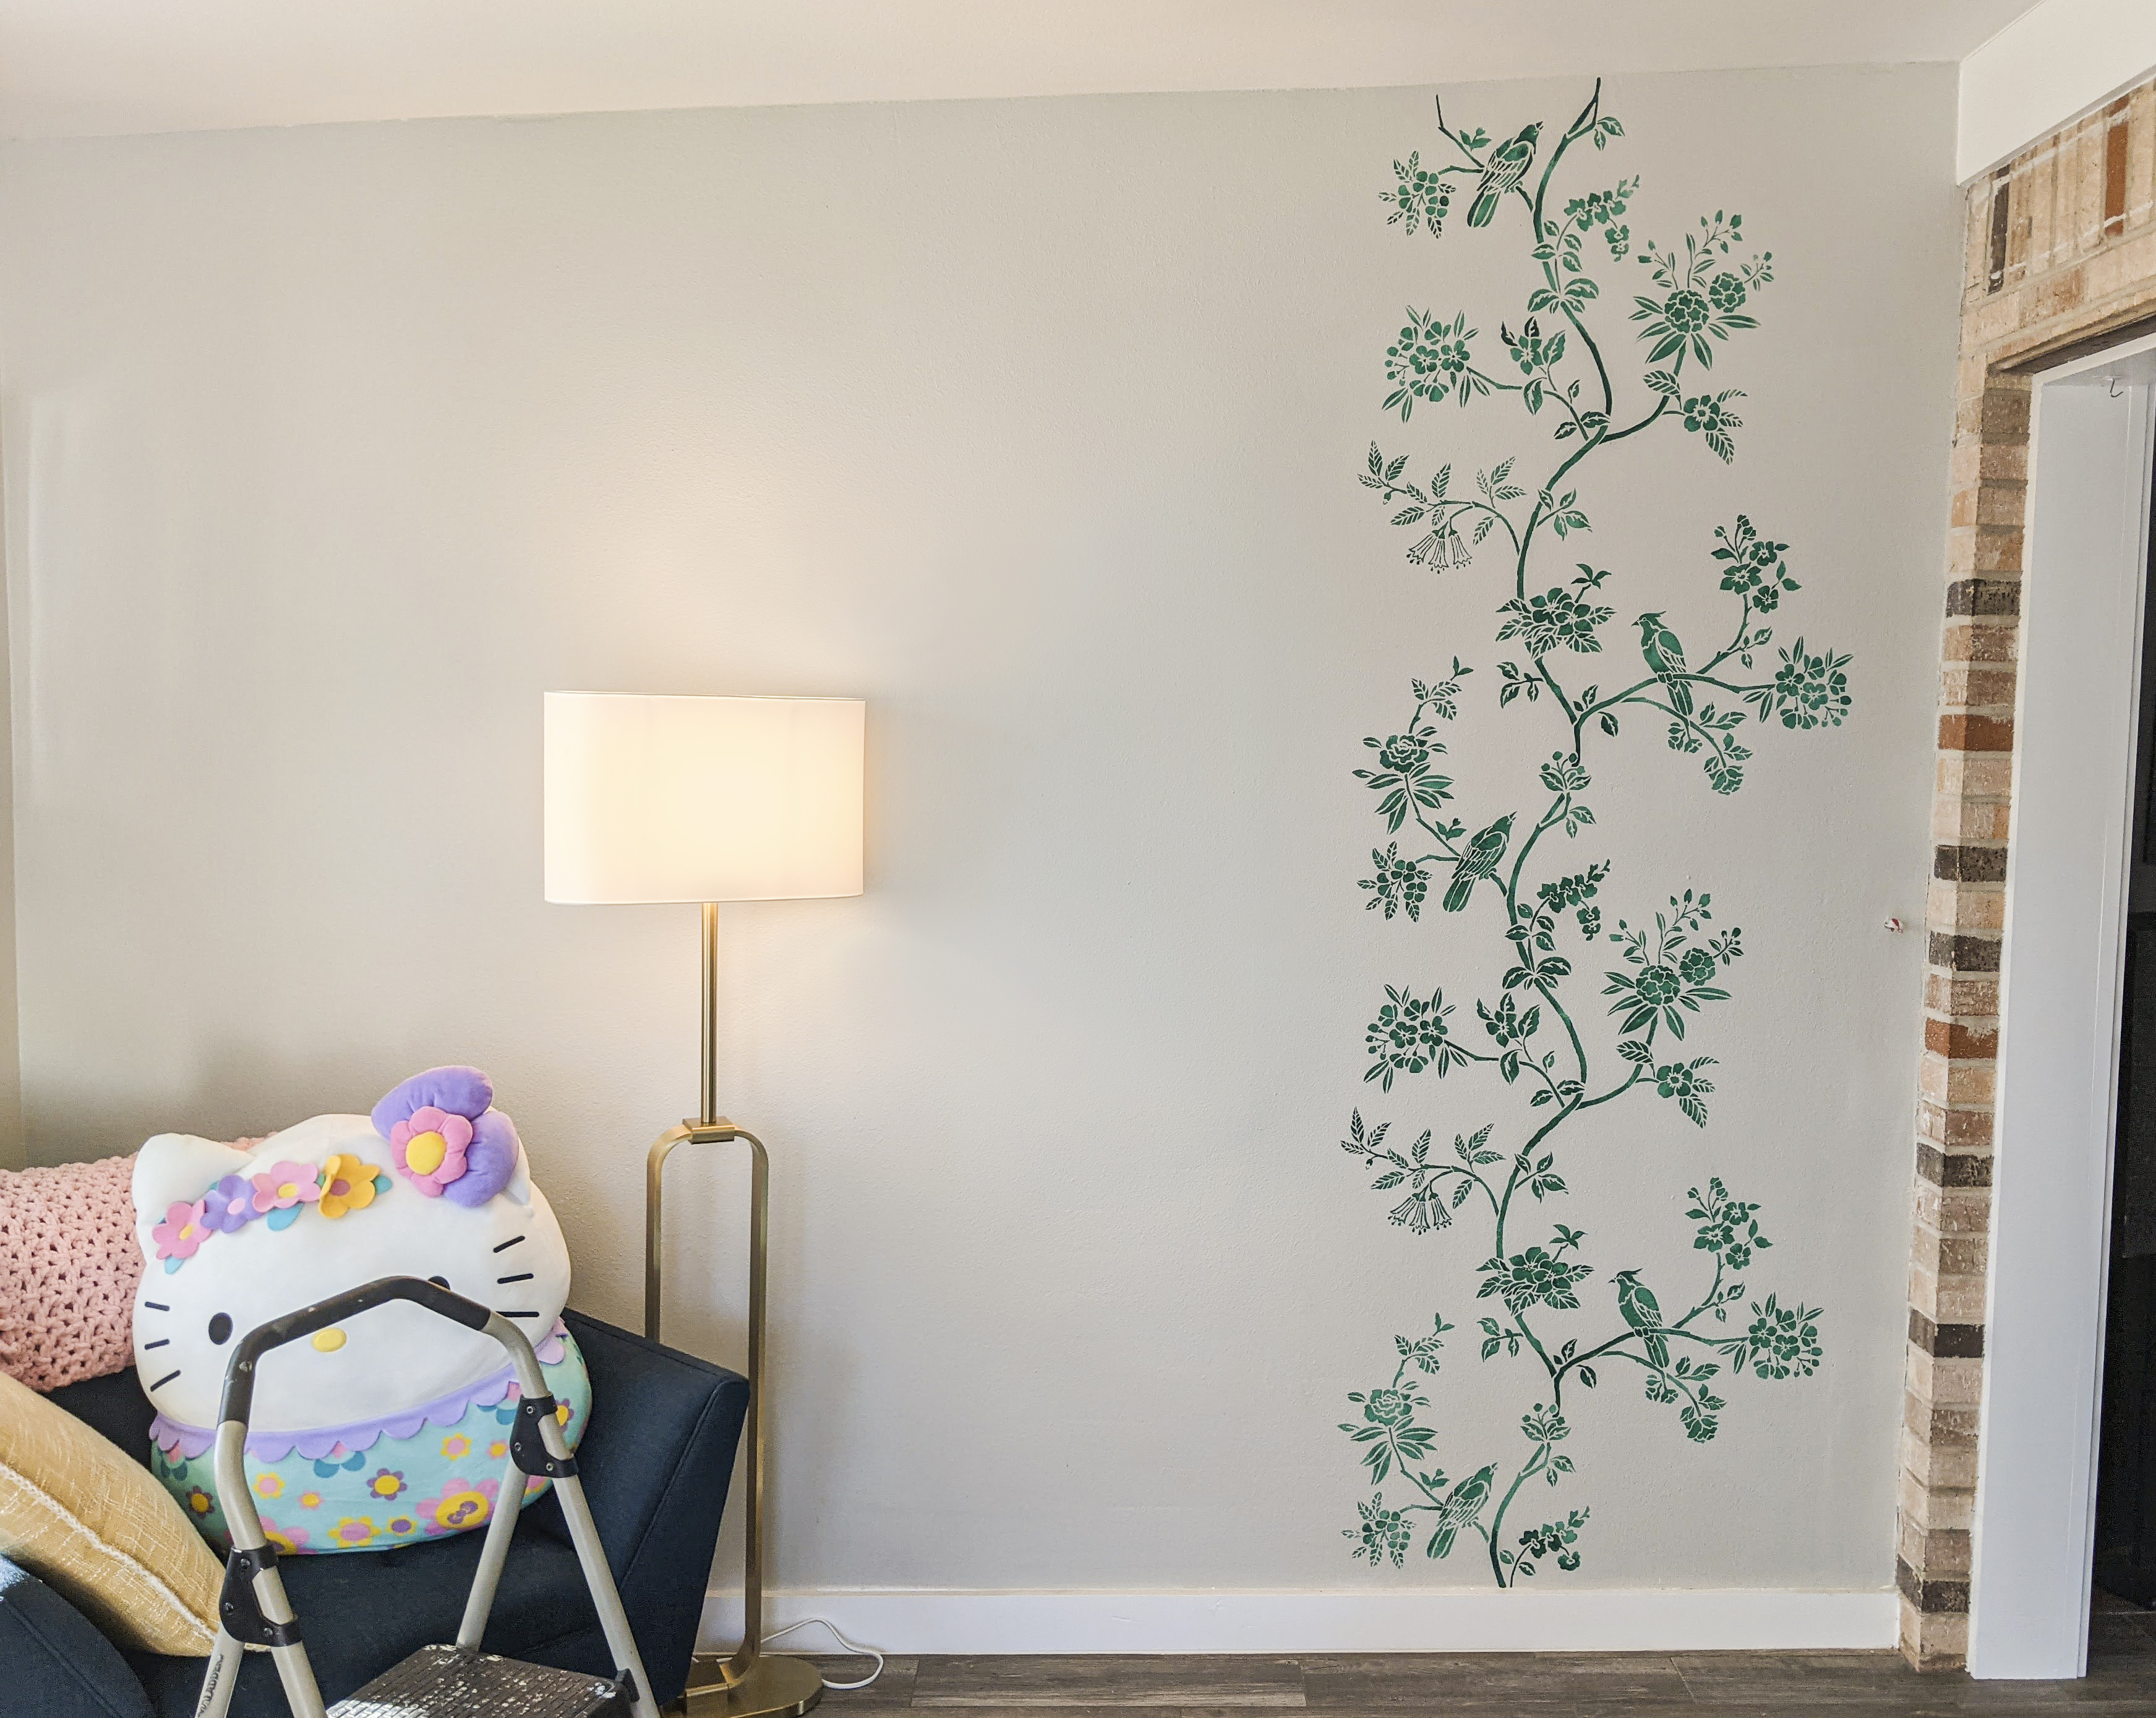
Our sunroom is pretty empty and could definitely use some kind of pop. We have one solid wall in there (the others are windows, doors, and an entryway) that we could do anything with. It’s tough to hang stuff on it because it used to be an exterior wall and right underneath the drywall is brick, which makes nailing difficult. So, we decided to paint it.
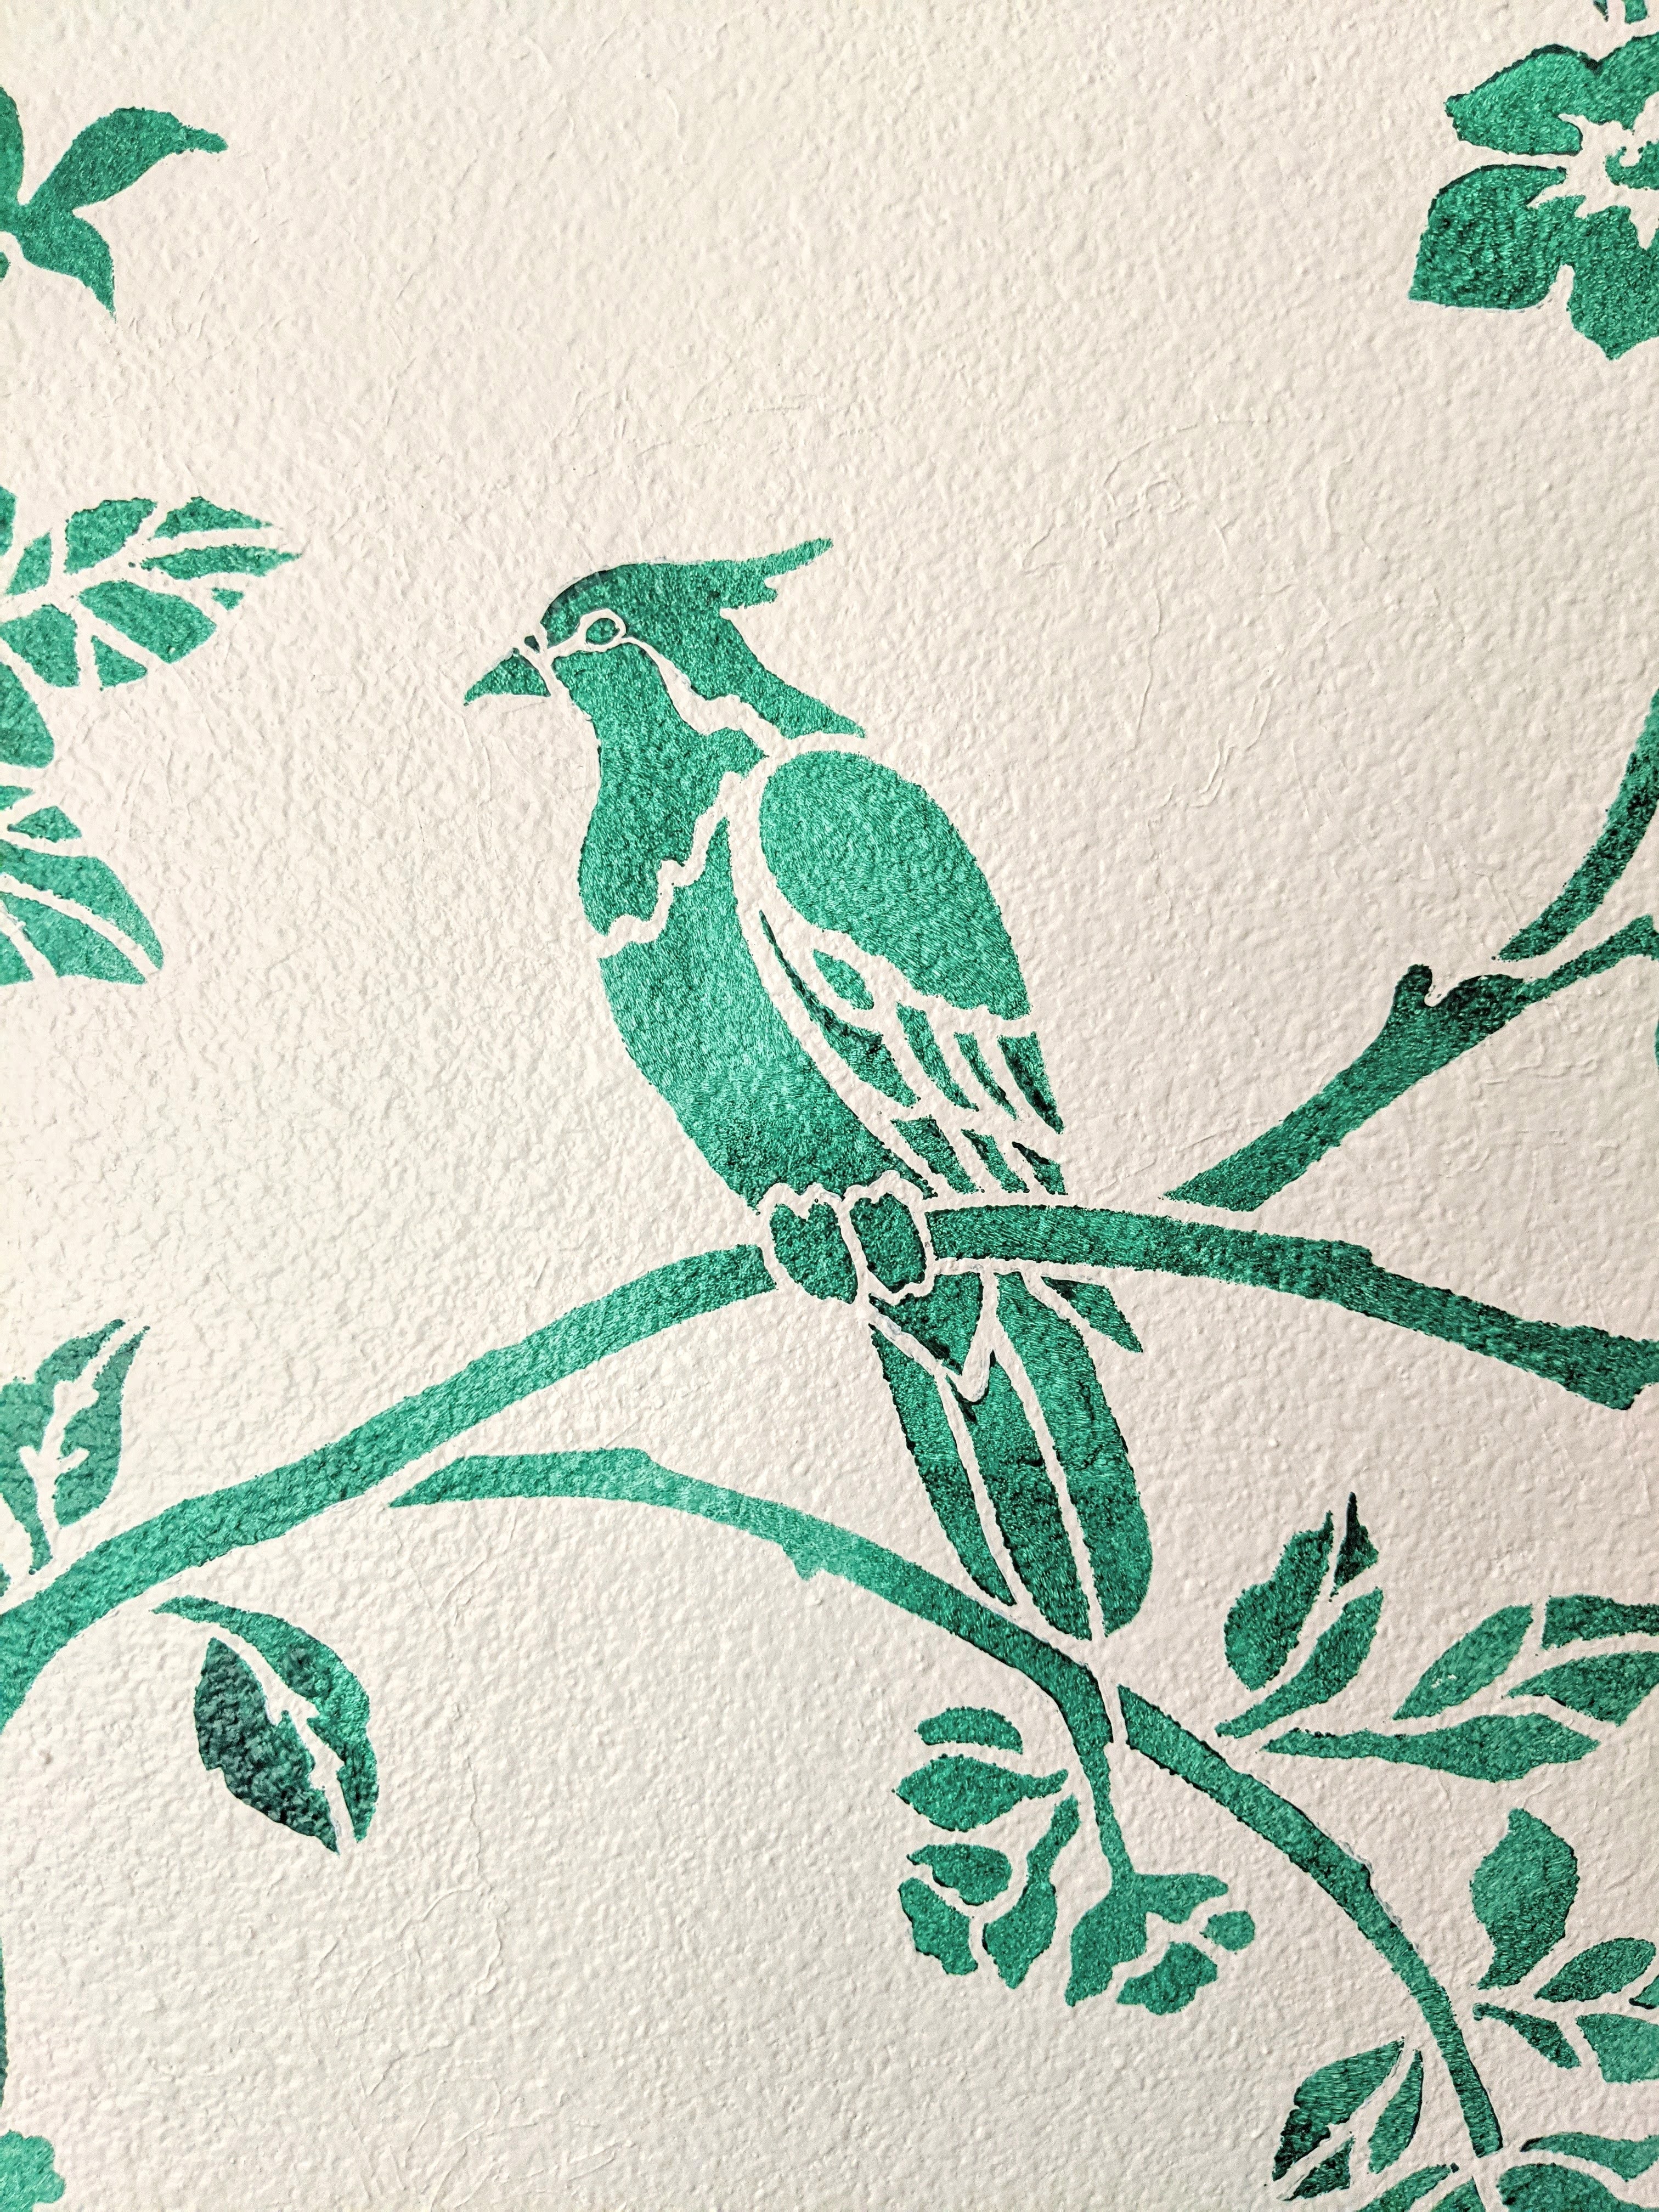
I fell in love with this chinoiserie-style stencil from Cutting Edge Stencils. I absolutely love this sort of print. I bought the large thinking I would only be doing our bedroom wall, so it’s a little big for the sunroom, but I think it’ll still turn out nice.
Supplies
- Stencil
- Paint (I used ‘Ivy League’ from Valspar)
- Foam roller
- Spray adhesive (recommended, but I don’t use it)
- Painter’s tape
Process
This will be very similar to the pocket door I did except I have to move this one around while lining it up for symmetry. A little added difficulty there.
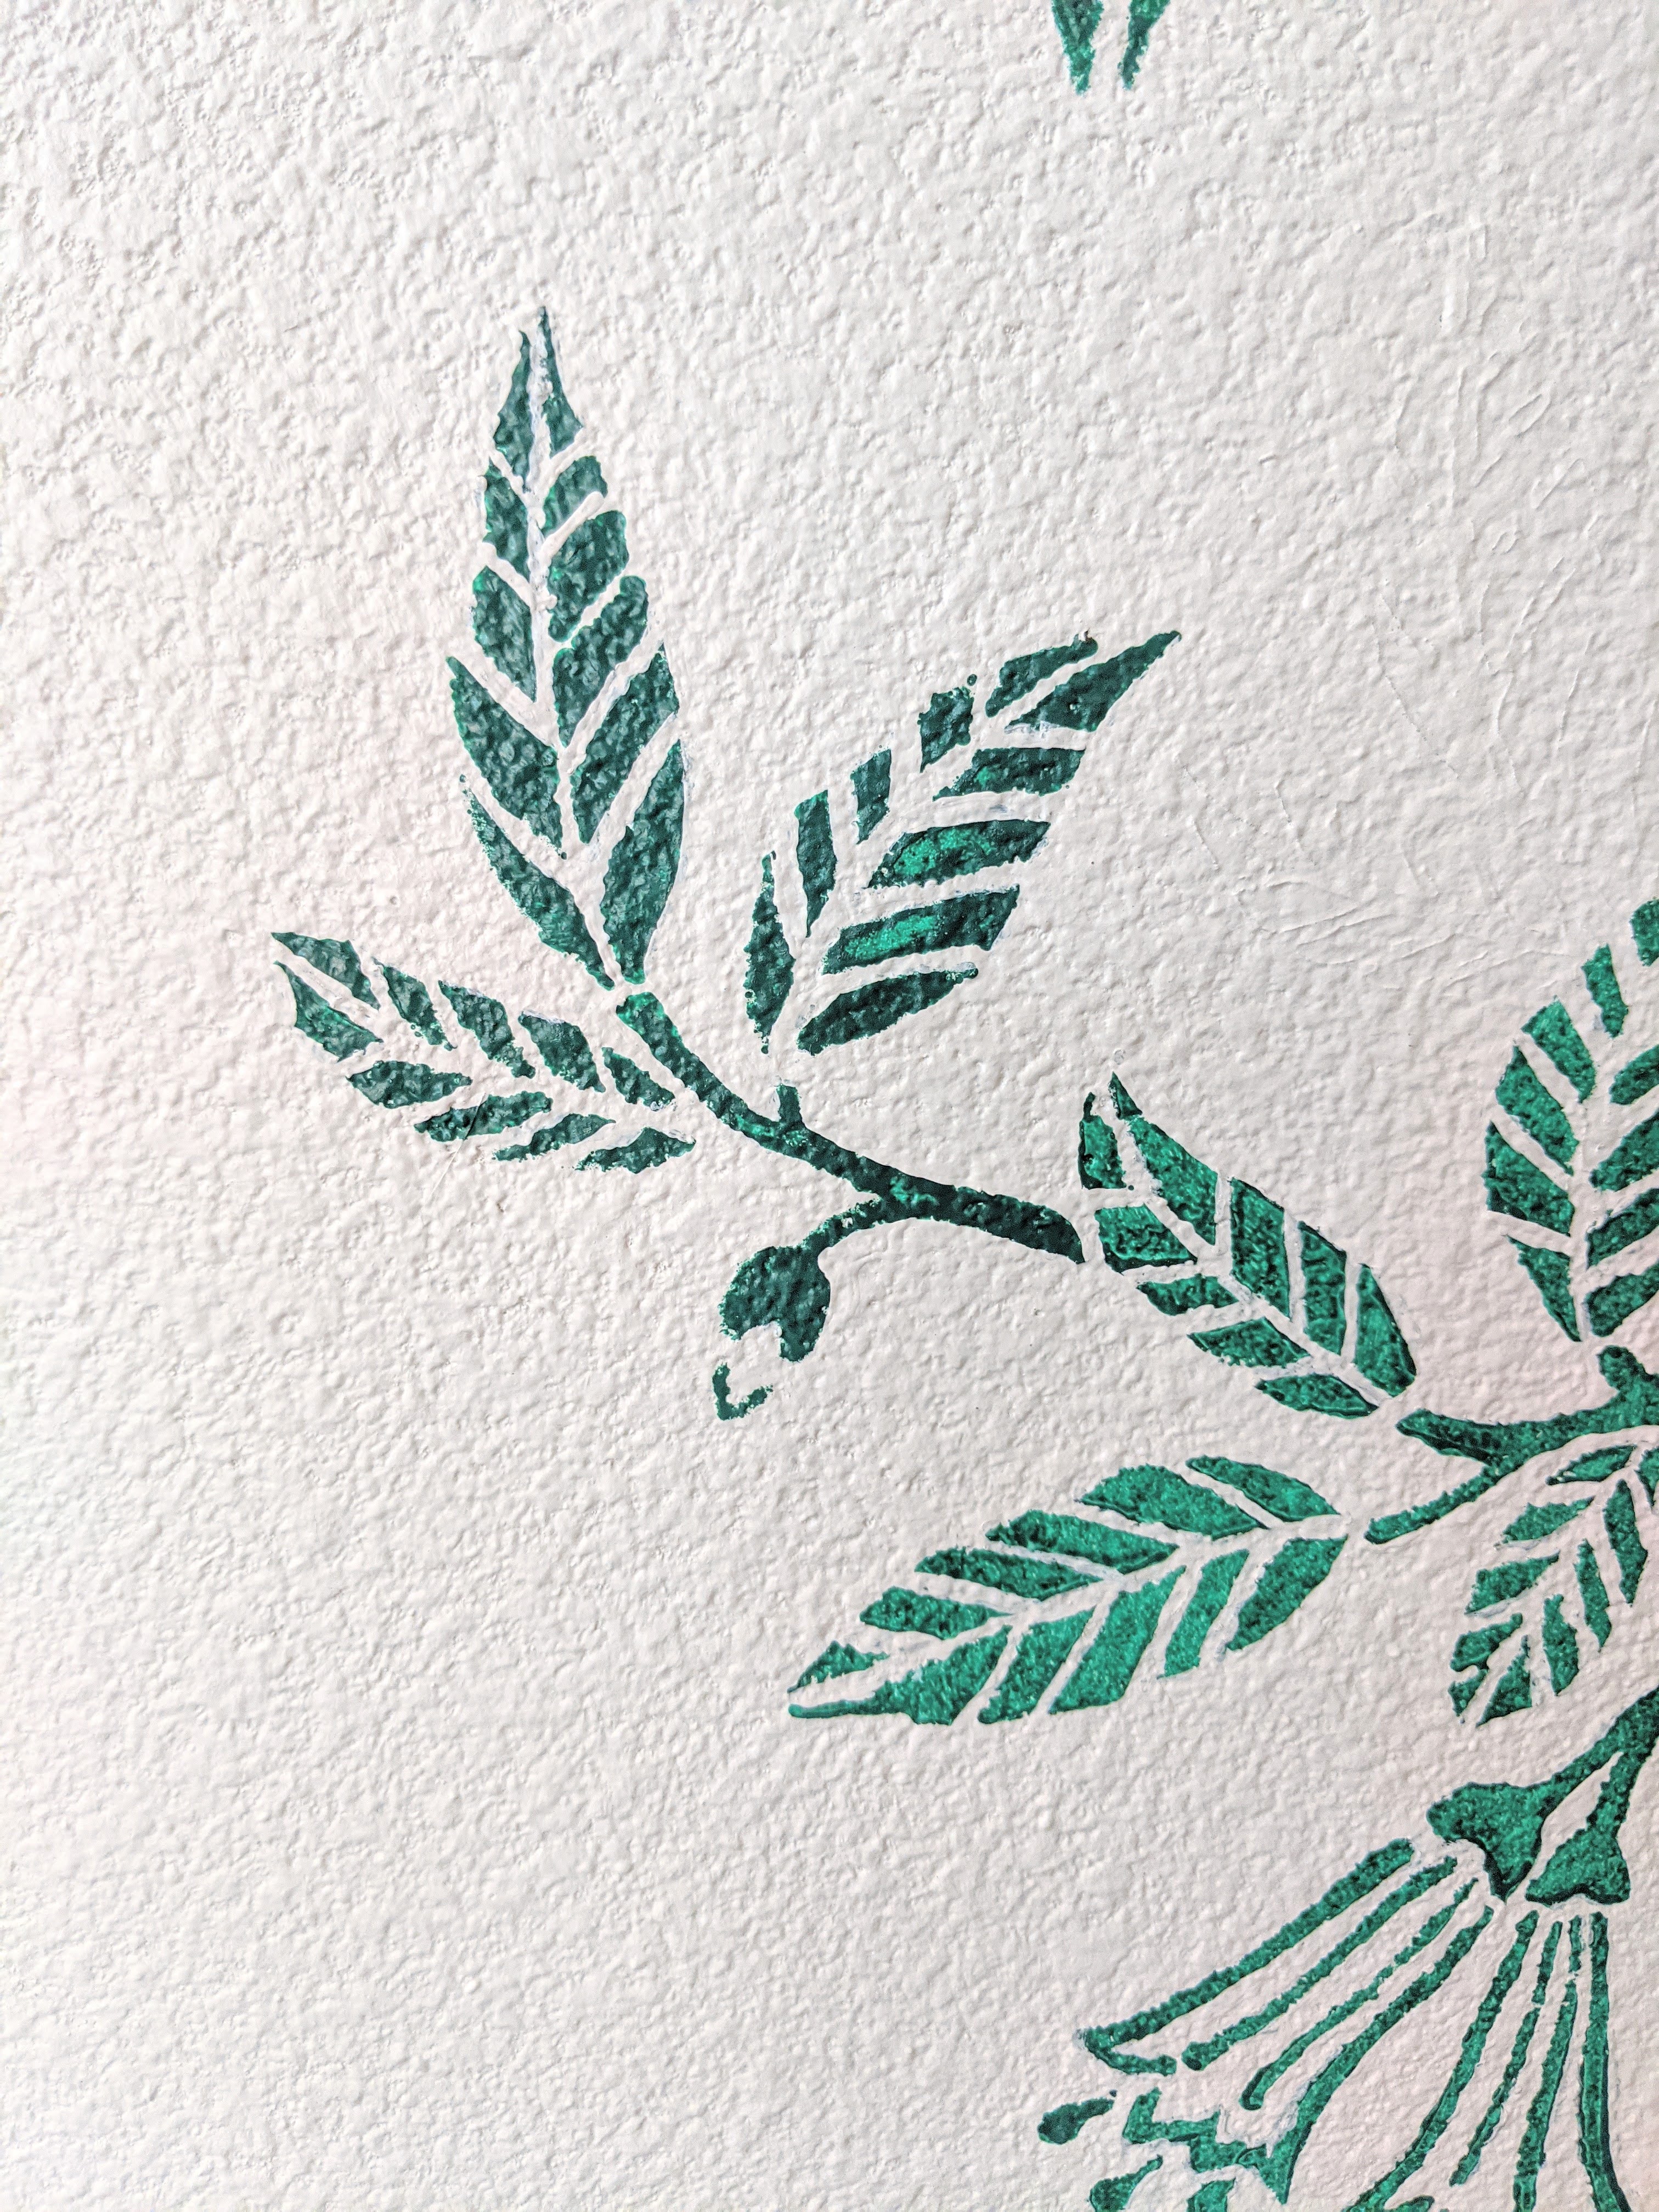
My main advice when stenciling would be to make sure you’re using a foam roller or foam brush. They absorb a lot of your paint, but they apply it so thinly and that helps mitigate bleeding. I got plenty of it with this particular stencil anyway because of the super-thin dividing lines, but there would have been tons more if I had used a traditional brush or roller.
Since the stencil is so large, I decided to start on the edge of the wall and in the middle versus the top or bottom. I wanted to make sure a full print of the stencil was happening at eye level. It created more work for me, so decide how you want your stencil to repeat in a way that works for you.
Getting the stencil level was easy since I could butt it against the corner of the wall. Then, I smoothed it out with my hands and hung it with painter’s tape. It’s also recommended you use a light spray adhesive to help attach to the surface you’re painting on. Do this. You have to get the kind that allows you to remove it and reattach it over and over.
So, full disclosure. My walls are textured and painting an intricate stencil was a huge pain. I didn’t realize how difficult it would be. Our walls aren’t that heavily textured, but I guess it’s enough to wear the stencil won’t lay flat and it causes a lot of bleeding. The laundry room door I did before was easy because it’s completely smooth.
I didn’t take any pictures because it was embarrassing, but my first pass over the stencil was a disaster. None of the details came through. It was just blobs of green paint in vague shapes. I was…upset, to say the least. I had to paint over it with our regular wall color which added time to this project.
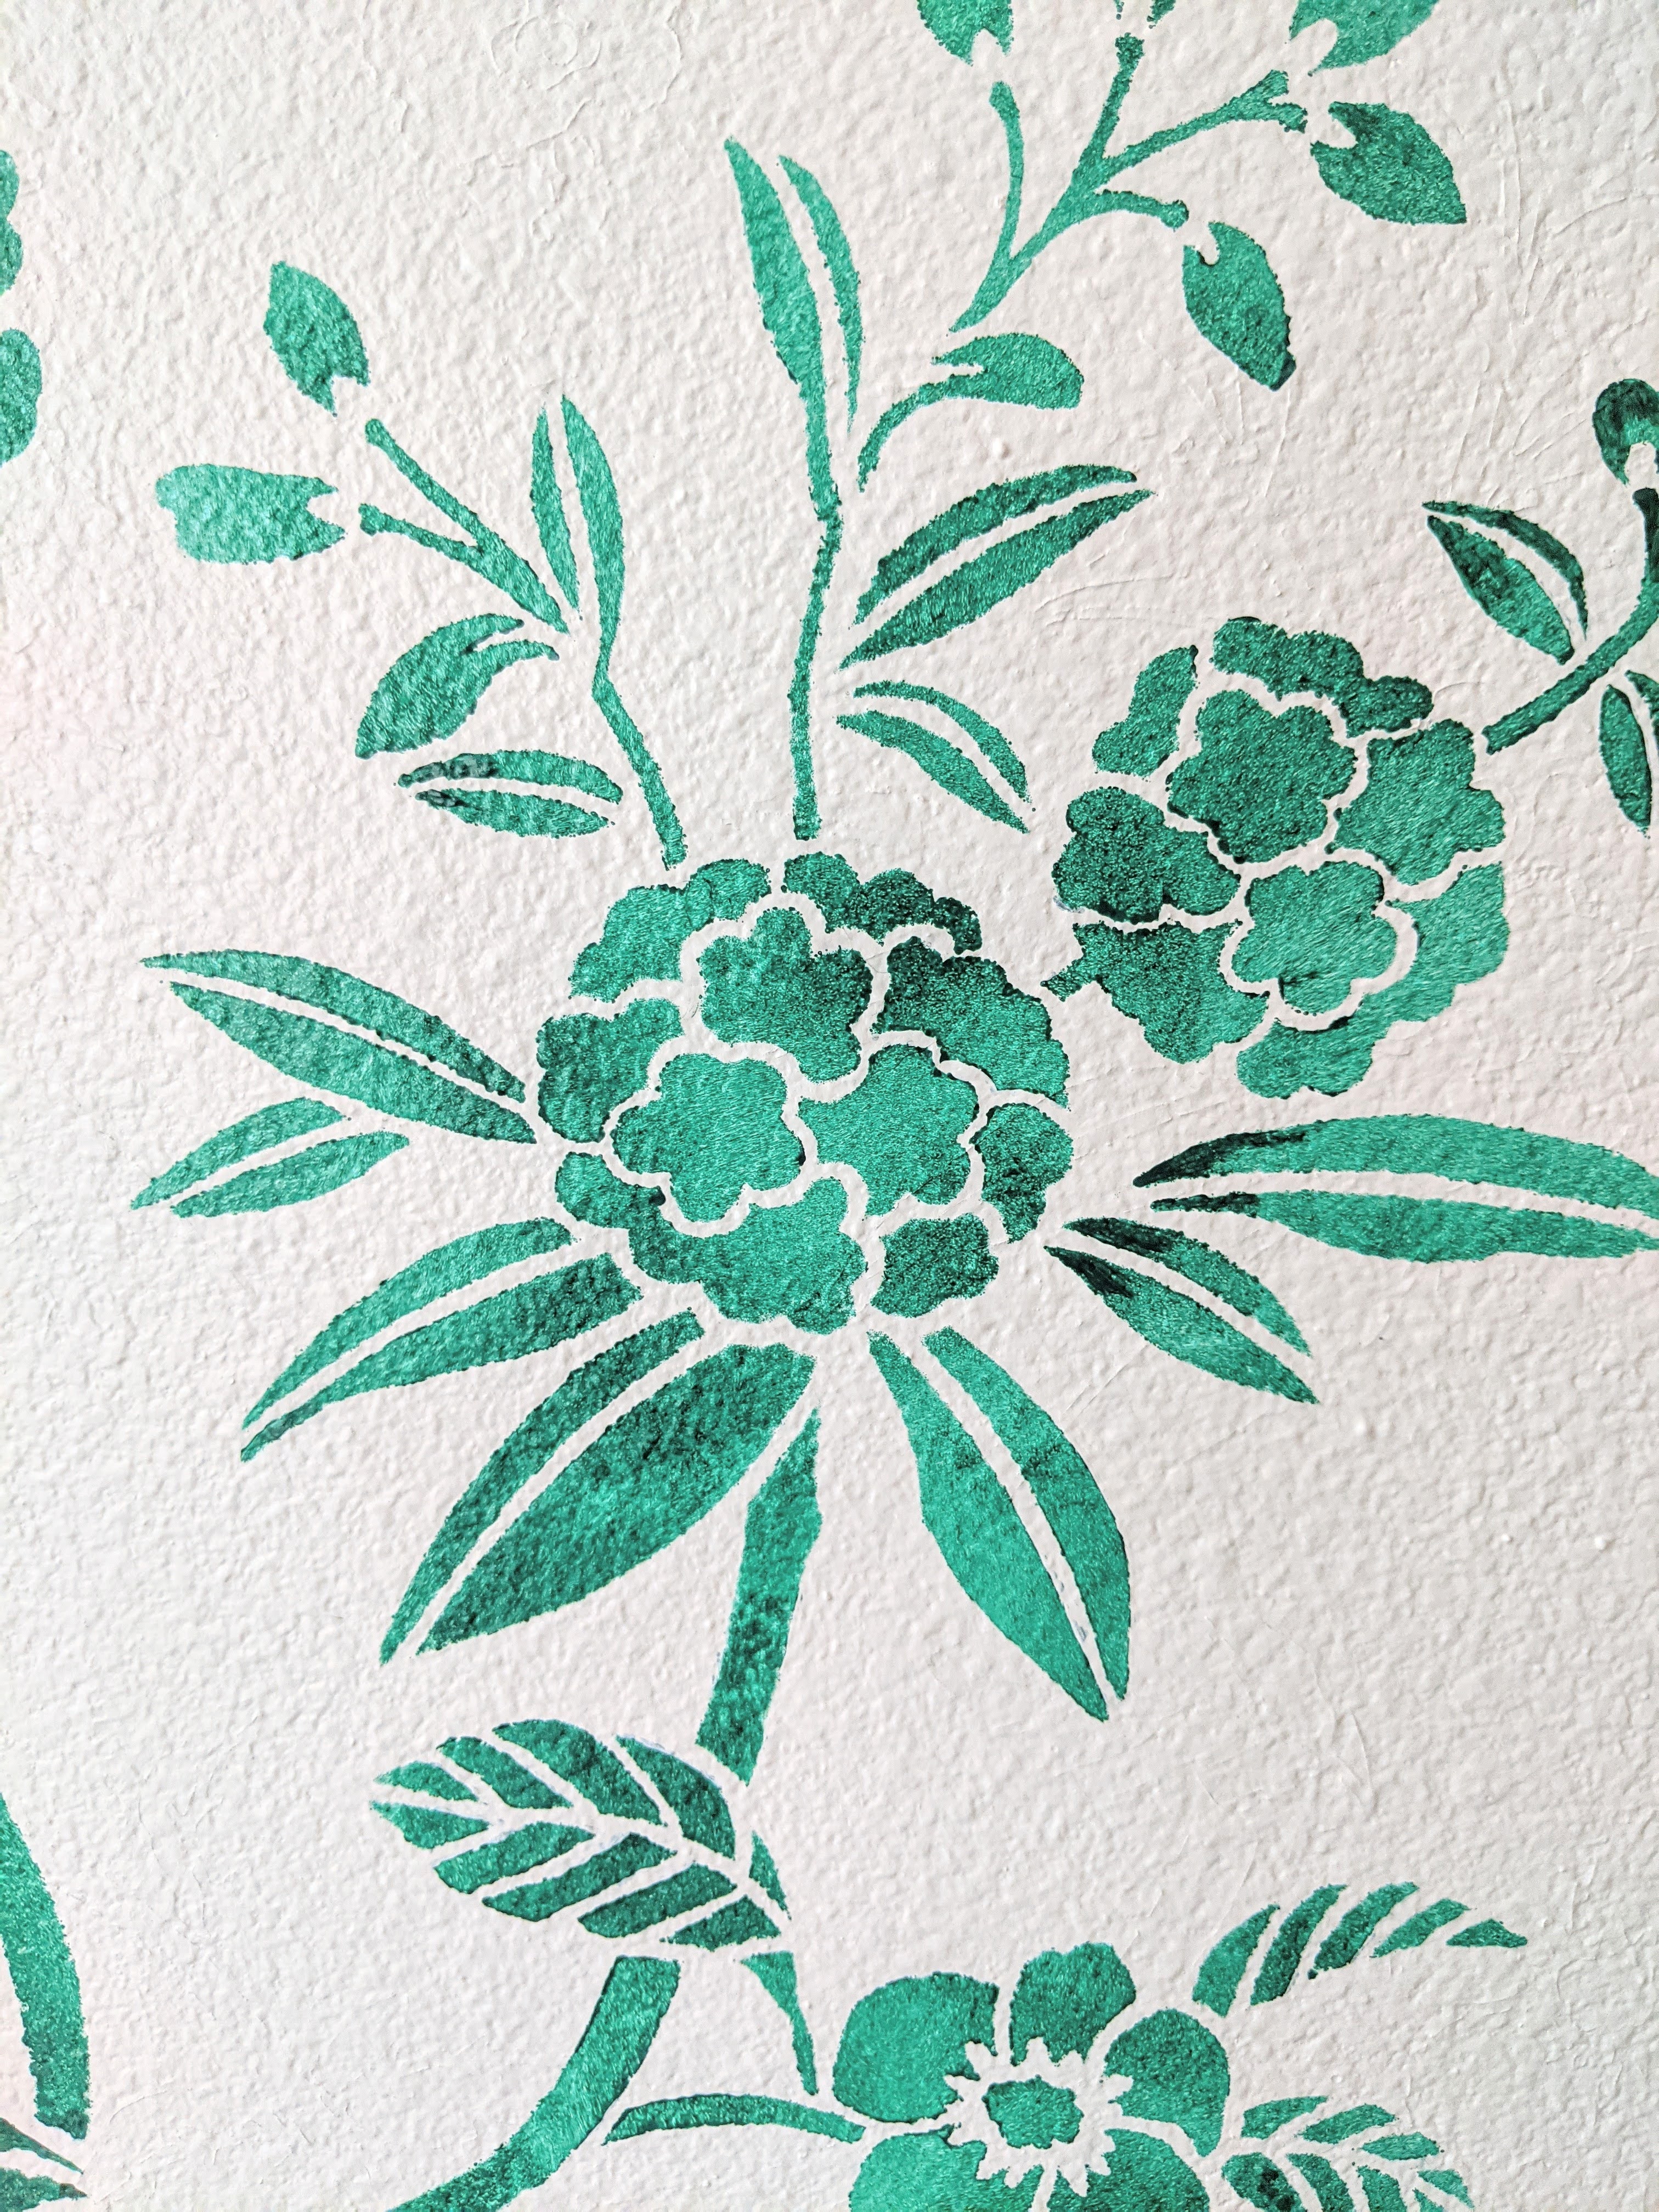
My second pass went better. I did a couple of techniques in smaller areas and found that the foam roller was still best, but I blotted most of the paint off onto a paper towel. There was a lot less bleeding as a result, but I’m still going to have to go back over the design with my grey paint to bring back some of those details. However, it created a watercolor-type effect that I just love.
After all this experimentation, we decided to only paint one “vine” from top to bottom versus doing the whole wall. I think it would also look way too busy given the size of the stencil. One repeat will still add something to the room as well as create a lot less work for me.
I actually enjoyed doing the touch-ups because it felt like I was really painting instead of using a stencil. I also kind of like tedious crafts. Just a little bit. When I finished, the whole thing looked a million times better and didn’t take too long in retrospect.